
Lolik124
@lolik124
14
Following
106
Followers
22
Updates
705
Likes
117
Comments
63
Votes
@lolik124
14
Following
106
Followers
22
Updates
705
Likes
117
Comments
63
Votes
68 days ago
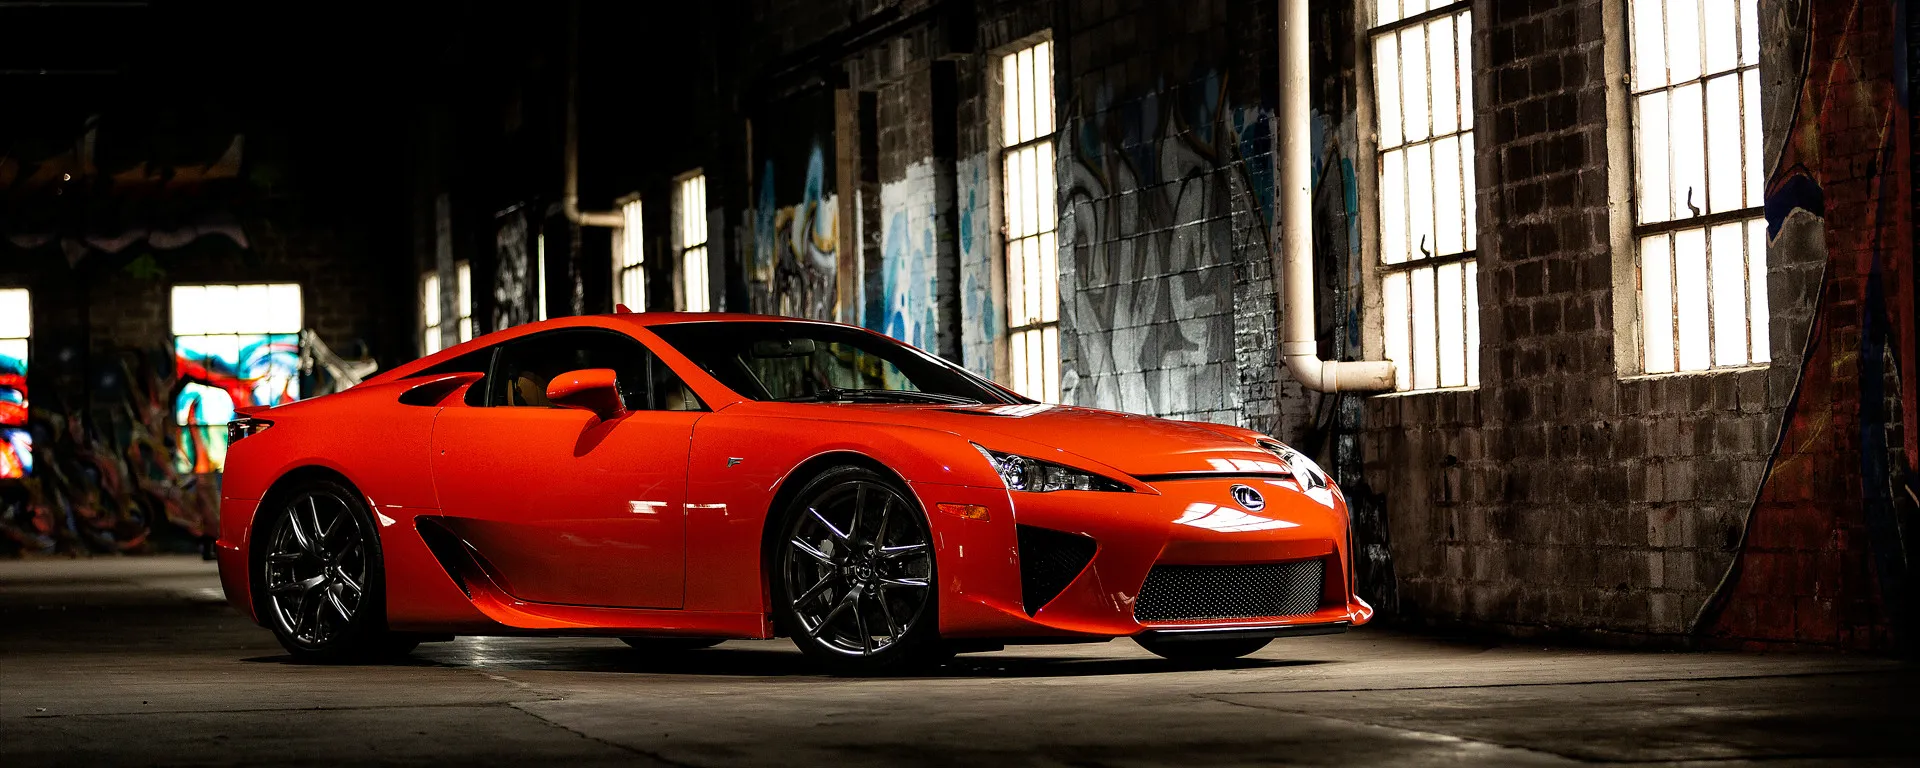
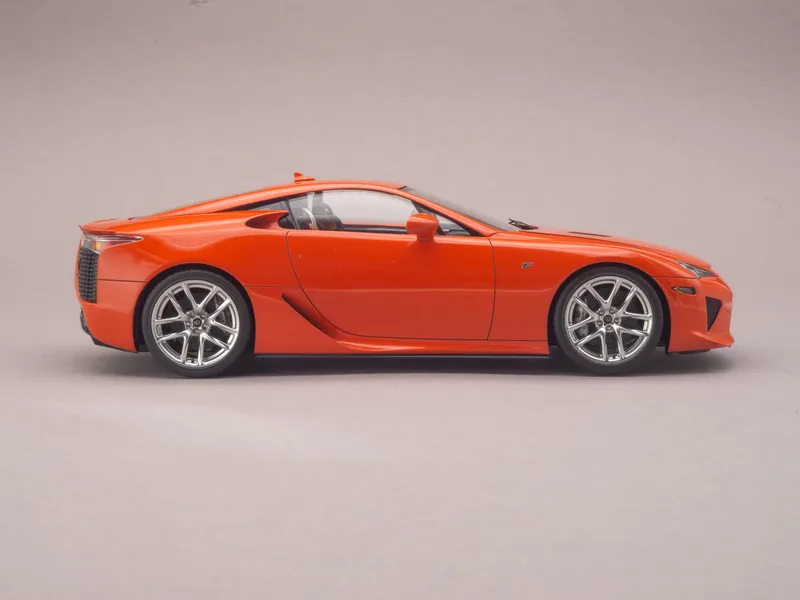
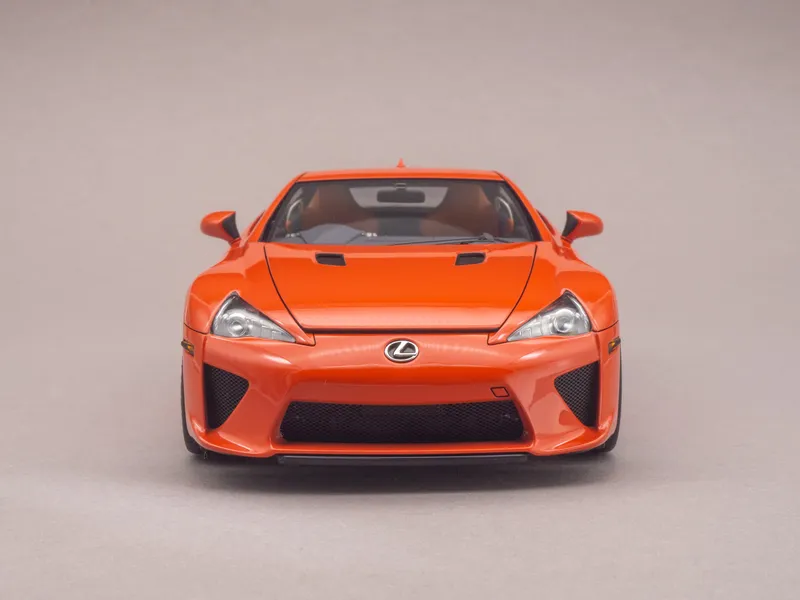
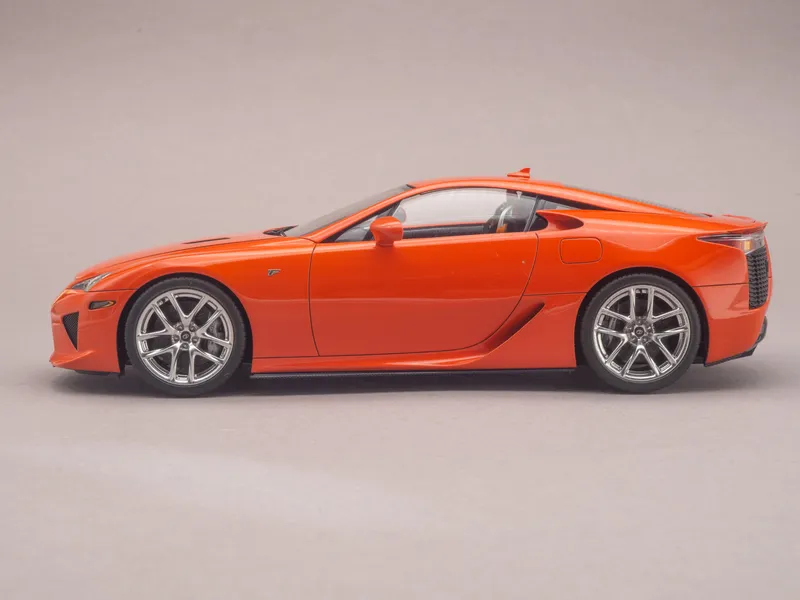
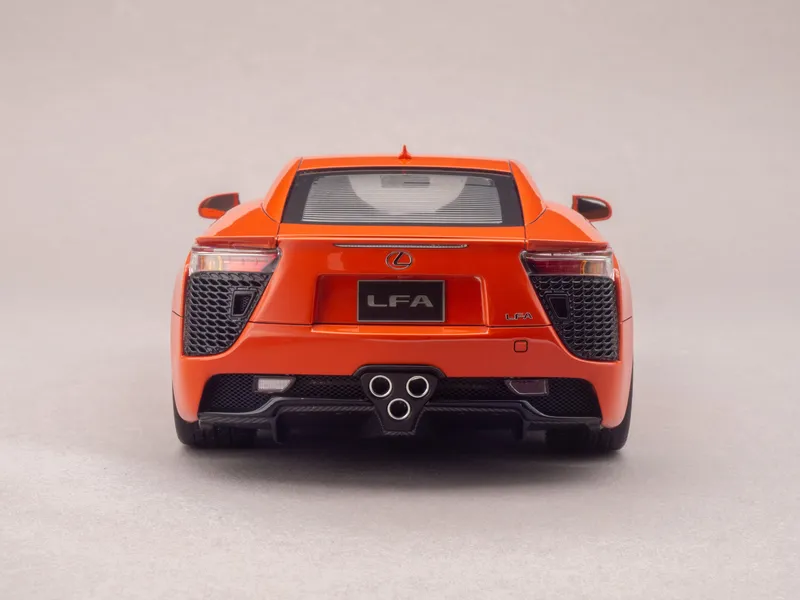
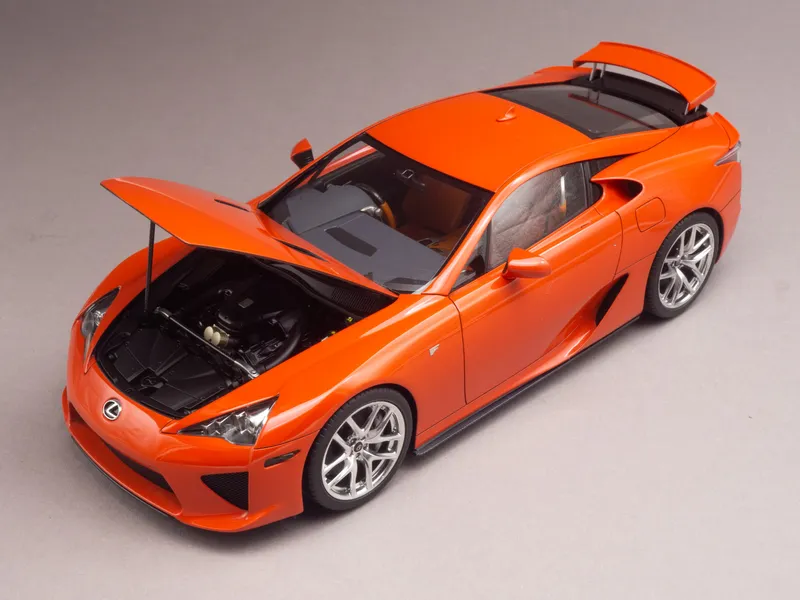
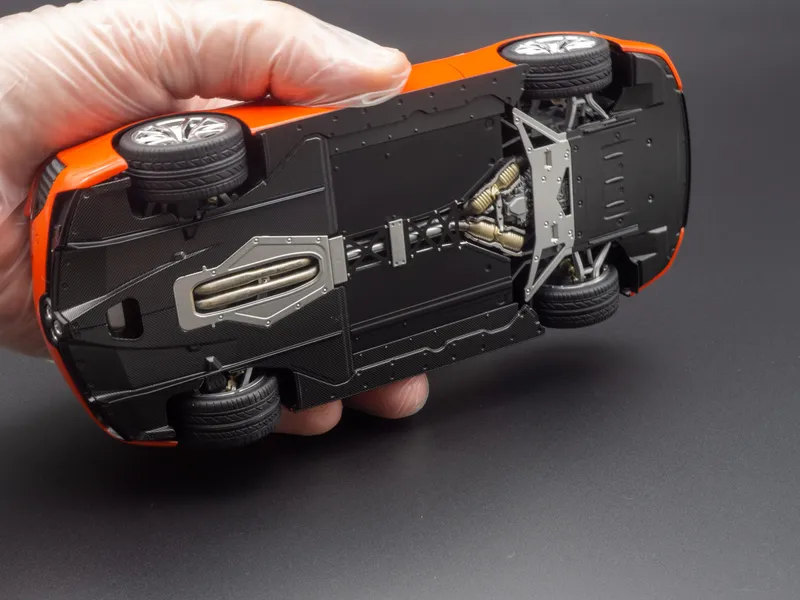
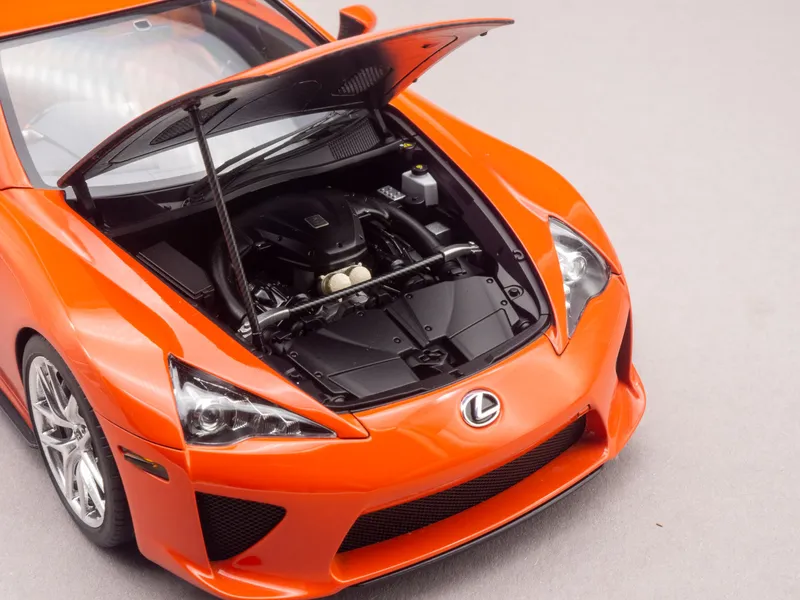
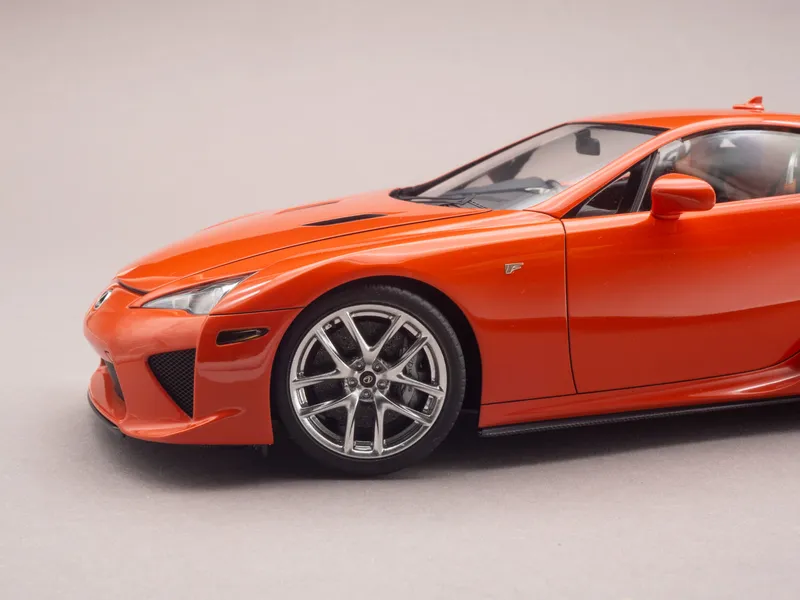
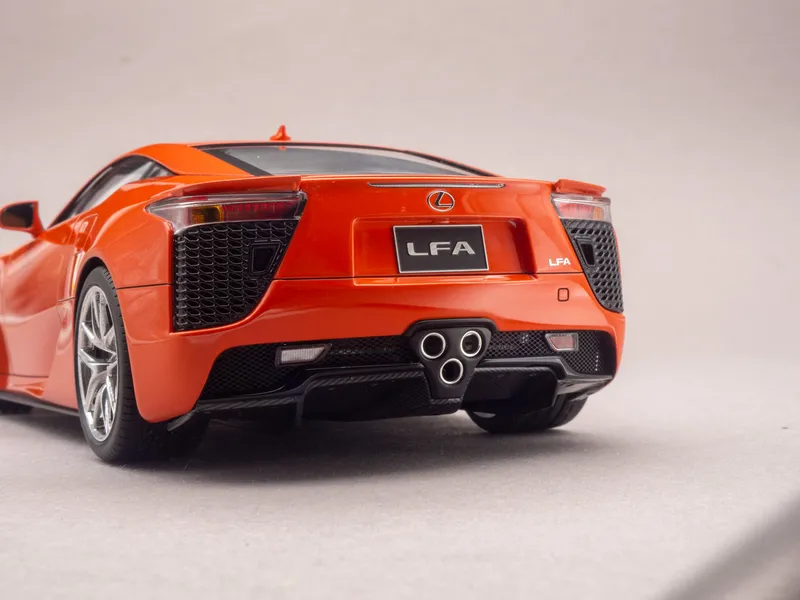
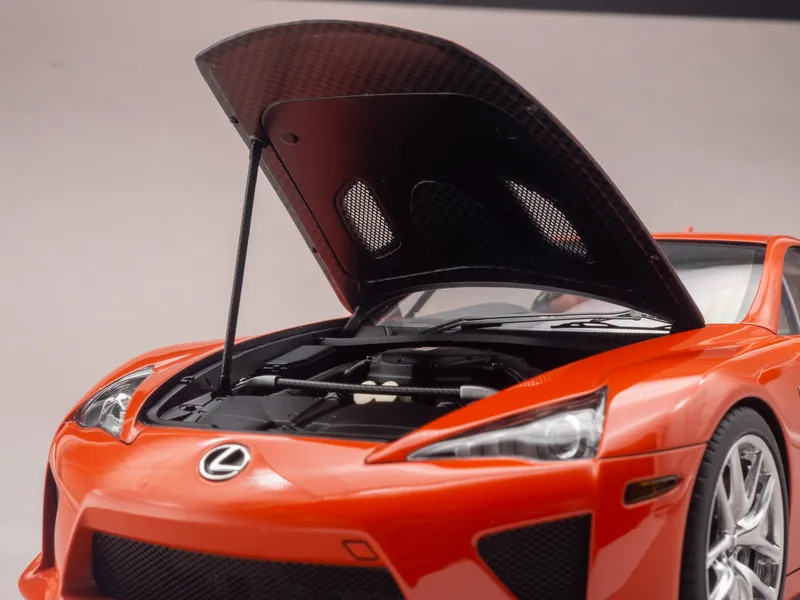
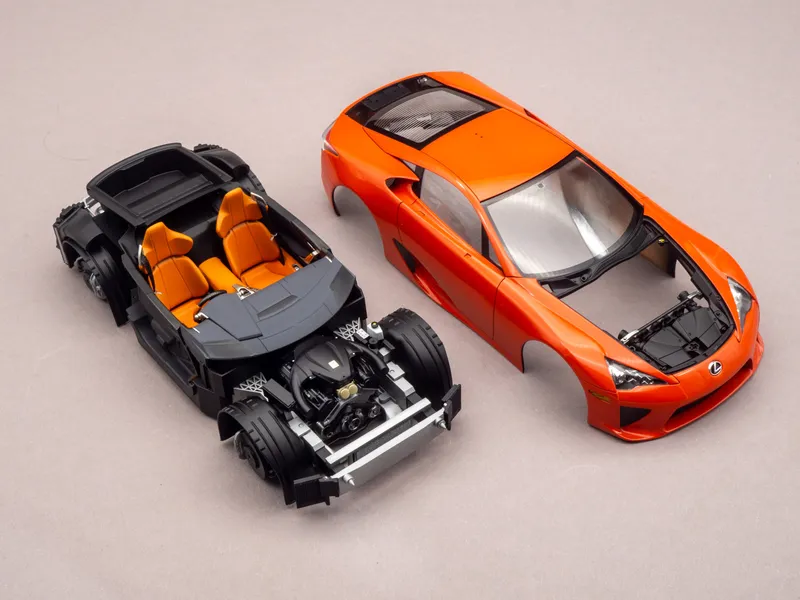
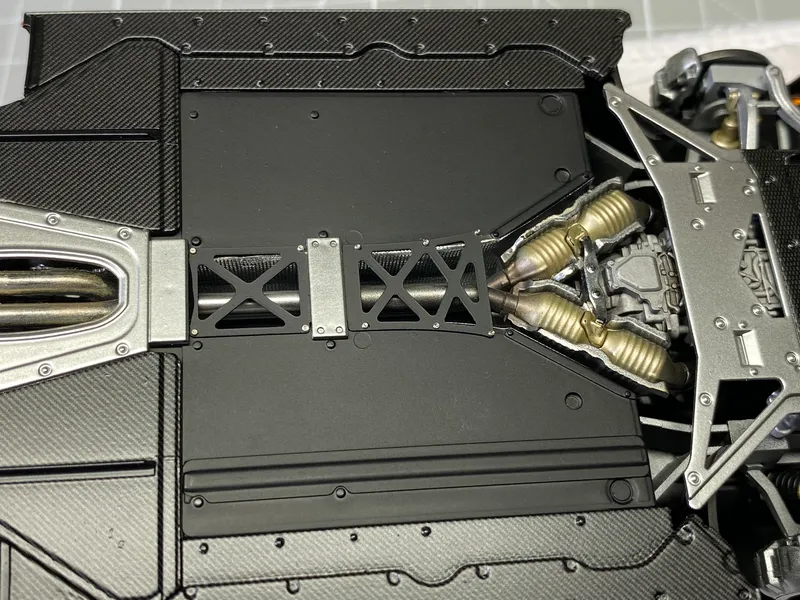
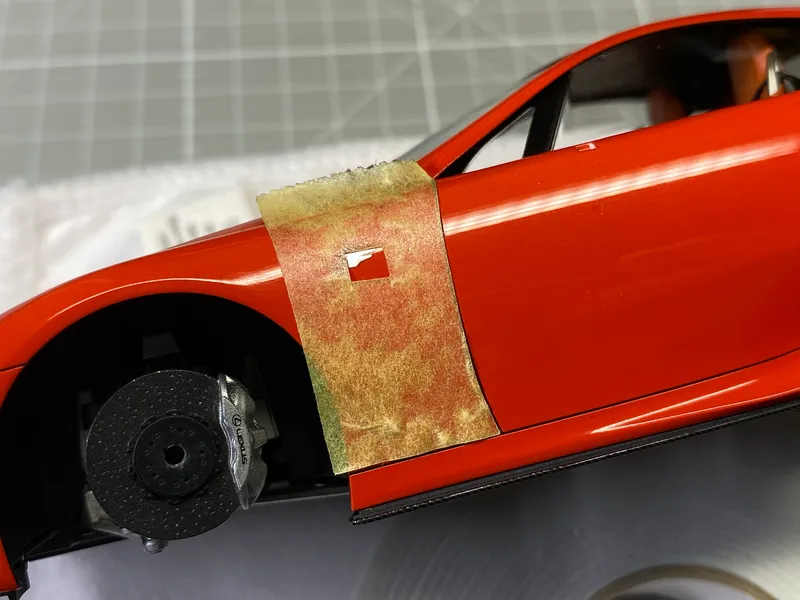
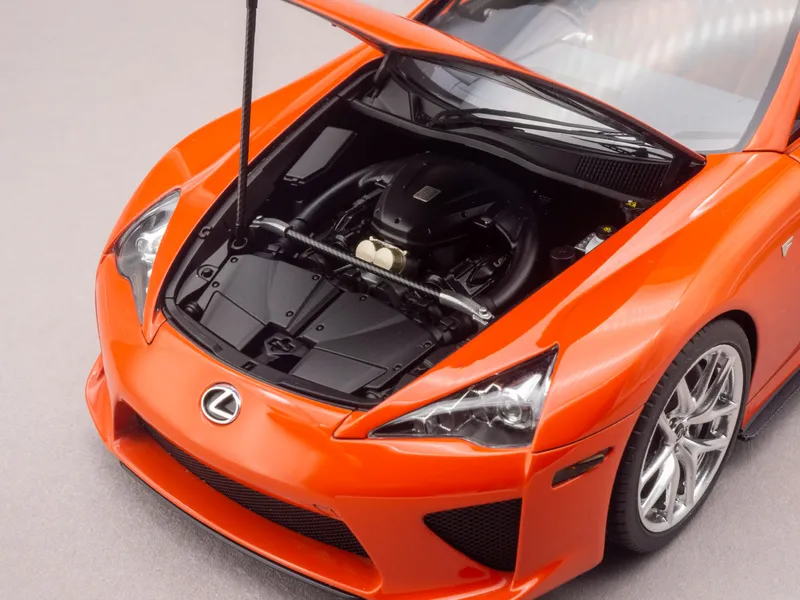
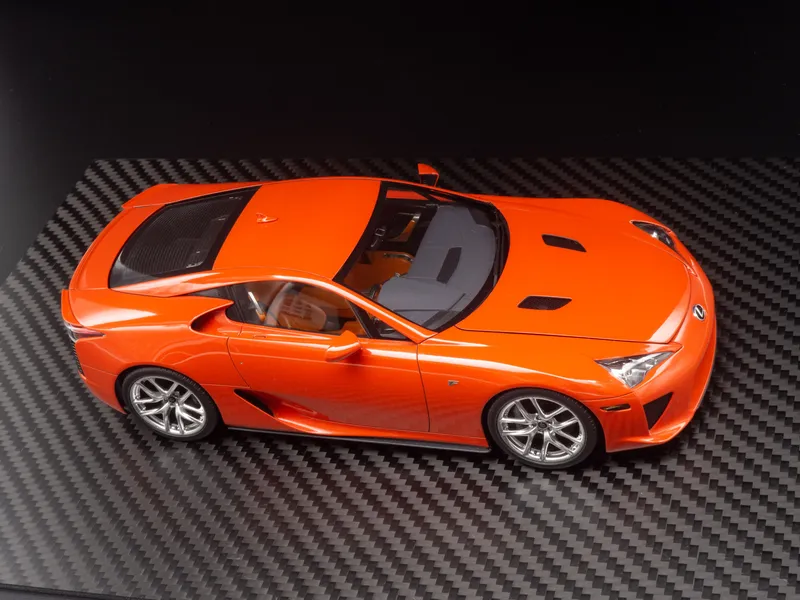
This update is for the final judging, so I’m posting the required final views according to the competition rules.
A short recap of my build:
68 days ago
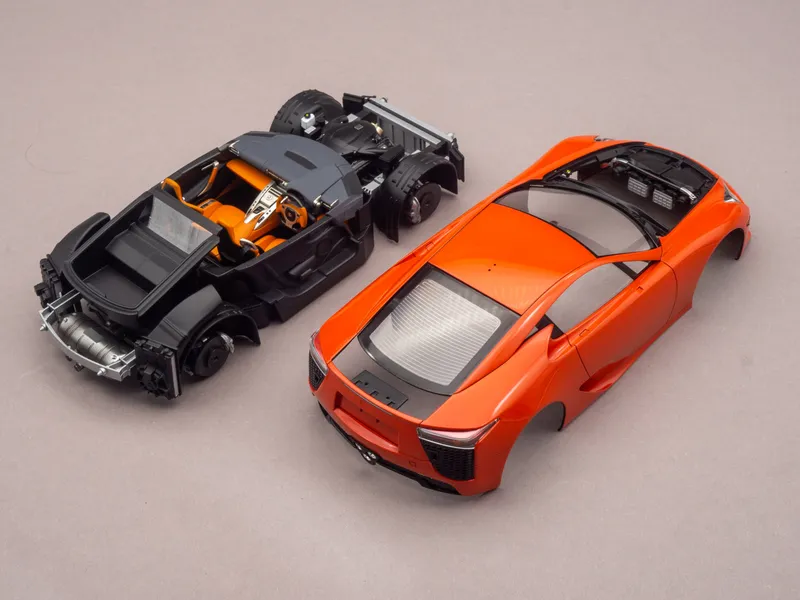
At last, the build is complete
01-02 All exterior parts have been installed on the body, so now the chassis and body can be joined together.
03 The underbody strip was attached using metal bolts.
04 The emblems were positioned using the template I made at the very beginning of the build.
05 The hood can be opened to reveal the engine bay.
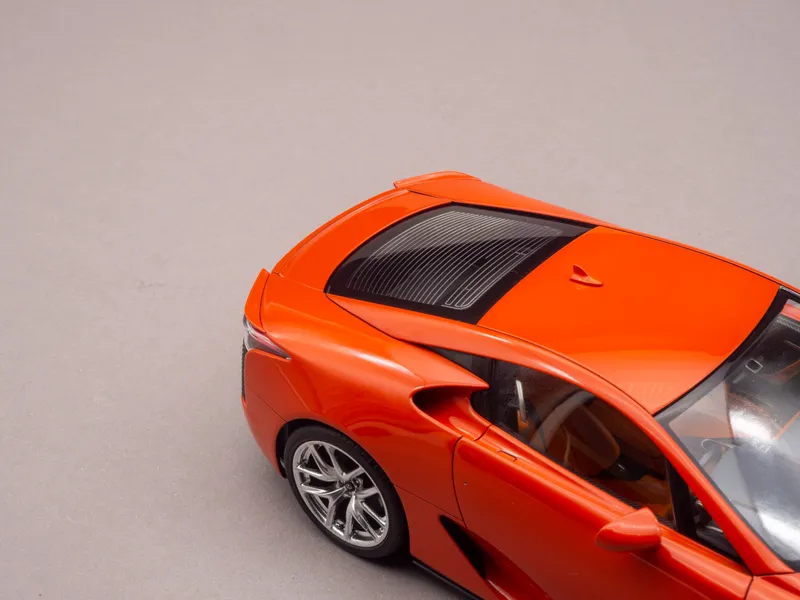
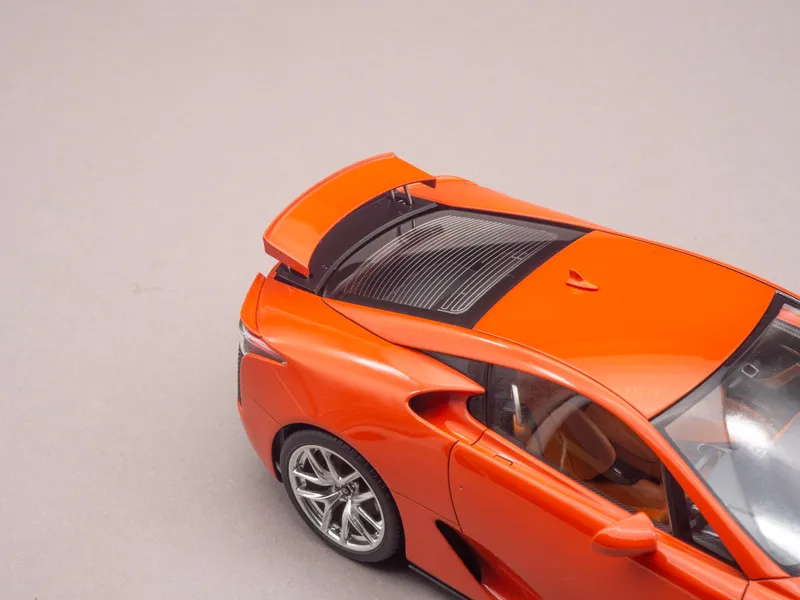
06-07 Rear wing in the retracted and deployed positions.
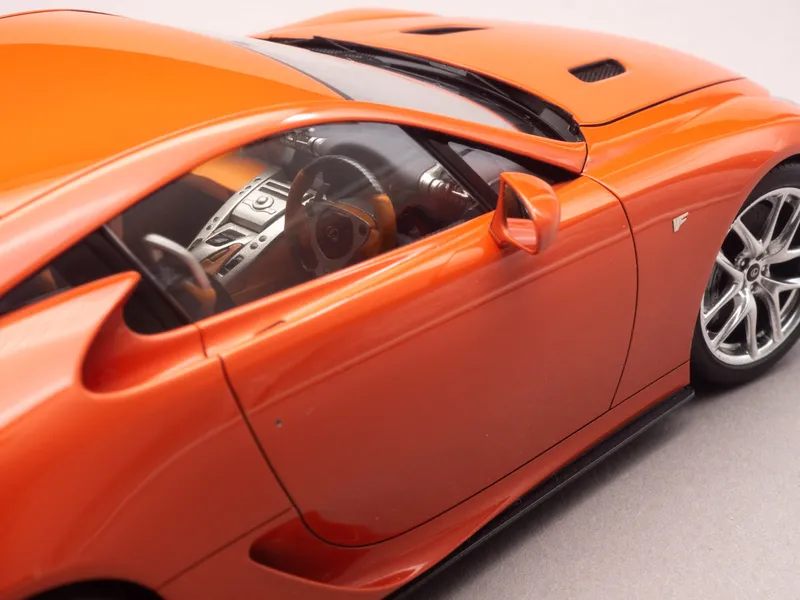
08 View through the driver’s side window.
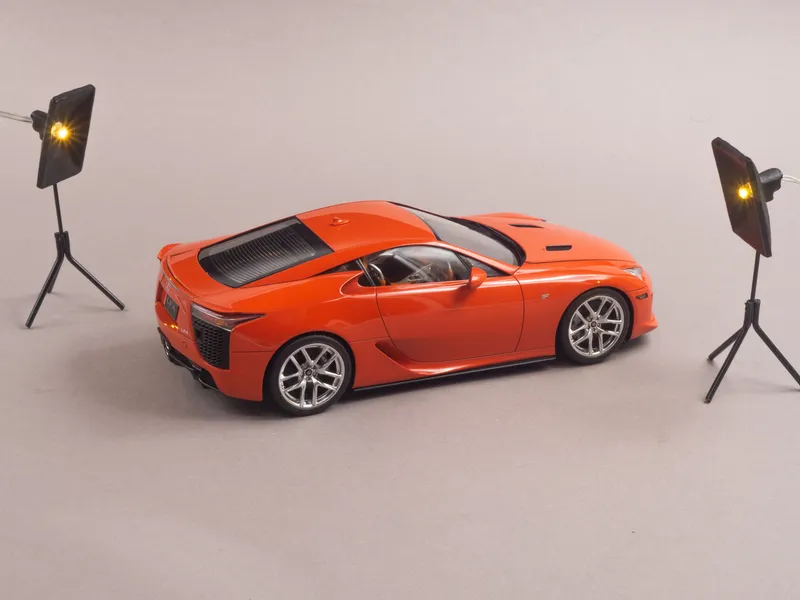
09-10 Overall views.
72 days ago
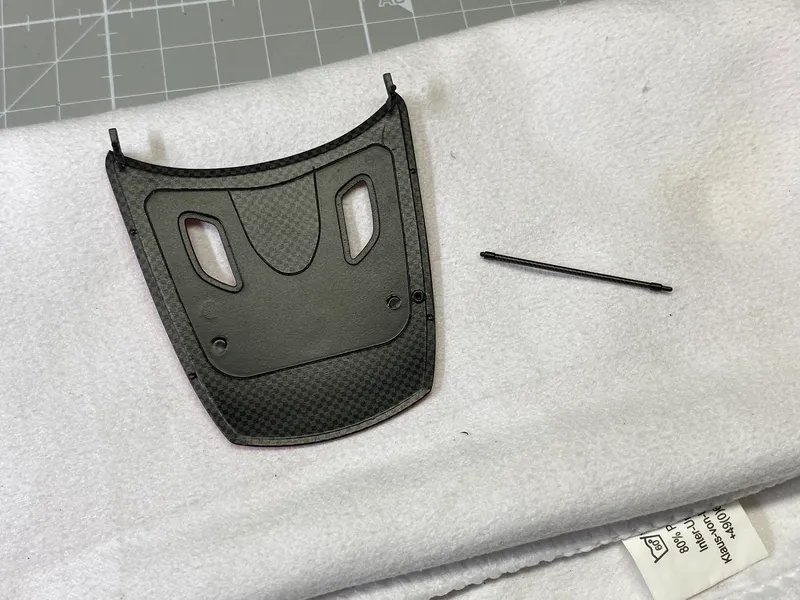
00 Here you can see how the hood prop attaches magnetically to the inner surface of the hood.
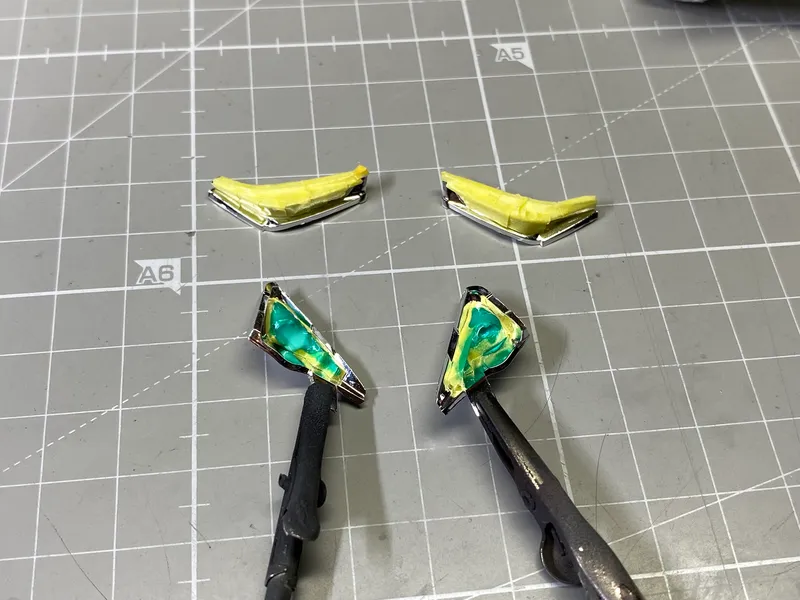
01 Masking the headlight and taillight reflectors for painting.
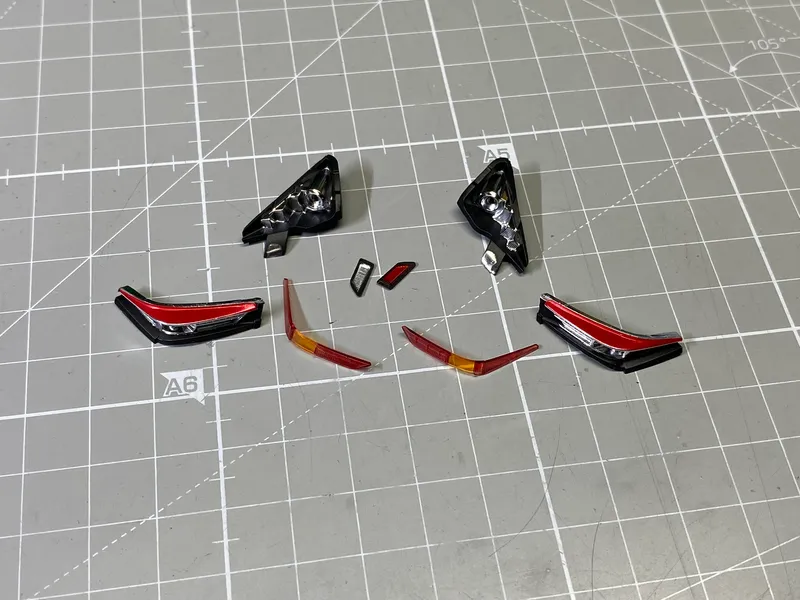
02 Finished lighting components.
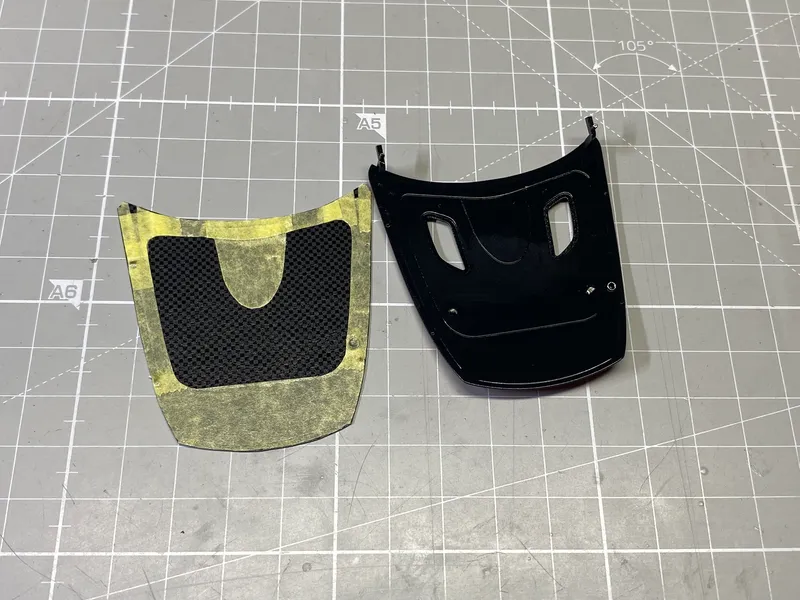
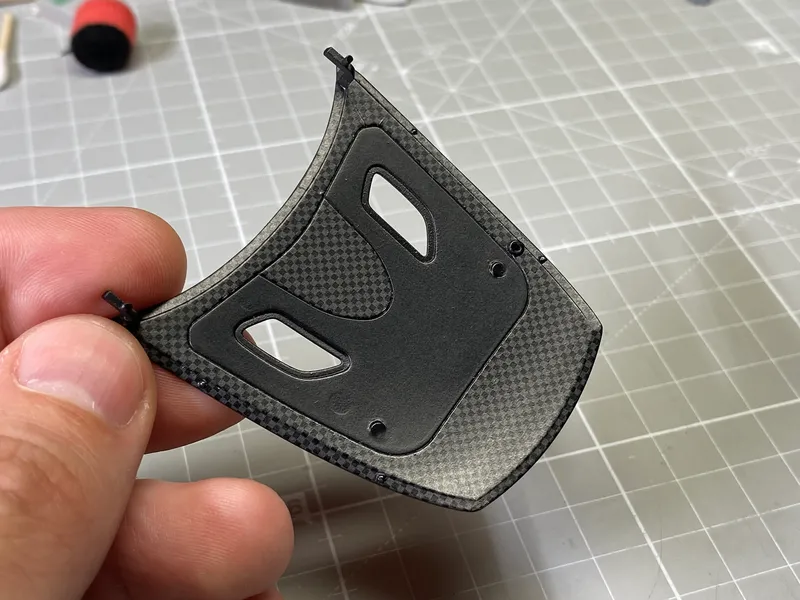
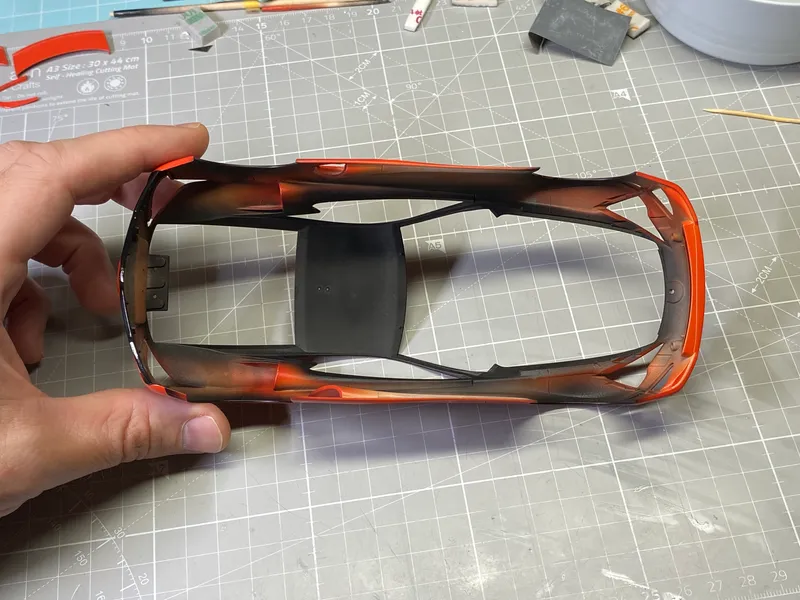
03 Carbon fiber template for the inner side of the hood, which I plan to apply just like on the real car.
04 Finished inner hood surface, sealed with a matte clear coat.
05 The hood prop is carbon fiber as well :)
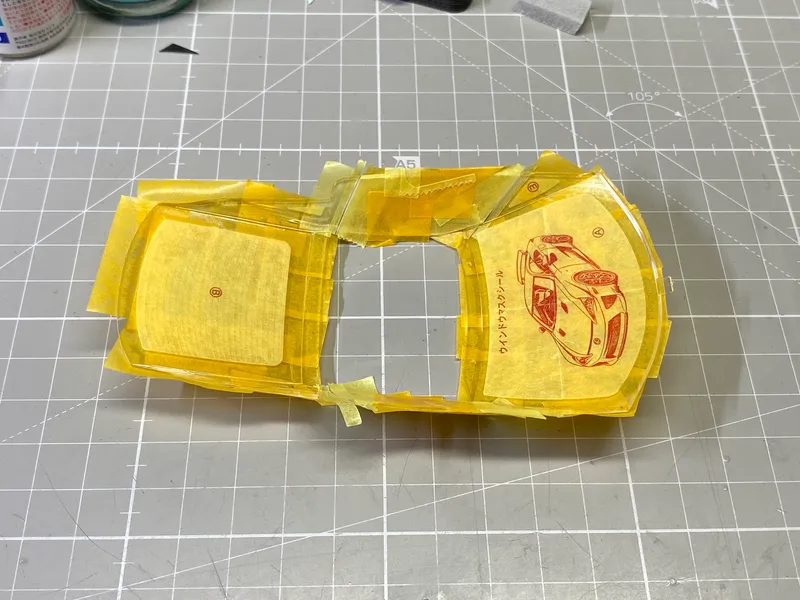
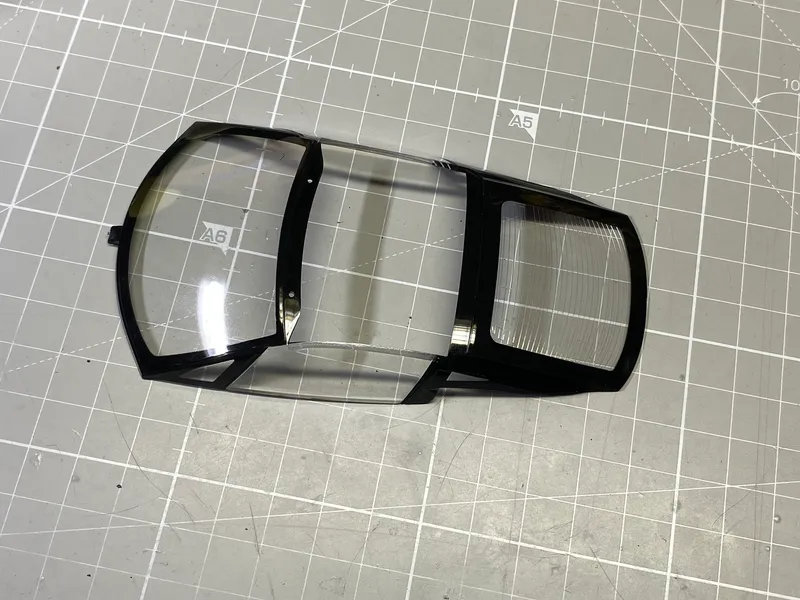
06 Masking the windows.
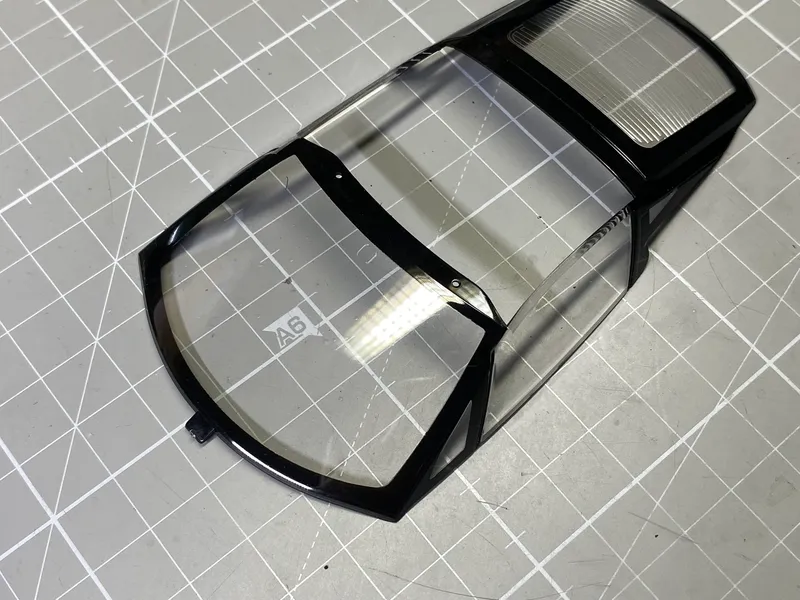
07–08 Finished windows.
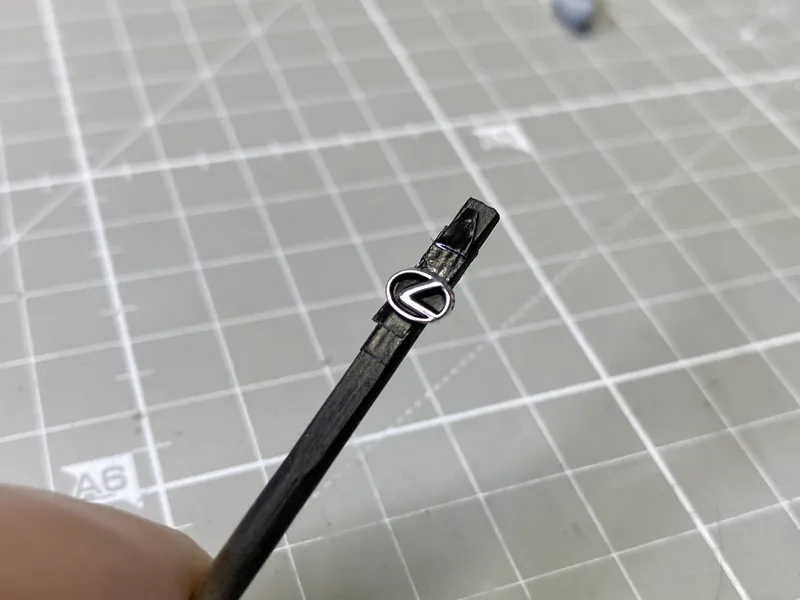
09 Lexus emblem.
73 days ago
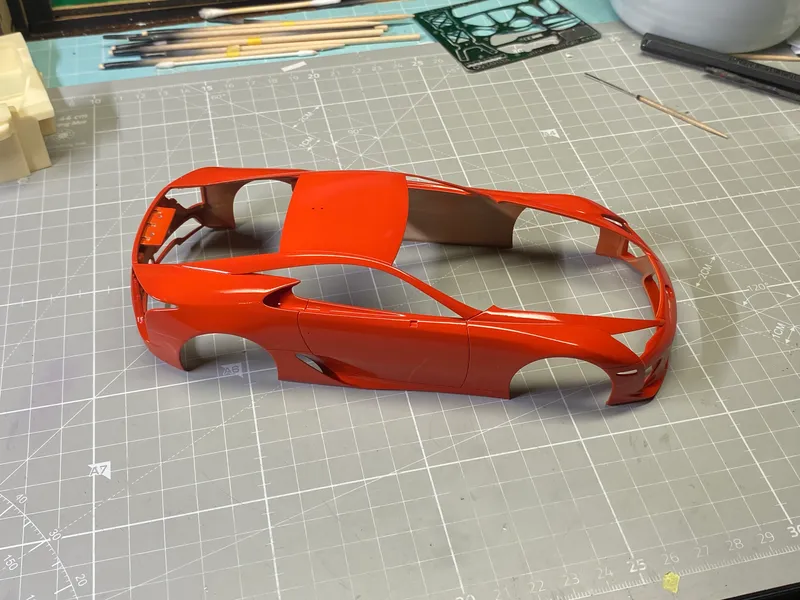
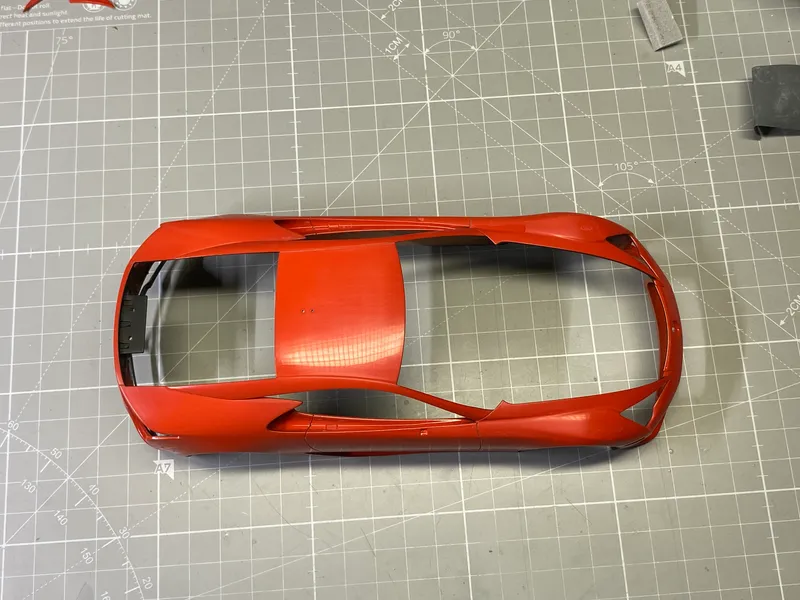
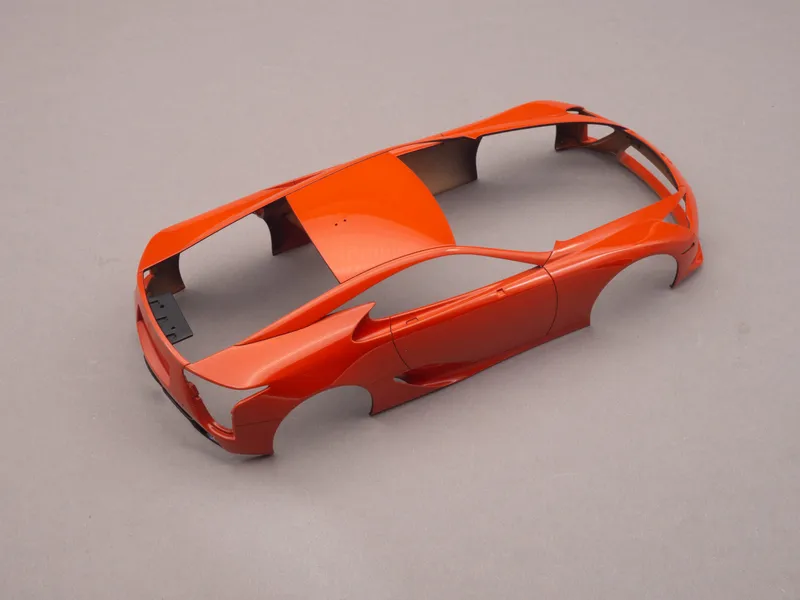
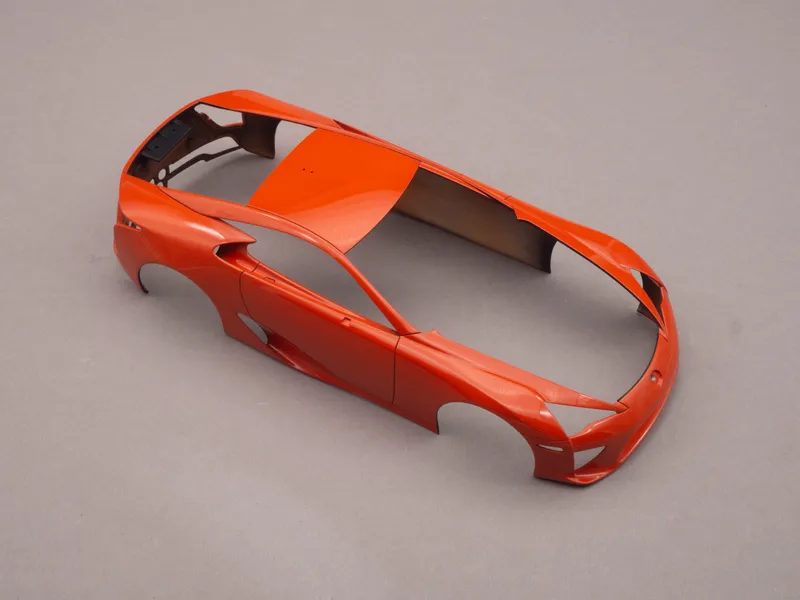
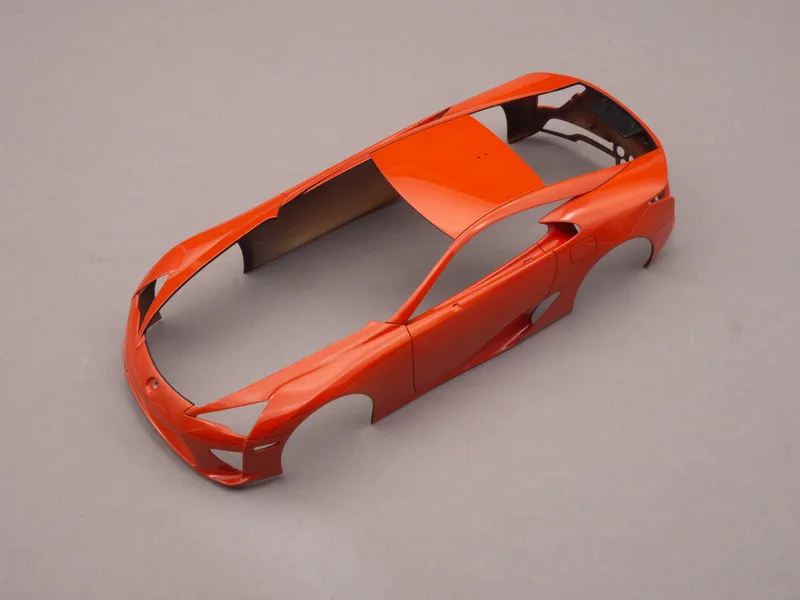
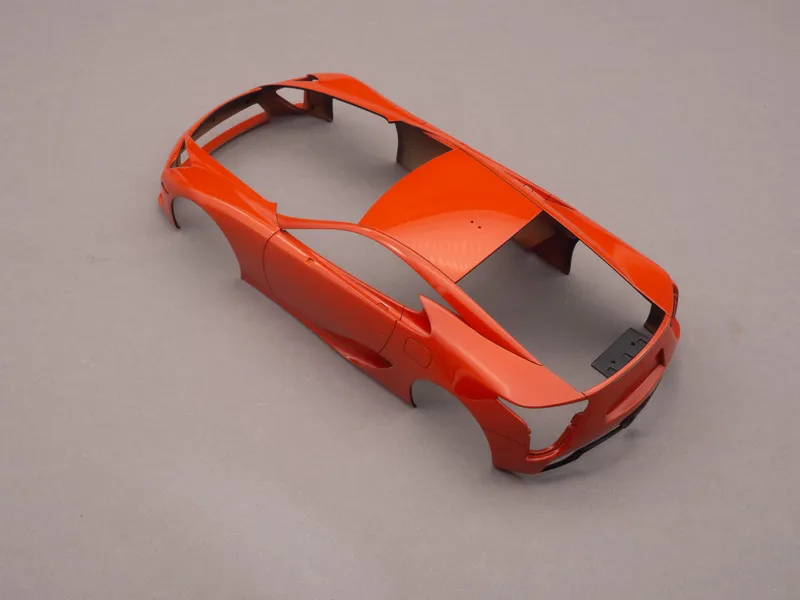
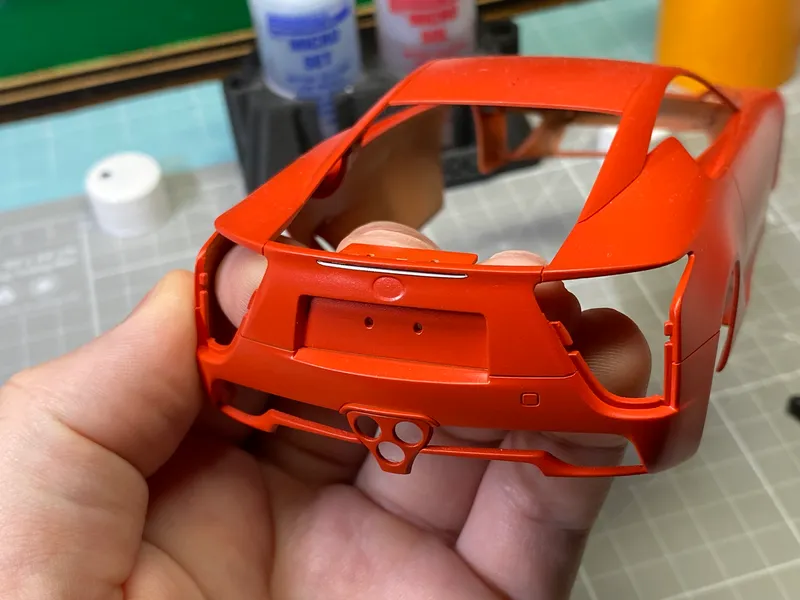
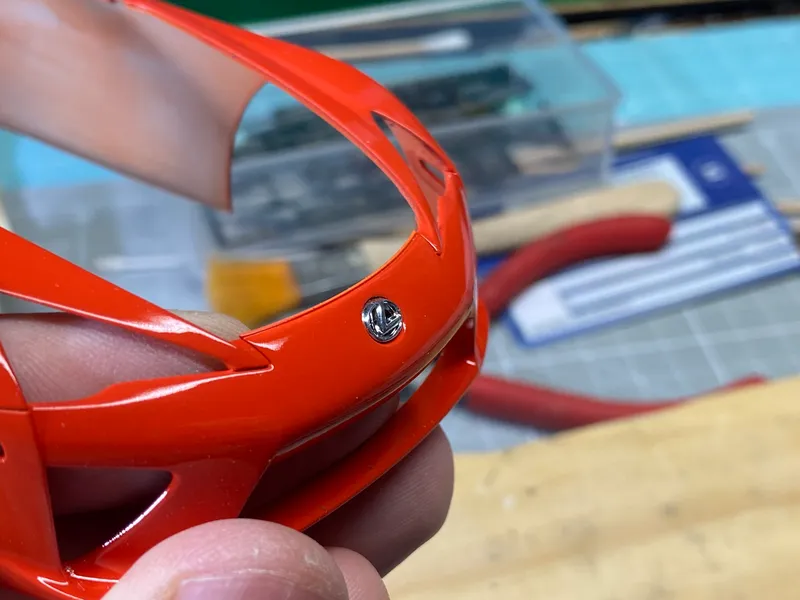
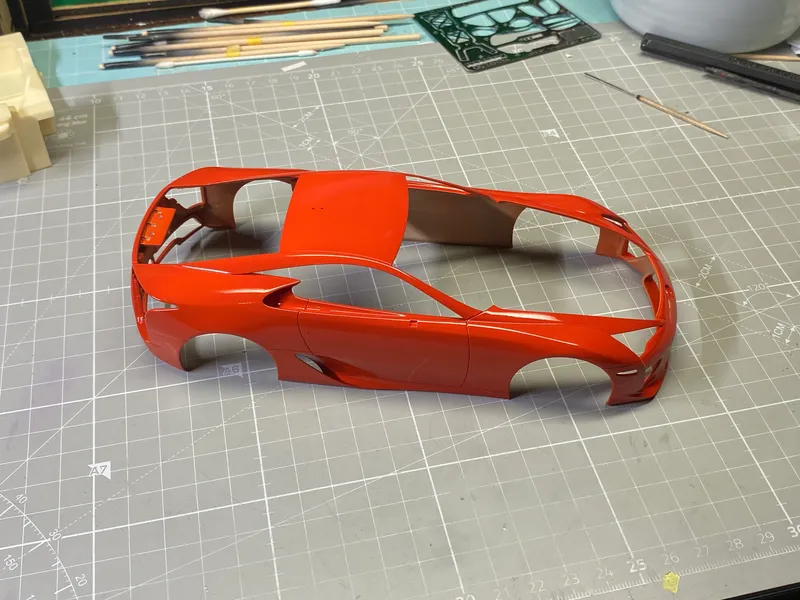
Another update: the body was successfully clear-coated, carefully sanded and polished. Now it shines.
73 days ago
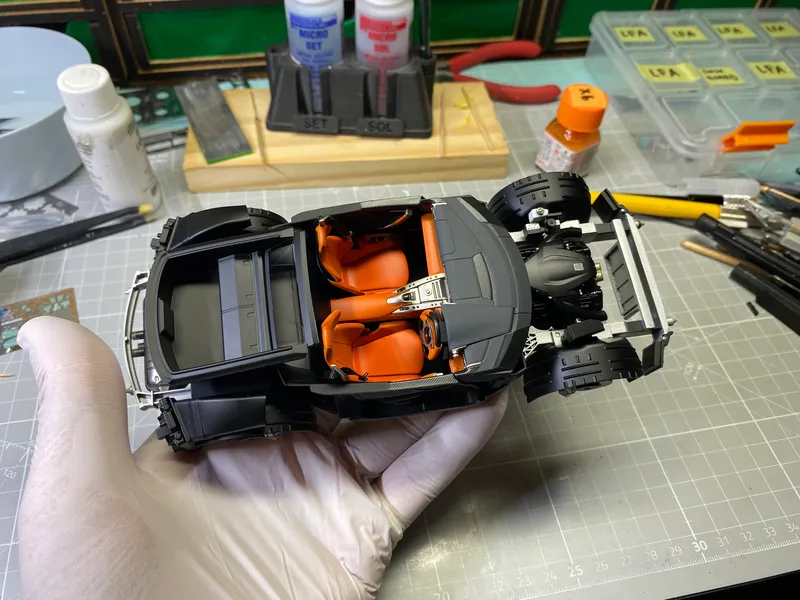
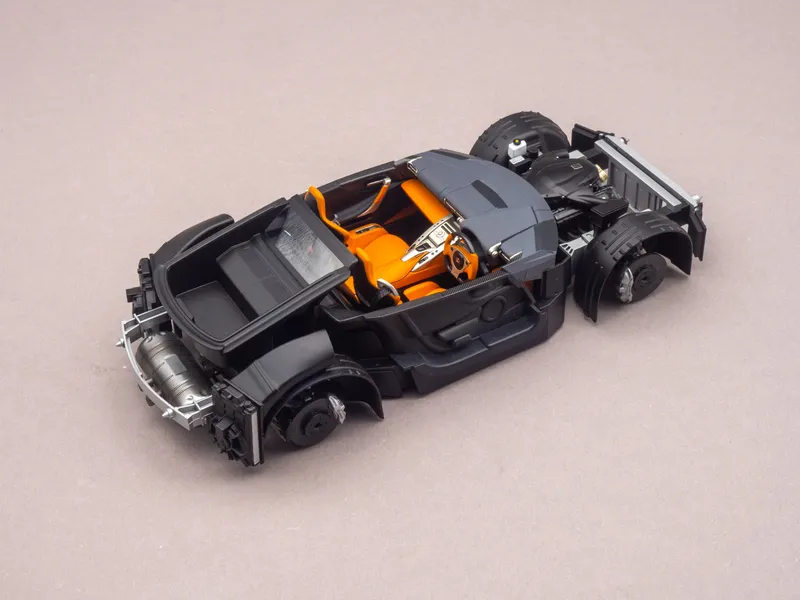
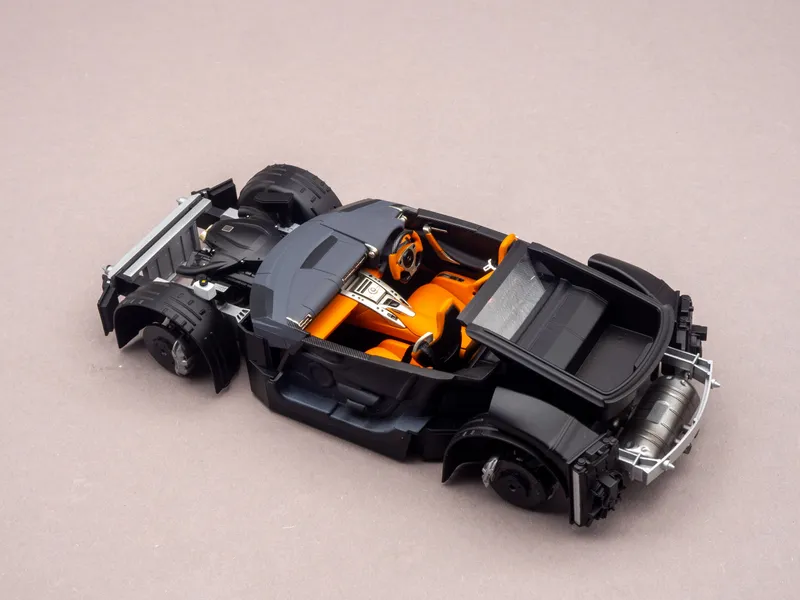
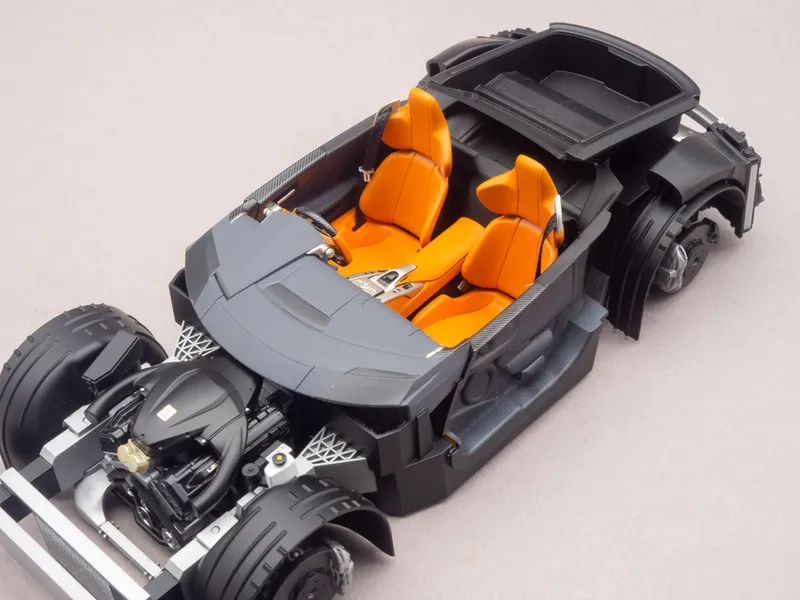
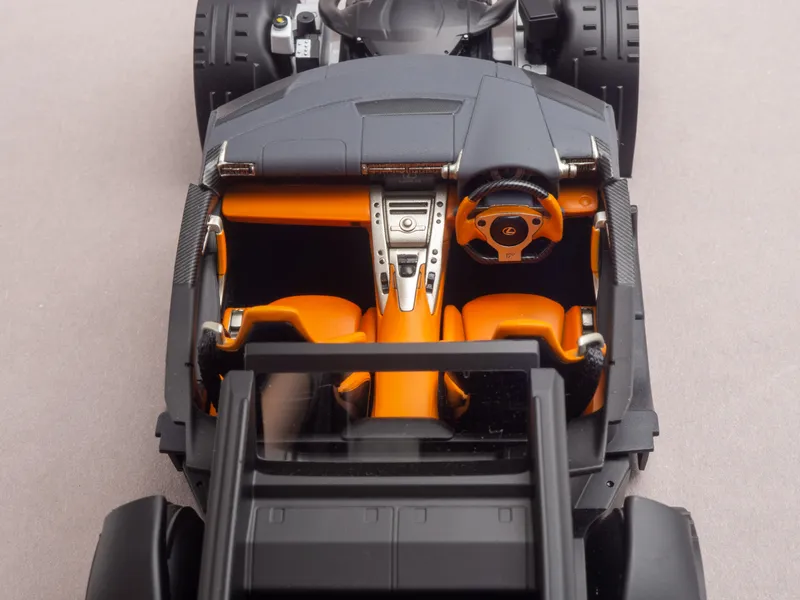
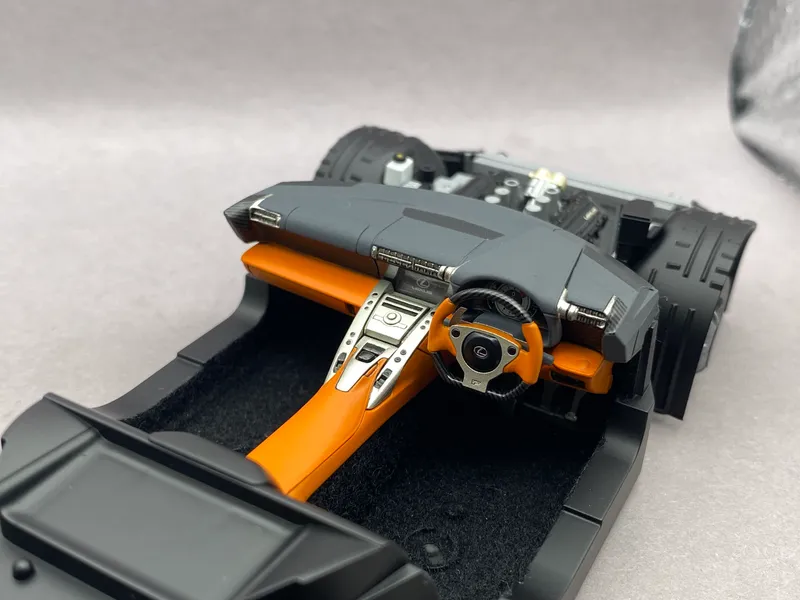
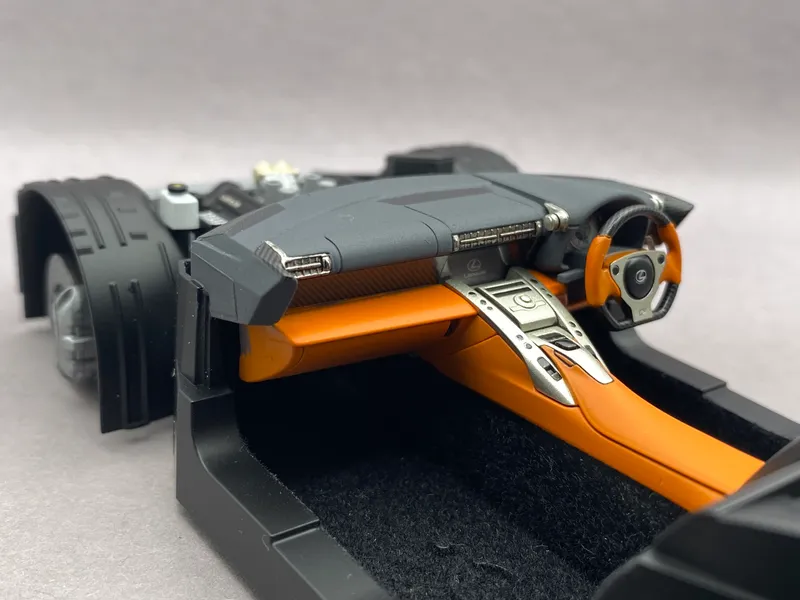
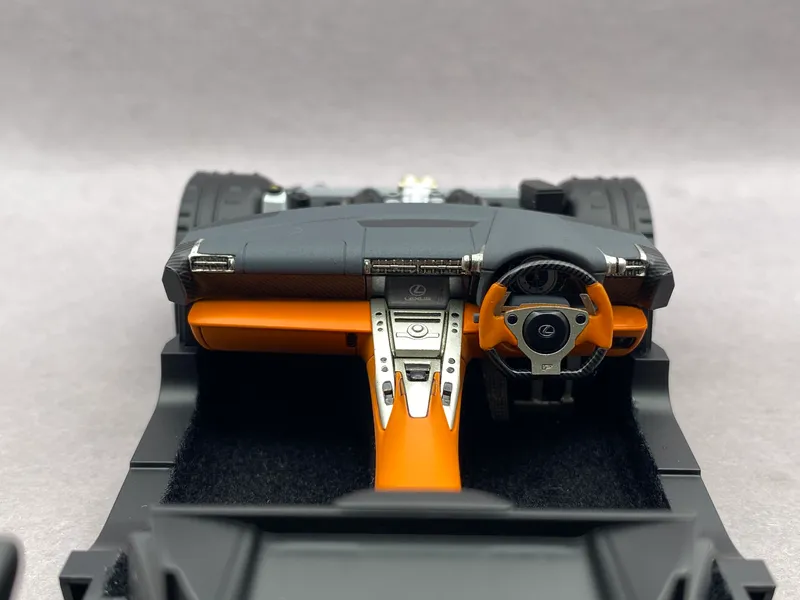
Hello everyone! In this update, I’d like to show the completed interior assembled together with the chassis.
73 days ago
01 The rear light is represented by a decal, but I actually like how it looks. From a distance it appears quite realistic.
02 For some reason, the emblem in the kit is quite raised, so I need to sand it down a little to make it sit flush with the body.
03 The body has received four coats of gx100 clear and is now waiting for sanding and polishing.
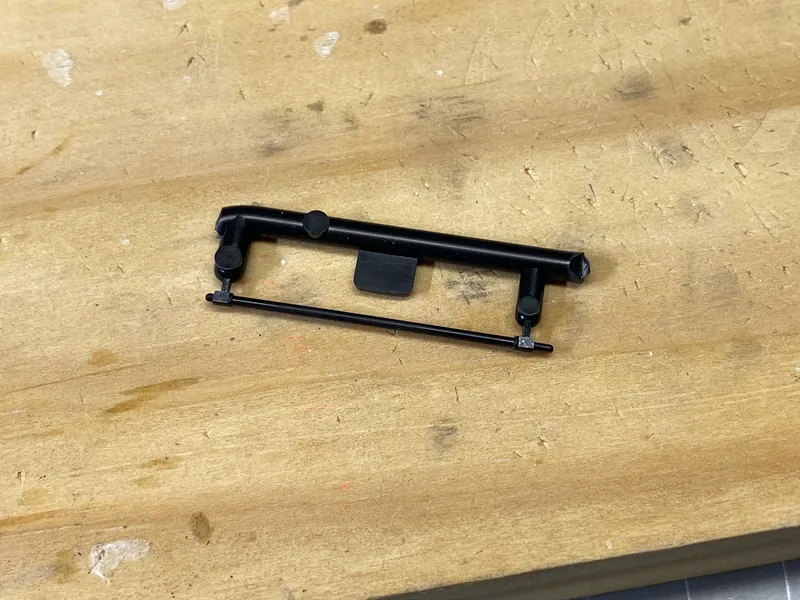
04 The kit includes a hood prop. In the closed position, it is held to the inside of the hood with magnets, which I had installed earlier.
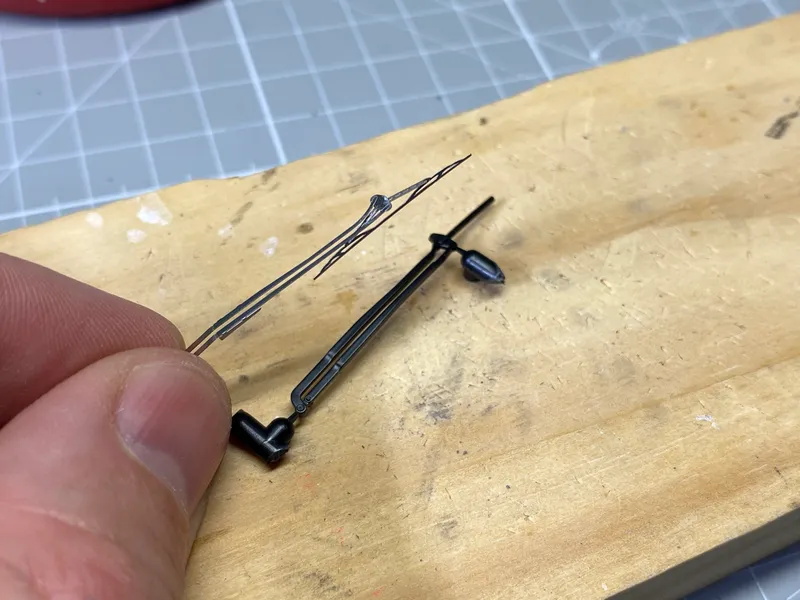
05 The photo-etched wiper is definitely better than the kit part.
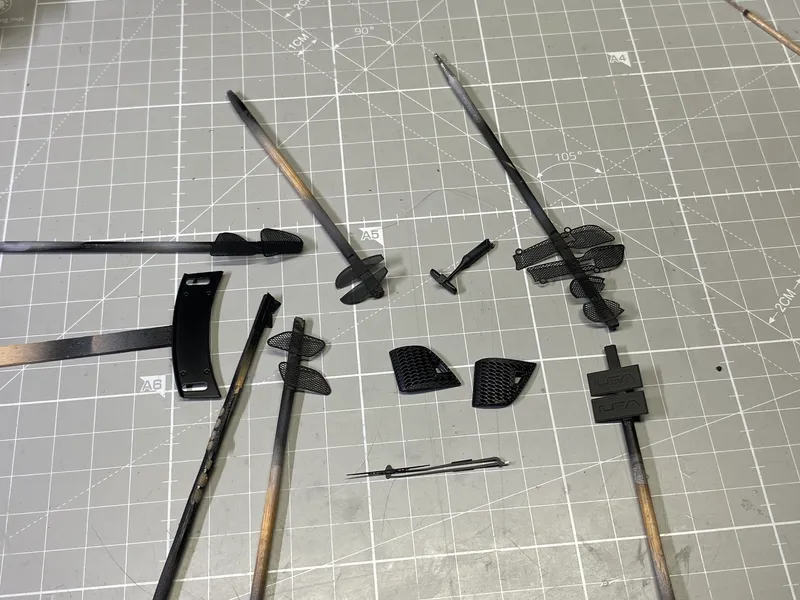
06 Painted various meshes and small parts.
91 days ago
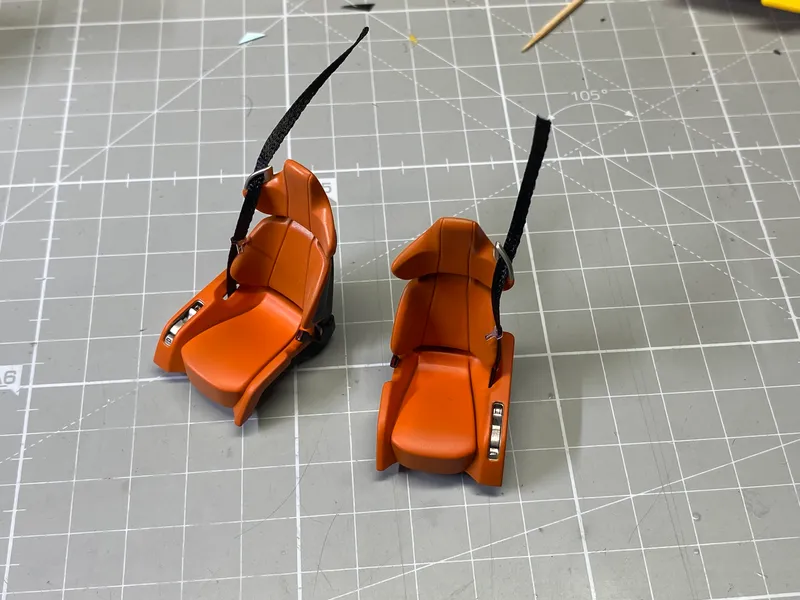
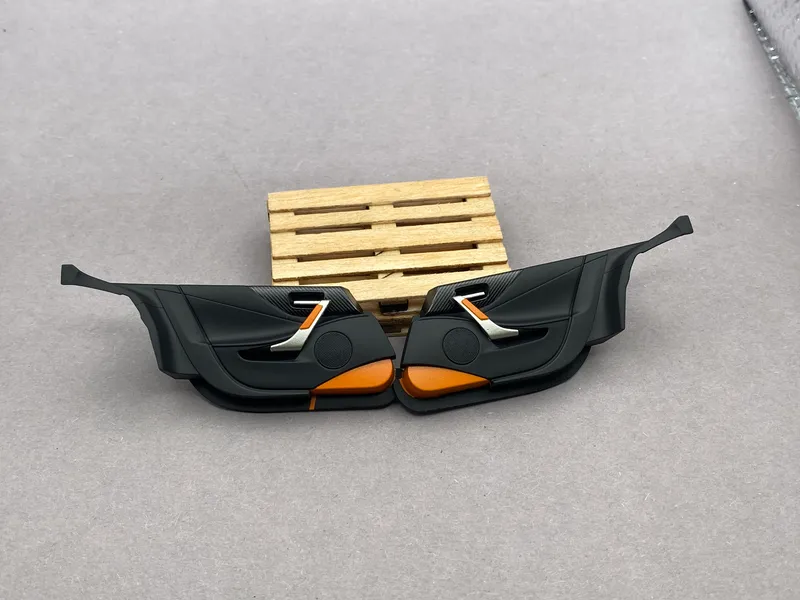
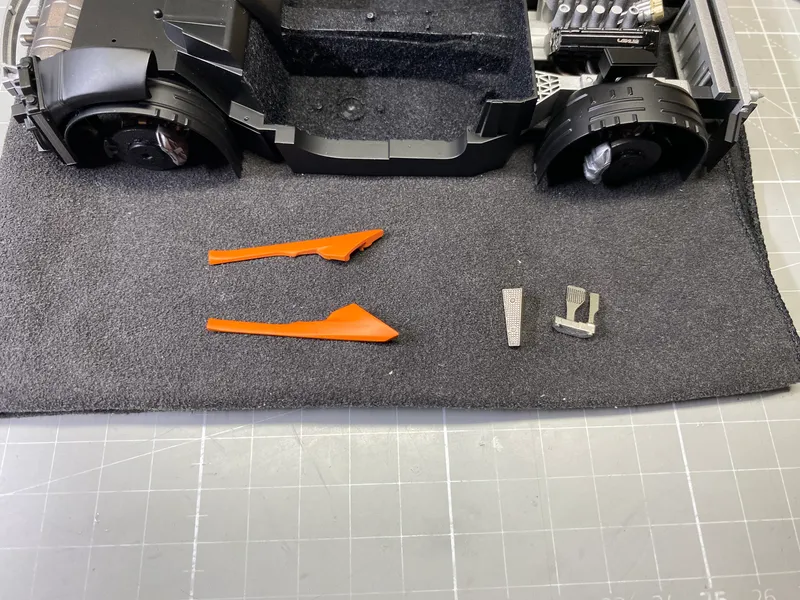
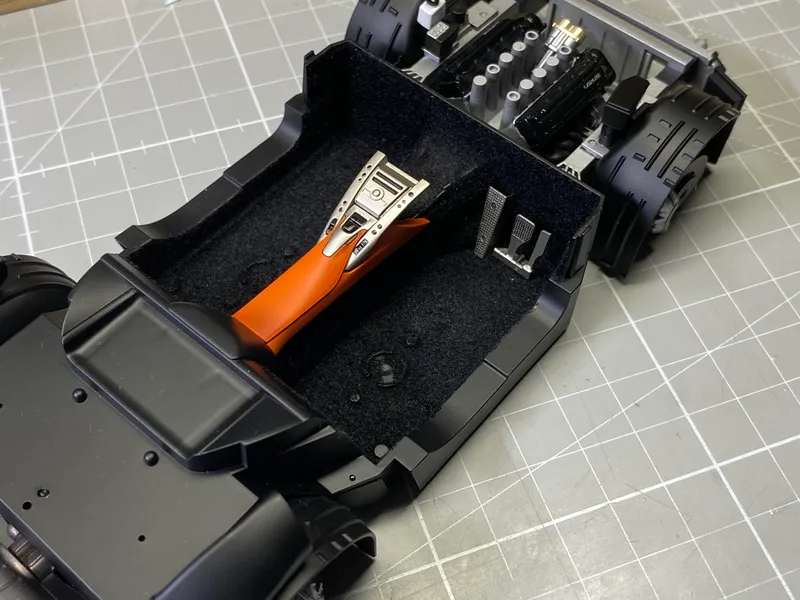
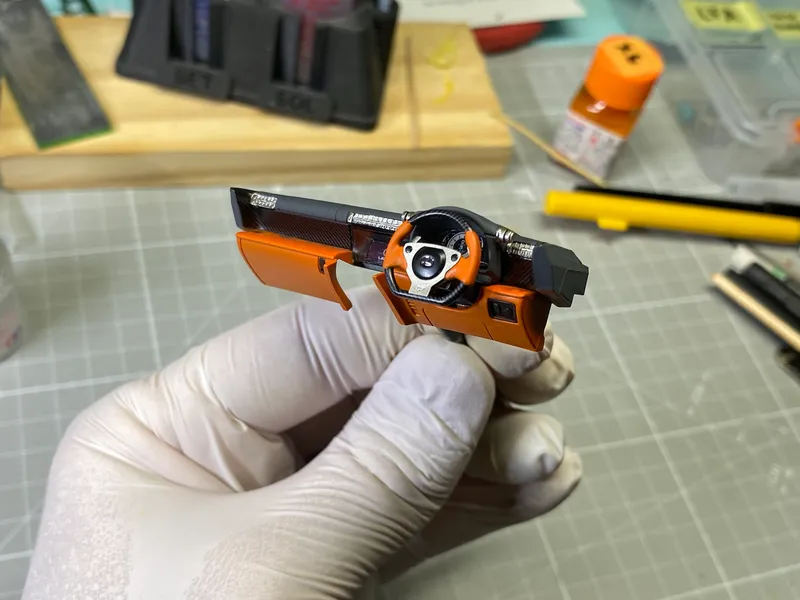
Finished working on the interior components.
00 Video overview of the dashboard.
01 Added seat belts to the seats.
02 Finished door panels.
03 Small parts ready for assembly.
04 Installed the center console.
05 Dashboard assembly completed. All carbon fiber inserts are my own additions.
06–08 Installed the dashboard.
95 days ago
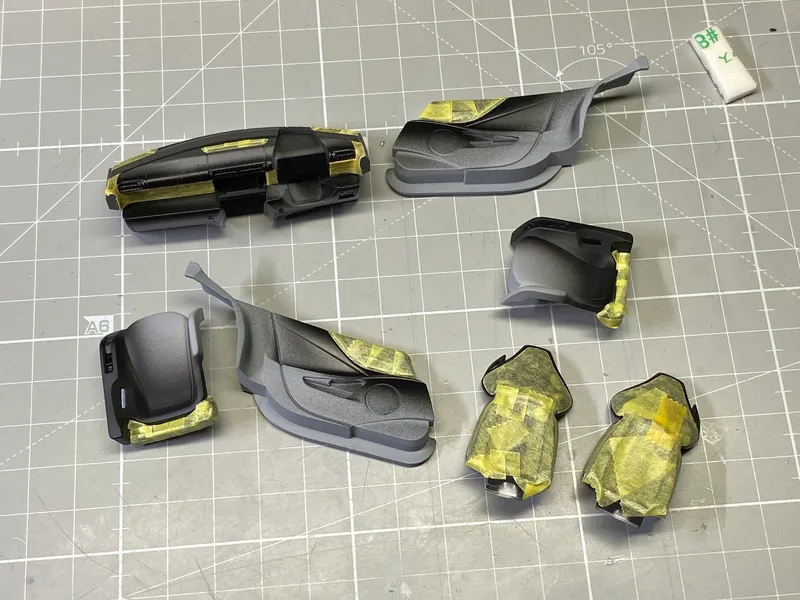
Still working on the interior parts. Lots of masking and painting at this stage.
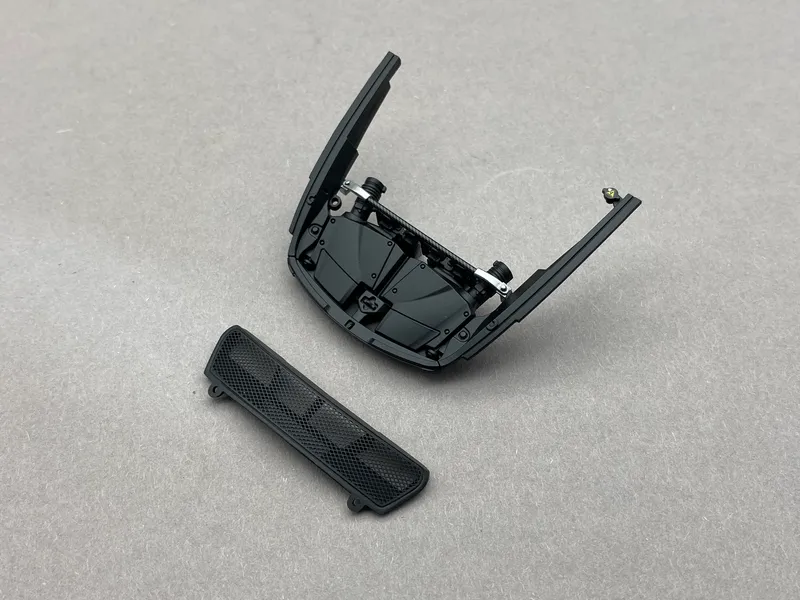
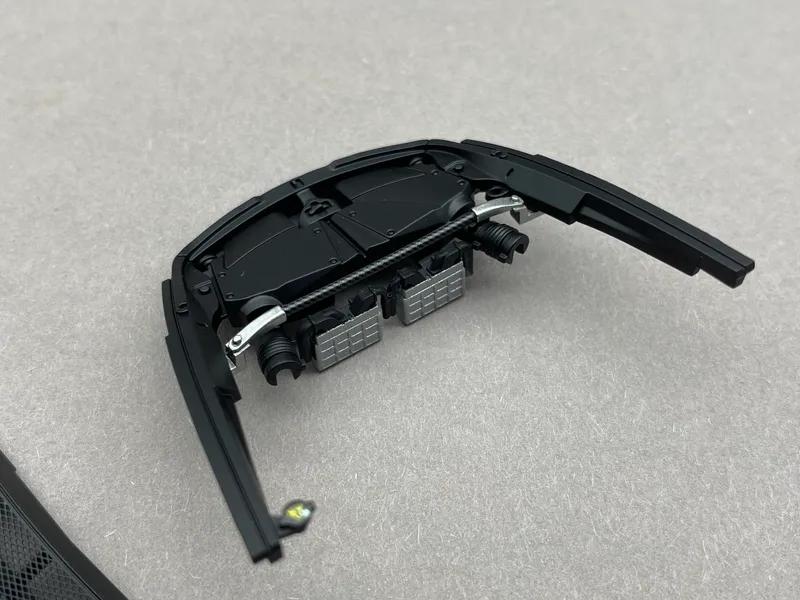
01–02 Finished parts of the engine bay.
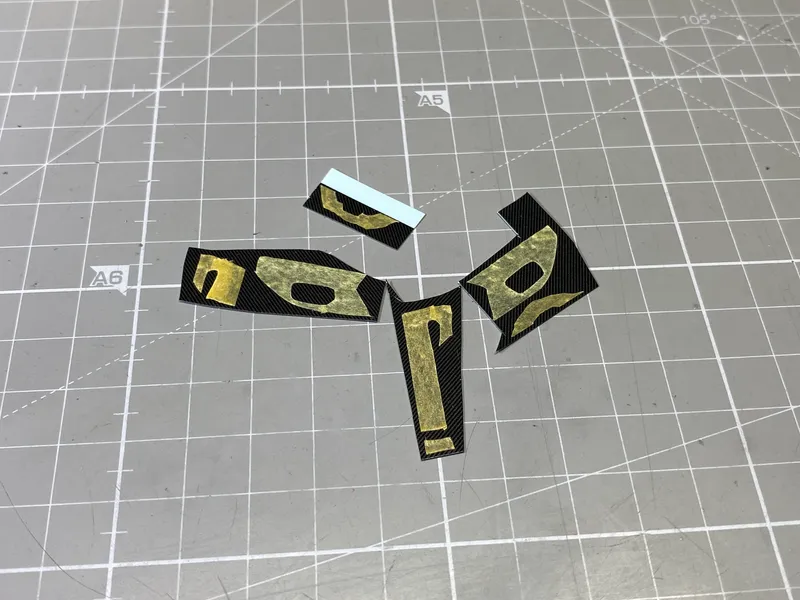
03 Templates for the carbon fiber inserts on the interior parts.
04 After applying the carbon fiber decals, I masked off some areas for further painting.
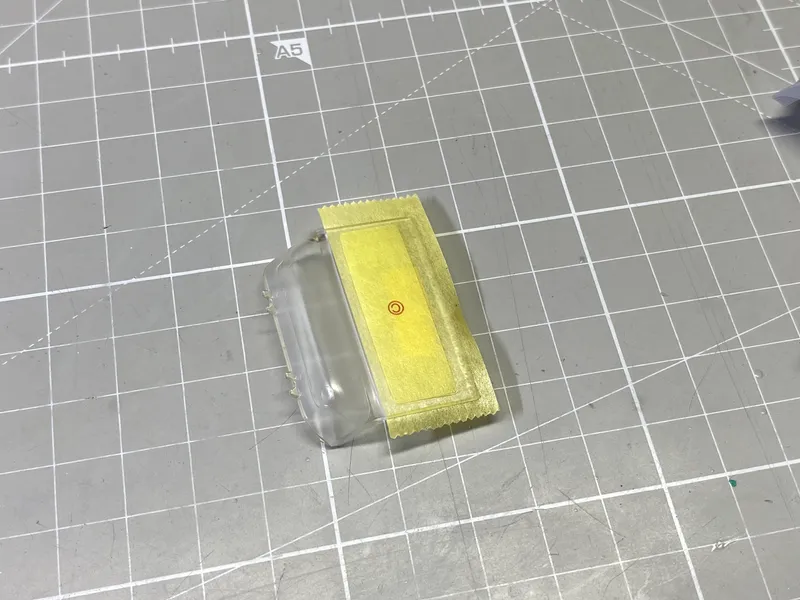
05 The rear window is ready for painting. The masking template included in the kit fits very precisely.
102 days ago
Moving on to the interior details.
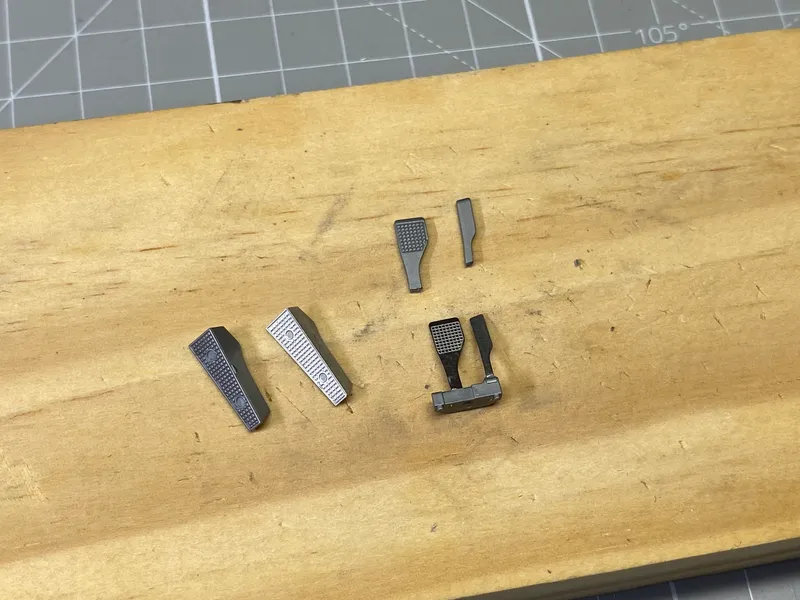
01 The pedal faces and footrest will be replaced with photo-etched parts.
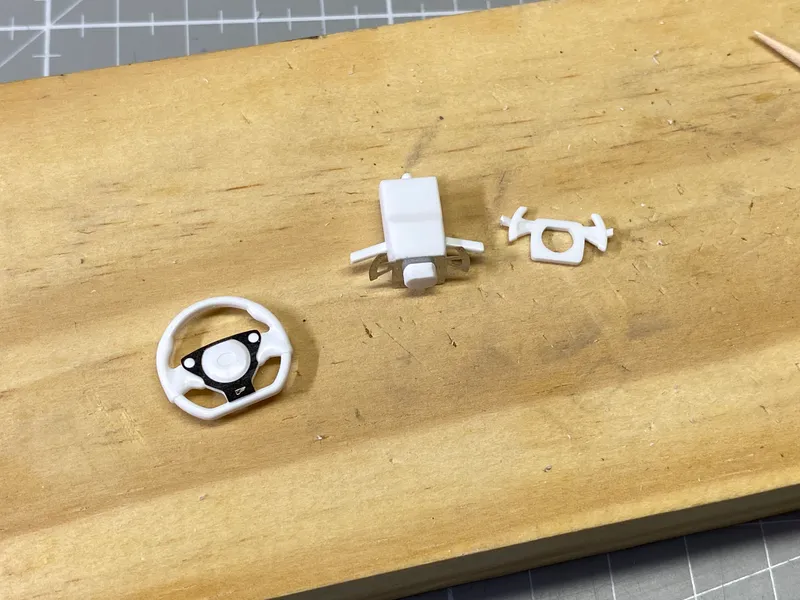
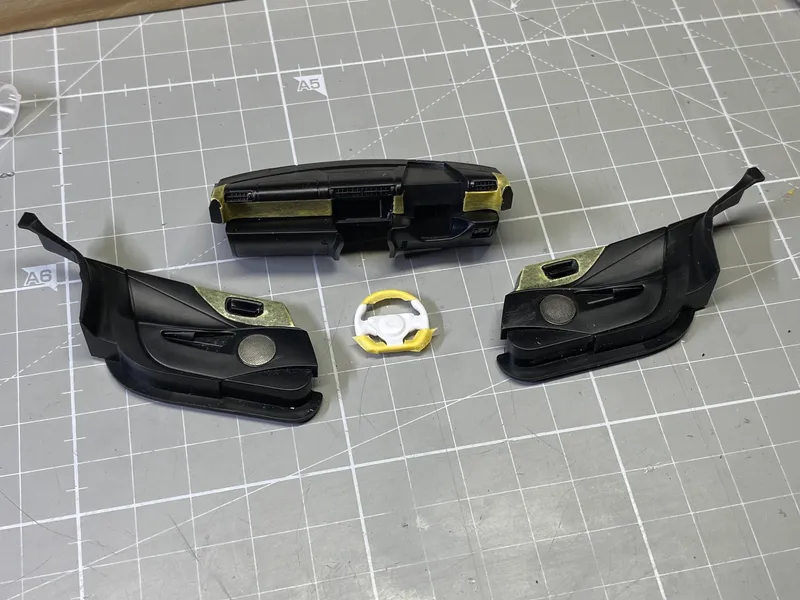
02 The steering wheel will also receive some additions, with several plastic details replaced by photo-etched parts.
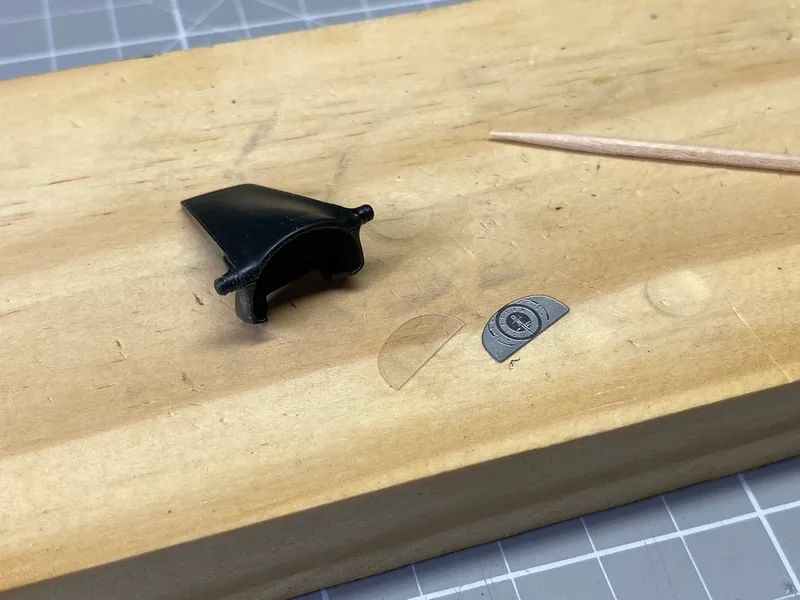
03 I made a clear lens for the tachometer from a transparent sheet.
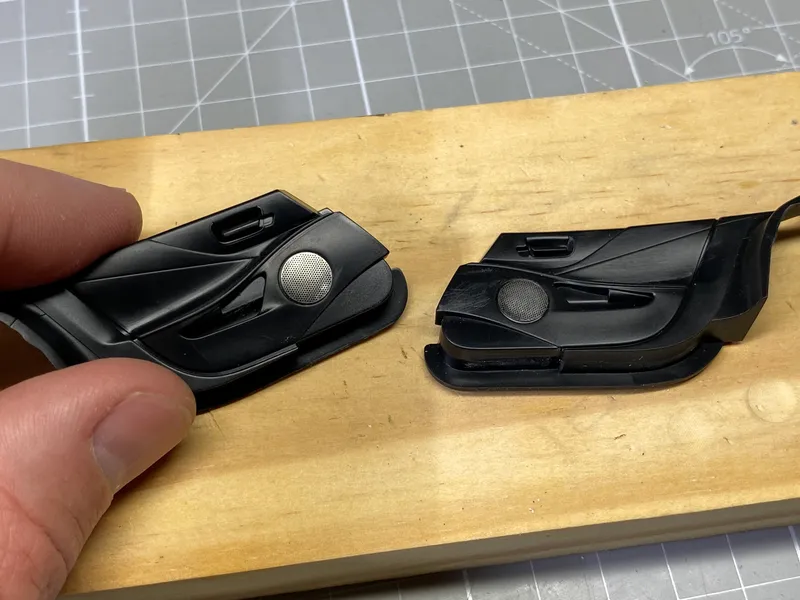
04 Attached the speaker meshes to the door panels.
05 I want to add carbon fiber inserts to some of the interior parts, so I made templates for them.
110 days ago
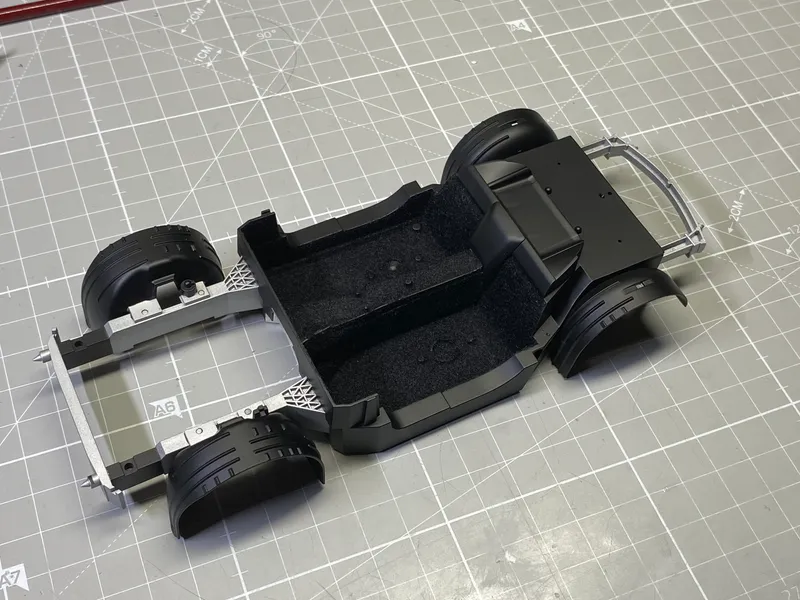
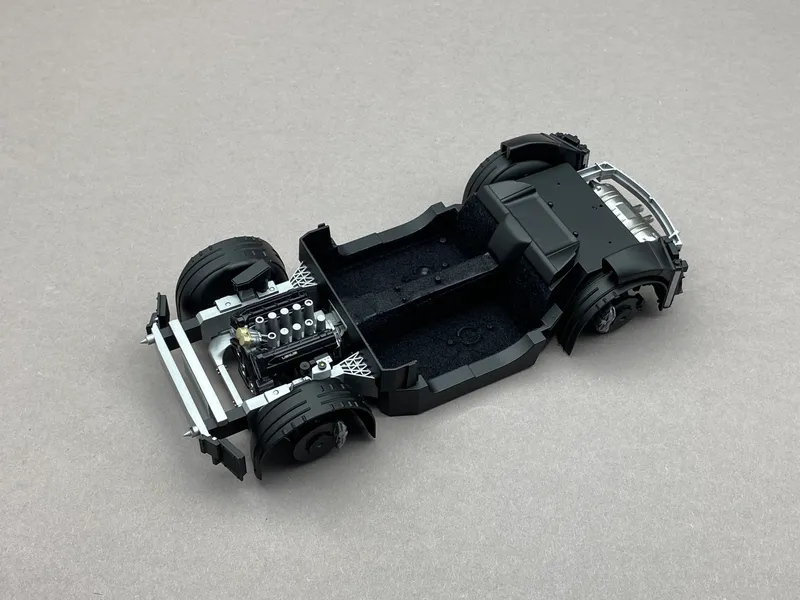
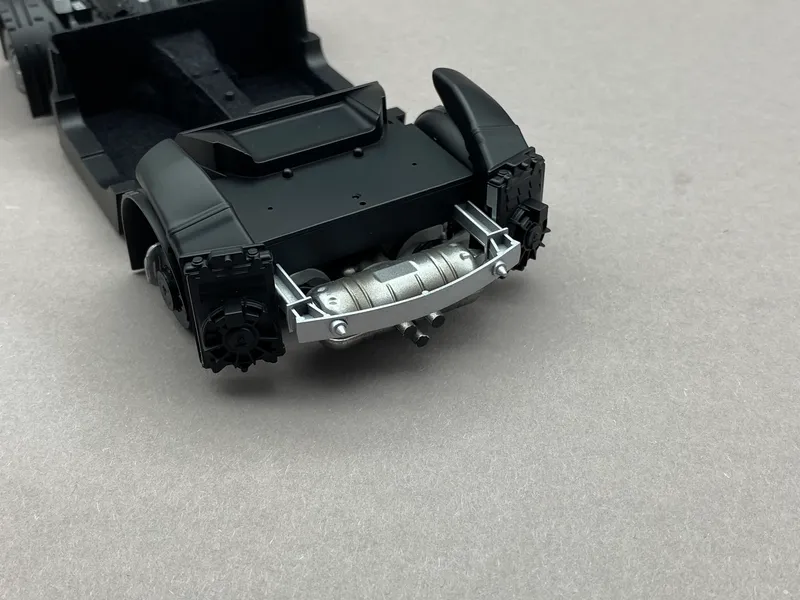
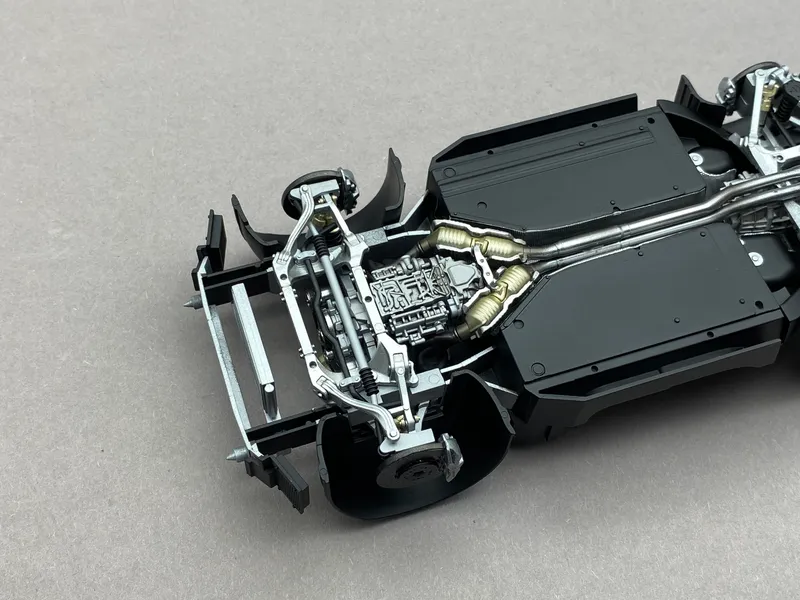
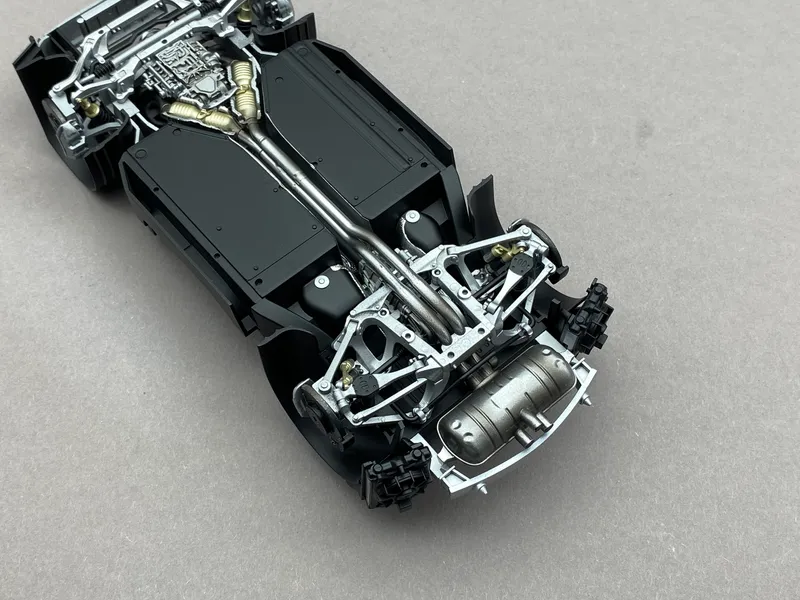
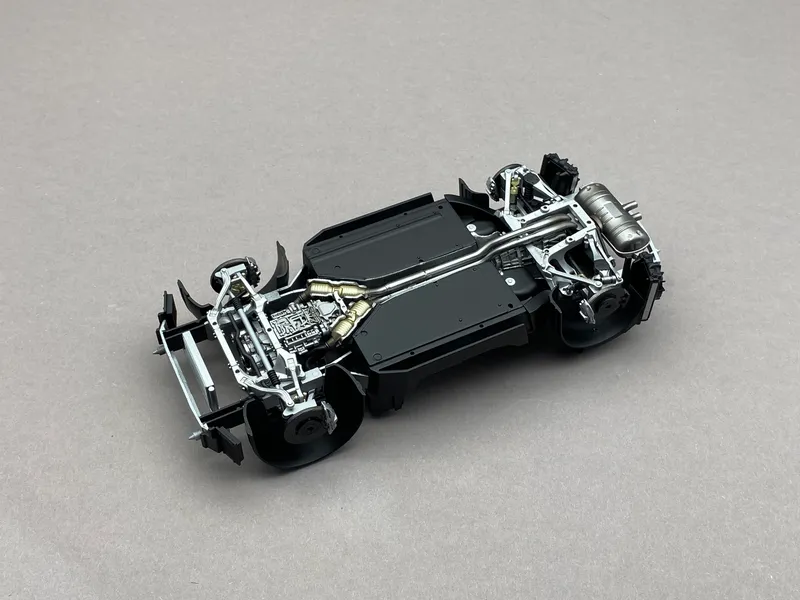
01 Current progress — the chassis assembled together with the monocoque.
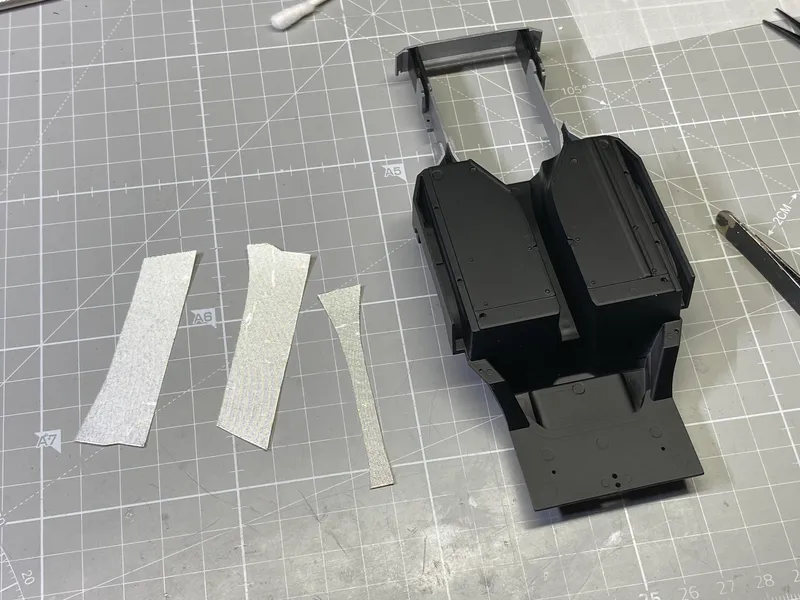
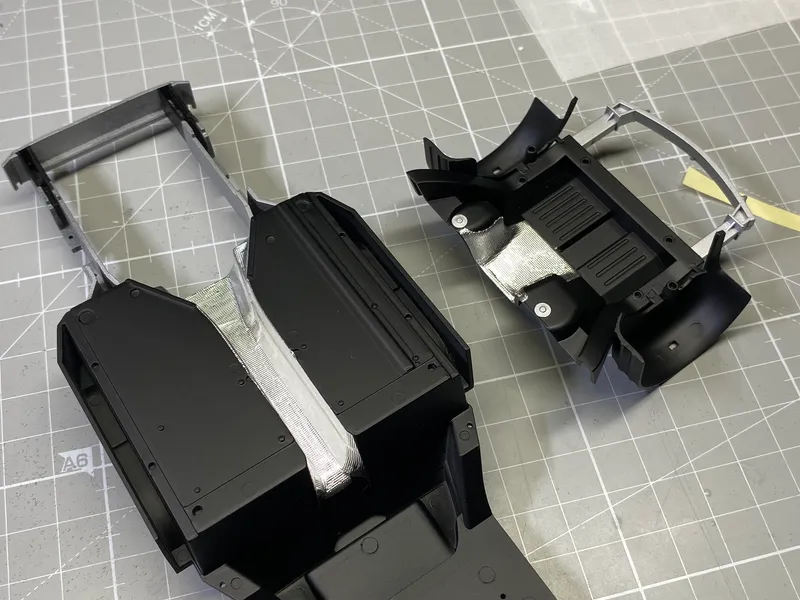
02 I made the heat shielding from self-adhesive foil, using templates prepared earlier.
03 The central tunnel will also be covered with heat shielding.
04 Result after applying the heat shielding.
05 Assembled the one-piece monocoque from two halves.
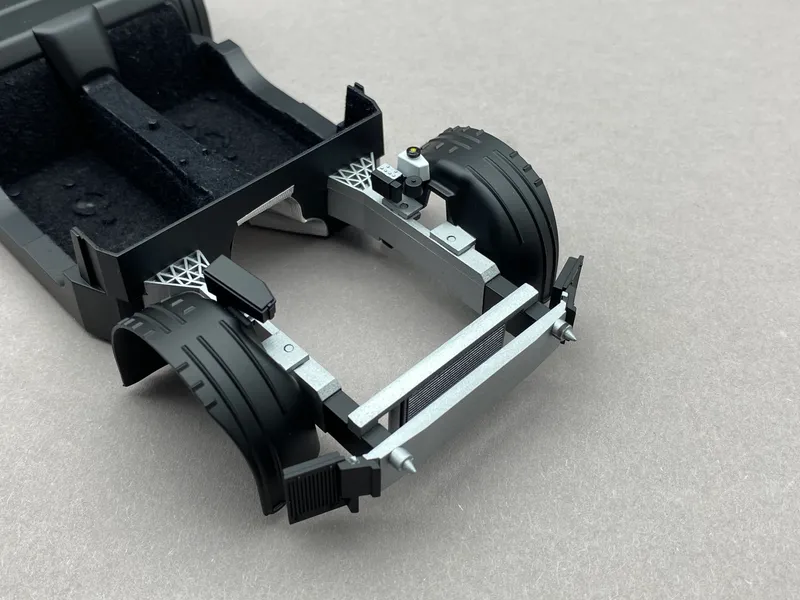
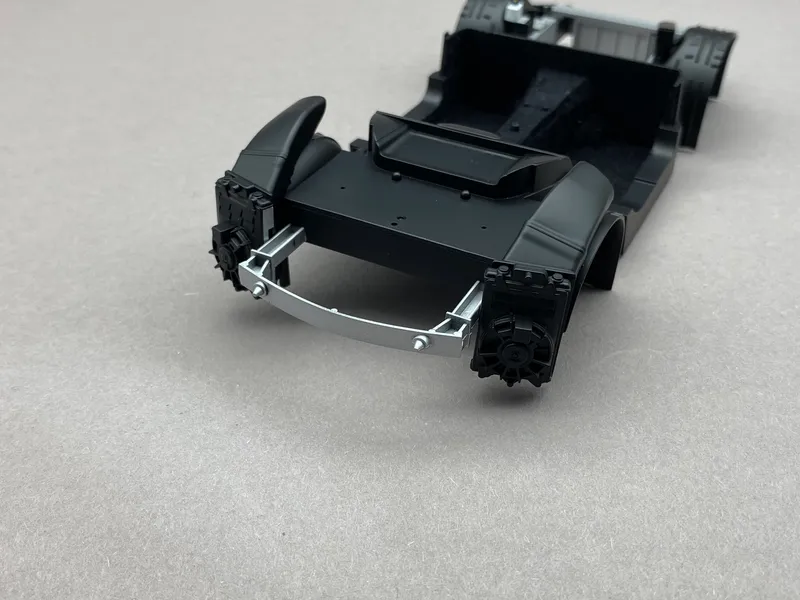
06–07 Assembled the cooling system components — radiator and related parts.
08–10 Chassis assembled together with the monocoque.