
3 hr ago
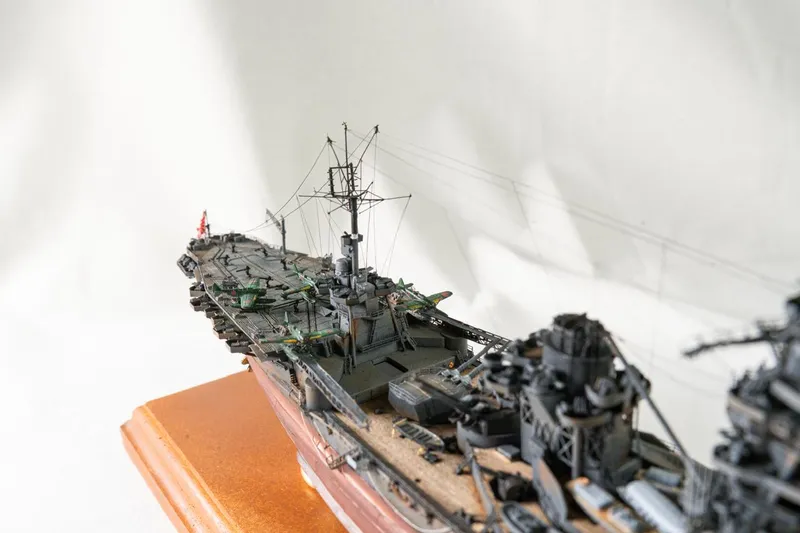
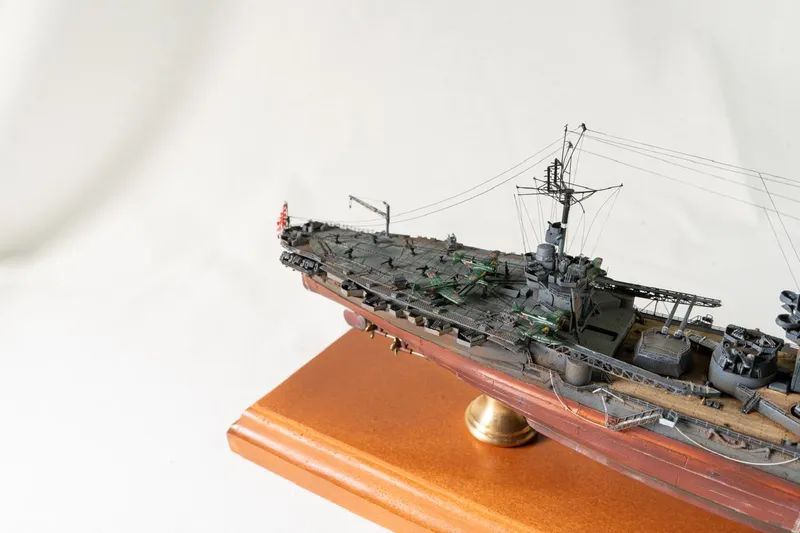
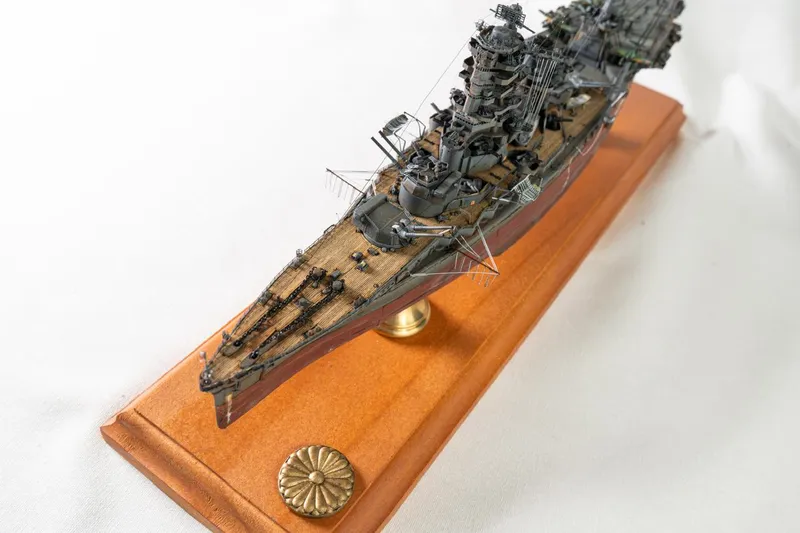
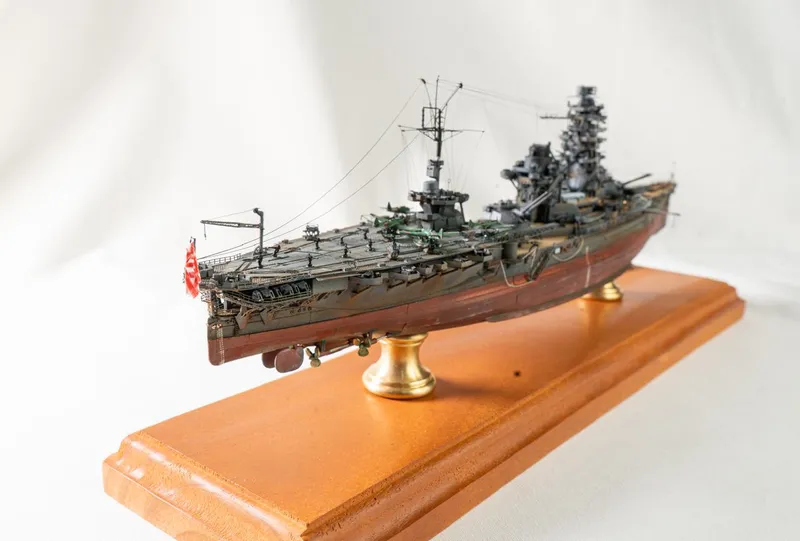
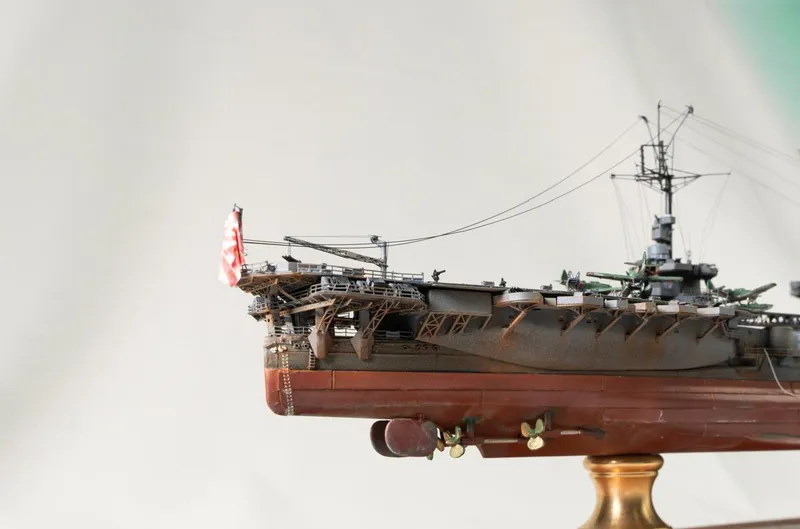
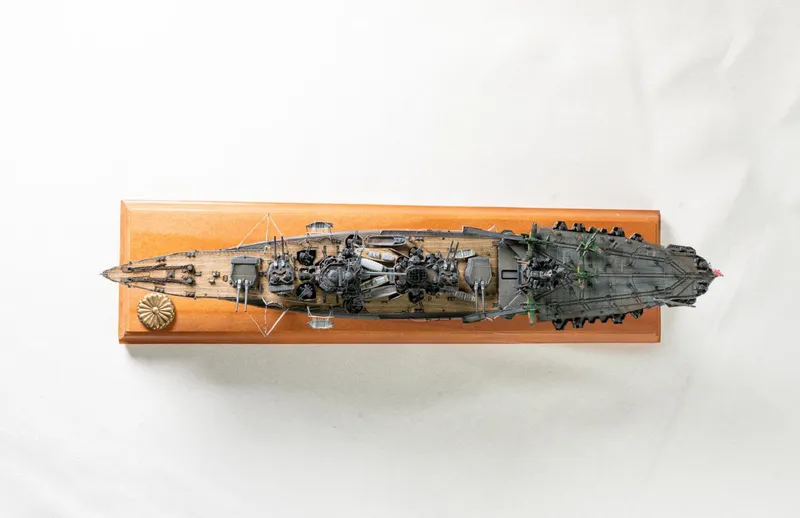
Fujimi 1/700 IJN Ise
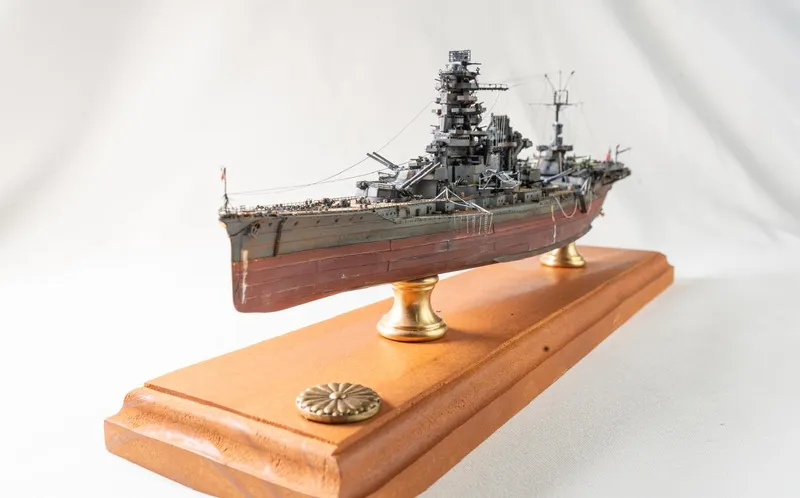
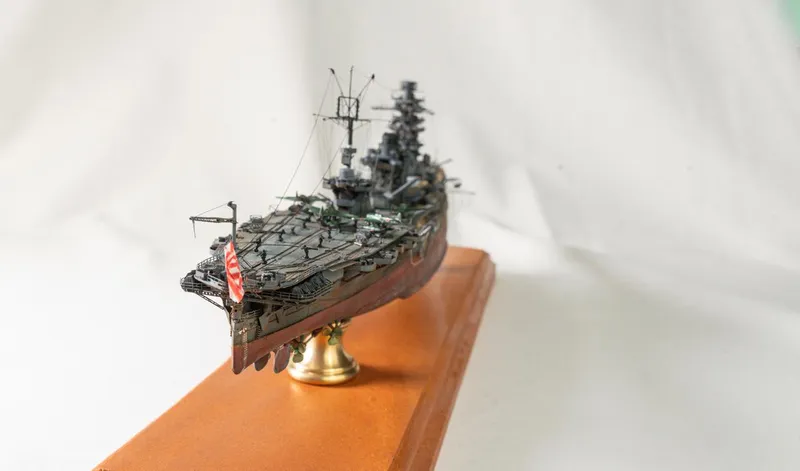
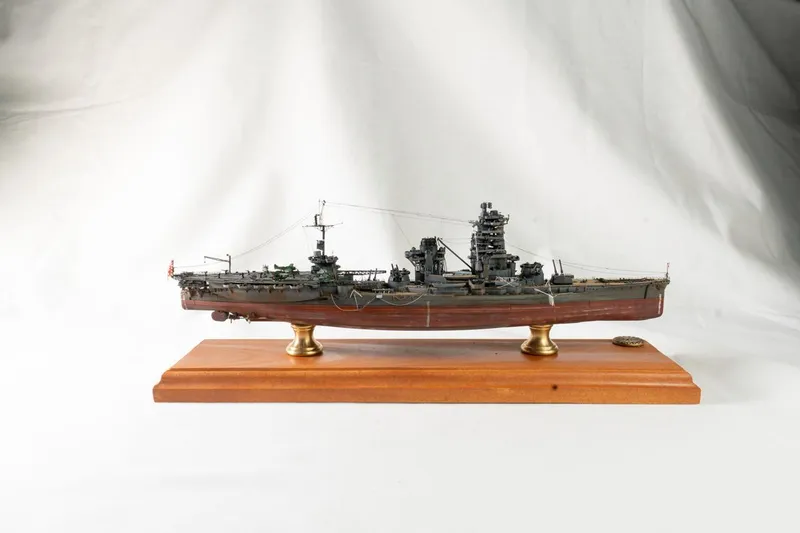
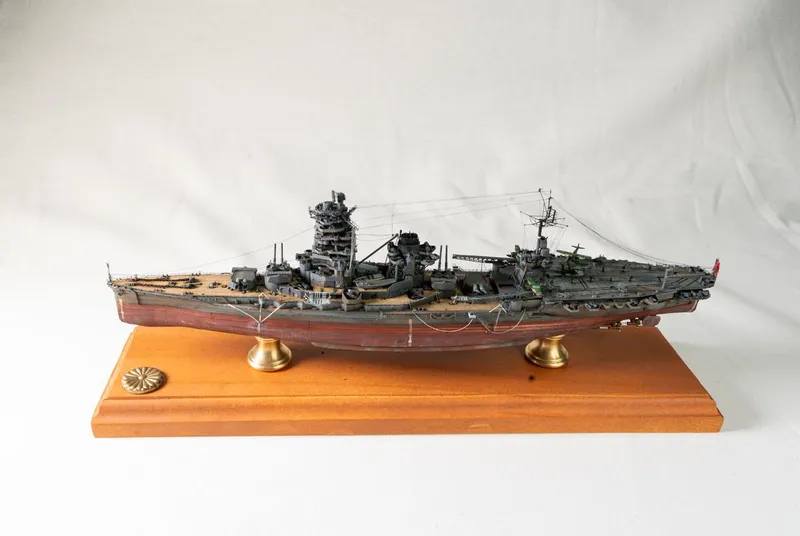
IJN Ise
After many months of work, the IJN Ise is finally finished and ready.
Here is a more professional photo session of the IJN Ise that I shared with you a few days ago, now presented as the final result.
This build has been a particularly enjoyable challenge. I tried to put as much attention as possible into the small details, while keeping the overall appearance coherent with the story I wanted the model to tell. From the hull plating and weathering to the aircraft, rigging, deck details and final presentation, every step was an opportunity to learn something new.
I also decided to keep the weathering relatively restrained on some elements, such as the Imperial chrysanthemum on the ship, which I wanted to remain well maintained and stand out from the more weathered surfaces around it.
The aircraft were painted rather than using the kit decals, and I added some wear to them as well, to make them visually consistent with a ship that had seen considerable operational use.
For the rigging, I also tried to reproduce the different degrees of tension found on the real ship. Some lines remain taut, while others have a natural sag caused by their own weight and the longer spans between attachment points.
Finally, the model was transferred to its presentation base, completing the setup.
A very special thanks to everyone who followed this build from the beginning, commented on the progress, shared advice, and took the time to follow each update. Your feedback and encouragement were a big part of keeping this project moving forward.
And now, after all the work, corrections, doubts and countless small details...
She is finally finished.
IJN Ise, 1944.
Thank you all for following along. 🇯🇵⚓


4 hr ago
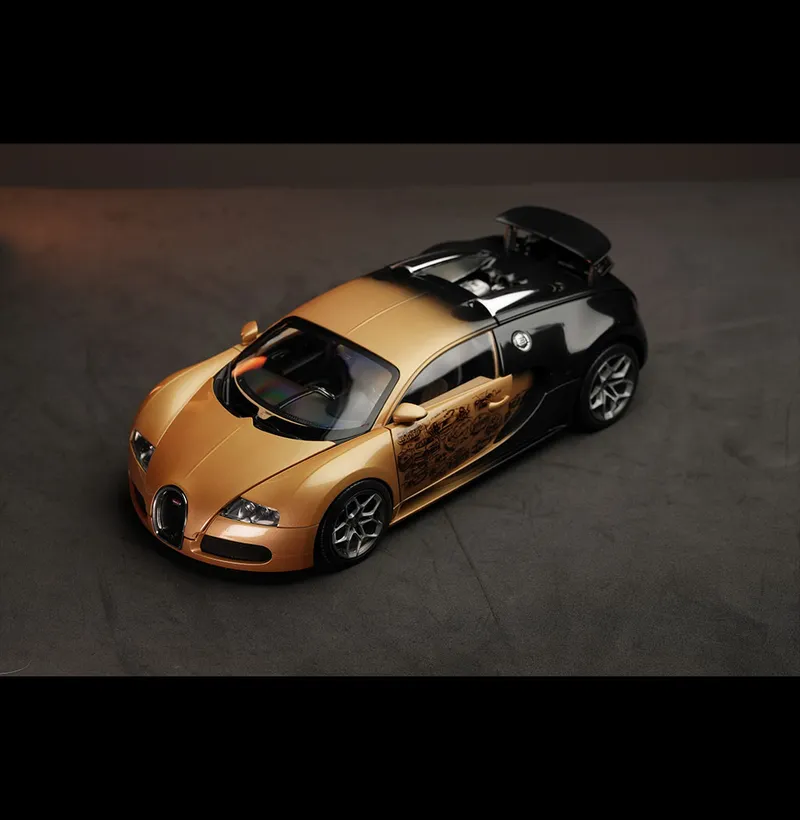
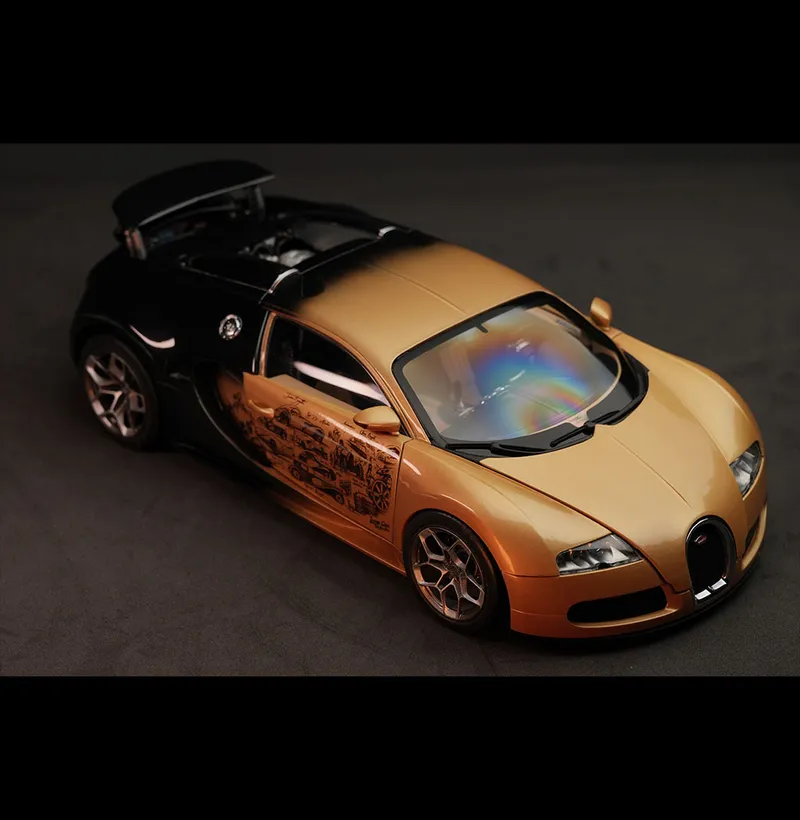
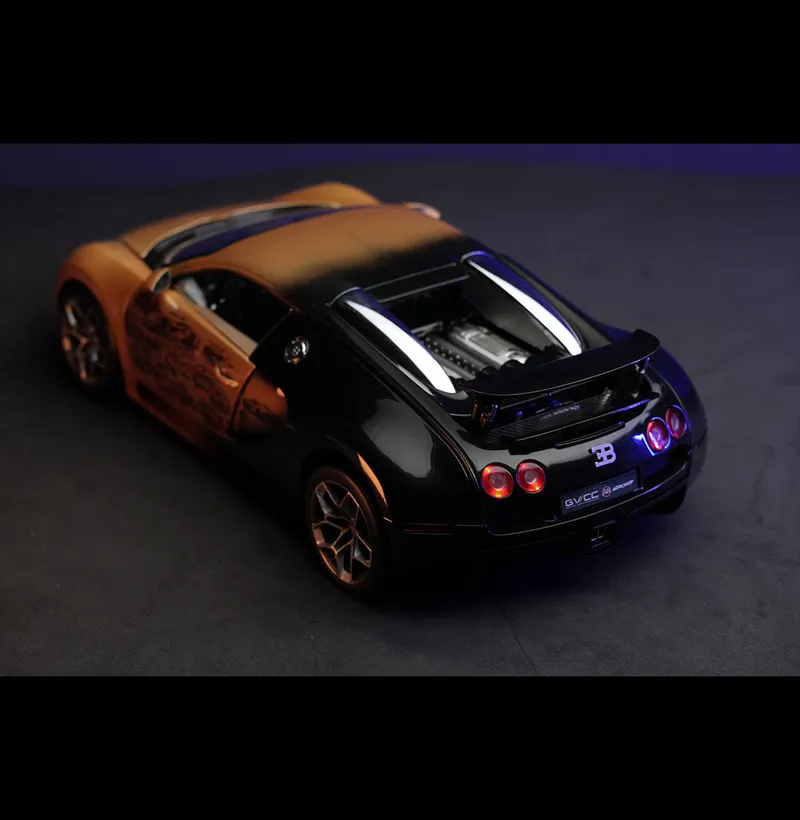
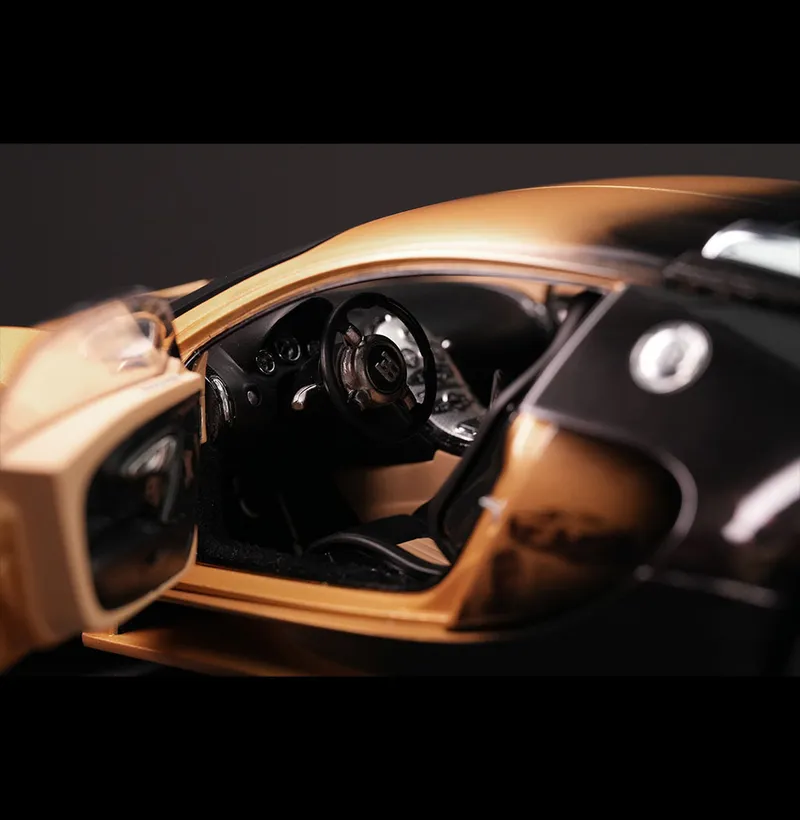
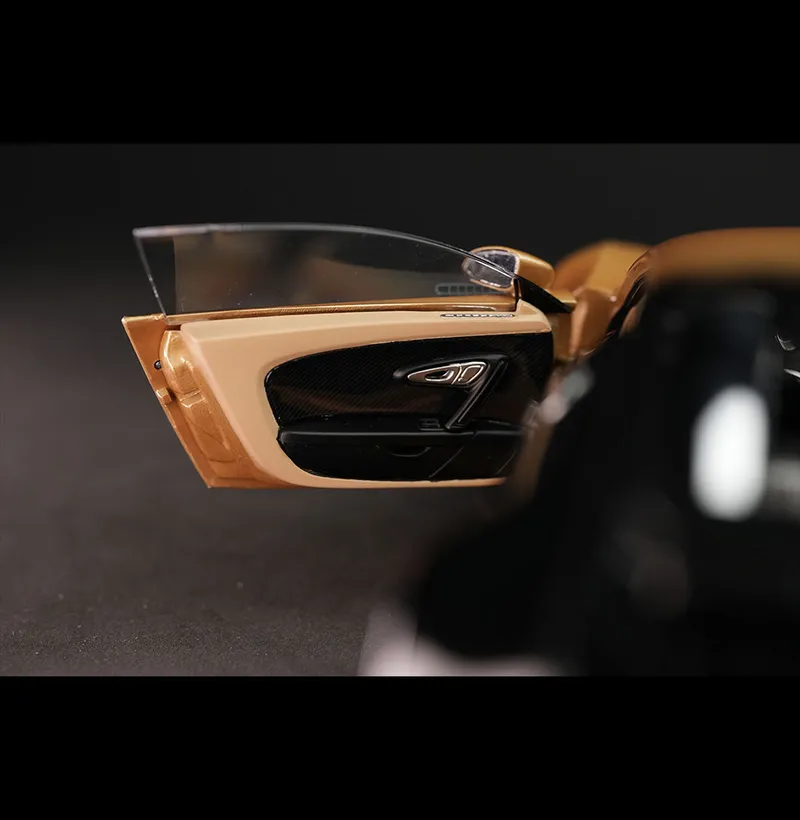
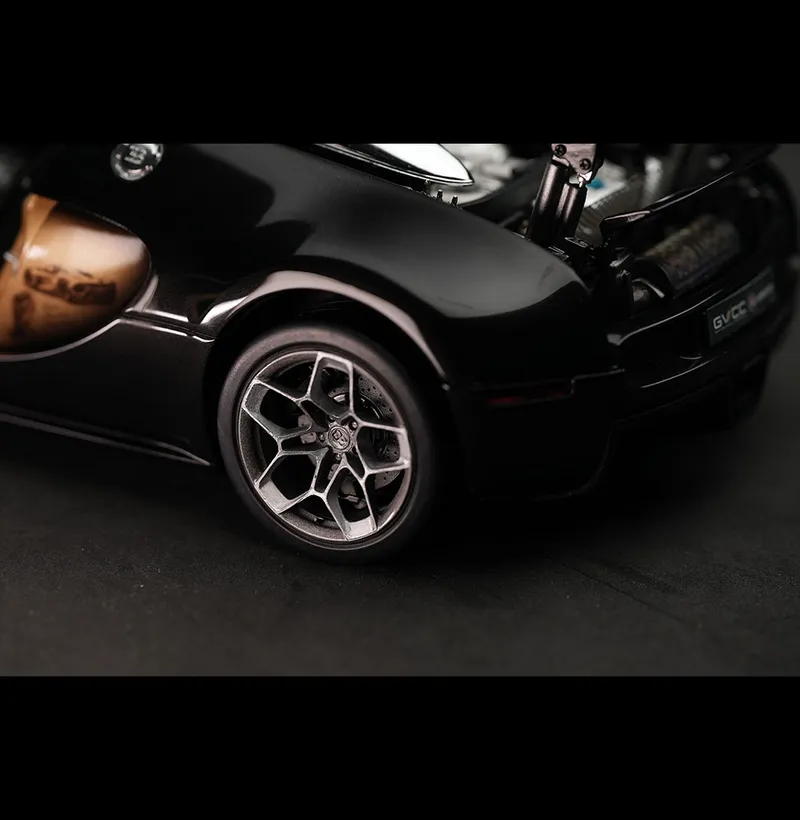
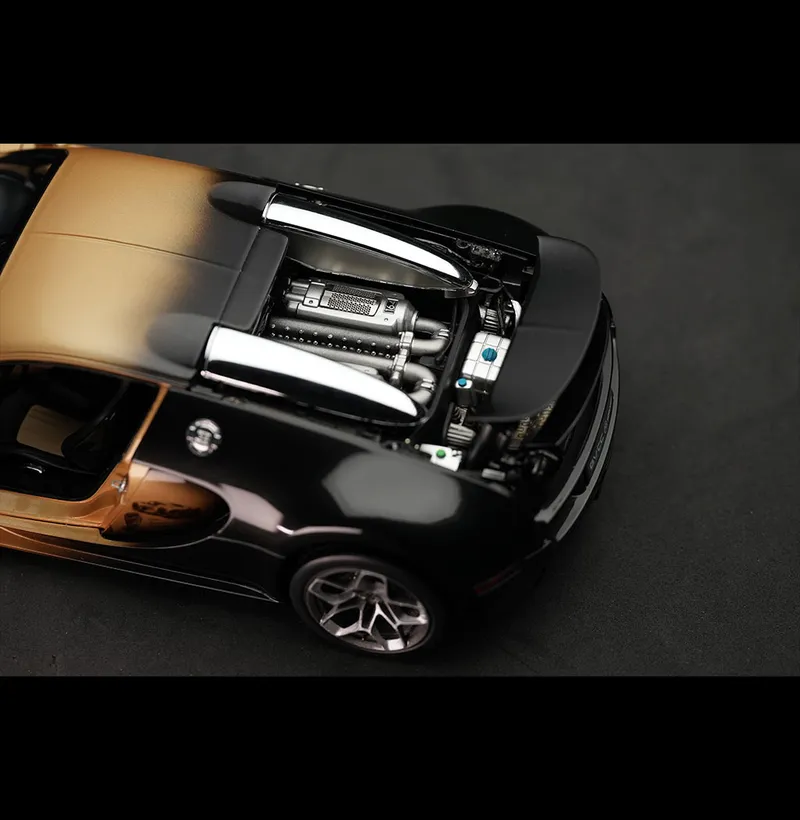
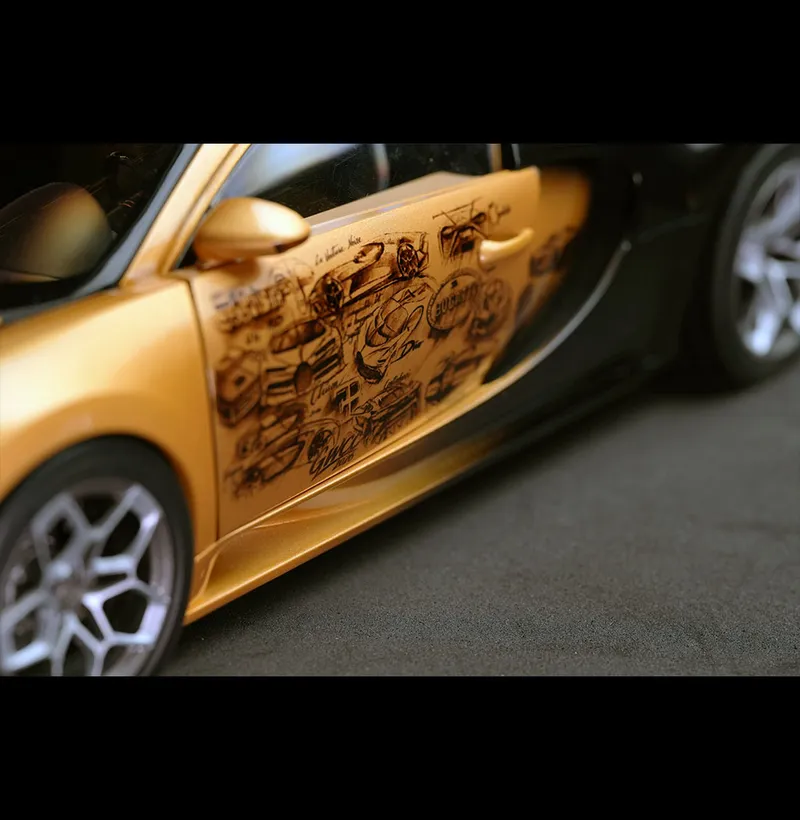
The Final Reveal | Bugatti Veyron | GWCC 2026
Four months of work. Countless challenges. One unforgettable project.
My one-of-one 1:18 AUTOart Bugatti Veyron is finally complete!
What started as a damaged model turned into the most ambitious restoration and customization project I've ever taken on.
A custom 3D-printed W16 engine, Bugatti Tourbillon wheels, restored and polished suspension components, a custom lighting system, a removable engine cover, and dozens of other details brought this Bugatti back to life.
Not everything went according to plan. There were mistakes, unexpected problems, and quite a few sleepless nights. But every challenge taught me something new, and I'm really happy with how the project turned out.
A huge thank you to everyone who followed my progress, left comments, and supported me throughout these four months. Your encouragement really meant a lot!
I'd also like to thank the GWCC organizers for making this competition possible and all the other participants for sharing their incredible projects. It's been a pleasure to be part of it.
The GWCC 2026 voting will be starting soon, and I hope I can count on your support! ❤️
Whatever happens in the competition, I'm grateful for everything I've learned and for all the support I've received along the way.
Thank you for being part of this journey!
42 min ago
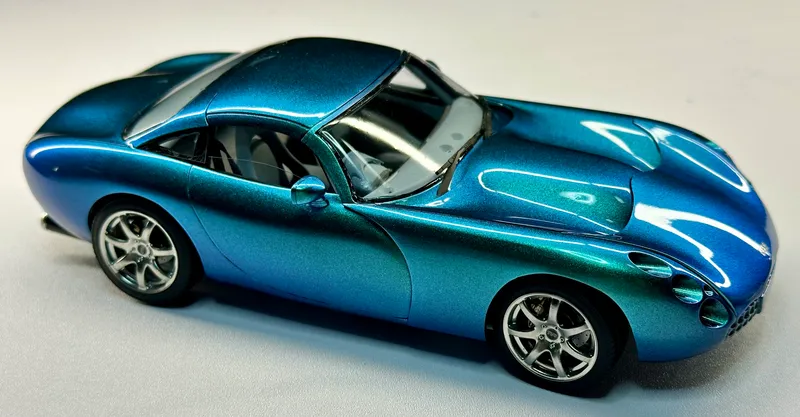
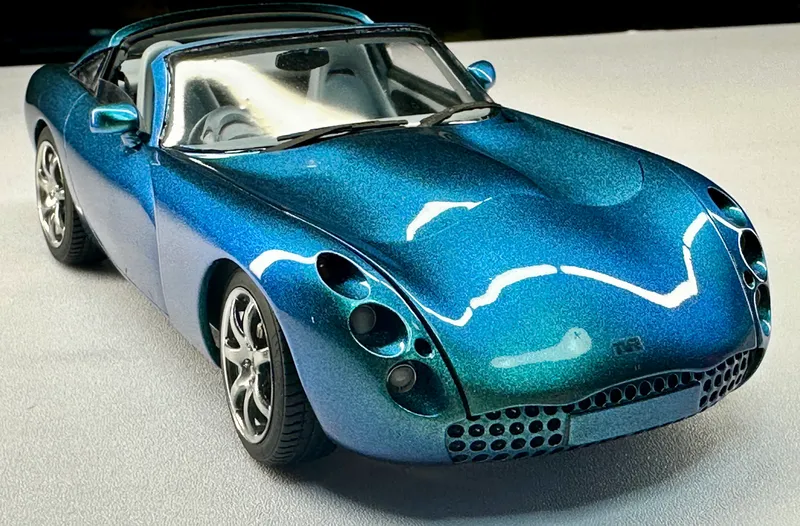
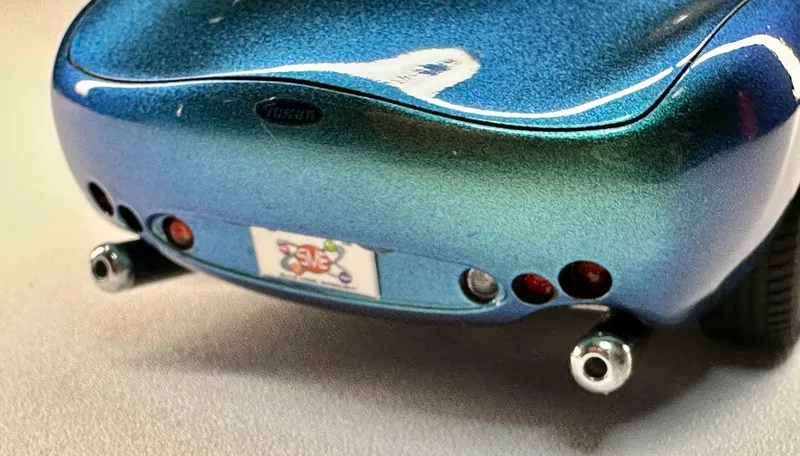
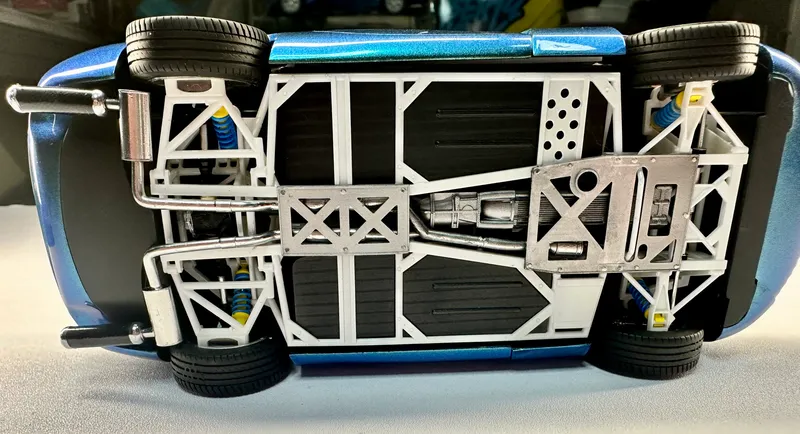
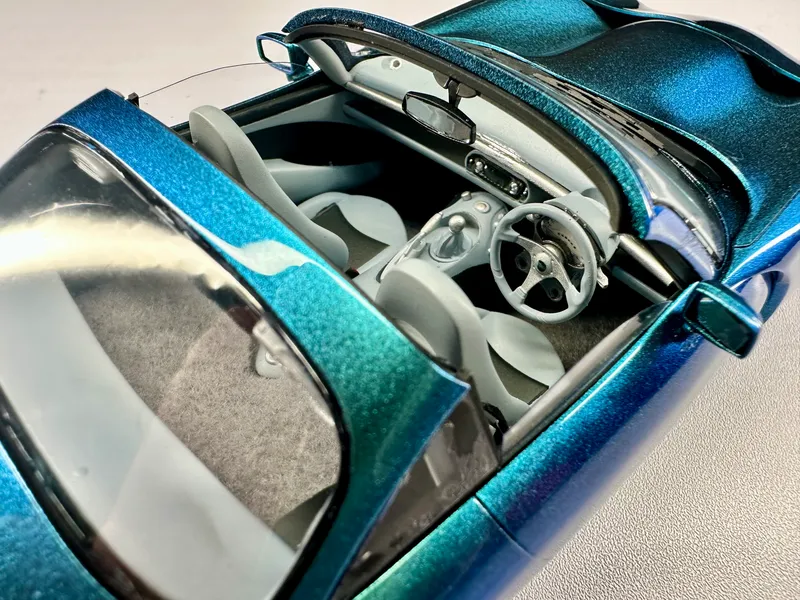
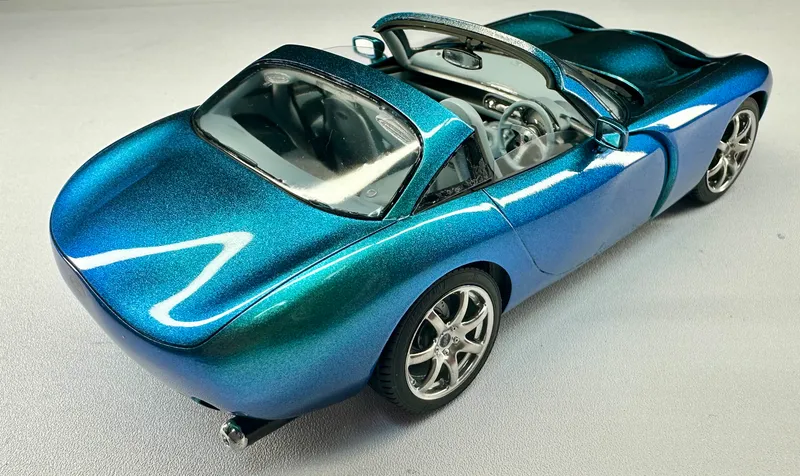
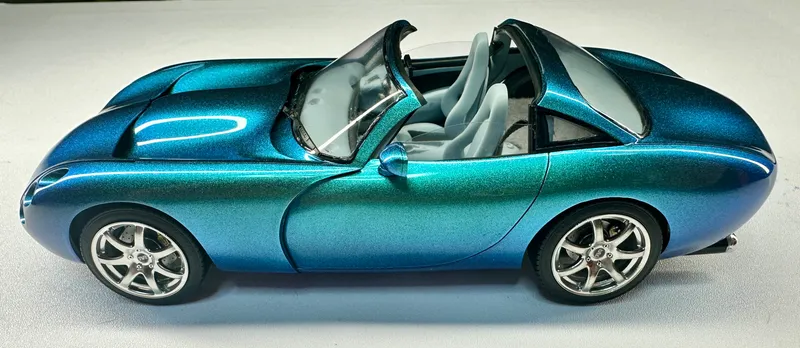
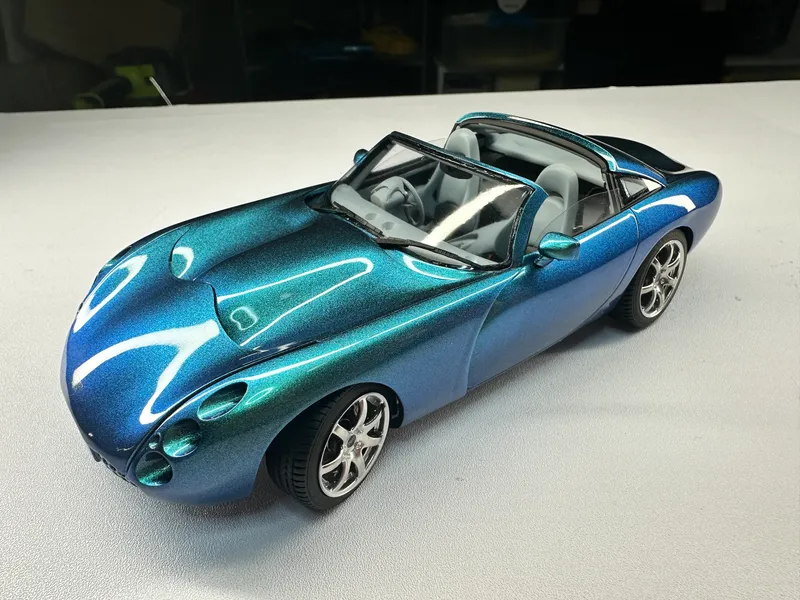
Final finish photos
This project was made 100% from resin printed parts designed by MMLabs and printed by myself with my Elegoo Saturn 4 Ultra printer. All parts were thoroughly prepped and test fit before primer. The finish is a blue to green chameleon color that changes by whatever angle you look at it. I tried my best to bring something unique and clean to the competition. I used Gaahleri airbrushes for the entire project.
5 hr ago
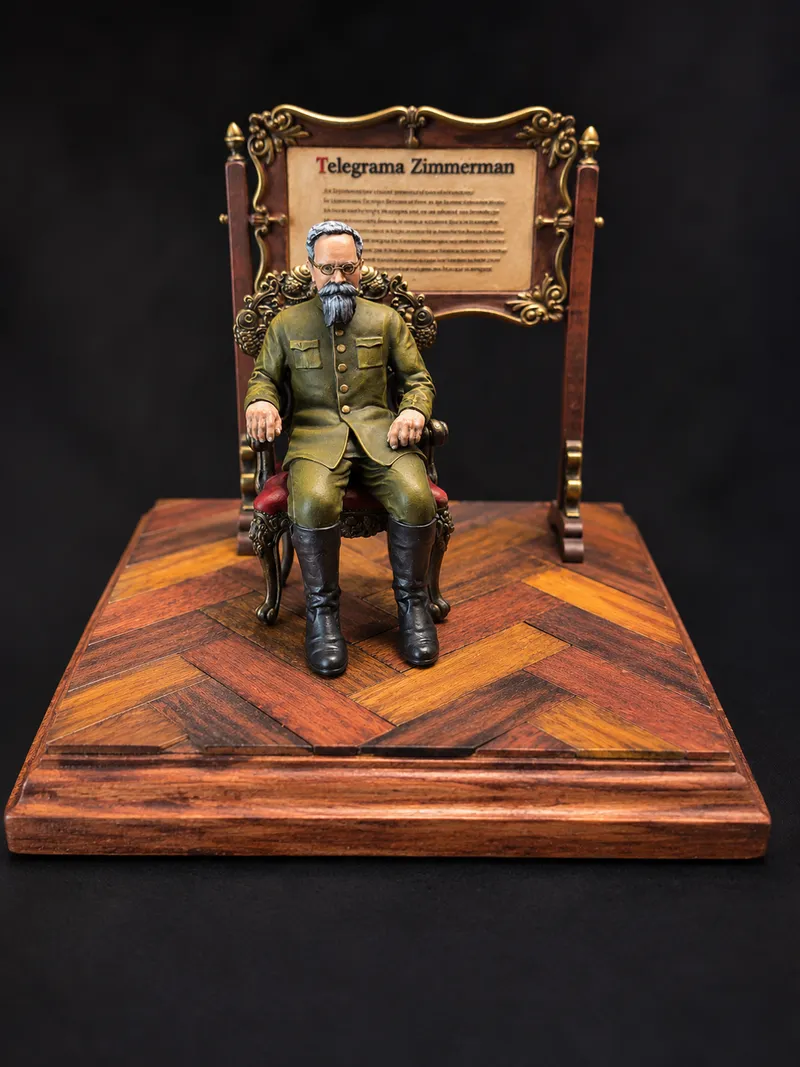
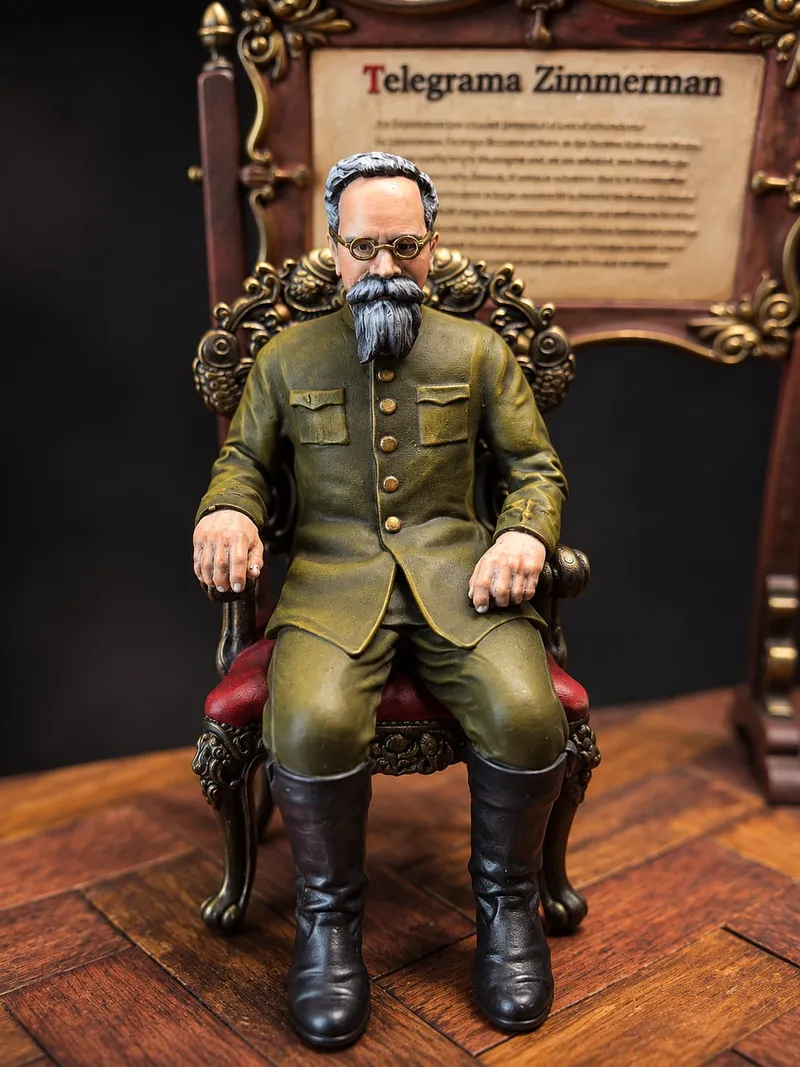
Venustiano Carranza — The Zimmermann Telegram
A historical miniature portraying Venustiano Carranza, President of Mexico during a pivotal period of the Mexican Revolution and World War I. The composition references the Zimmermann Telegram of 1917, combining historical storytelling with detailed miniature painting. Special attention was given to the facial expression, military uniform, leather boots, and the handcrafted herringbone wooden floor, created piece by piece to evoke the atmosphere of the period. The aim was to bring history to life through realistic textures, subtle weathering, and a carefully composed historical scene. Hand-painted and presented by Red Sand Brushworks, Mexico.
4 hr ago
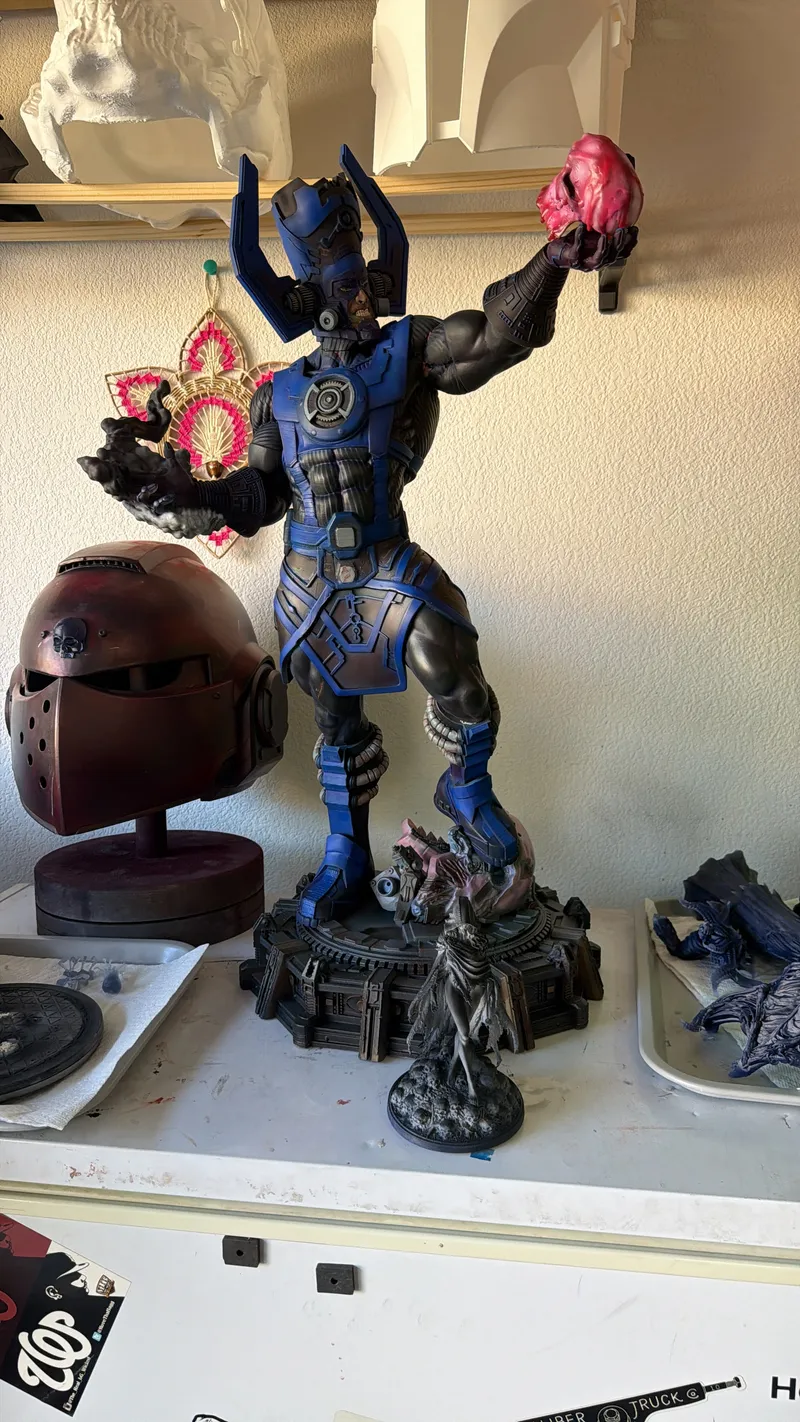
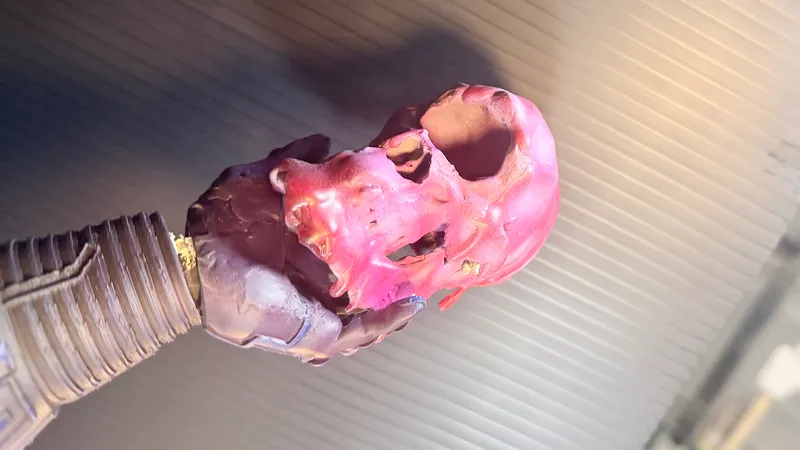
Galactus the infected
This is my final submission. I have learn a lot from this project from begging to end . I have learn that post processing is as important as the finish project. I learn that managing time is an important as presentation .
5 hr ago
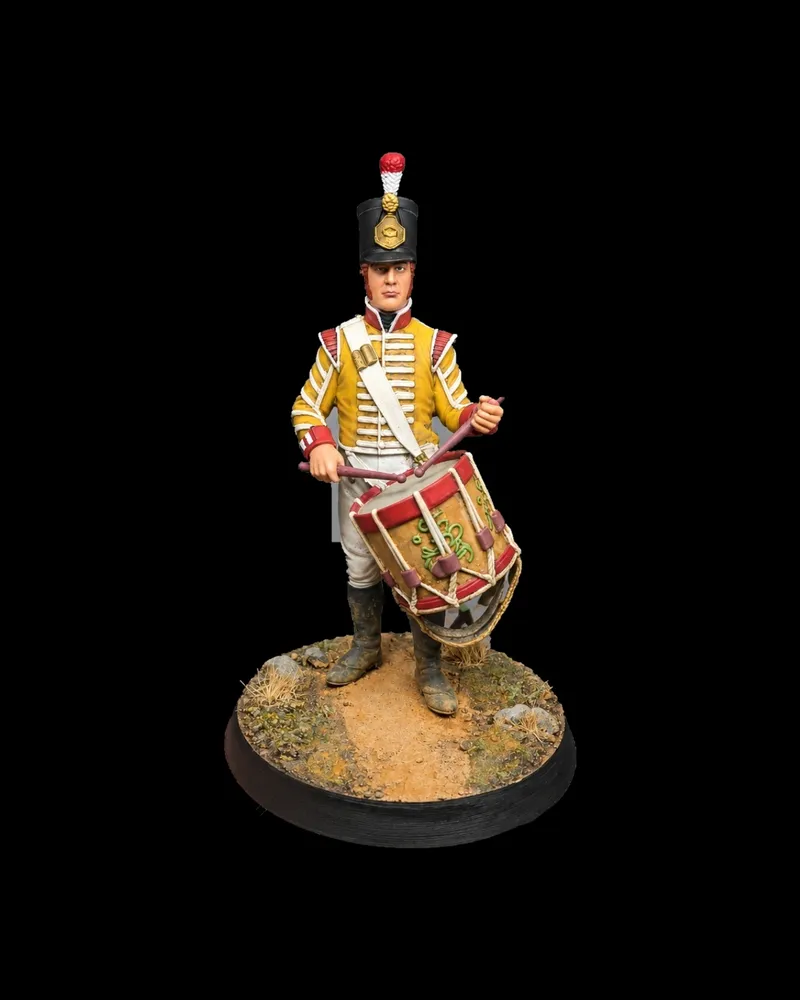
The Imperial Drummer — Napoleonic Era
A Napoleonic drummer brought to life through historical miniature painting. The focus of this piece is on the vibrant uniform, carefully defined details, realistic fabric textures, and subtle weathering. Special attention was given to the drum, metallic elements, and facial expression, aiming to capture the character and atmosphere of the Napoleonic era. Hand-painted by Red Sand Brushworks, Mexico.
5 hr ago
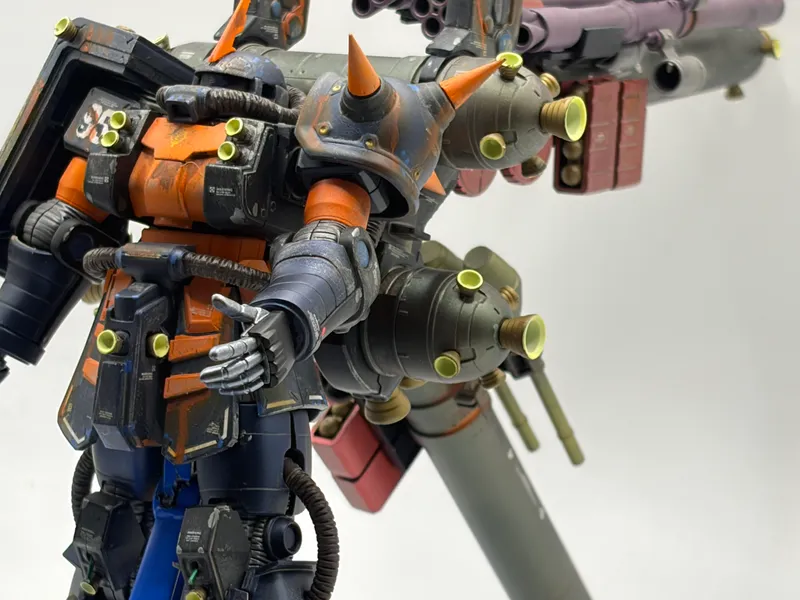
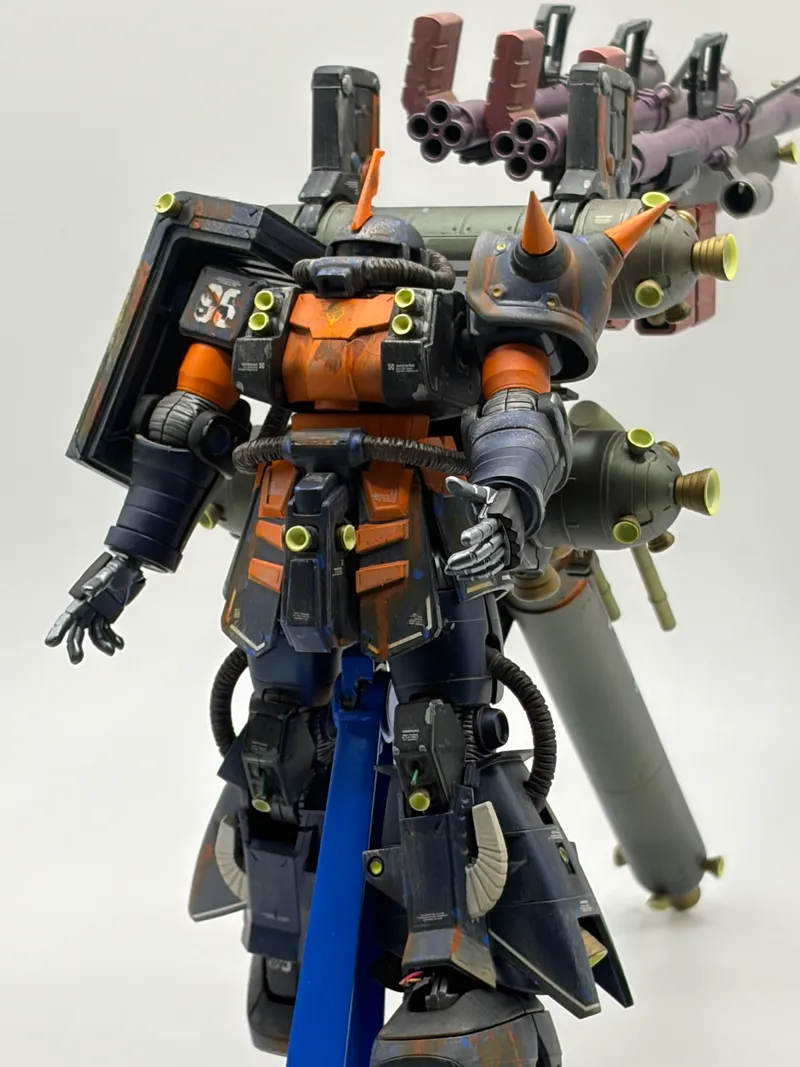
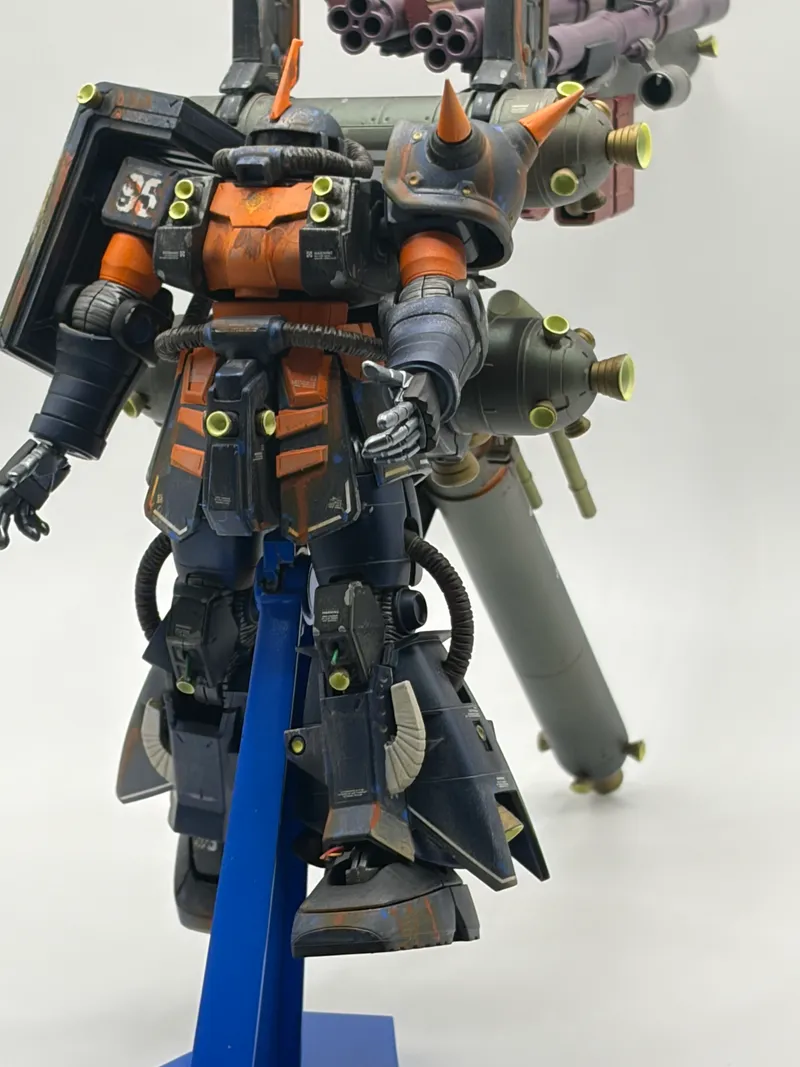
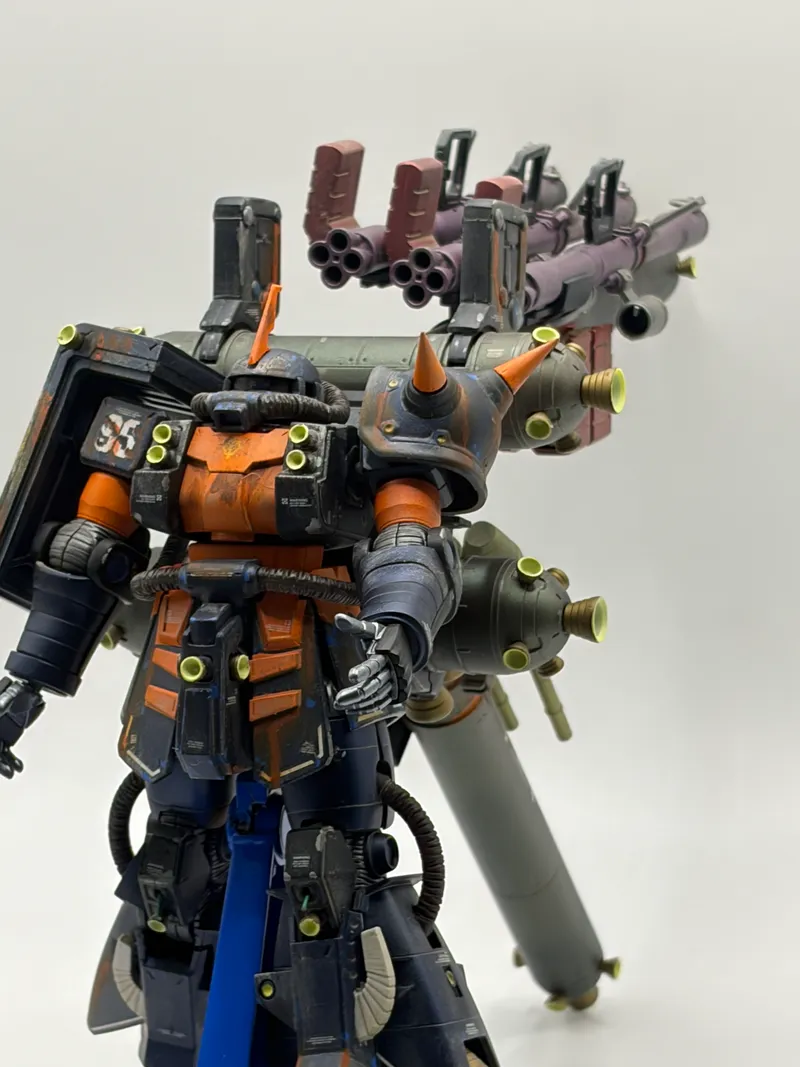
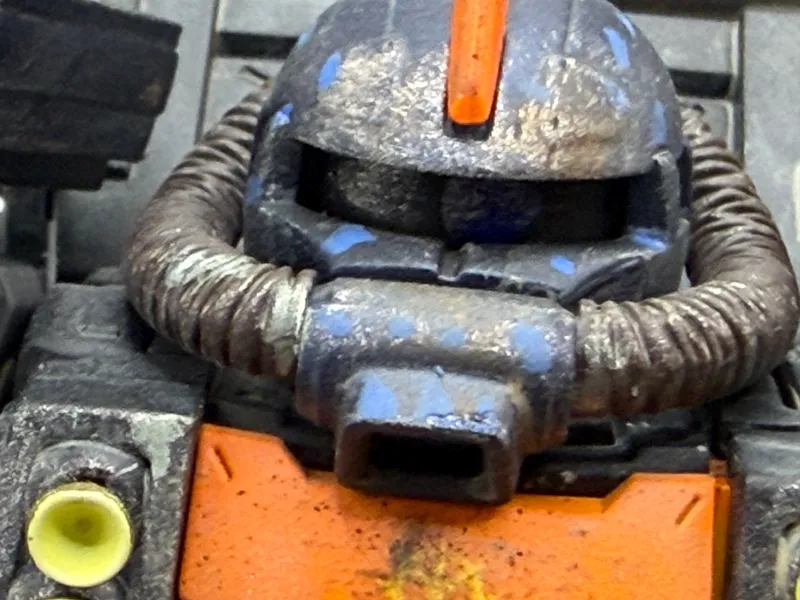
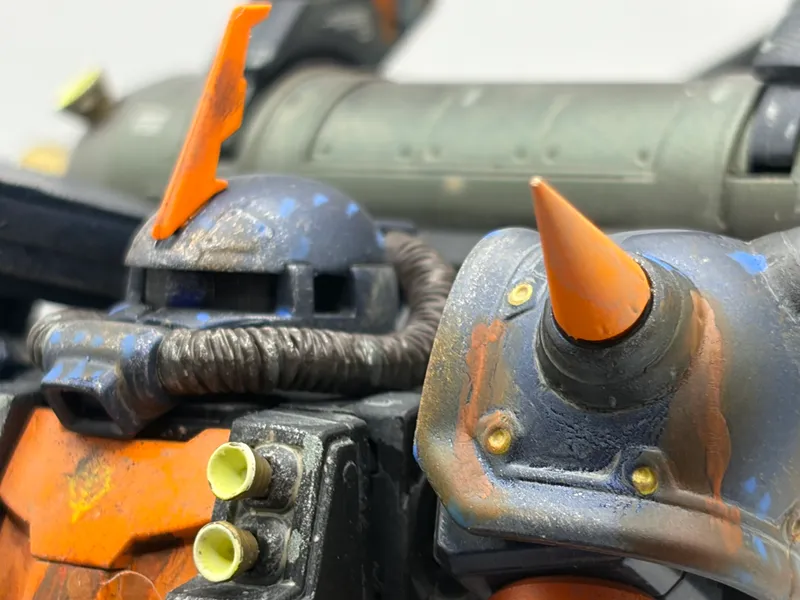
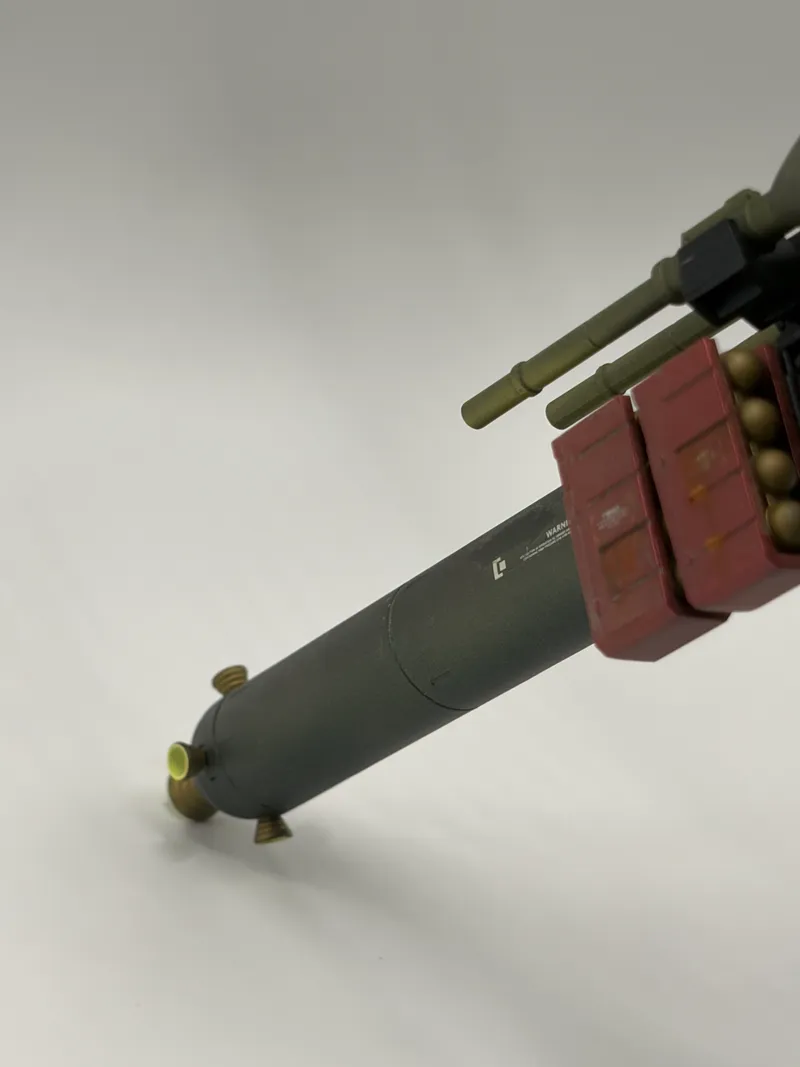
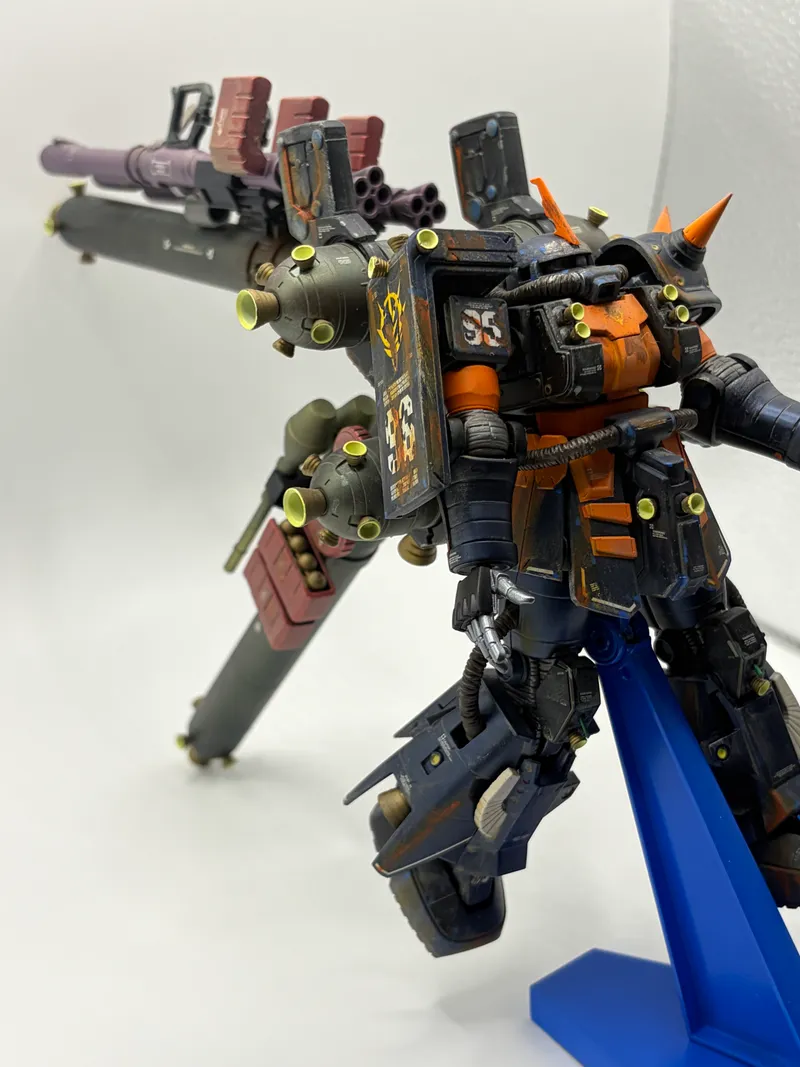
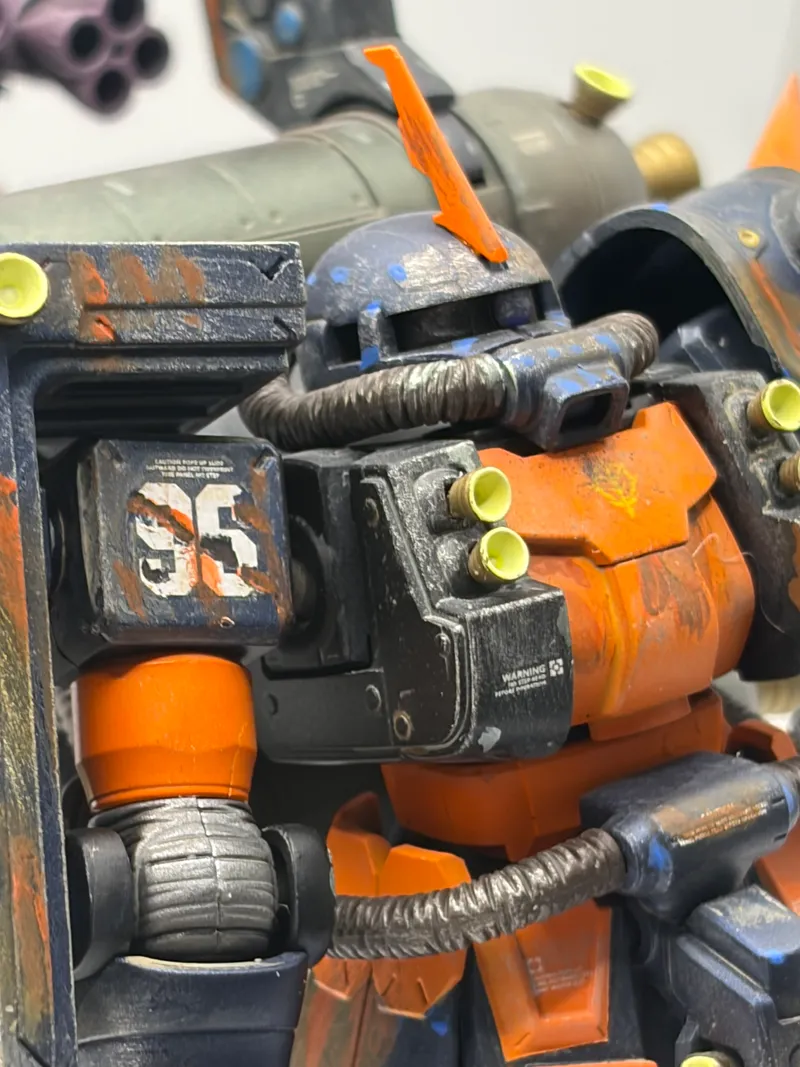
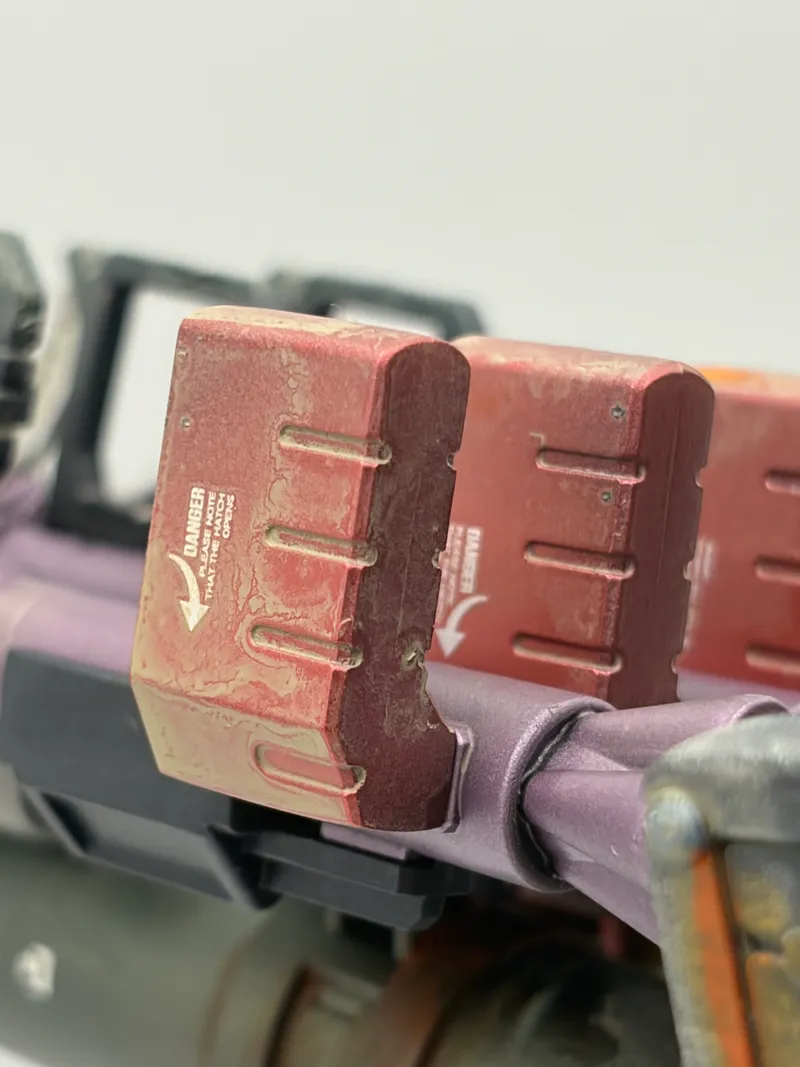
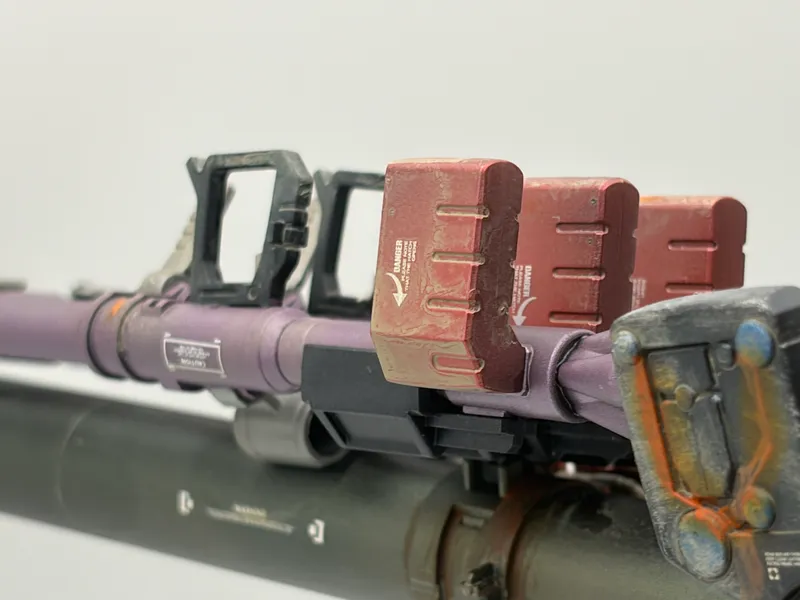
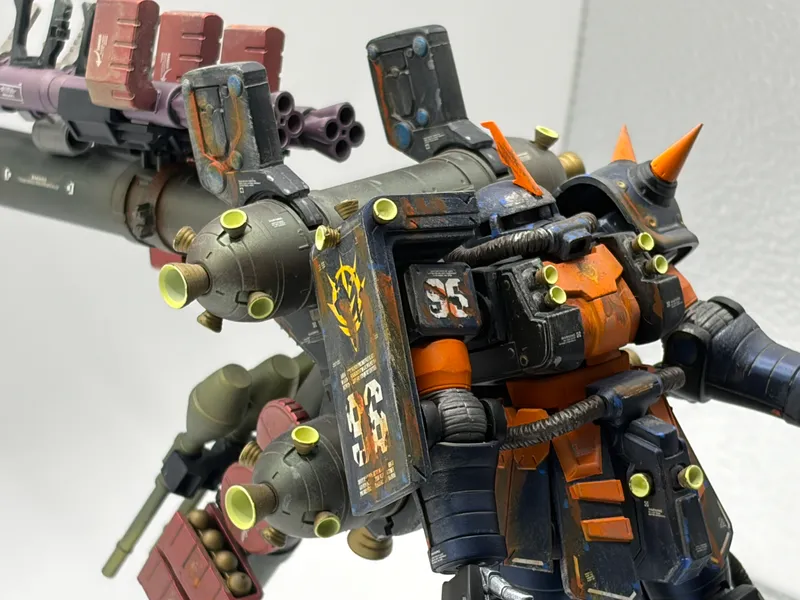
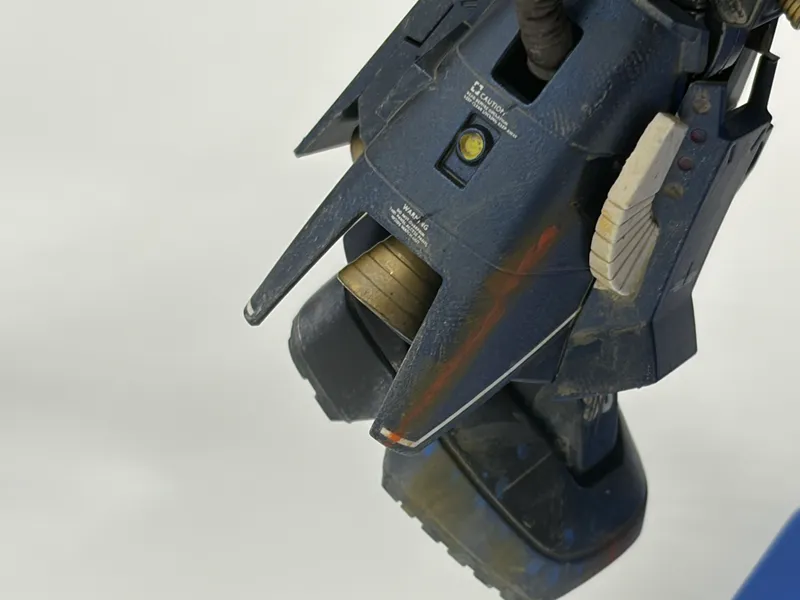
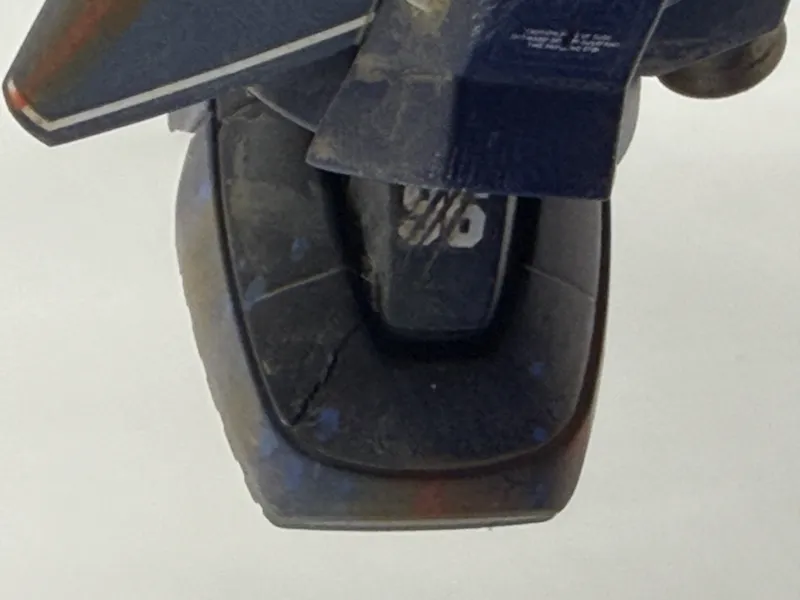
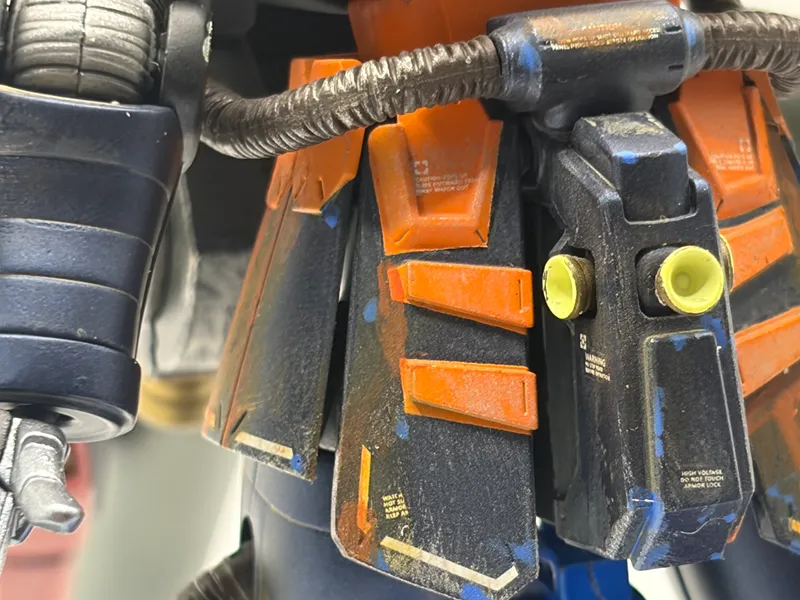
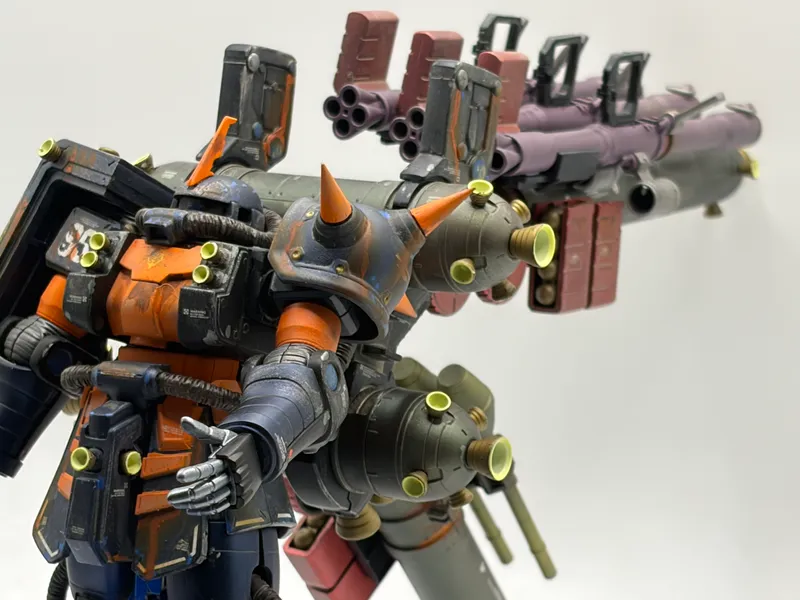
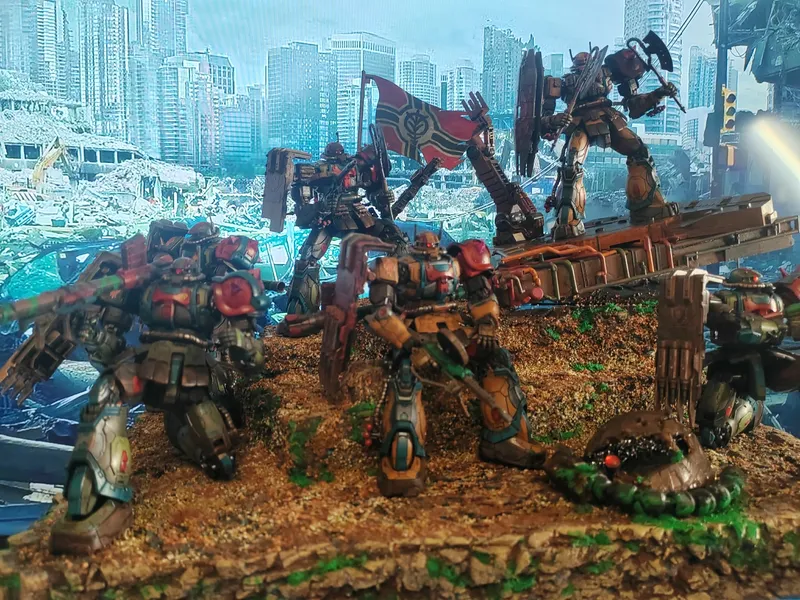
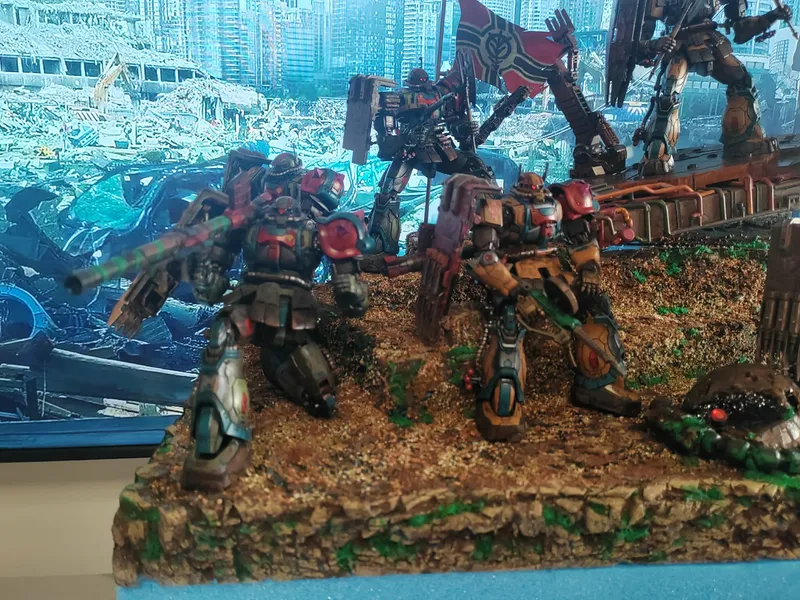
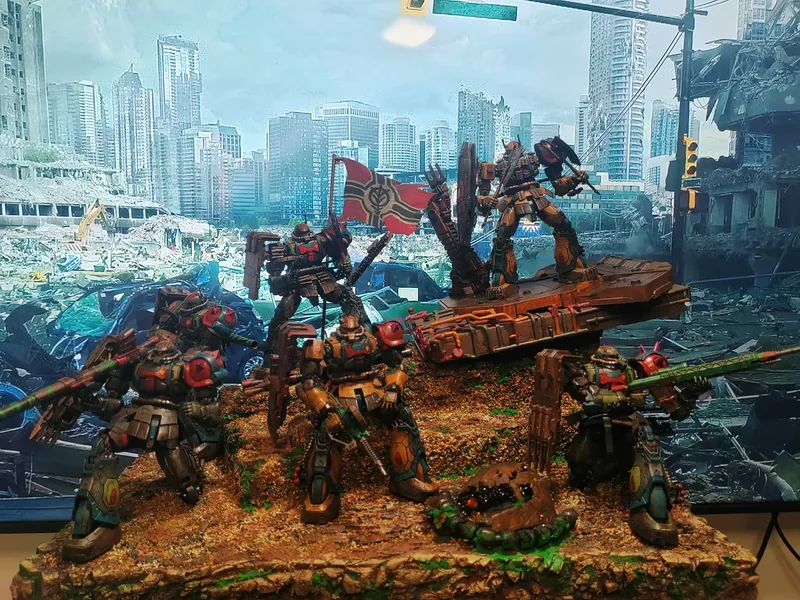
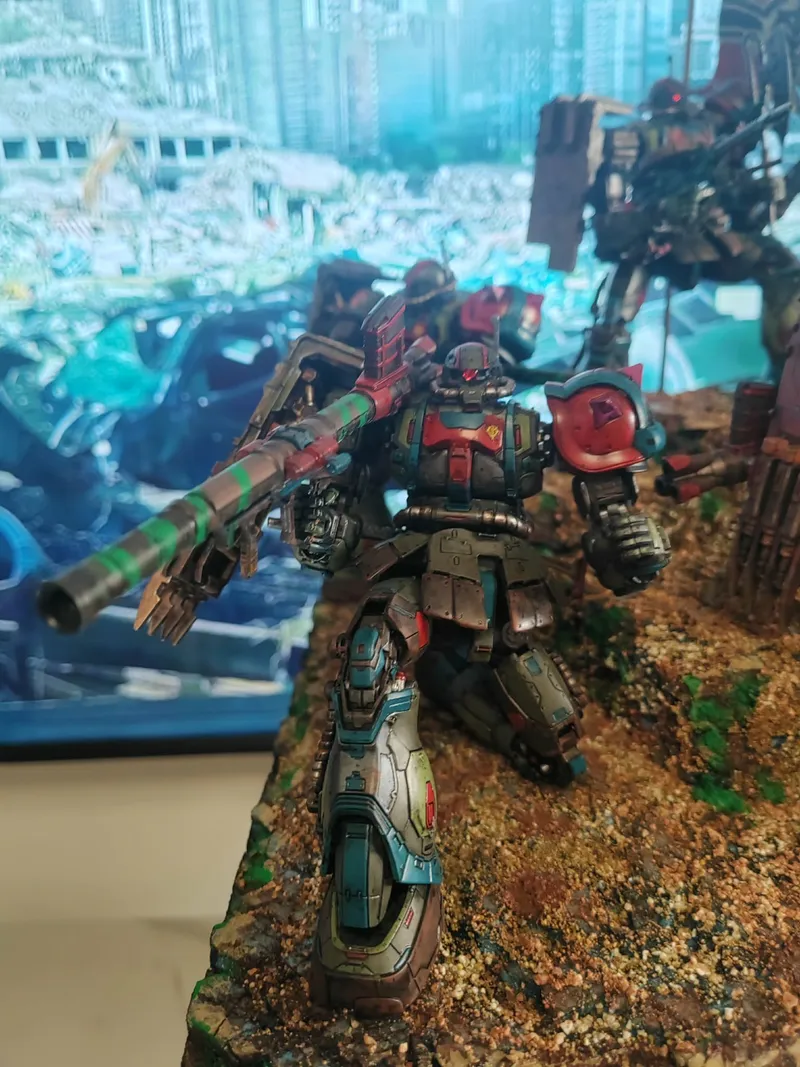
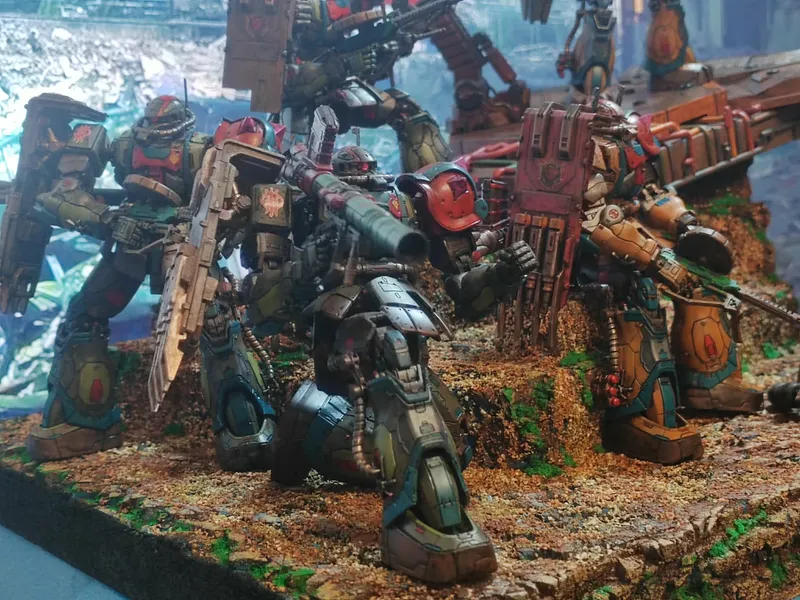
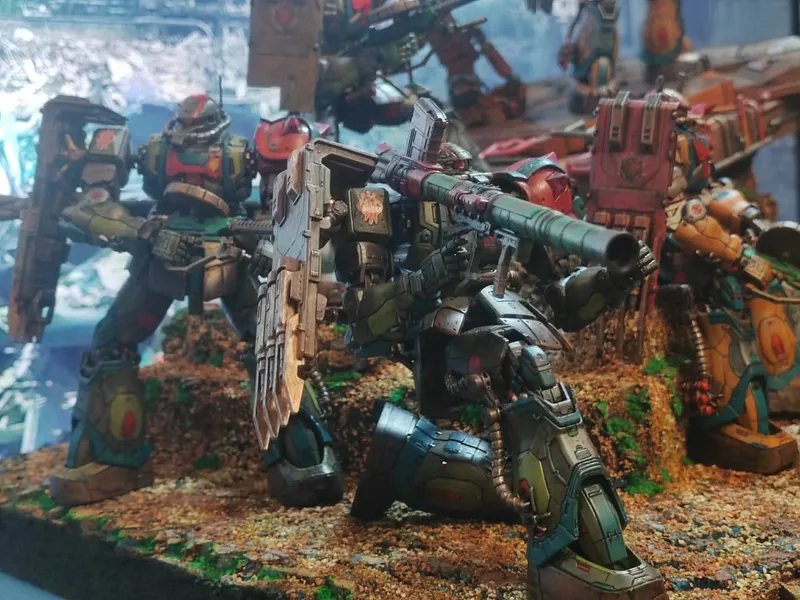
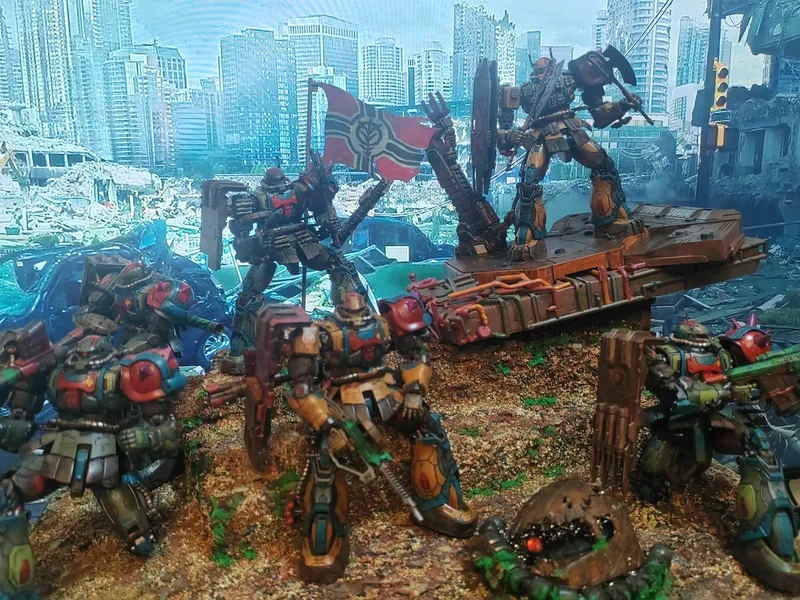
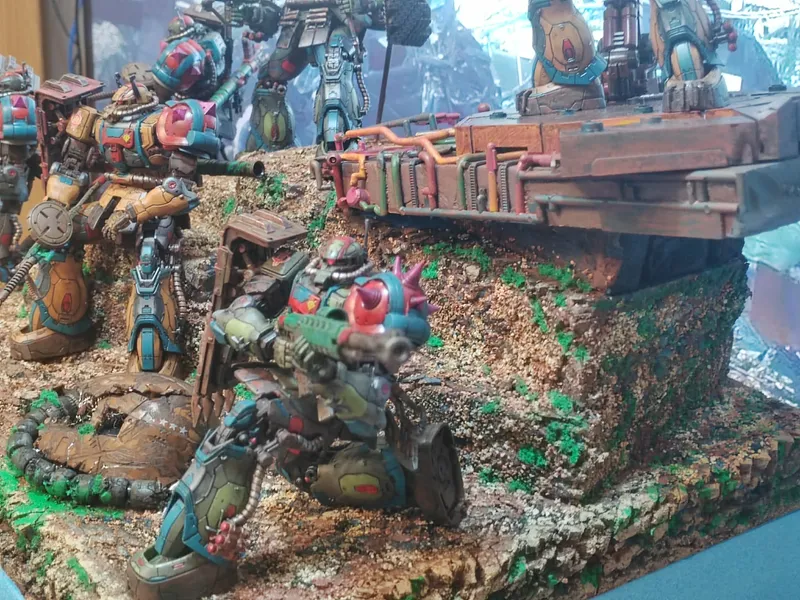
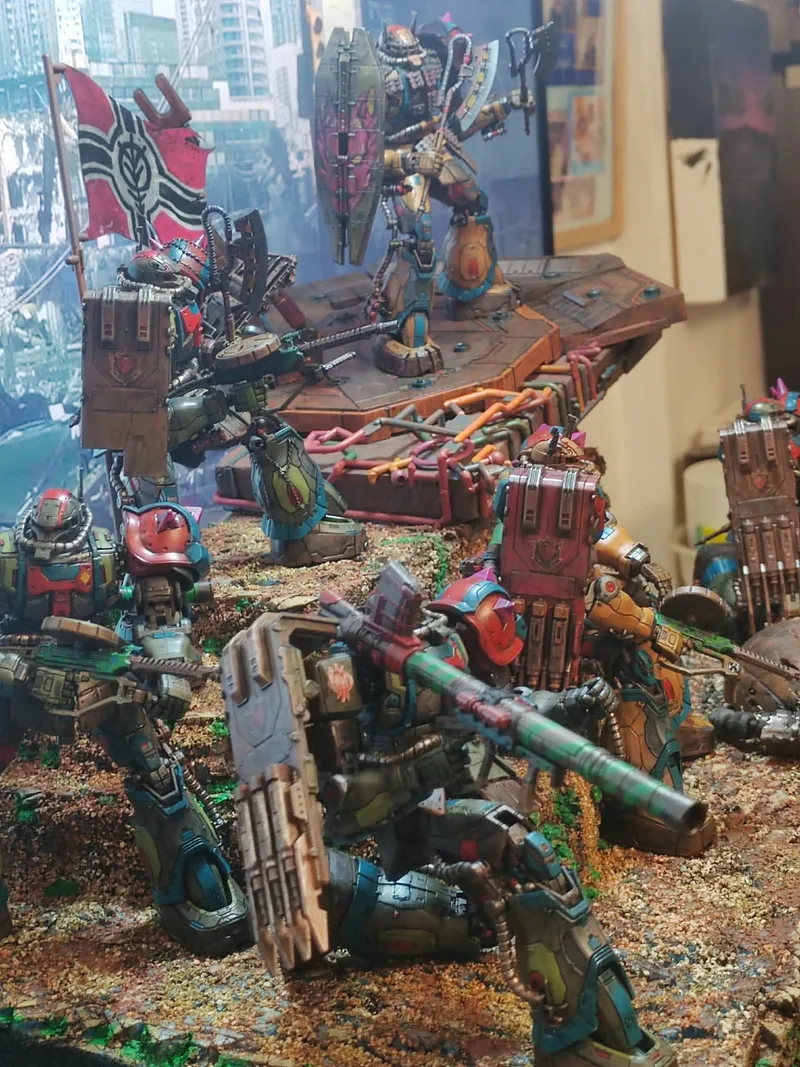
Requiem for Vengence
The Principality of Zeon, an alliance of space colonies, rebels against the Earth Federation, triggering a war of independence; Zeon pilot Iria Sorari must defend the European front against the Earth Federation.