antampatz
@antampatz
994
Following
106
Followers
36
Updates
829
Likes
111
Comments
274
Votes
151 days ago
Week 6 — Leg Clean-Up & Surface Preparation
This week focused on cleaning up the legs and dealing with many of the visible surface issues before moving further into the build.
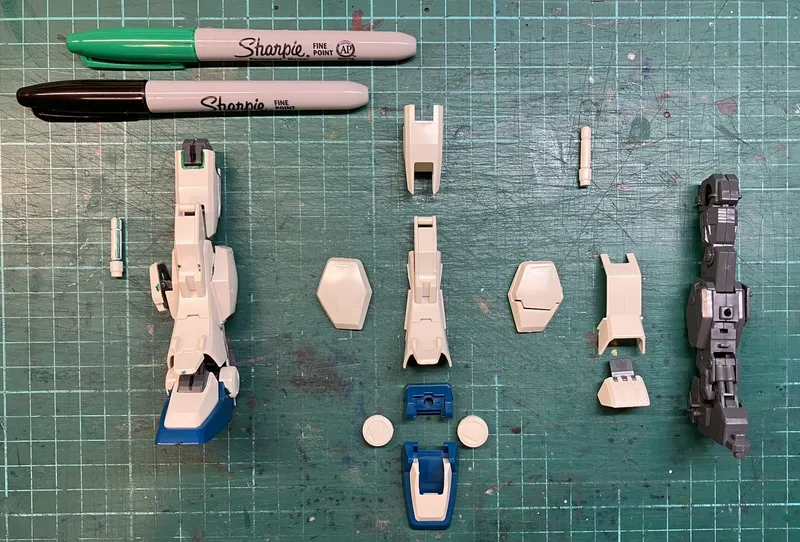
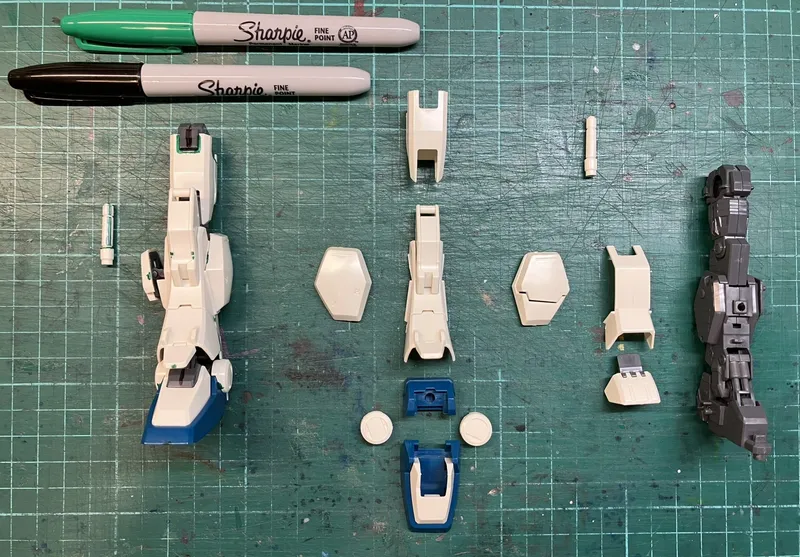
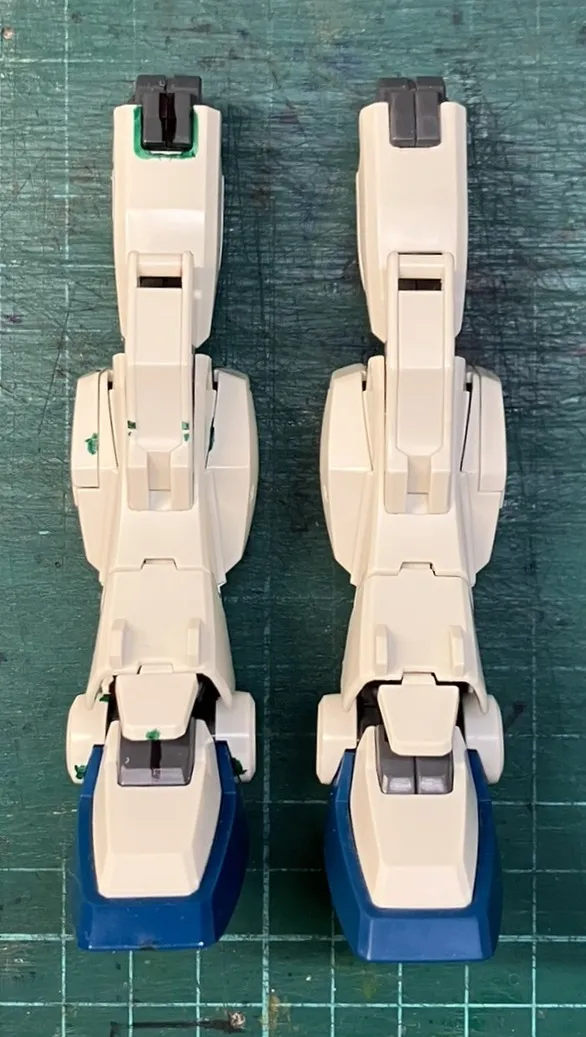
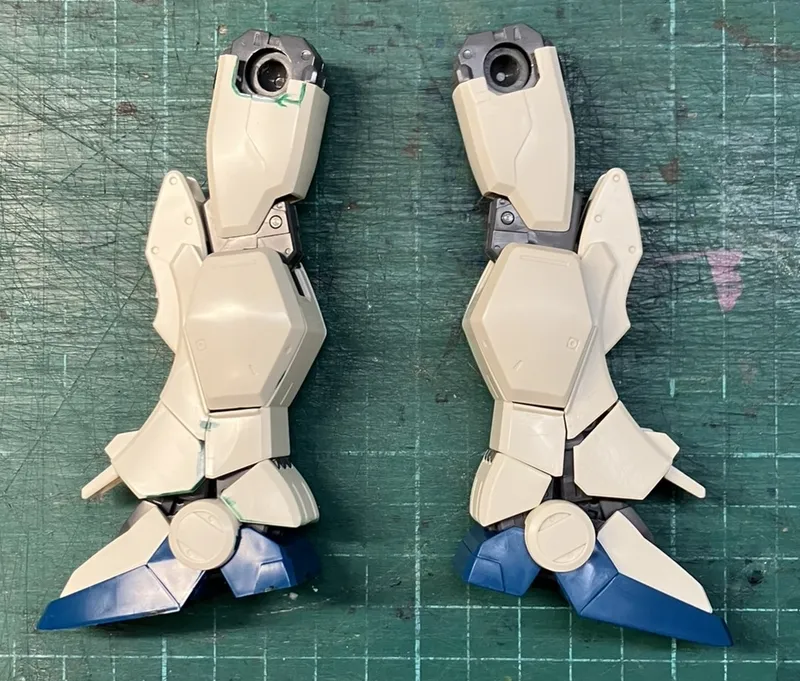
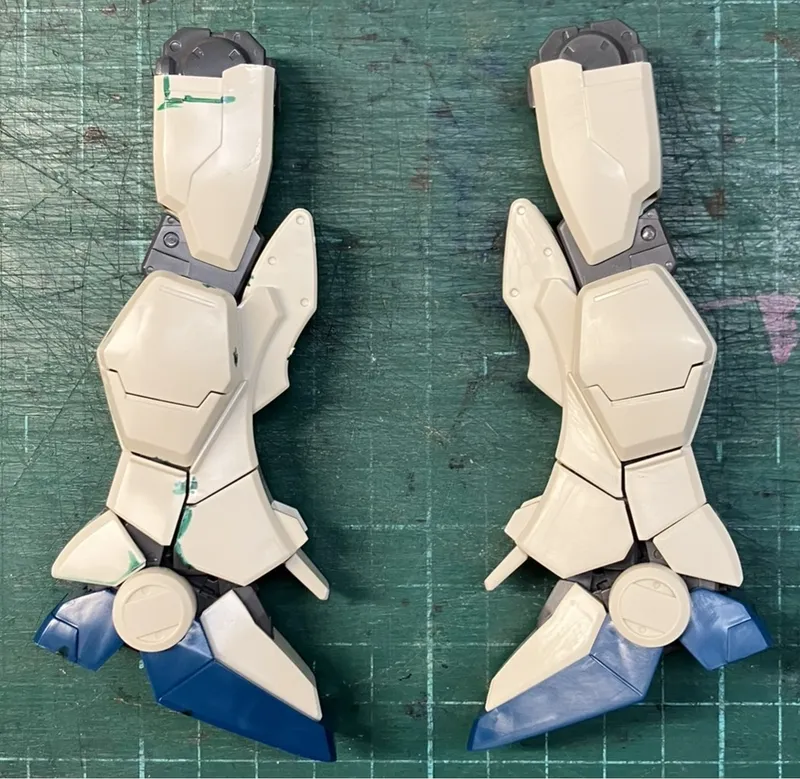
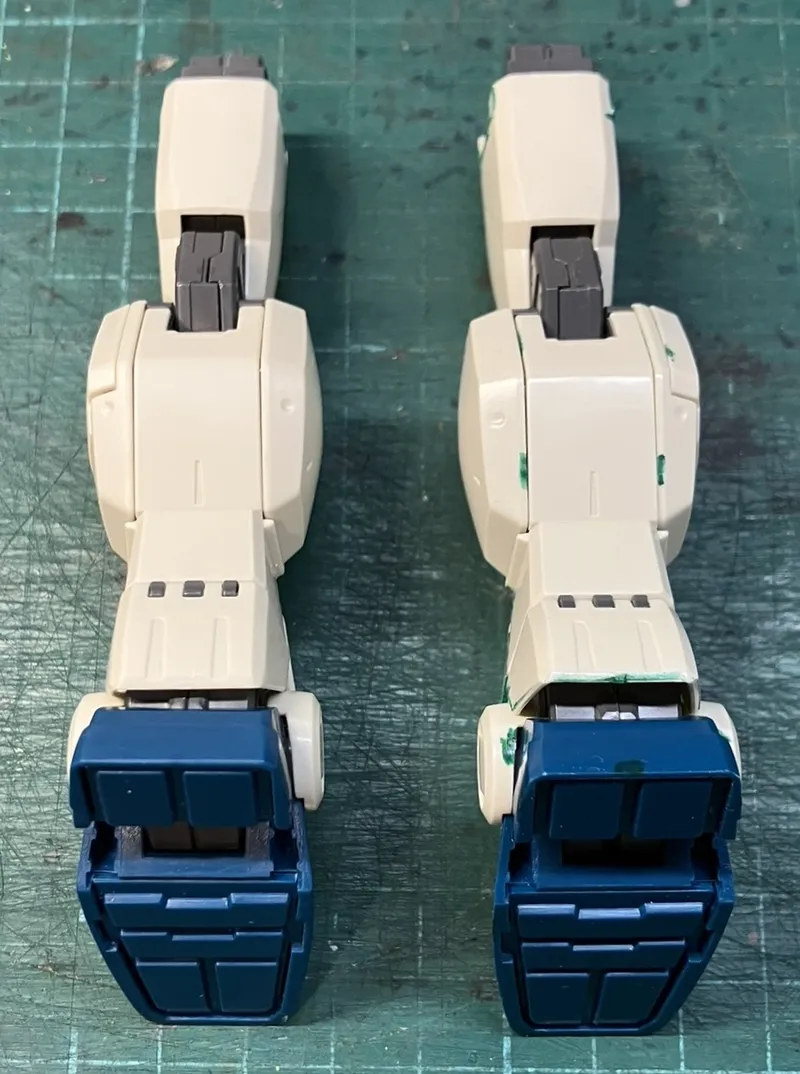
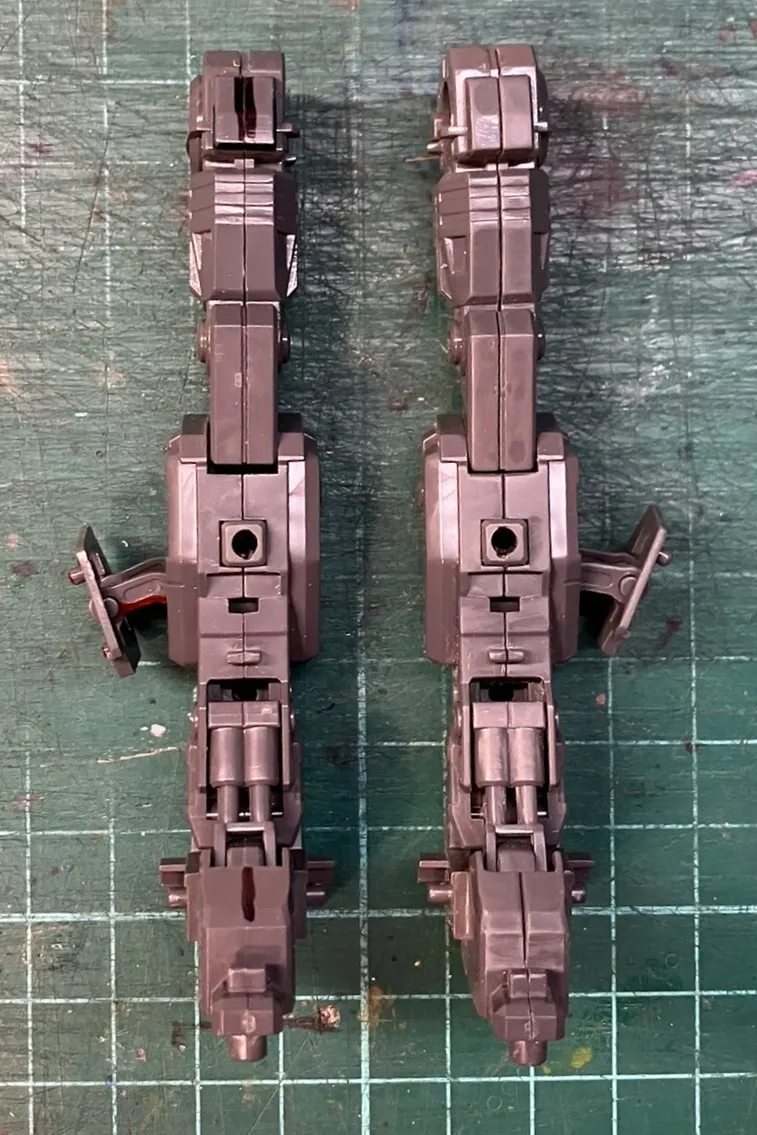
To help make those areas easier to track, I first used markers to highlight gate marks, visible seam lines, and mould lines across the leg parts. In many places, the mould lines run across the edges of the pieces. That makes them less obvious at a glance, but they still leave a slight lip that can catch on neighbouring parts, especially around moving joints, and could easily become a problem later once paint is involved.
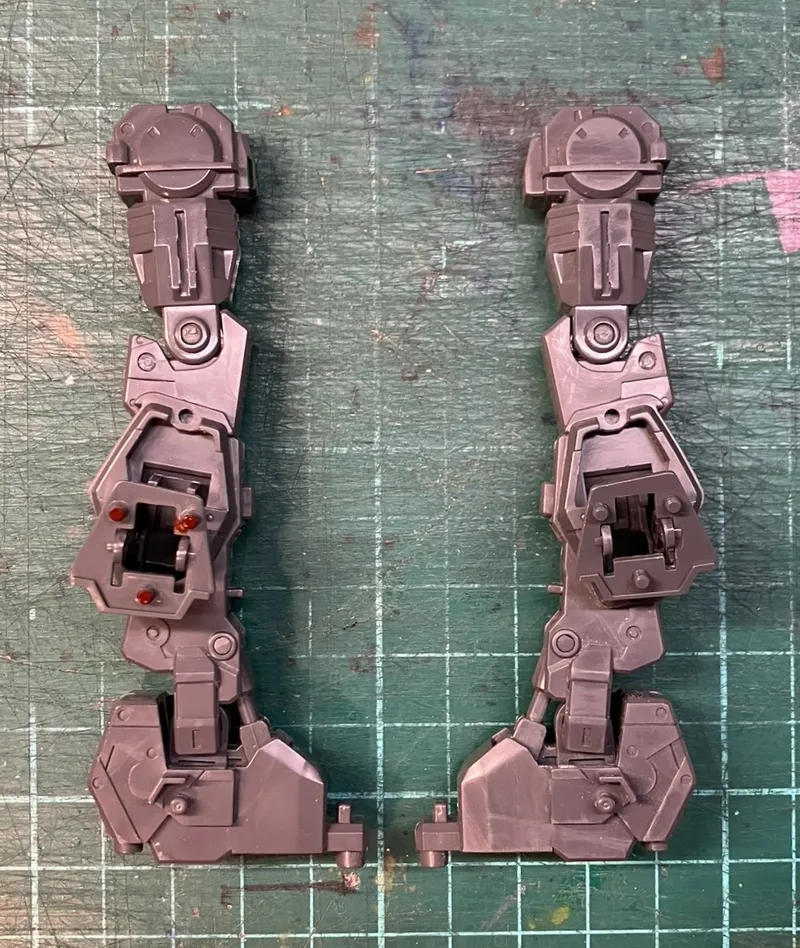
With those areas identified, I worked through all of the leg parts — both armour and inner frame — using sandpaper, a glass file, a mould-line scraper, and a melamine sponge. The goal here was to remove gate residue, reduce mould lines, and generally refine the surfaces before assembly and finishing. As expected, this left the plastic with a more matt appearance, but overall the parts now feel much cleaner and more consistent.
The seam lines in the inner frame needed a different approach. Two in particular stood out: one at the top front of the thigh, and another at the top of the foot. Properly removing these would mean cementing together parts that trap polycaps and other internal components, which would make future disassembly much more difficult if problems come up later, such as loose joints or breakages.
Because of that, I decided to treat these seams — and the other visible seams in the inner frame — as panel lines instead. To do this, I worked carefully along the join lines using a scraper, the back of a hobby knife blade, and a scriber, following the gap where the parts meet. I’m quite happy with the result so far, as it keeps the structure serviceable while giving those joins a more intentional appearance.
I also used the same tools, especially the scriber, to deepen some of the existing panel lines on the upper leg armour and knee armour, and to add a matching line where it helped the design feel more balanced.
The main thing I’ll need to keep an eye on from here is surface damage from the more aggressive clean-up tools, particularly on the armour parts. Some of that may show up more clearly under primer, but if it does, it should still be manageable at that stage.