antampatz
@antampatz
994
Following
106
Followers
36
Updates
829
Likes
111
Comments
274
Votes
137 days ago
Week 8 — Waist Clean-Up & Surface Preparation
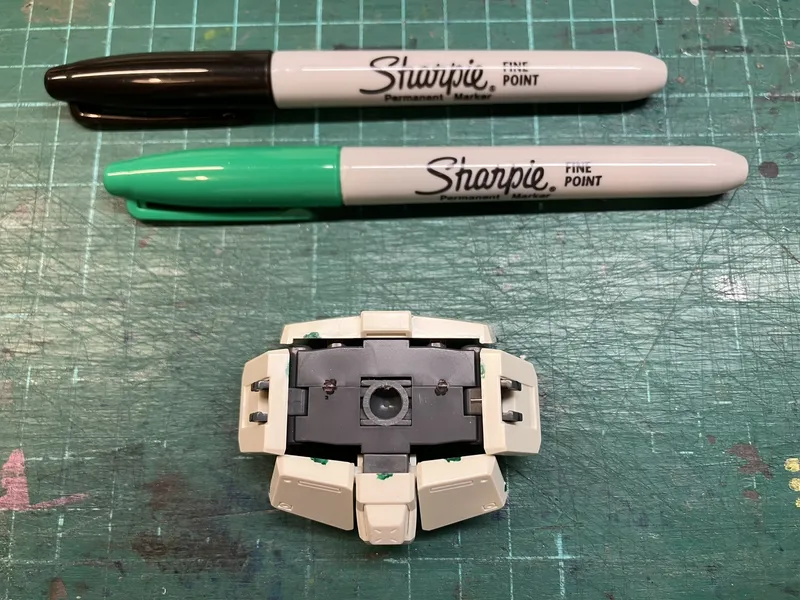
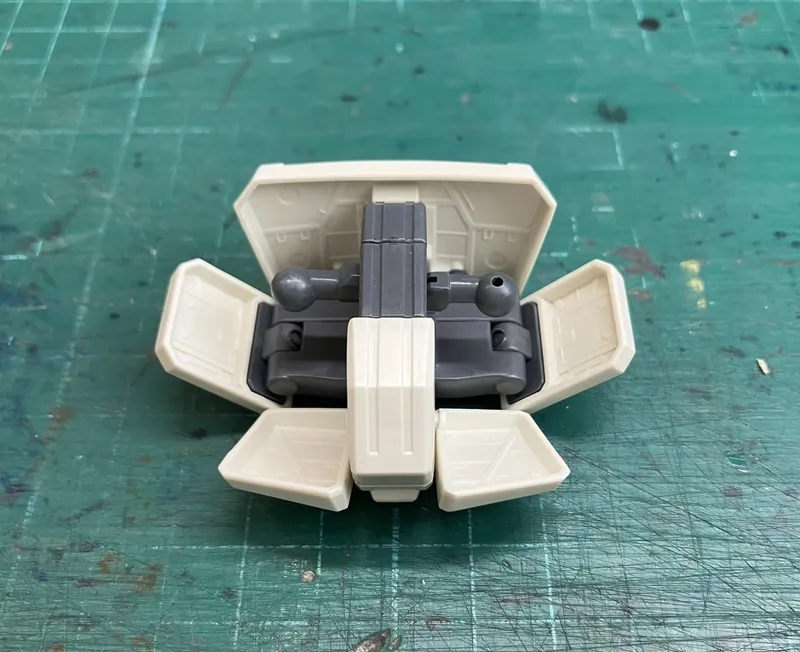
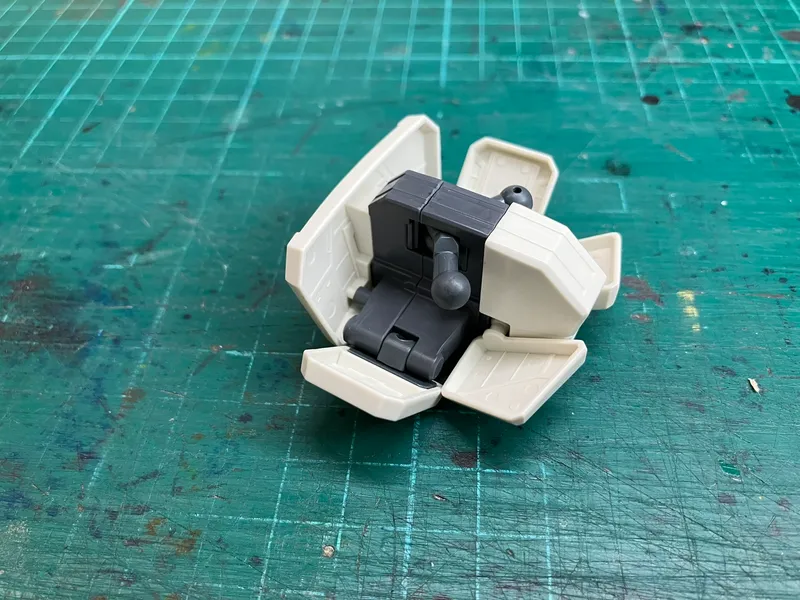
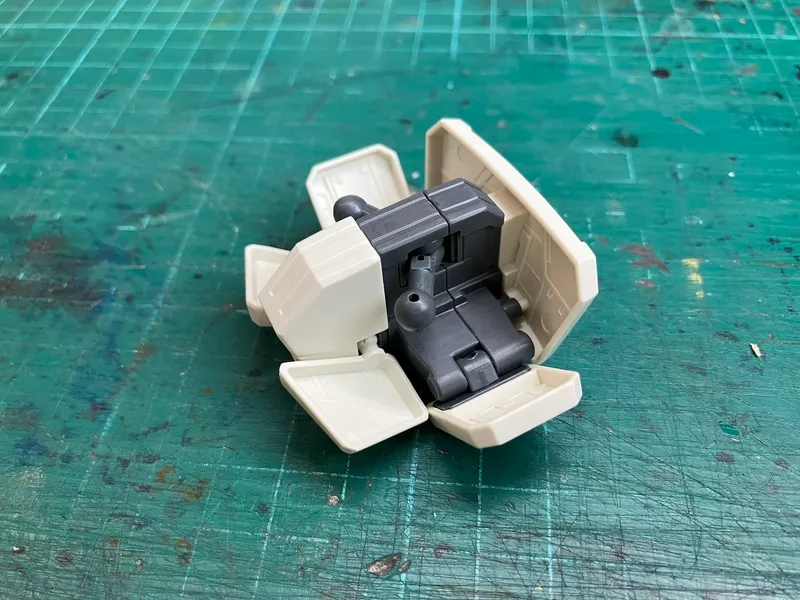
This week I continued the clean-up process, moving on from the legs to the waist section of the kit.
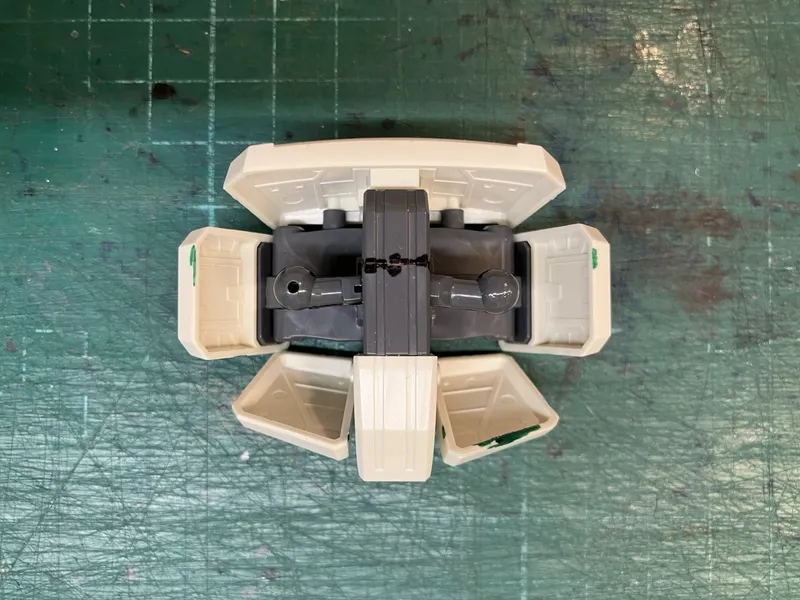
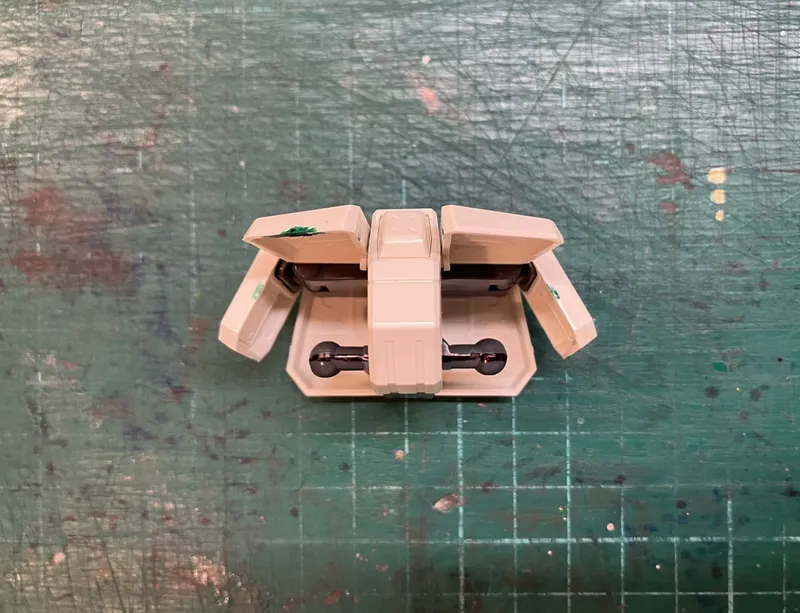
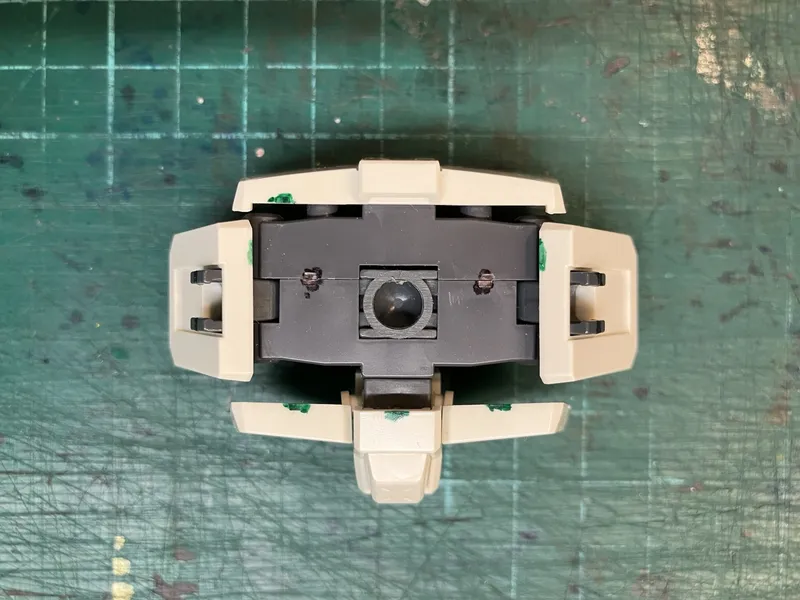
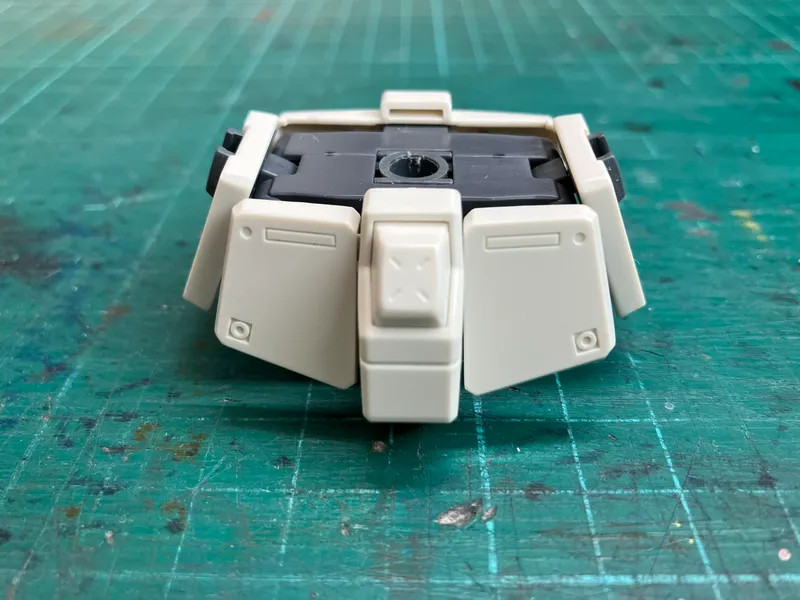
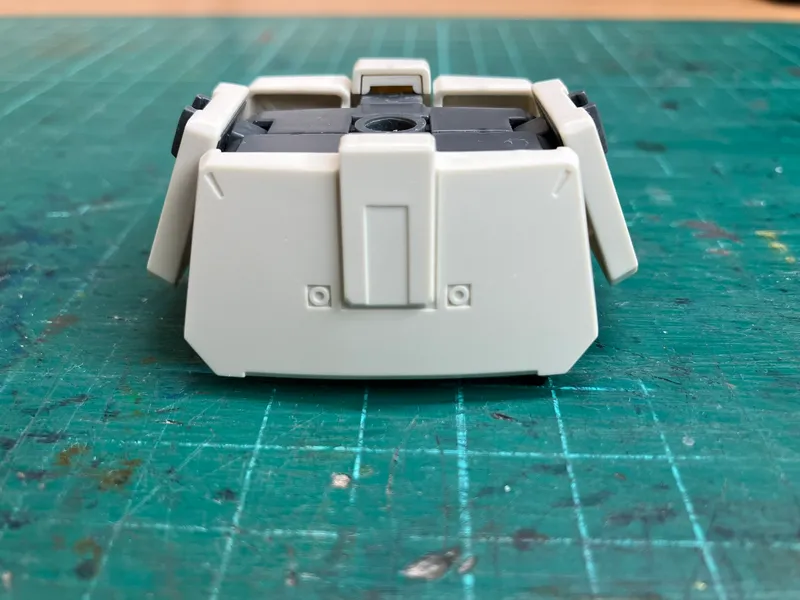
This area includes the lower torso inner frame, hip joints, and skirt armour, so it plays an important role both structurally and visually. Since it connects the upper body to the legs, I wanted to make sure the parts were cleaned up properly before moving further into assembly and modification work.
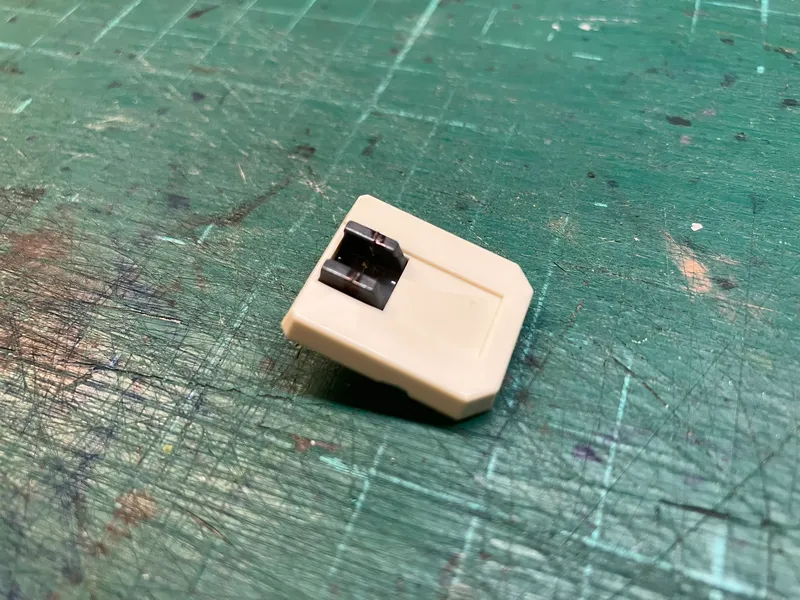
As with the legs, I started by identifying the main areas that needed attention: gate marks, mould lines, and visible seams. The skirt armour and frame parts had several small mould lines and edges that could potentially catch during movement, especially around the hip and skirt sections, so these were worth dealing with now rather than after paint.
I worked through the parts using the same approach as before: sandpaper, file (metal and glass), a mould-line scraper, and a melamine sponge to clean up the surfaces and even out the finish. This left the parts with a more consistent matt surface and helped remove the small raised lips left by the moulding process.
The main seam decision this week was on the lower torso inner frame. There is a visible join where the frame parts meet, but fully removing it would mean cementing parts together in an area I may want to keep accessible later. Instead, I treated the seam as an intentional panel line. I carefully worked along the join with a scriber and scraping tools to sharpen and define it, so it reads more like part of the mechanical design rather than an unfinished seam.
Overall, this was not the most dramatic stage visually, but it is an important one. The waist is a key connection point for posing, articulation, and the final stance of the model, so taking the time to clean it up now should help avoid problems later once paint and final assembly are involved.