antampatz
@antampatz
994
Following
106
Followers
36
Updates
829
Likes
111
Comments
274
Votes
117 days ago
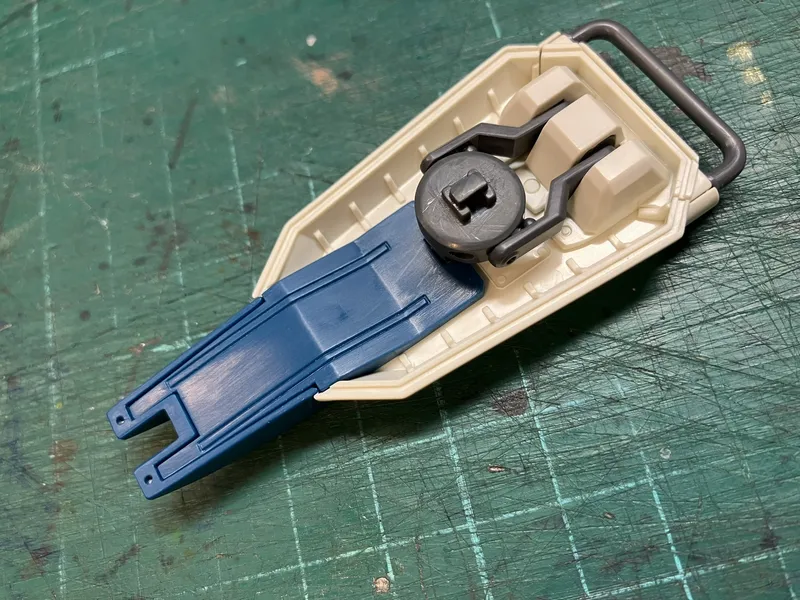
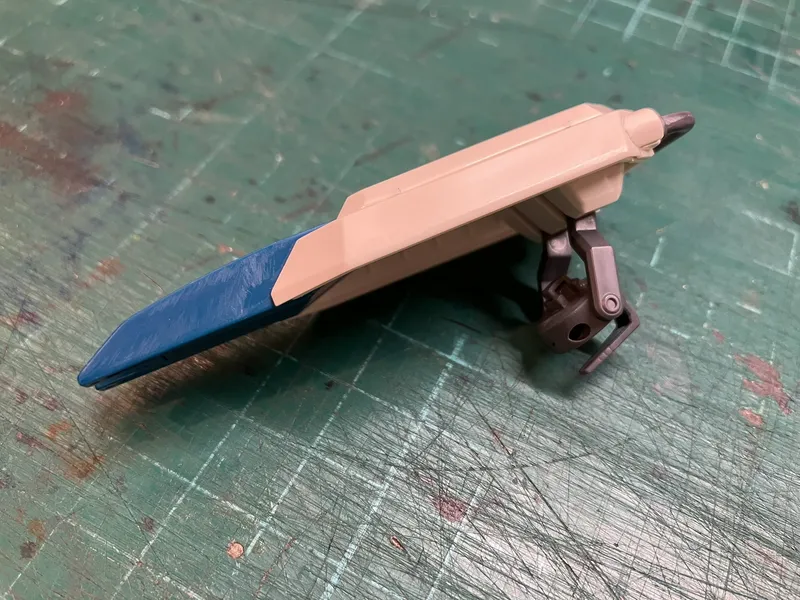
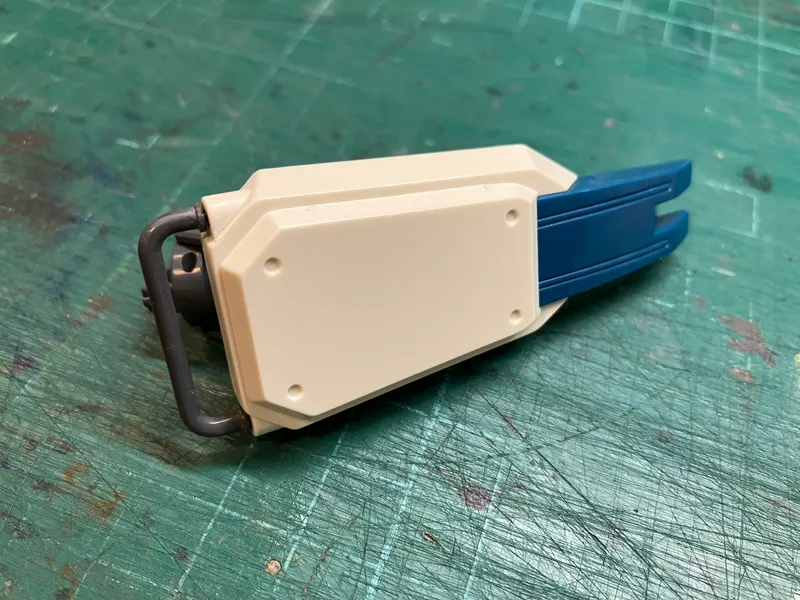
Week 11 — Shield Clean-Up & Surface Preparation
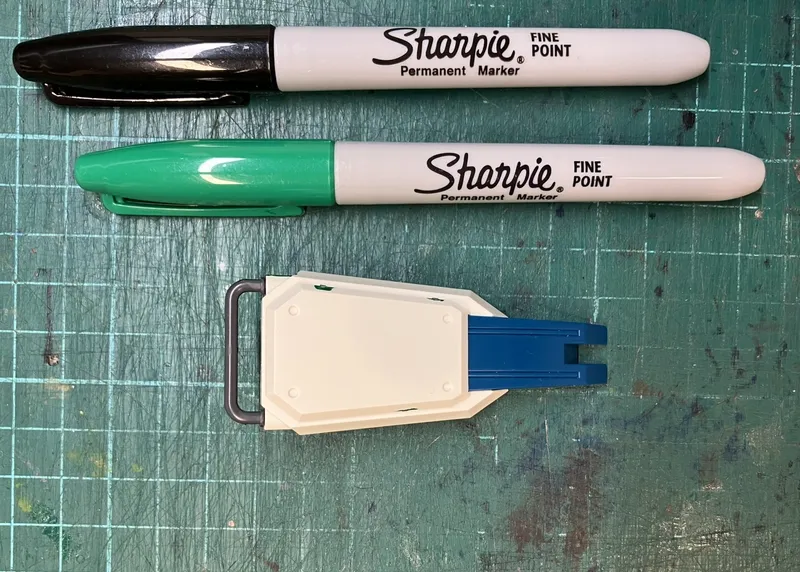
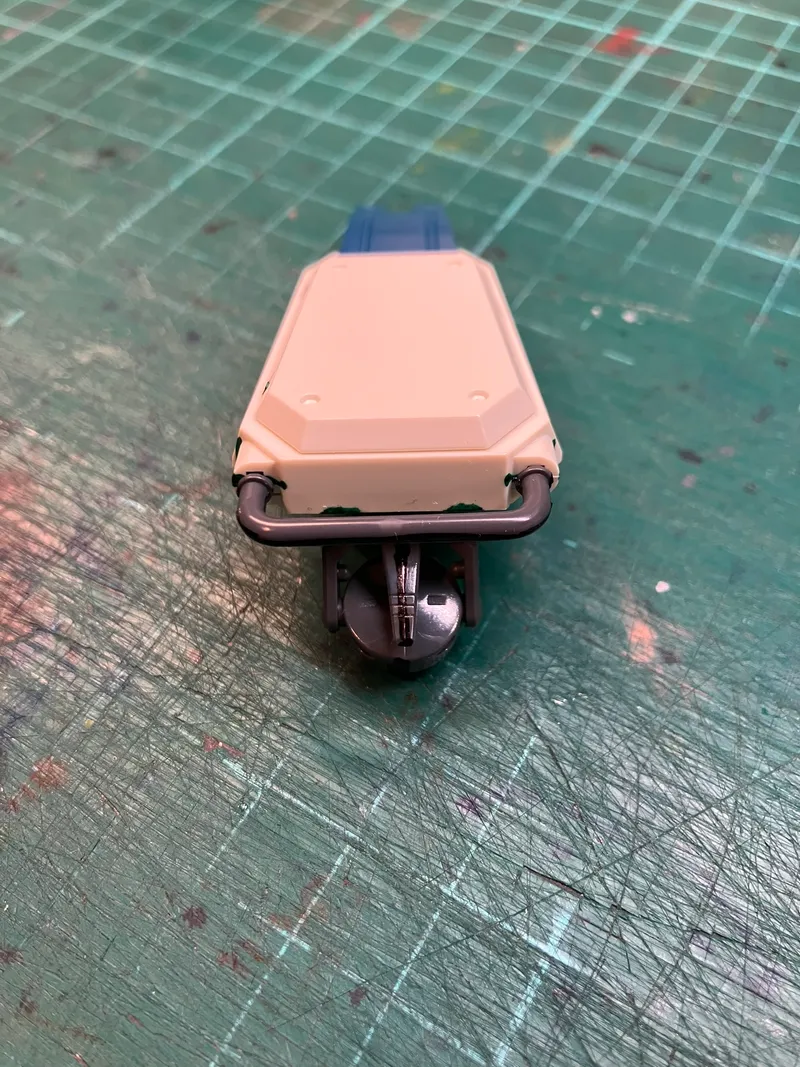
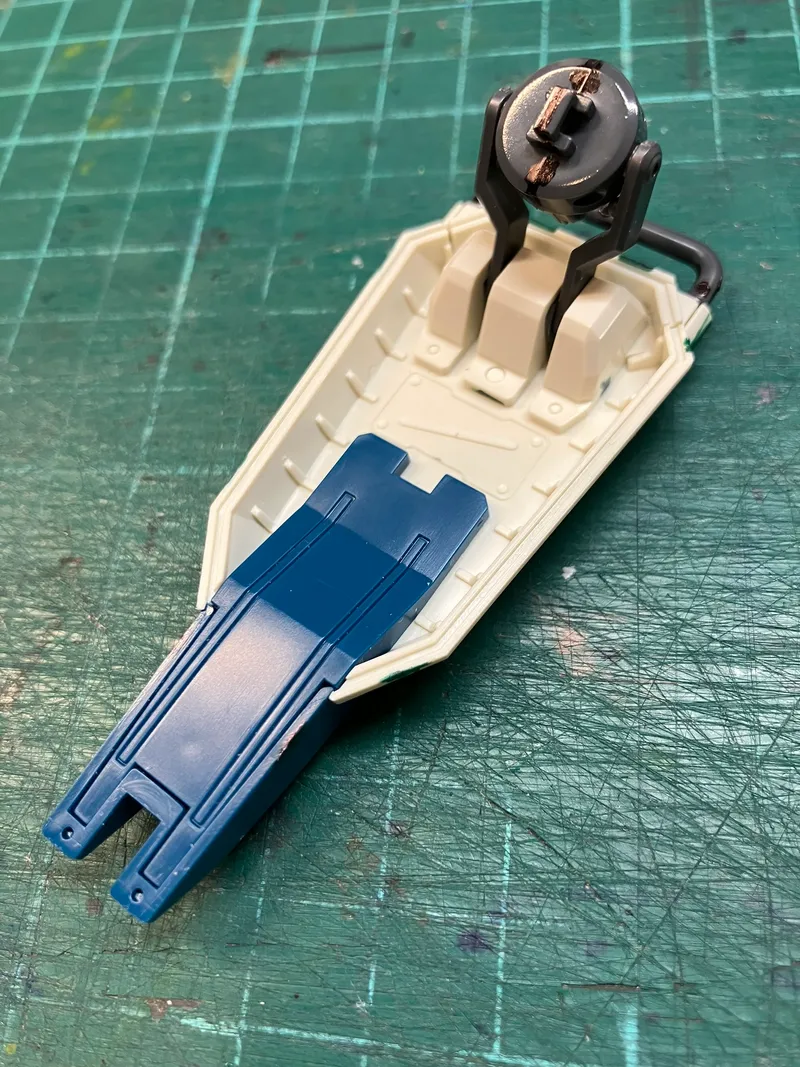
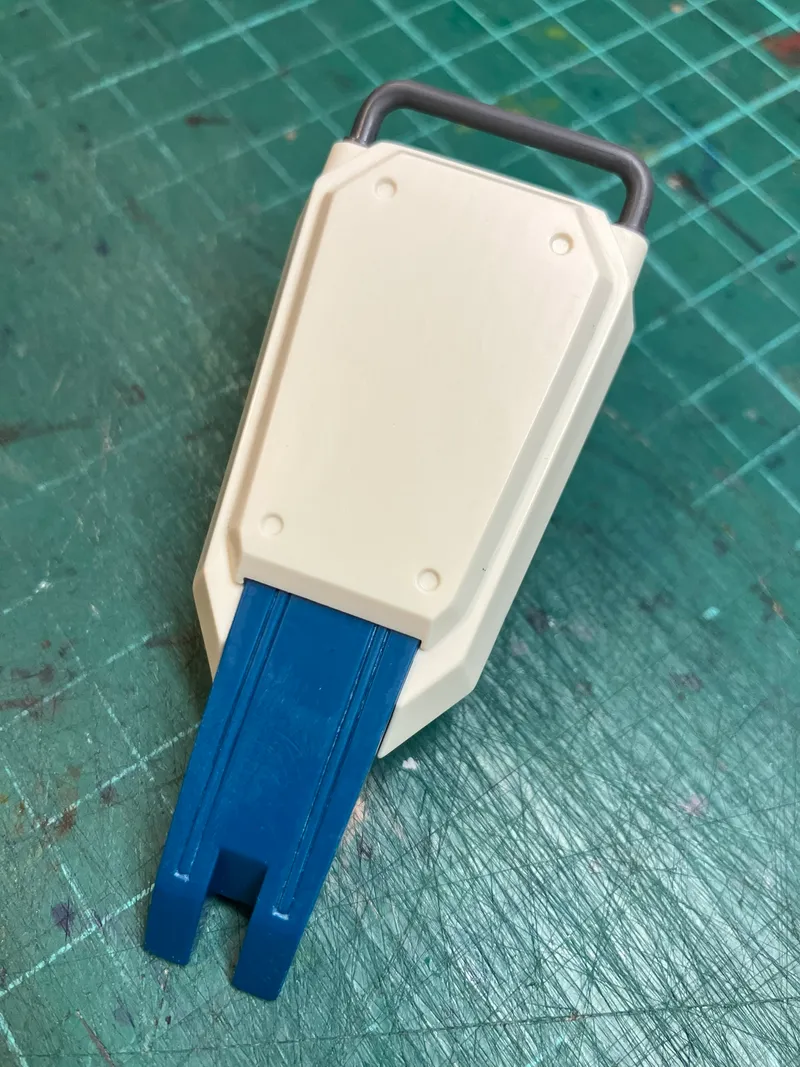
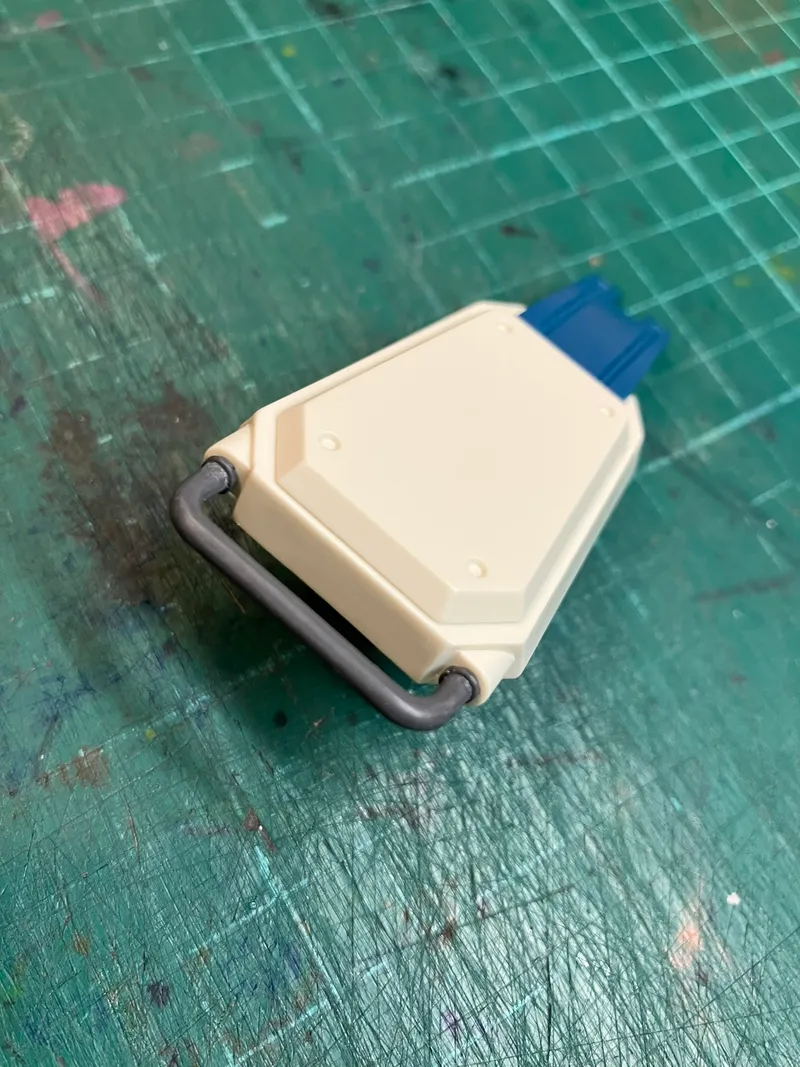
This week I moved on to the shield, continuing the process of preparing the kit for later assembly, detailing, and paint.
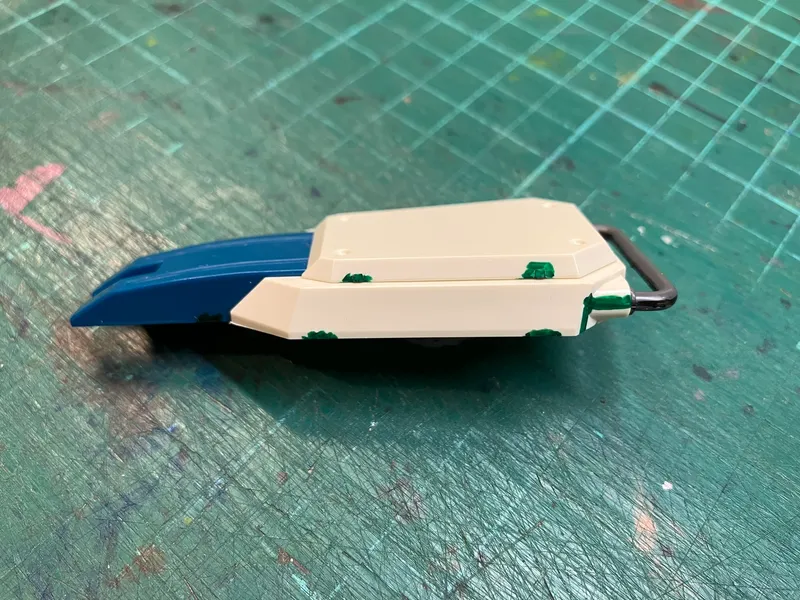
As with the previous sections of the build, the focus was on addressing the main surface issues before moving further forward. The shield contains a mixture of gate marks, mould lines, and a couple of small seam lines that become quite noticeable due to the large, relatively simple armour surfaces involved.
I began by identifying and cleaning up the gate marks left from removing the parts from the runners, before moving on to the mould lines and seams.
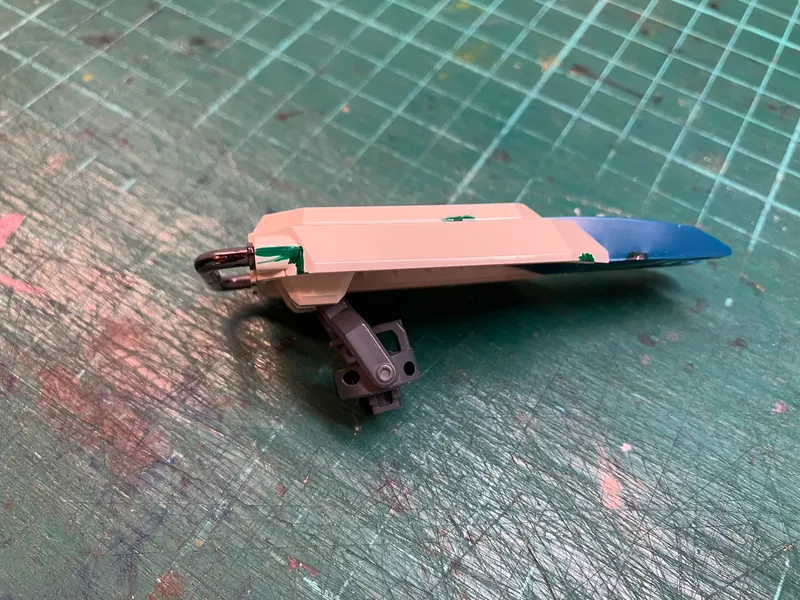
The mould lines were addressed using the same approach established throughout the build so far: a combination of files, sandpaper, scraping tools, and a melamine sponge. Although less complex mechanically than the inner frame sections, the shield's broad surfaces make imperfections easier to spot, particularly once paint is applied, so it was worth spending the time to refine these areas now.
There were also a couple of small seam lines present within the shield assembly. Following the philosophy used throughout much of the build, I assessed whether these should be removed entirely or incorporated into the design. In the end, the visible seams were treated and refined rather than aggressively eliminated, helping them read more intentionally while avoiding unnecessary complication at this stage. This approach also preserves access to the shield's internal mounting structure, including the polycap assembly, that attaches the shield to the arm.
Although visually similar to some of the previous clean-up stages, this work continues the gradual preparation of the model for the more creative phases of the project. With the shield now cleaned up and ready for the next steps, the focus remains on building a solid foundation before moving into modification, detailing, and paint.