antampatz
@antampatz
994
Following
106
Followers
36
Updates
829
Likes
111
Comments
274
Votes
109 days ago
Week 12 — Head Clean-Up & Surface Preparation (Part 1)
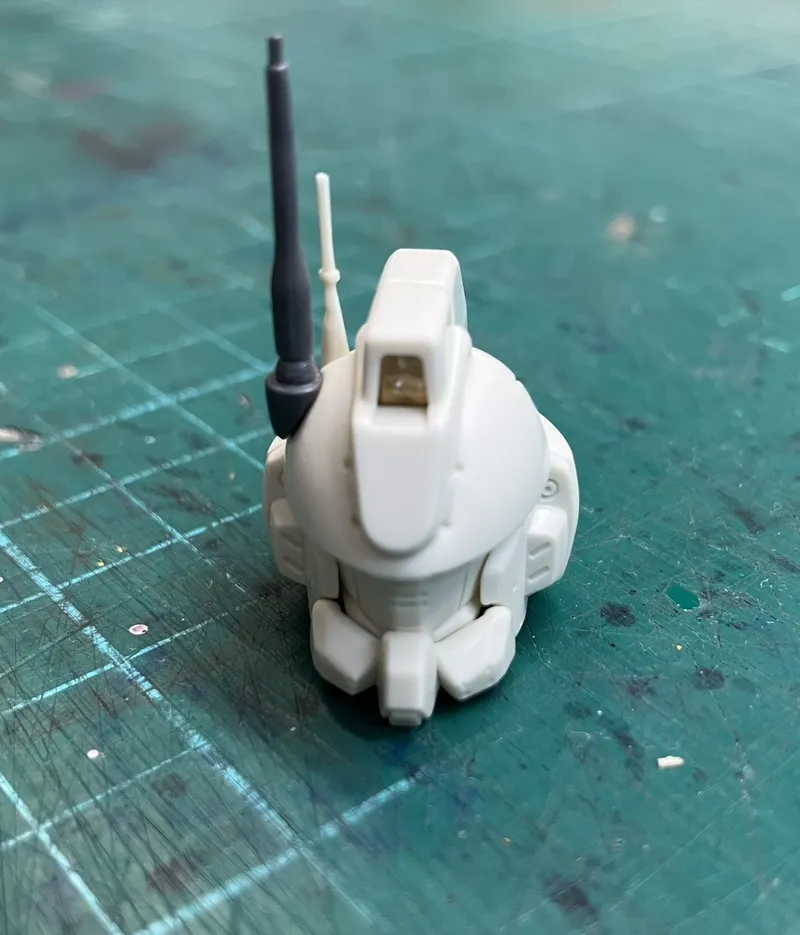
This week I moved on to the head assembly, continuing the clean-up and preparation work across the kit.
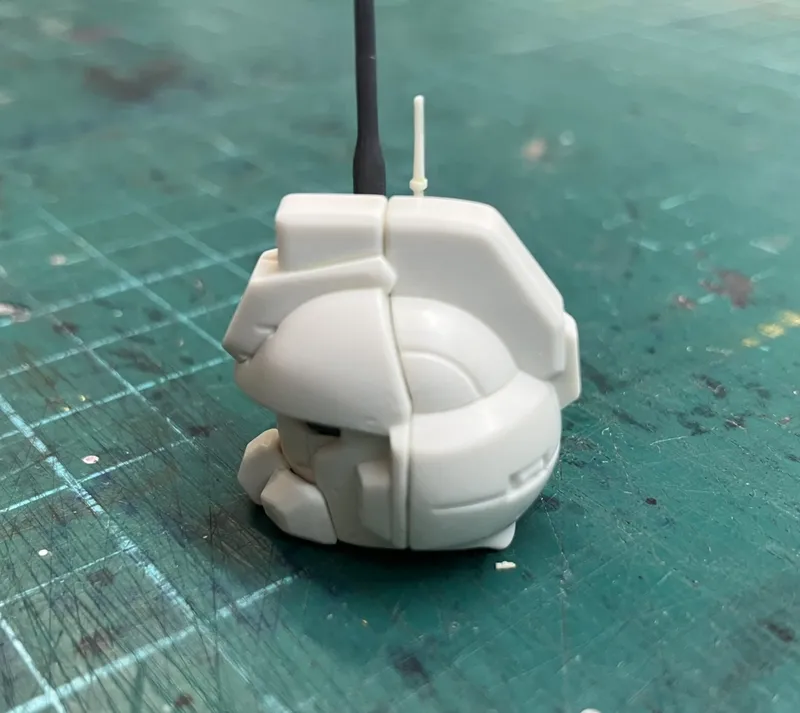
As with the previous sections of the build, the focus was on addressing gate marks, mould lines, and seam lines before moving further into detailing and paint preparation. The head is one of the smallest assemblies on the model, but also one of the most visible, making surface preparation particularly important.
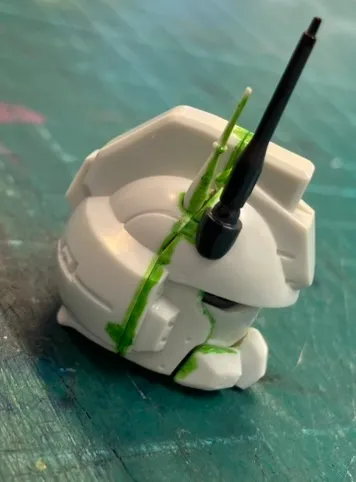
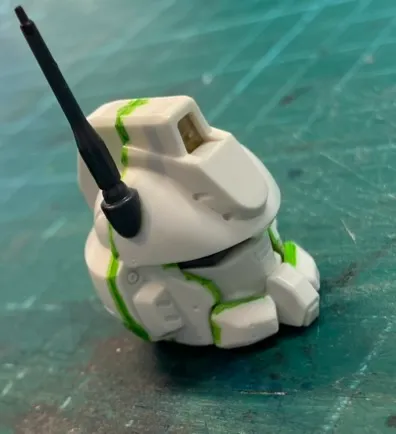
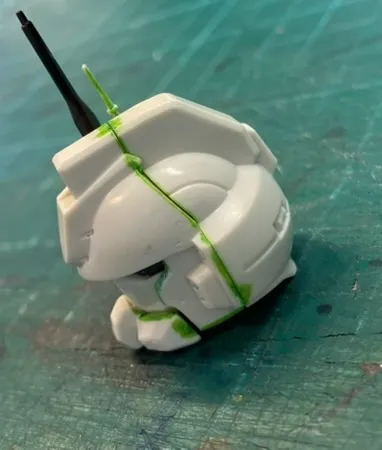
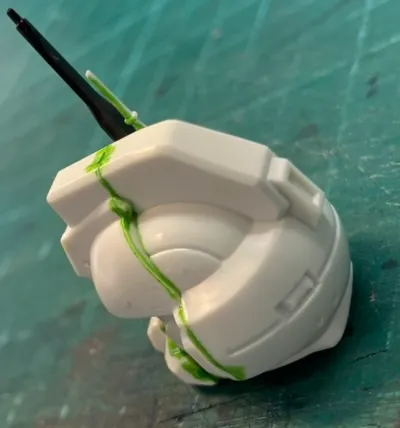
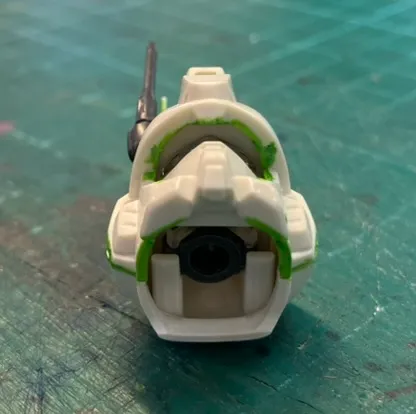
As an initial step, I used a marker to highlight the gate marks, mould lines, and seam lines. This makes the areas requiring attention easier to identify and helps track progress as material is removed during clean-up.
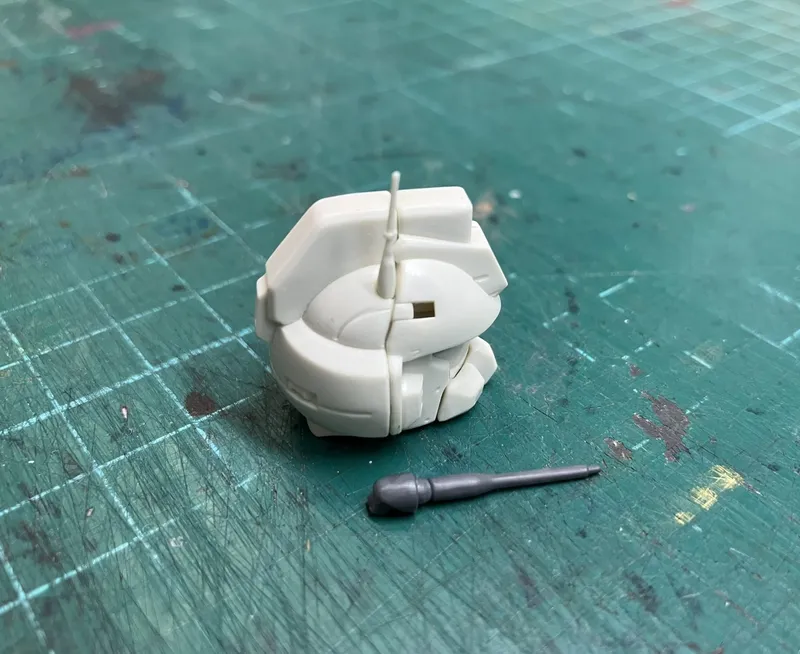
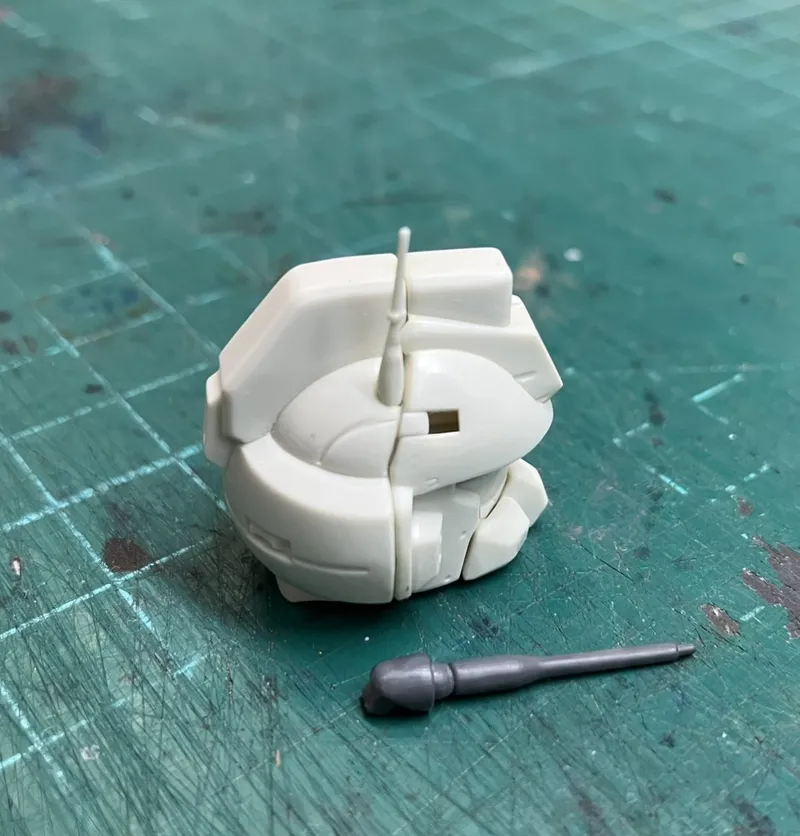
I then worked through the parts using the same approach established throughout the build so far: a combination of sandpaper, metal and glass files, scraping tools, and a melamine sponge. While the individual parts are relatively small, the head contains a number of edges, corners, and raised details that can make imperfections more noticeable once primer and paint are applied, so it was worth taking the time to work through these carefully.
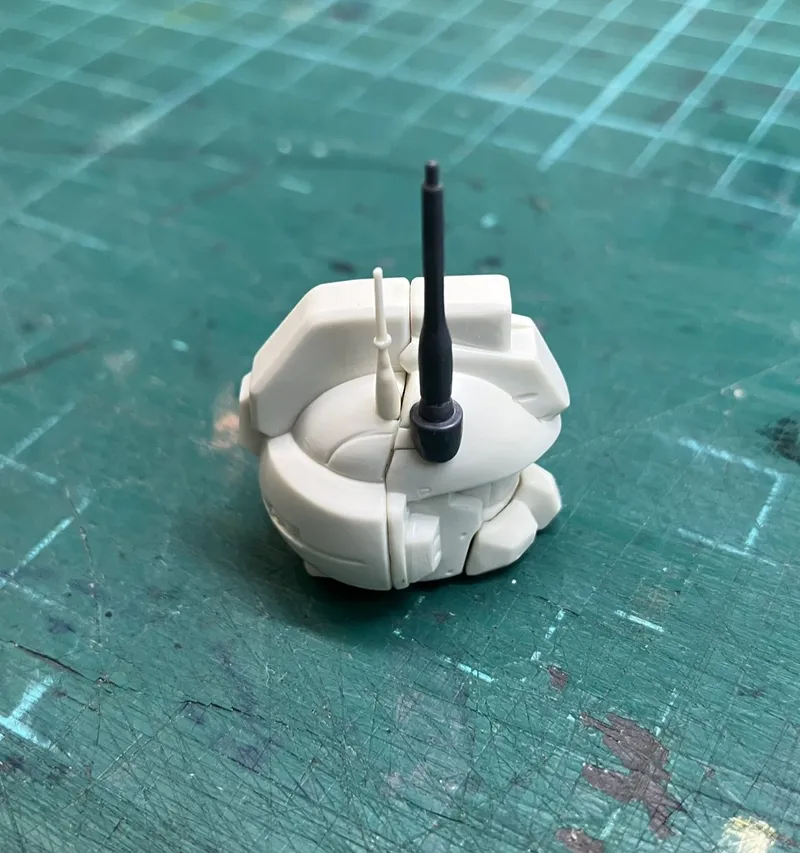
The head assembly also includes a visible seam line. Following the approach used throughout much of the build, I chose not to permanently eliminate this seam through cementing. Instead, it was refined and treated as a panel line. This helps the join read more intentionally as part of the mechanical design while maintaining access to the internal components.
Keeping the head serviceable has some additional advantages. Unlike most of the kit, the head contains clear parts for the eyes and front camera, which will be easier to handle separately during the finishing process. It also preserves access to the neck polycap, allowing it to be replaced in the future if it becomes worn through repeated assembly, disassembly, or posing.
While this stage does not dramatically change the appearance of the model, it continues the process of preparing each assembly for the more creative phases of the project while preserving flexibility for detailing, painting, and future maintenance.