
Karl Scale Modeling
@karlscalemodeling
176
Following
112
Followers
29
Updates
960
Likes
179
Comments
37
Votes
@karlscalemodeling
176
Following
112
Followers
29
Updates
960
Likes
179
Comments
37
Votes
65 days ago
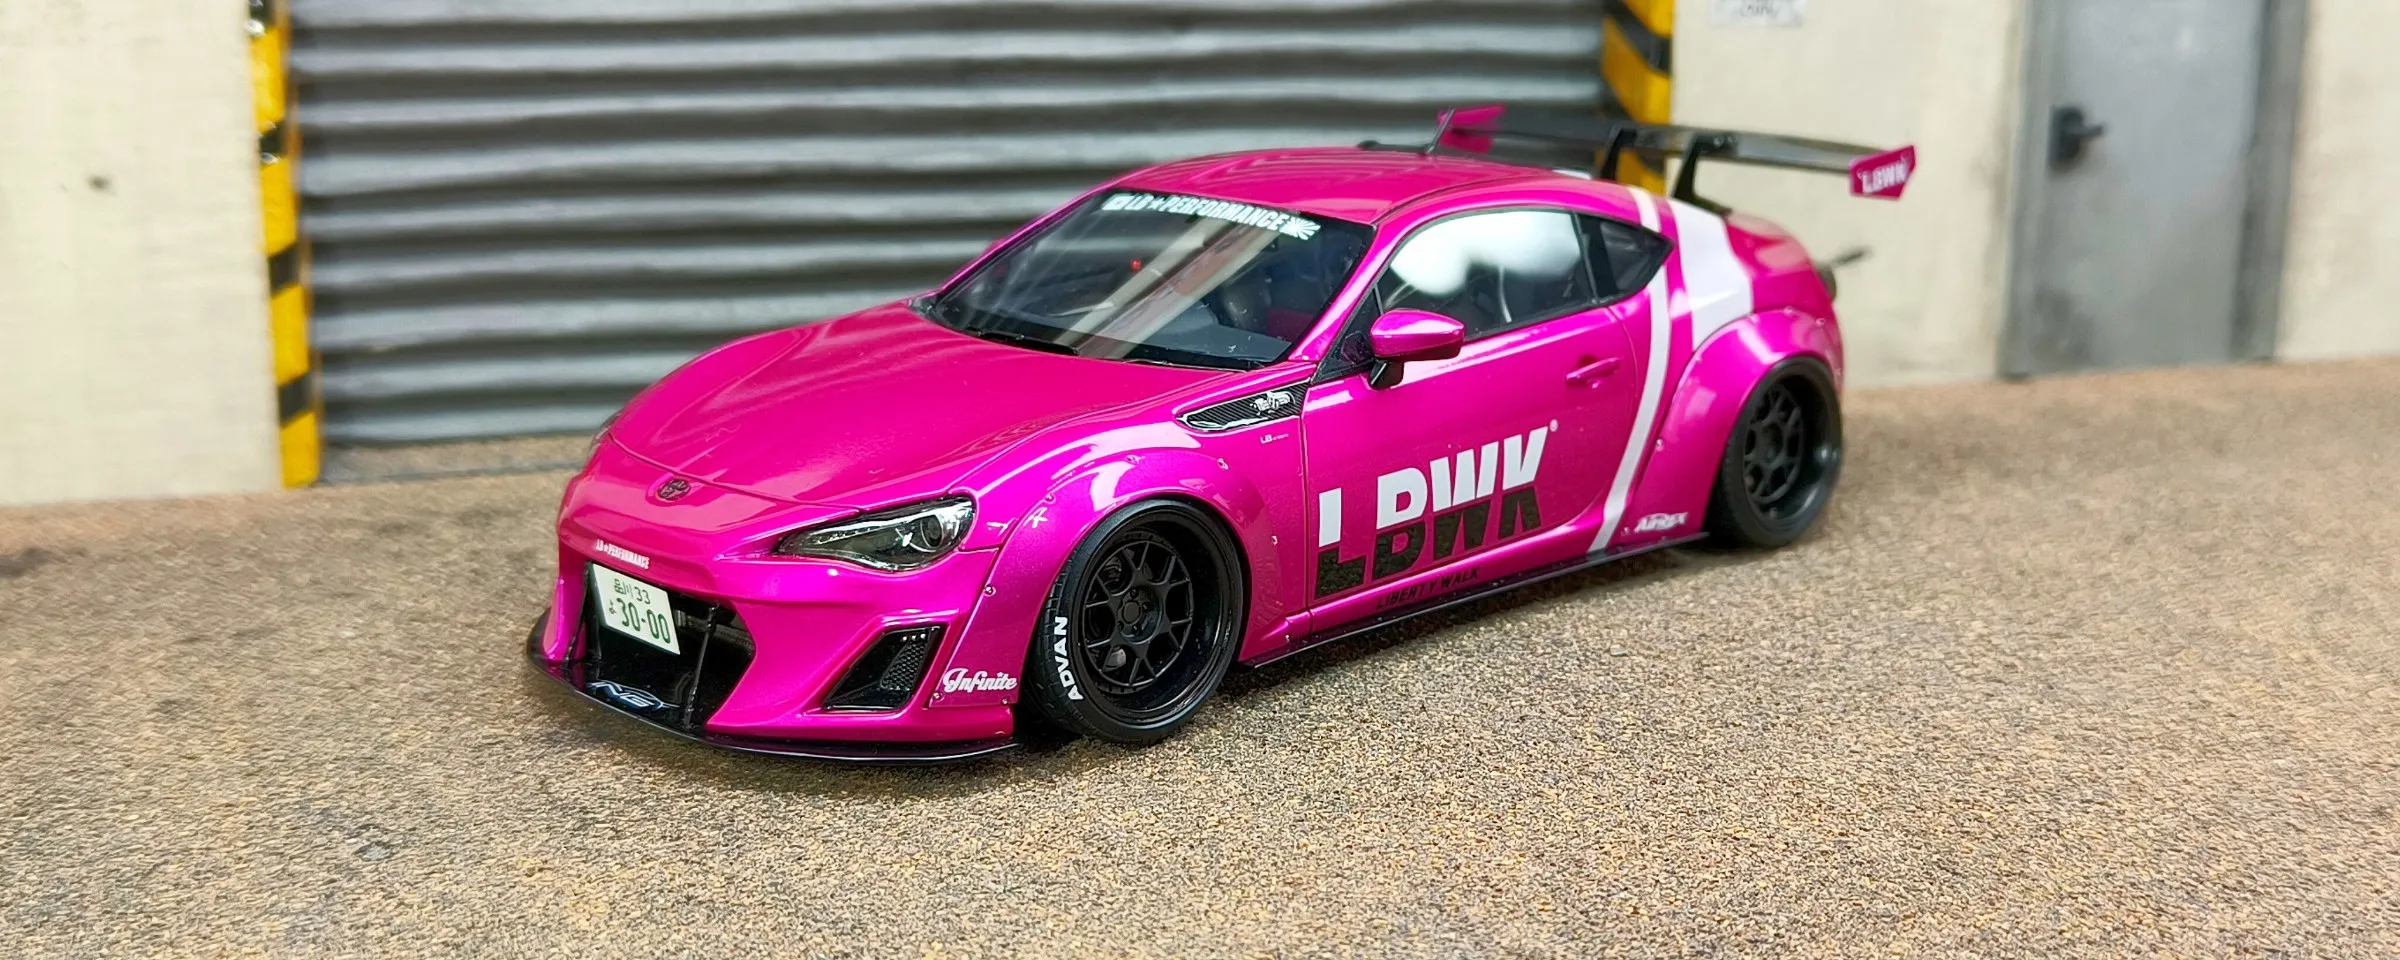
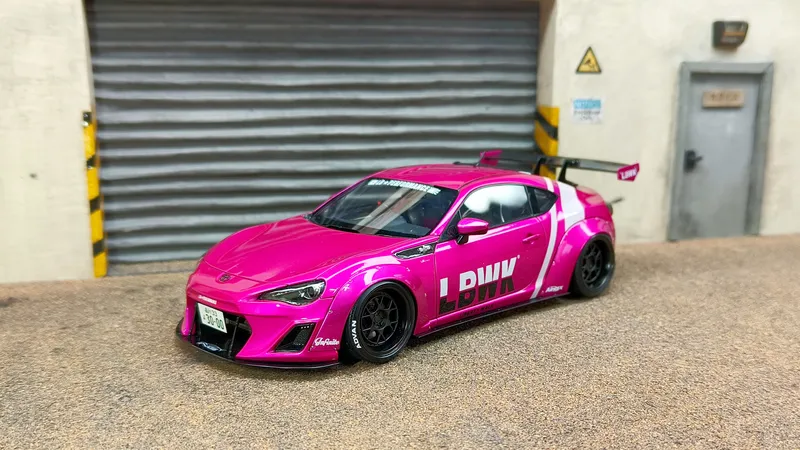
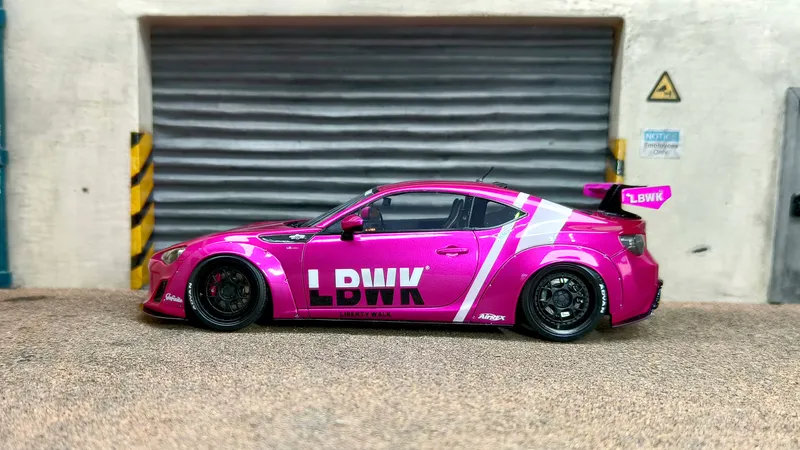
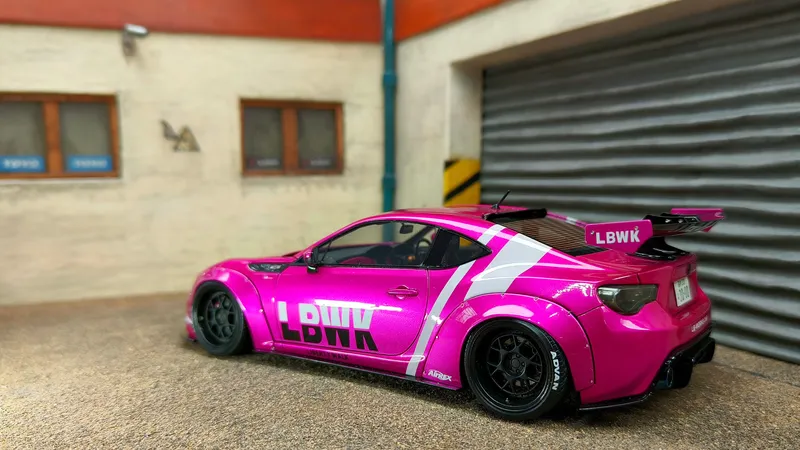
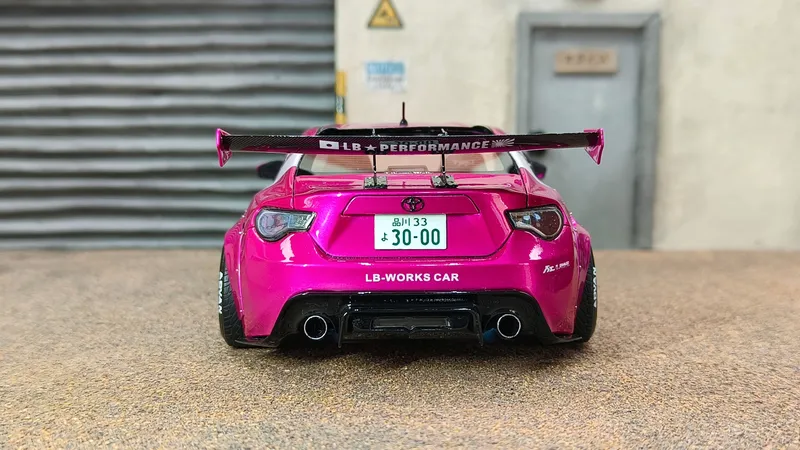
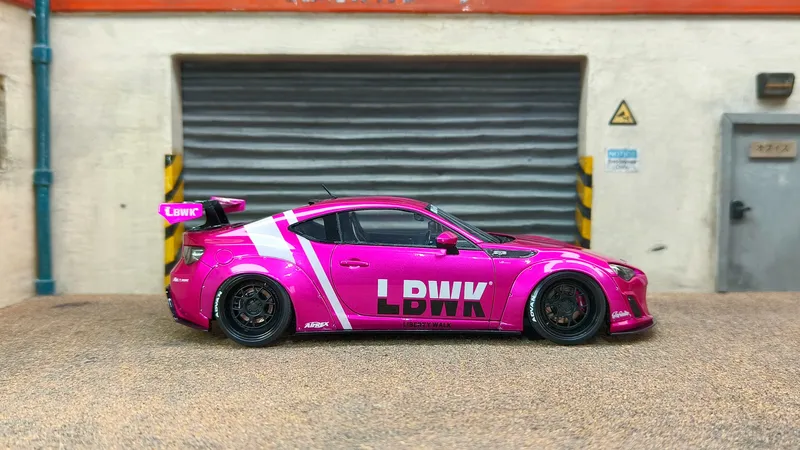
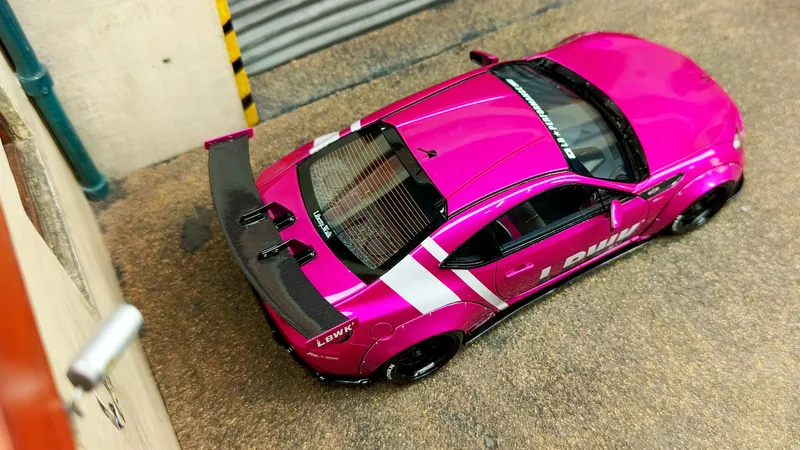
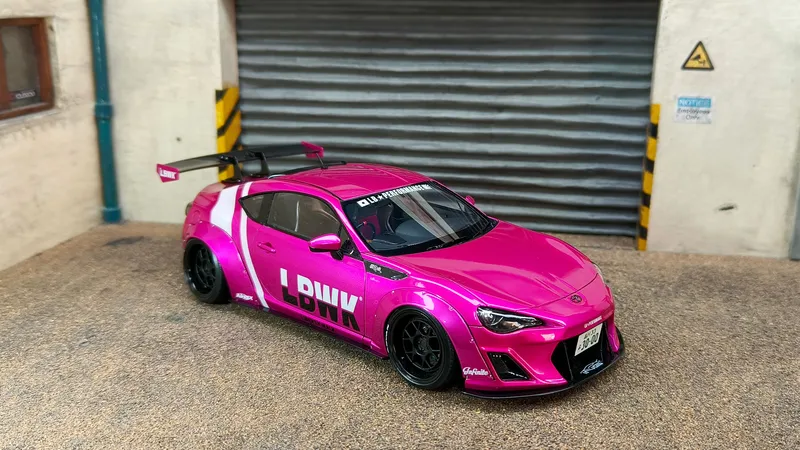
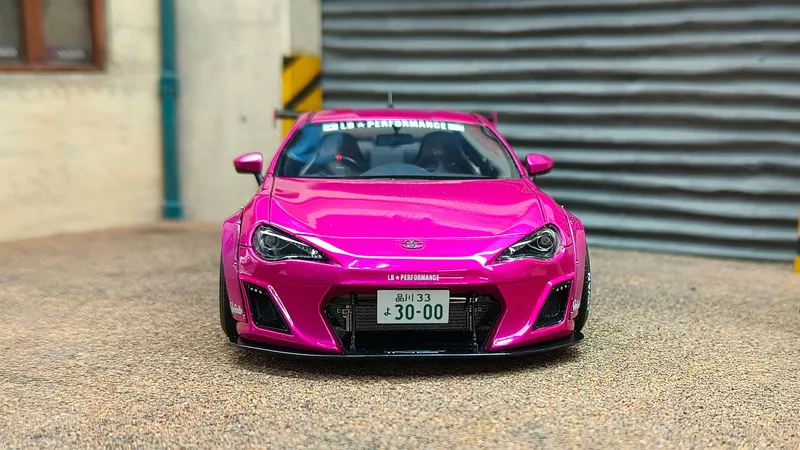
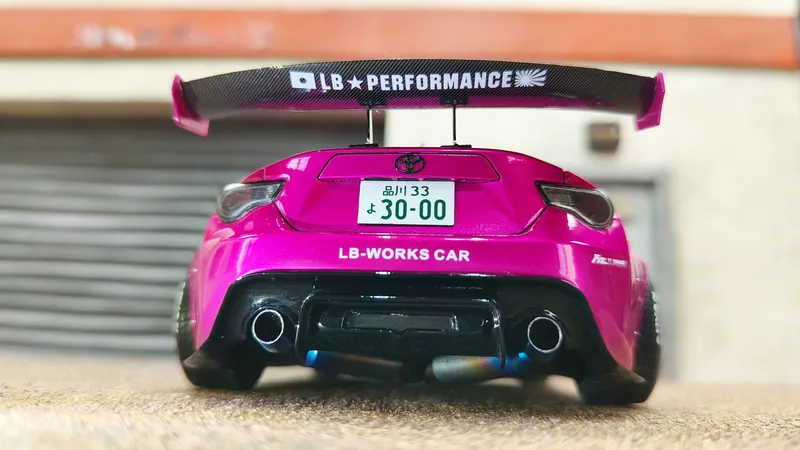
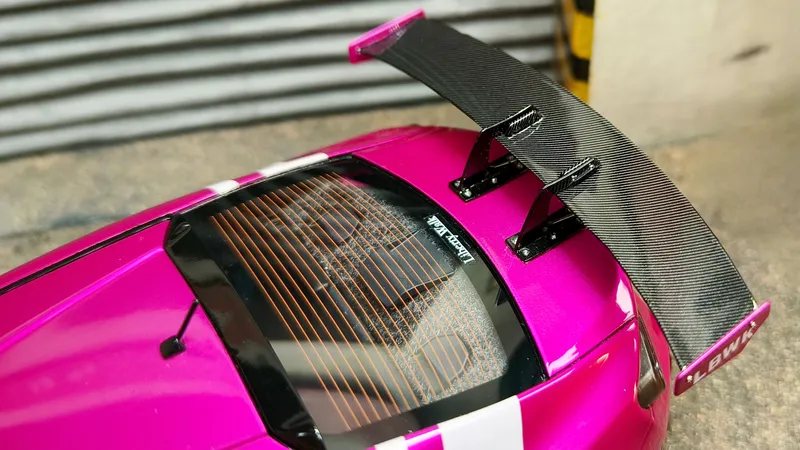
After four months of working tirelessly on this project, I can finally say that my Liberty Walk Toyota 86 is finished! This is a full resin 1/24 scale kit produced by Hobby Design, and it was an absolute pleasure to build. The additional items used were TRD resin front seats, black seat belt material for both the front and rear seats, along with Brembo decals on the front brake calipers. From the very beginning, I wanted to make this Toyota 86 as realistic and detailed as possible. In the summer of 2024, I had the opportunity to visit Japan and, while there, I visited the Liberty Walk headquarters in Nagoya. Seeing their incredible real-life builds up close, I was able to appreciate the level of detail and attention they put into every project. I wanted to bring that same attention to detail into my own scaled-down version, and this became one of the main inspirations behind the build. Another goal I set myself from the start was to use as many Gaahleri and Kaleido Colorworks products as possible throughout the project. I am very happy that I managed to stay true to this goal right through to the end. I used Gaahleri airbrushes, compressor and paint mixer, together with Kaleido Colorworks paints throughout the build. The only other products I needed were 2K clear for the body and chrome paint for the rear section of the exhaust. For the body colour, I airbrushed Translucent Pink over Metal Silver. Beneath the silver, I applied a shiny gloss black primer to achieve the deepest and most reflective finish possible. I would also like to take this opportunity to thank the entire team at Gaahleri behind the GWCC project for this fantastic initiative and for all the hard work that went into bringing it together. It has been a great experience, and I am especially happy to have made some new friends along the way. A big thank you as well to all the other competitors who have supported me throughout these four months by leaving likes, comments and messages. Your support and encouragement have genuinely been appreciated.
Well done to everyone who took part in GWCC. You were all awesome! 🙂👍🏼 And finally, if you like my finished Toyota 86, your vote would be very much appreciated! ☺️
66 days ago
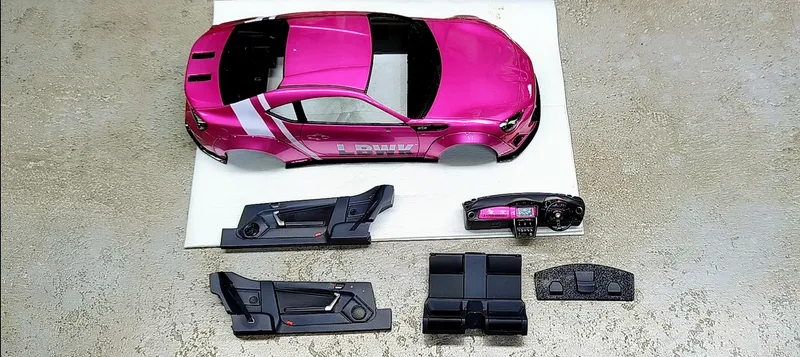
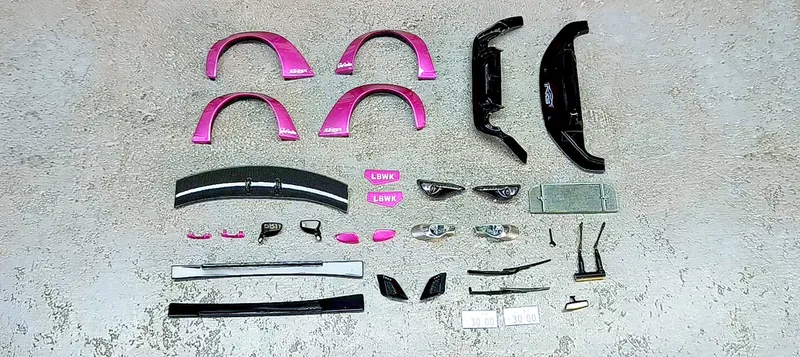
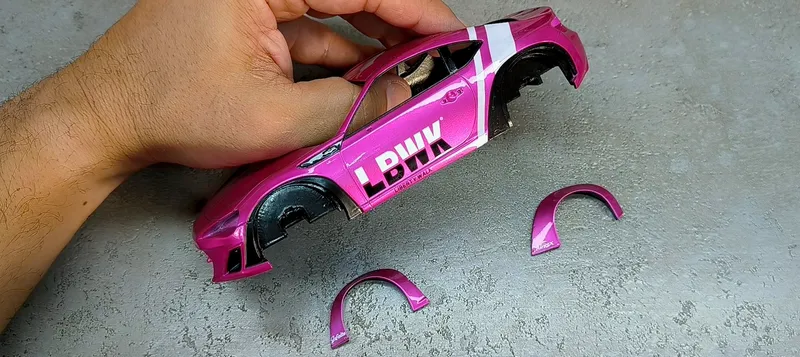
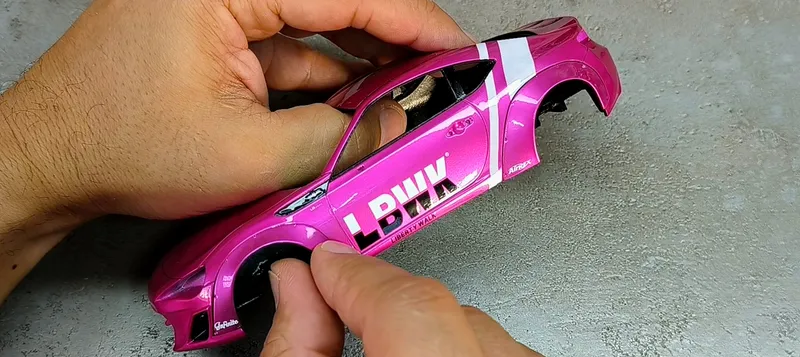
Time to assemble all the remaining pieces and call the Liberty Walk Toyota 86 done! First picture shows all the remaining body pieces, including the wide-body arches which were installed in the last update #19.
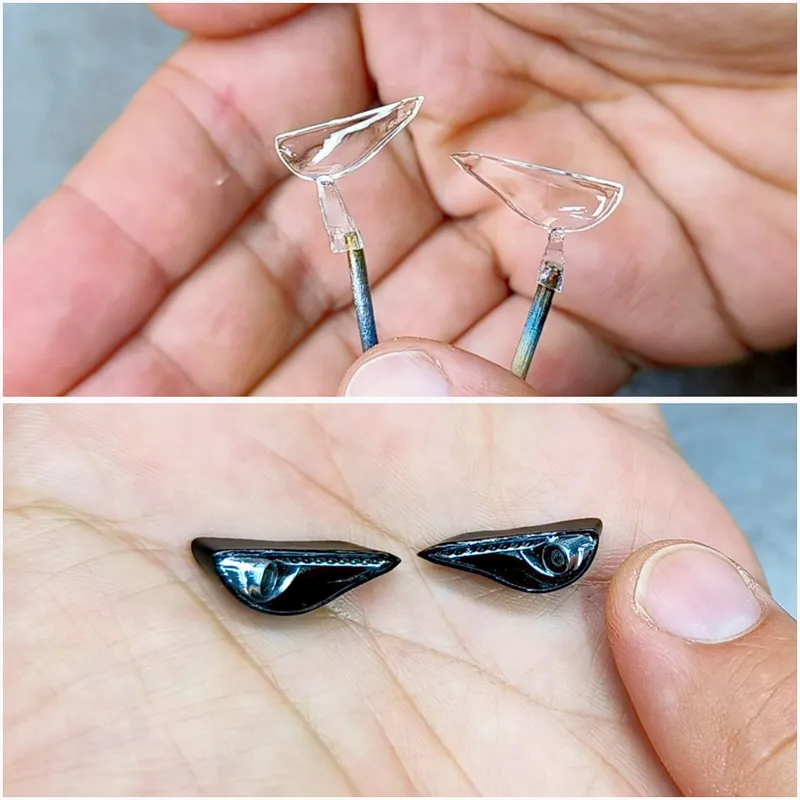
The headlamps lenses were slightly foggy out of the box, so these were clear coated for a full transparent finish. The headlamp pieces were detailed according to the real pieces, using Kaleido gloss black, metal silver and finished with chrome detailing.
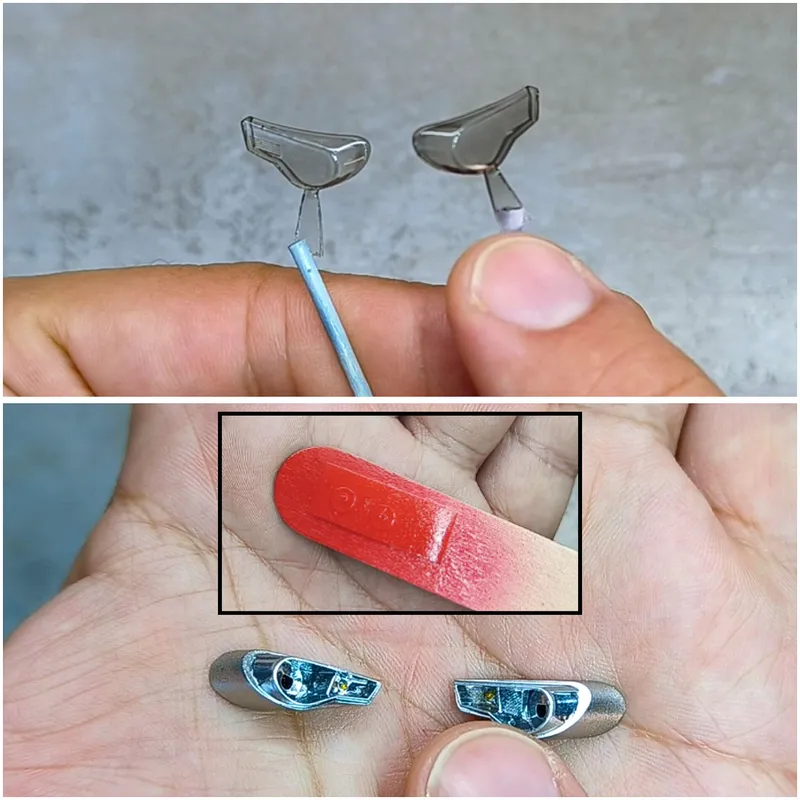
The taillamps lenses were tinted with Kaleido translucent black while the inner clear lights were airbrushed with translucent red. The main pieces were airbrushed with metal silver with chrome details added too.
The interior door cards, dashboard, rear seat and parcel shelf attach directly to the body, not the interior floor. So these were next to be attached.
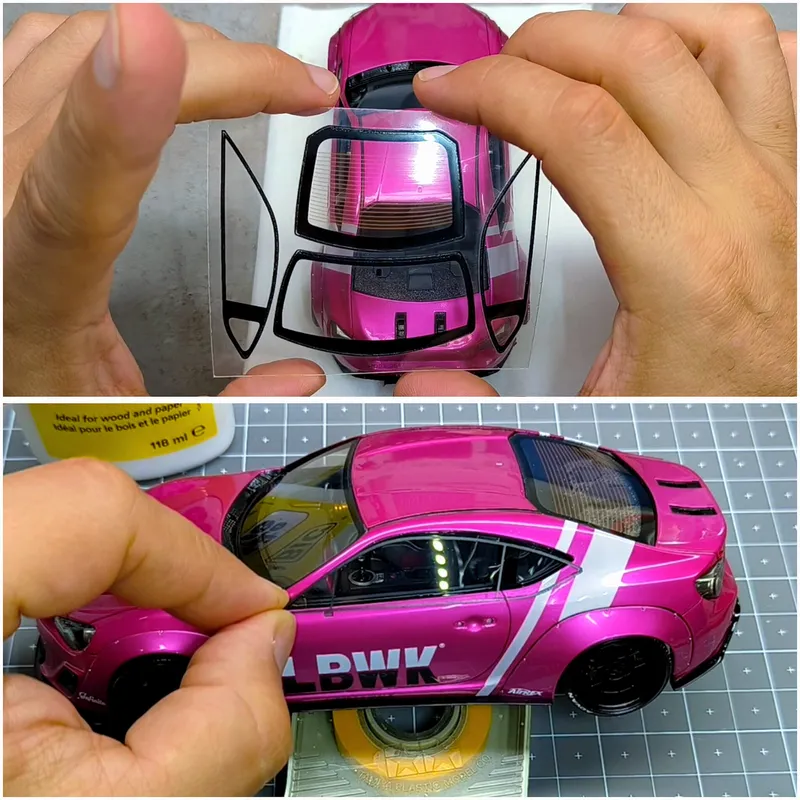
Finally, the windows! Since this is an HD (Alpha) kit, the windows are thin plastic pieces and these were carefully attached using RC glue. Finally, the side windows photo etch pieces were attached on top of the clear windows.
That concludes the 86! Next update will be the finished pictures! ☺️
67 days ago
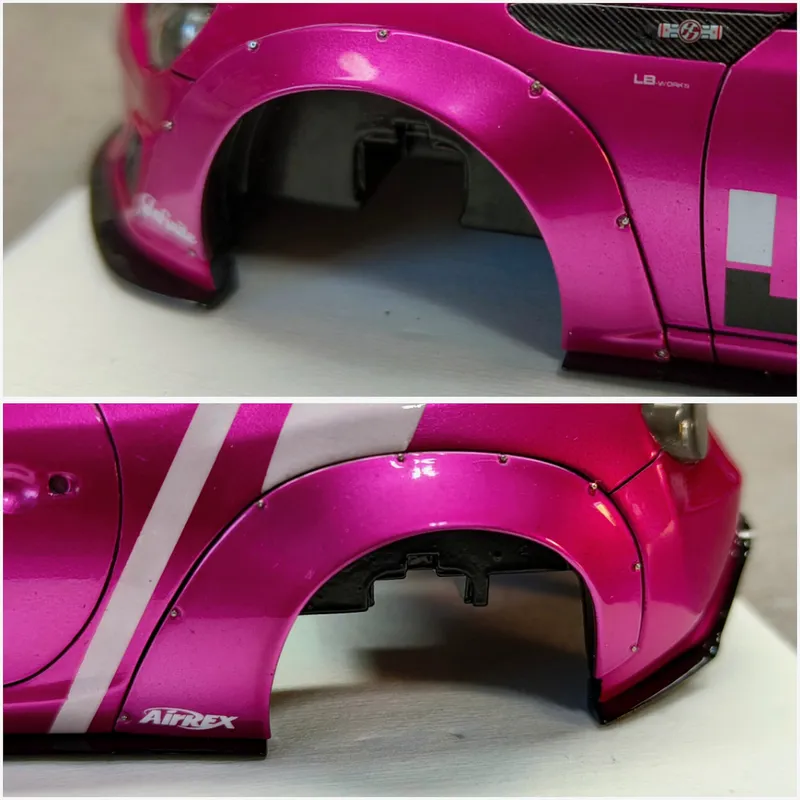
This update is about the rivets installed to the wide-body fenders to make them more realistic!
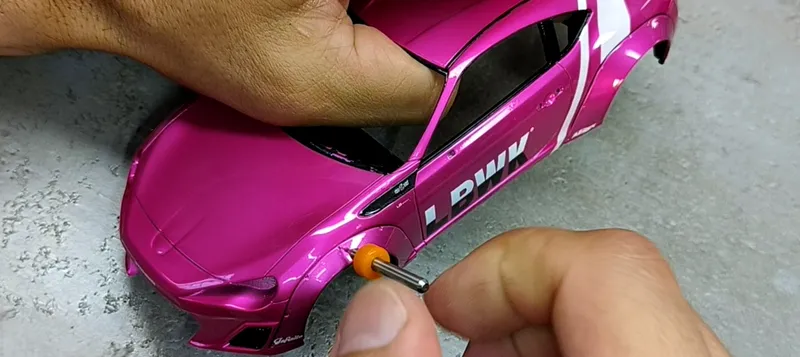
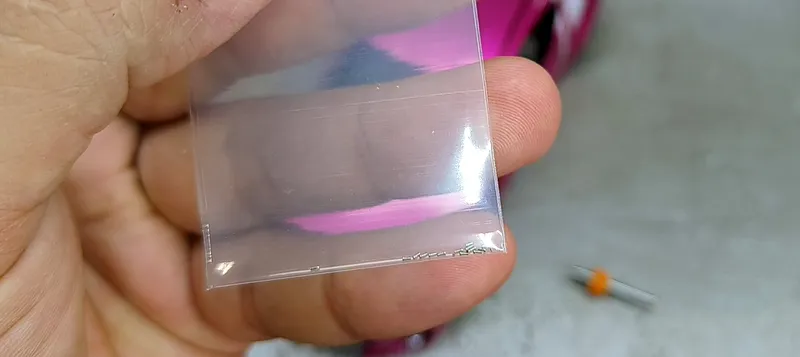
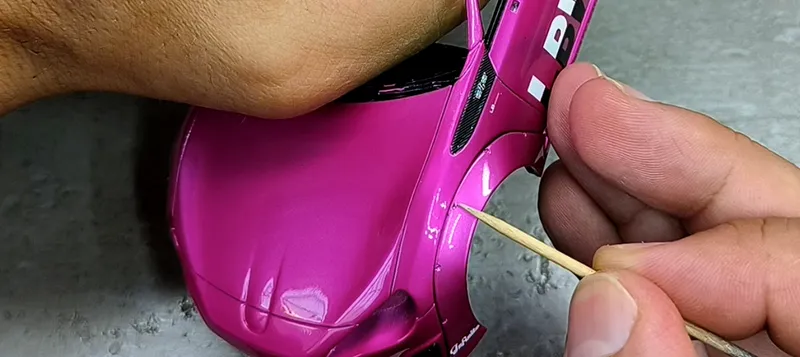
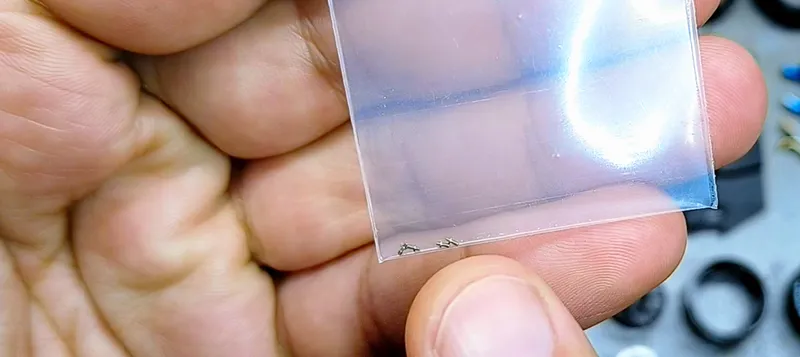
These metal rivets were included with the Hobby Design kit, however you have to drill each hole one by one to fit them.
During body preparation, before any airbrushing was done, I drilled each hole with a 0.3mm drill bit. Once all airbrushing and polishing was done, the wide-body arches were installed and each hole drilled again with a 0.4mm drill bit.
To install each rivet, I used white PVA glue and a toothpick! This was slightly dipped into the glue, picked the rivet from the head with the glue, dipped the rivet from the back side into the glue, and finally inserted in place. This is a much safer method because with a tweezers I'm sure that I would have lost half of the rivets! 🙂
Thanks for watching 👍🏼
67 days ago
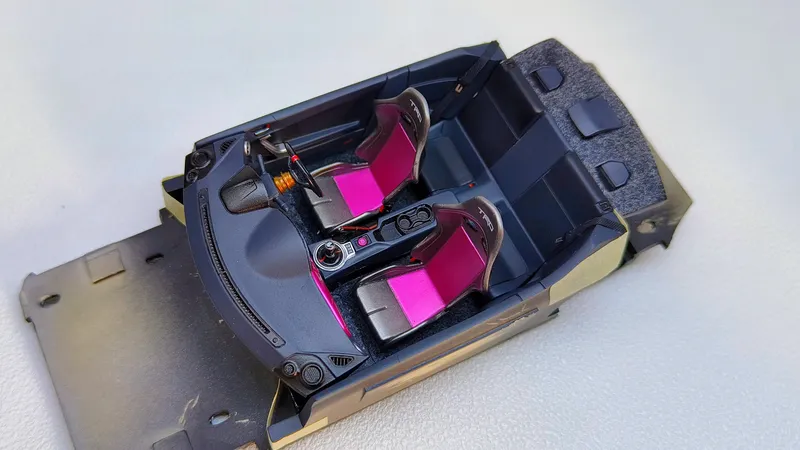
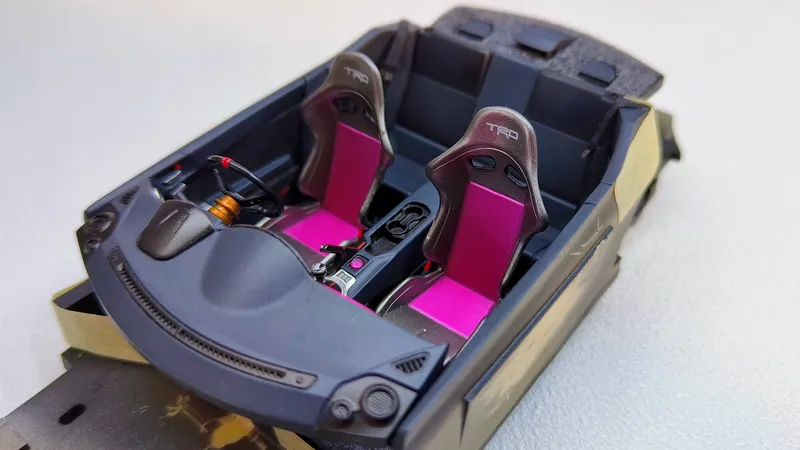
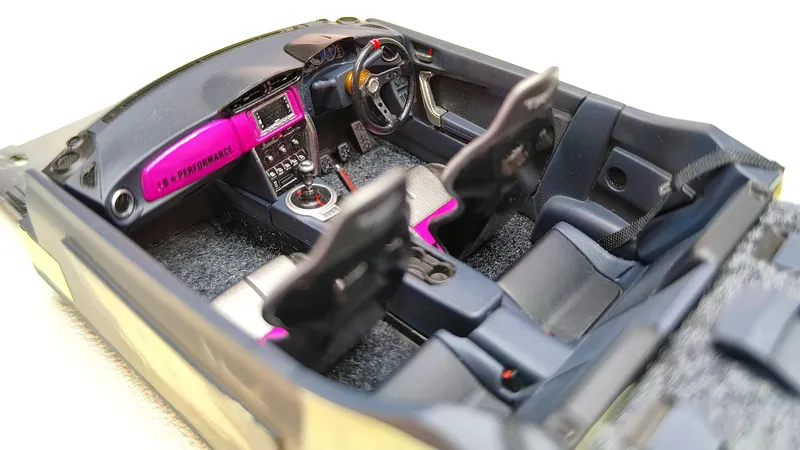
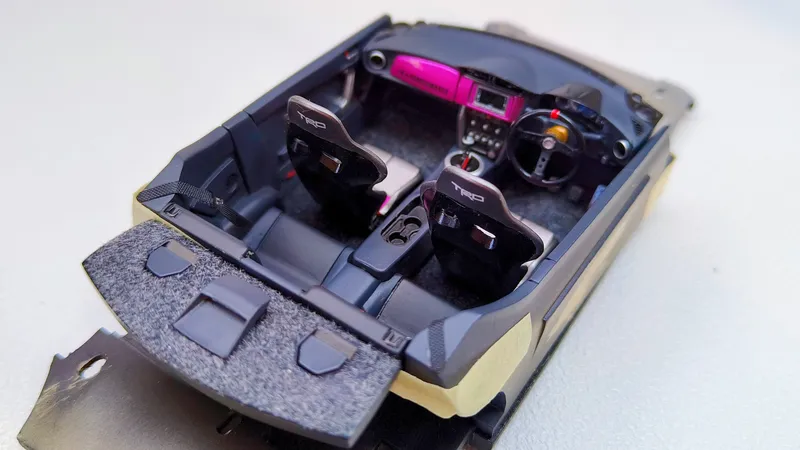
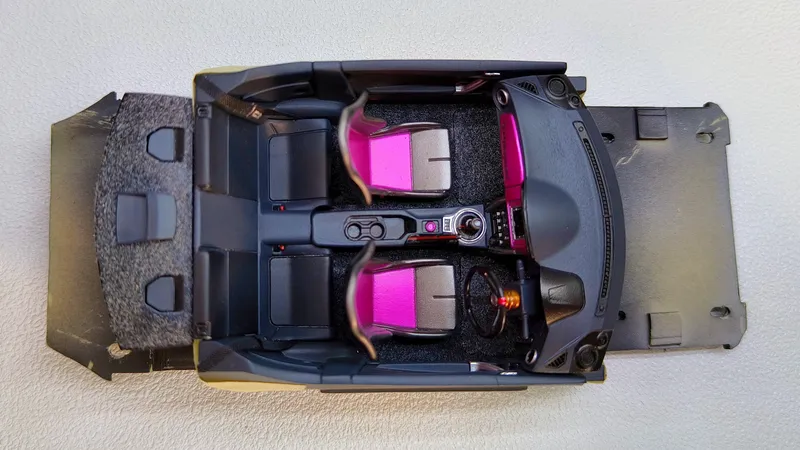
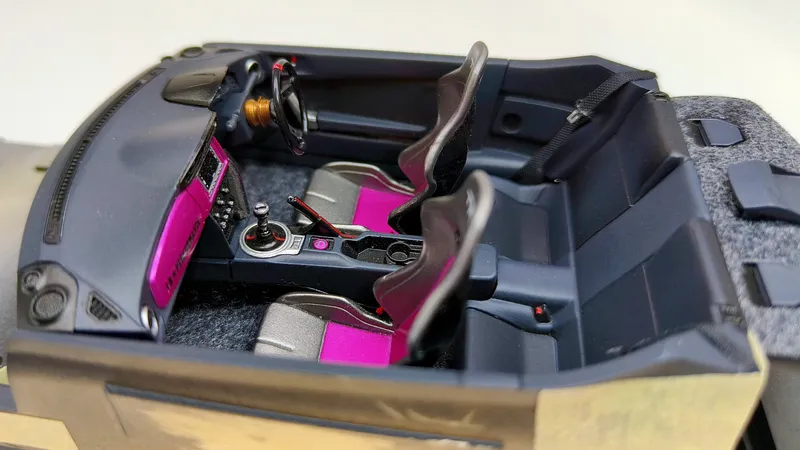
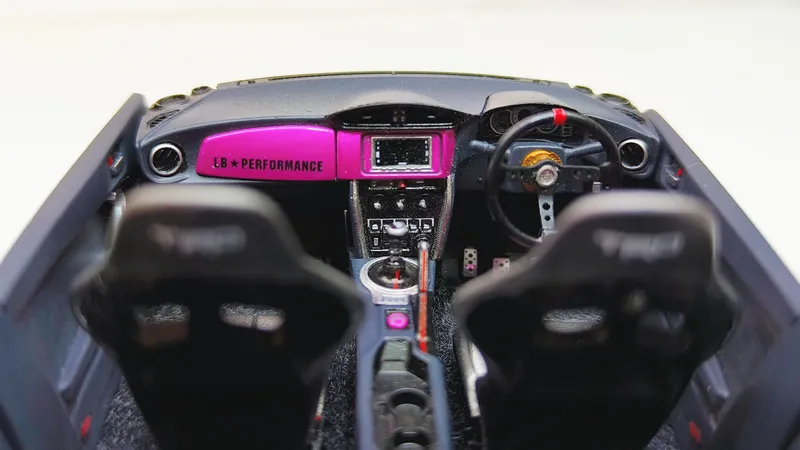
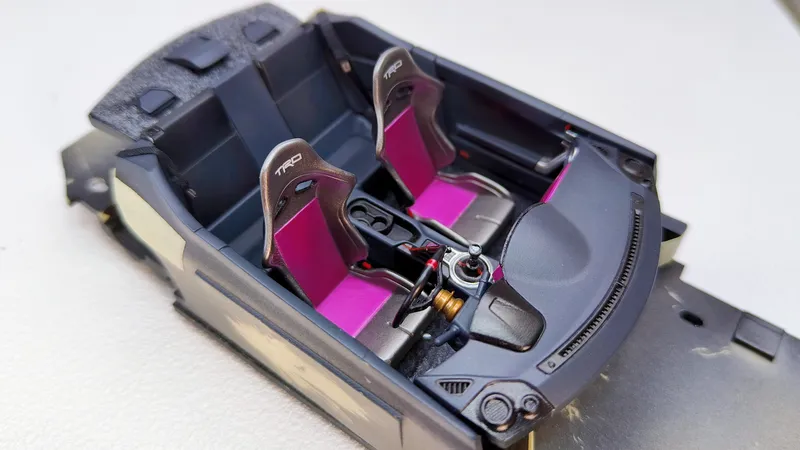
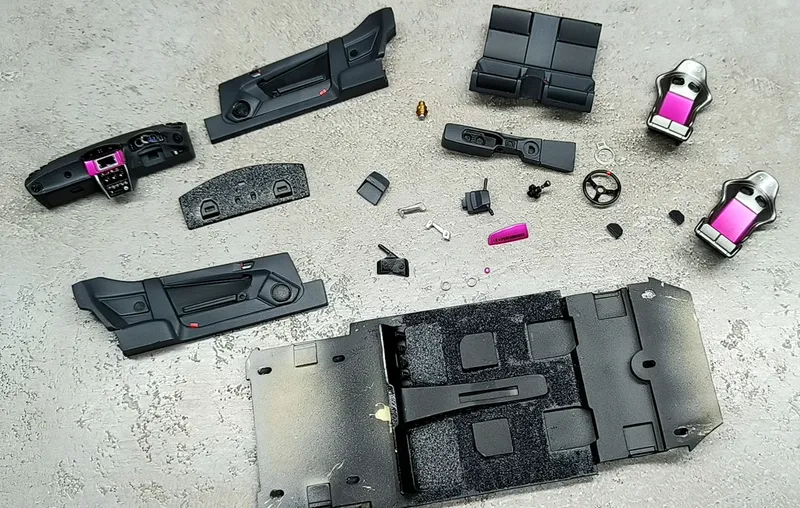
The interior was then fully assembled and here are pictures of how it looks now. I really like the look of the new seats, gives a hint that it is a modified car!
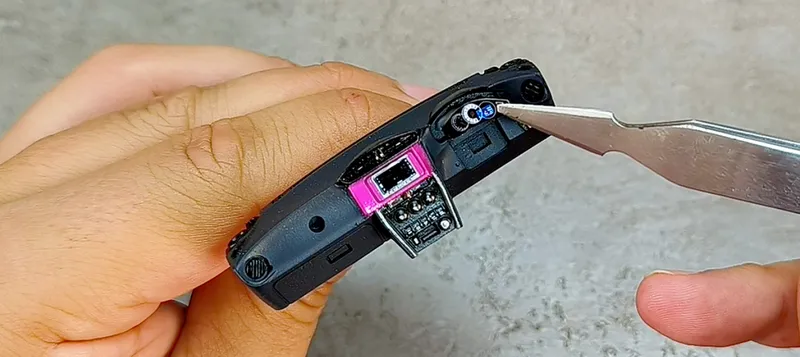
Tried to add as much detail as possible, including UV glue in front of the gauges to make these more realistic.
Extra items were the black seat belts on the back. The front ones will be attached directly to the B-pillars since the side panels attach to the body, not the interior tub as seen.
Thanks for watching 🙂
70 days ago
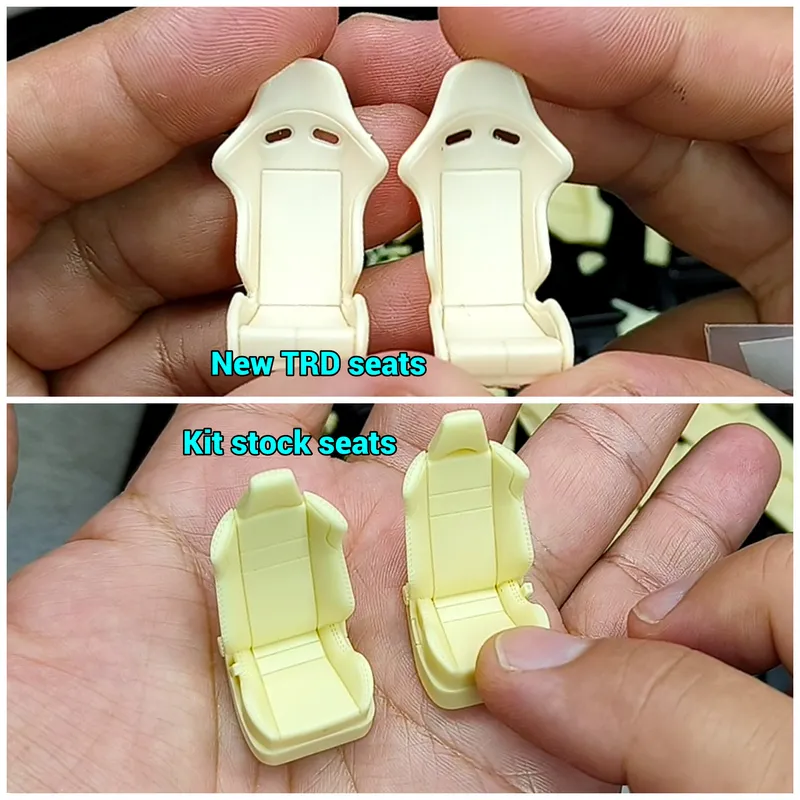
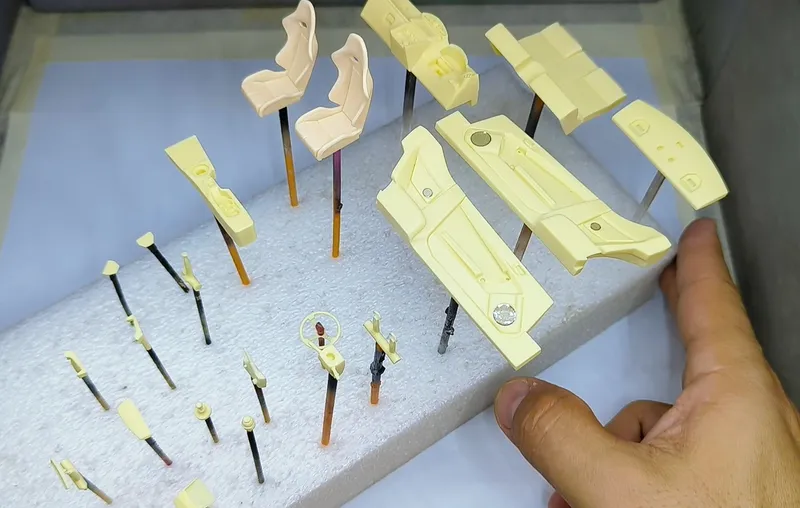
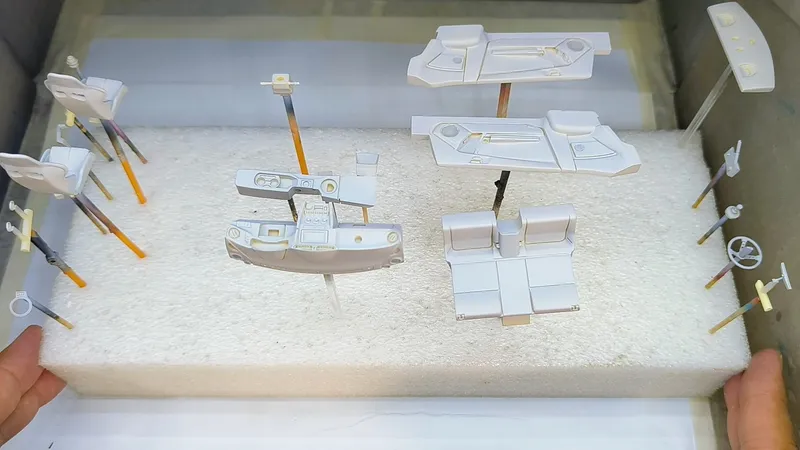
With the chassis finished, next job was the interior! The front seats included with the kit are the original Toyota 86 ones. Since this is a modified car, I decided that a set of sportier seats would look more appropriate! So I chose a set of TRD racing resin seats to replace the originals.
Each part was cleaned and prepared, followed by airbrushing using the Kaleido grey primer. Then each part was airbrushed in the desired color. Some pieces needed more than one color, so these were masked accordingly. This was the first ever interior where I used just Kaleido paints to color everything 🙂
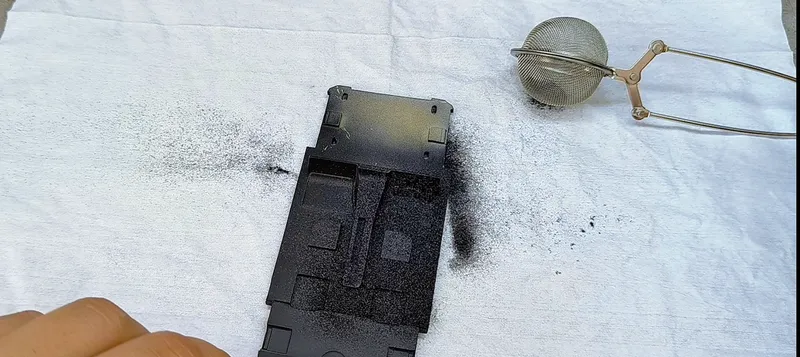
Finally, the interior floor and rear parcel shelf were covered with flocking to make them more realistic.
71 days ago
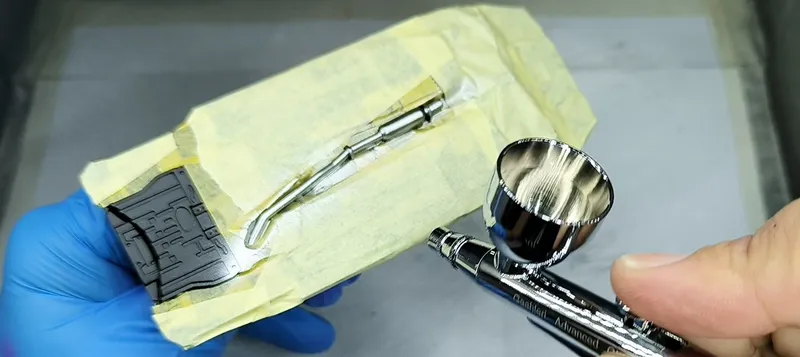
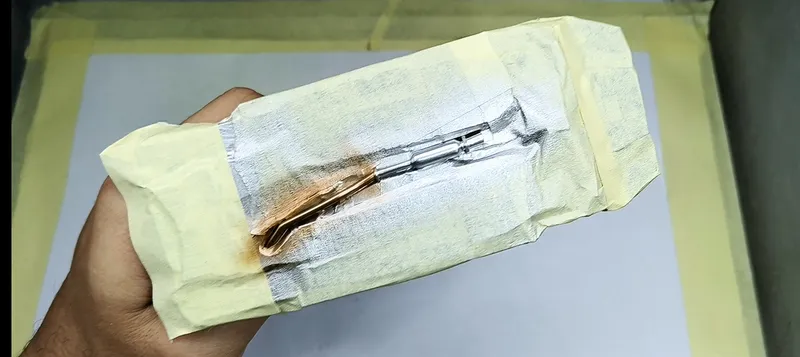
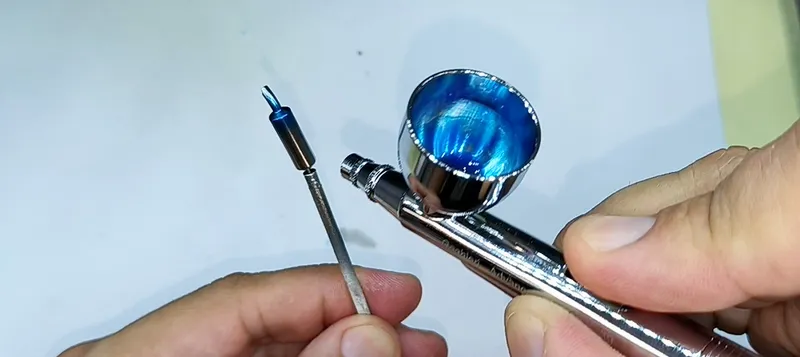
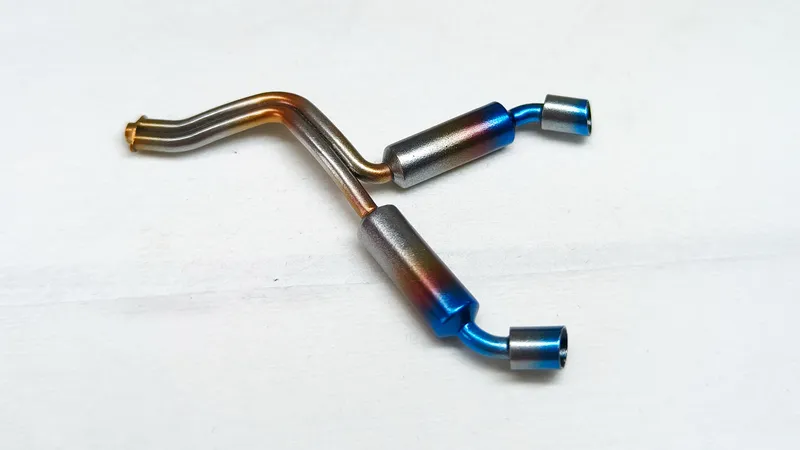
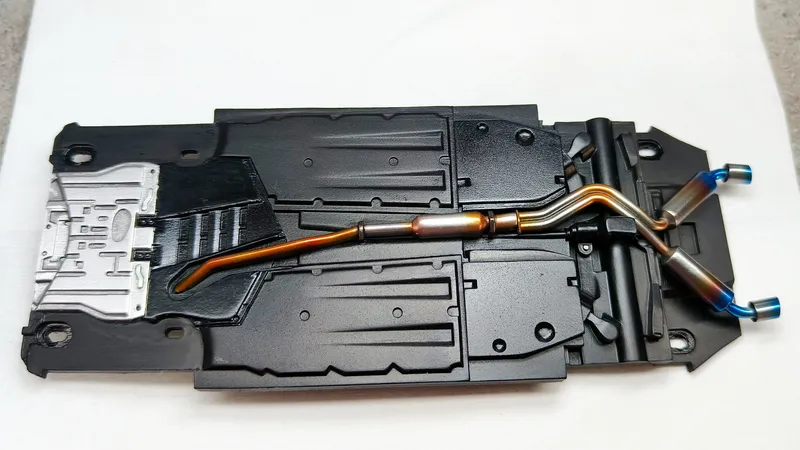
Final job on the chassis was the exhaust! To make this more realistic, I used a variety of translucent colors from Kaleido to add that JDM modified look to it!
First I masked the exhaust (together with the engine plate) and then airbrushed them with Kaleido metal silver. Then I added some shadowing with clear brown and clear yellow.
The main silencers at the back were airbrushed with Alclad chrome, then I added the blue translucent followed by a line of red and brown.
The hubs, disc brakes and body attach directly to the bottom side of the body, not the chassis (since this is an HD/Alpha kit) so these will be attached later to the body piece.
Thanks ☺️
71 days ago
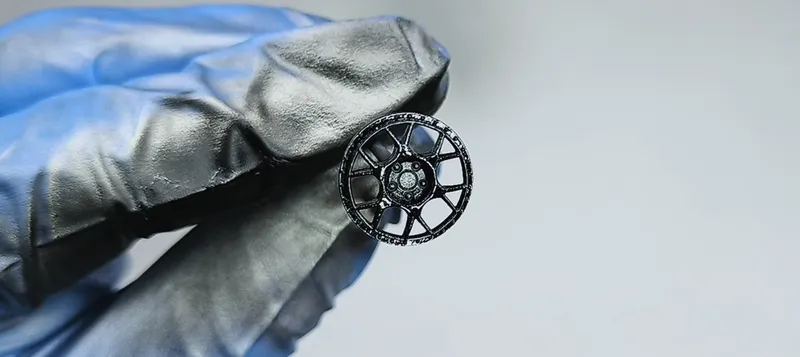
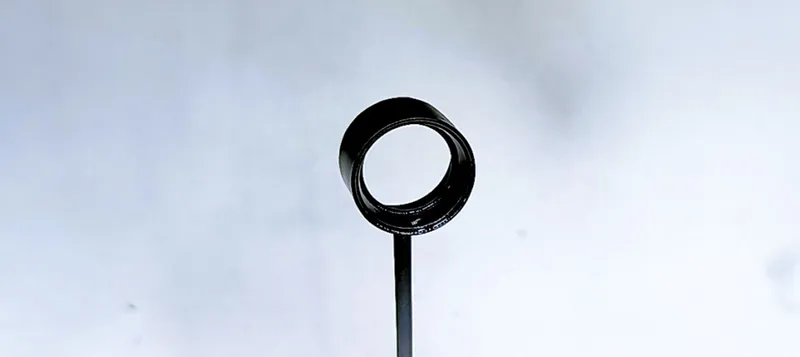
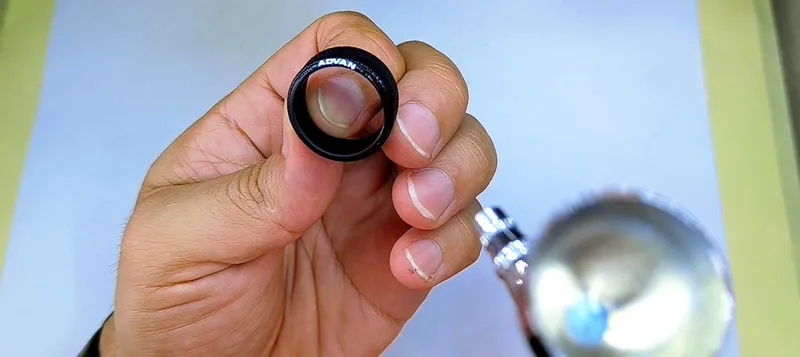
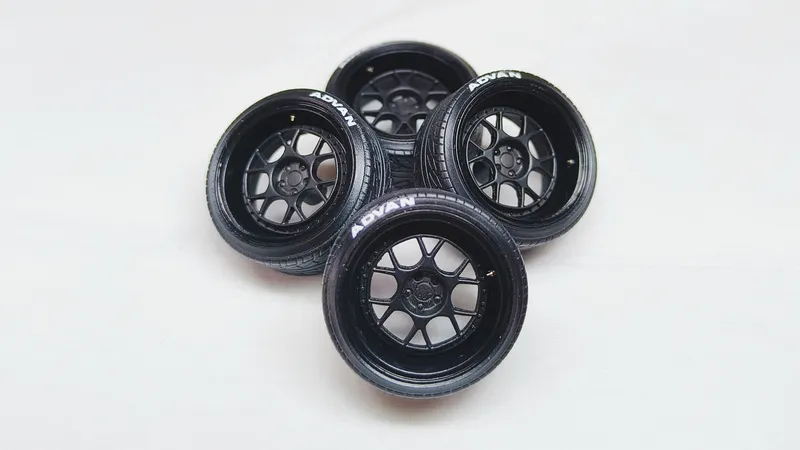
These are the same rims included with the Hobby Design Liberty Walk Toyota 86 kit, including the tire valves.
Rims central faces were airbrushed with Kaleido matt black while outer rims circles were airbrushed with Kaleido gloss black.
Holes for the metal air valves were already drilled before airbrushing, so after gluing both parts of the rims together, these air valves were installed in place.
Finally, I attached the tire decals and then airbrushed 2 quick layers of Kaleido semi-gloss clear to seal these and prevent damage during assemby.
Thanks for watching ☺️
72 days ago
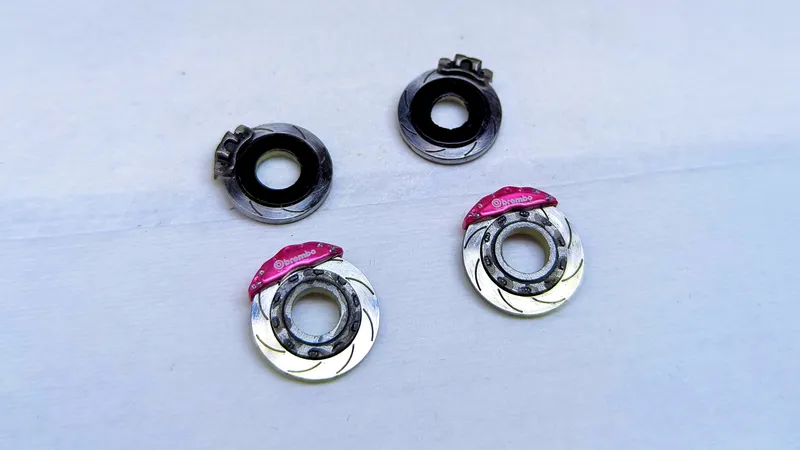
Time to make the disc brakes more realistic! The front calipers were airbrushed in the same Kaleido translucent pink, matching the body. I also added Brembo decals to add that little more detail. Rear calipers were airbrushred in a custom mix of Kaleido metallic grey and drops of black.
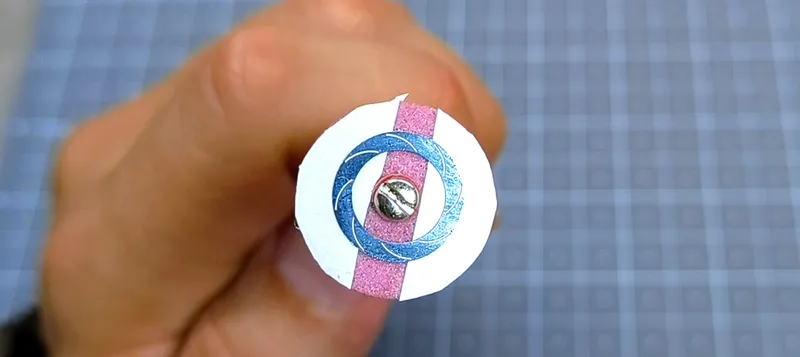
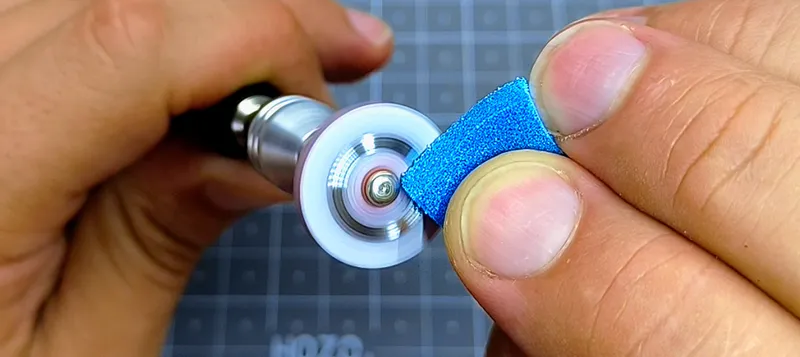
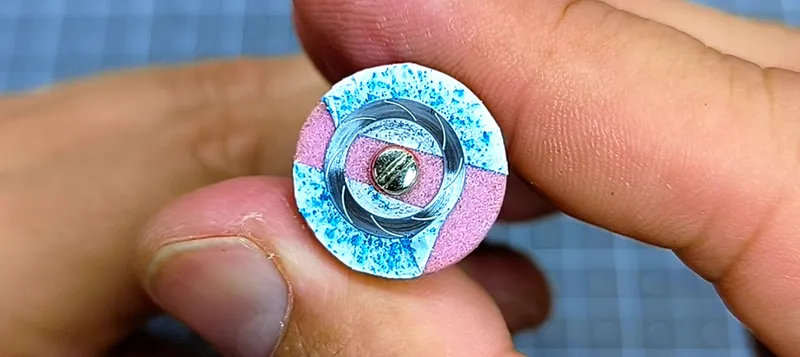
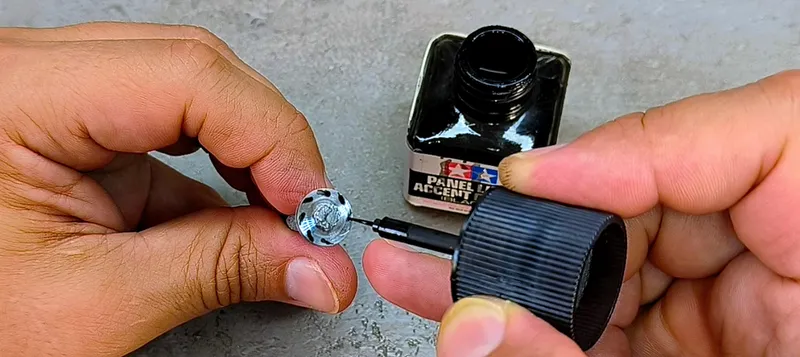
The photo-etch disc brakes were attached to a rotary tool and then lightly scratched with a sanding sponge, as seen in the pictures. This was done to add light round scratches to the surface and add that used look. Finally, I filled the grooves with Tamiya black panel liner to add more realism.
Thanks 👍🏼
73 days ago
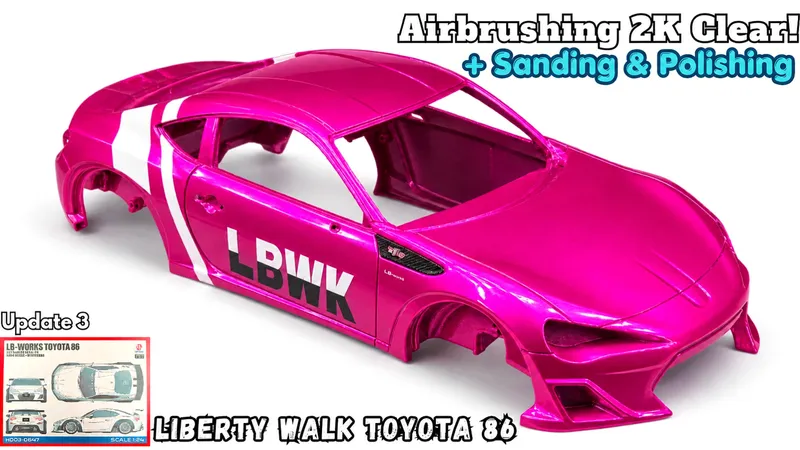
Third update video has been uploaded on my YouTube channel and this can be watched here 👇🏽
https://youtu.be/K-6IdWhNTFk
This update begins with applying carbon fiber decal to the rear spoiler. This is followed by airbrushing 2K Clear to all body pieces. After 3 days, this was sanded down to remove all orange peel and then polished using automotive polishing compounds.