
Adam Jusyk
@adamjusyk2
68
Following
95
Followers
23
Updates
675
Likes
125
Comments
16
Votes
151 days ago
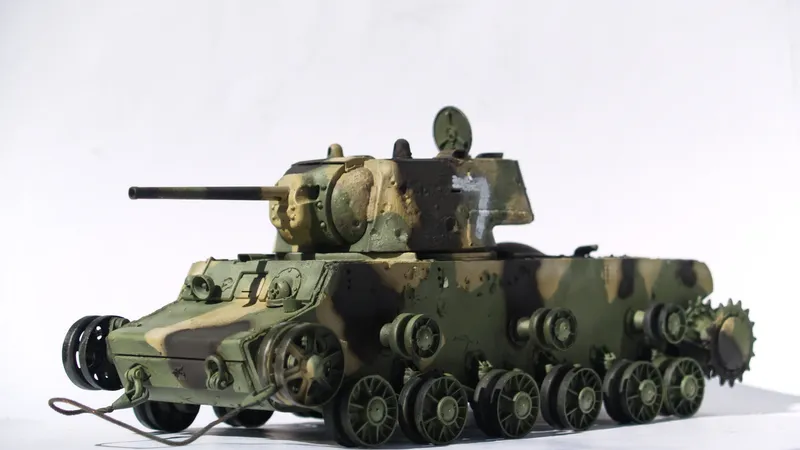
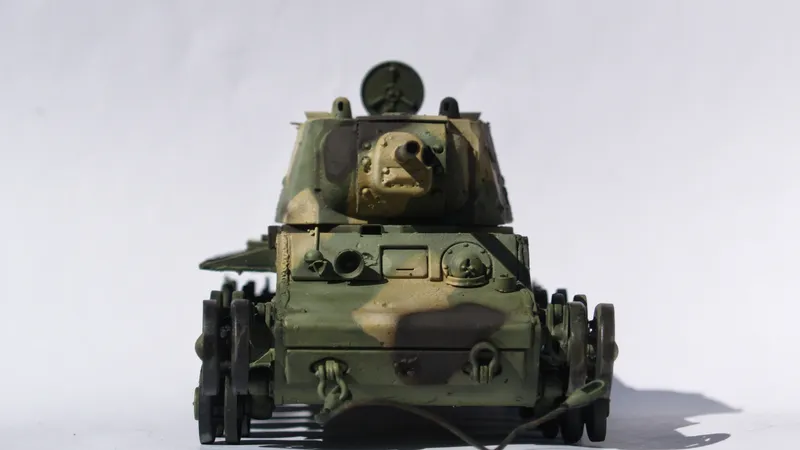
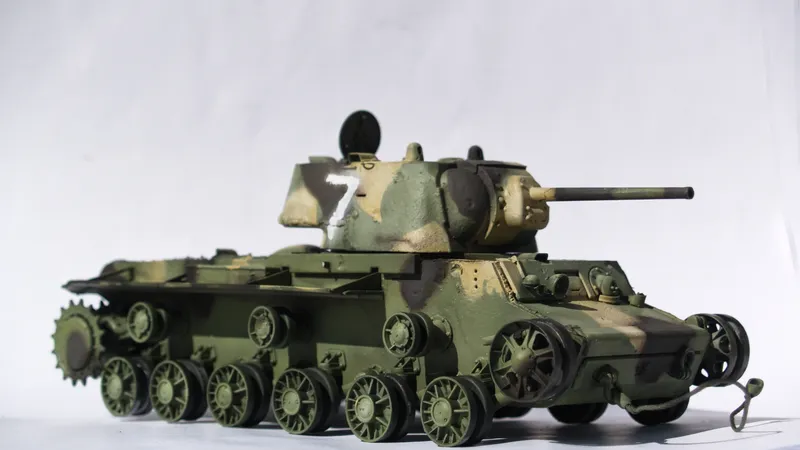
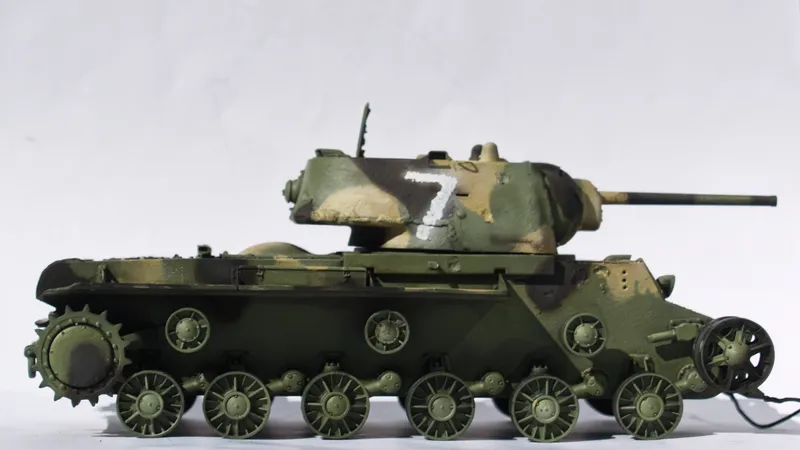
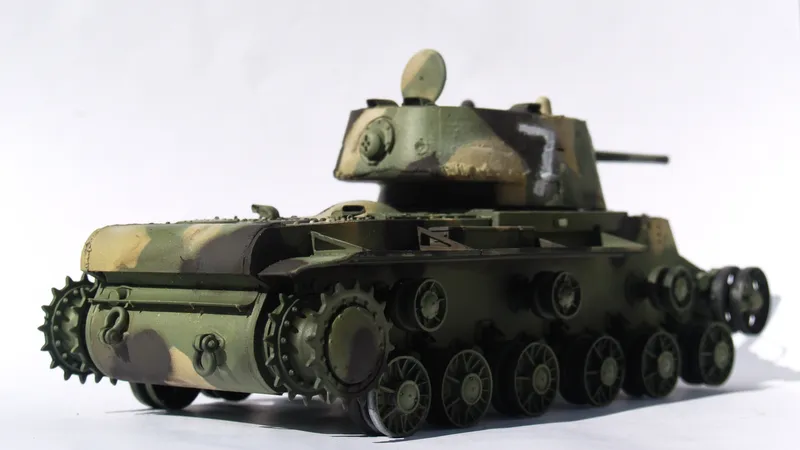
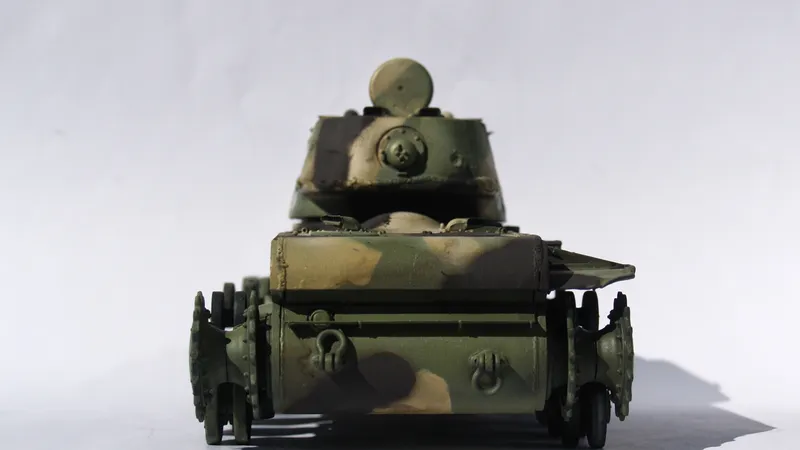
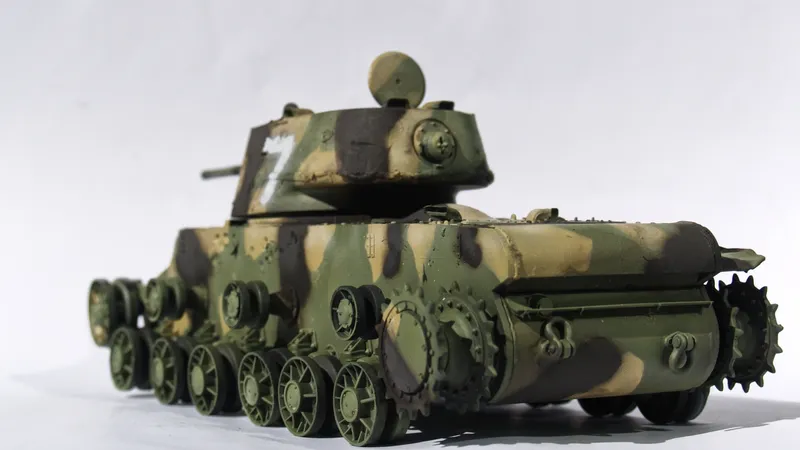
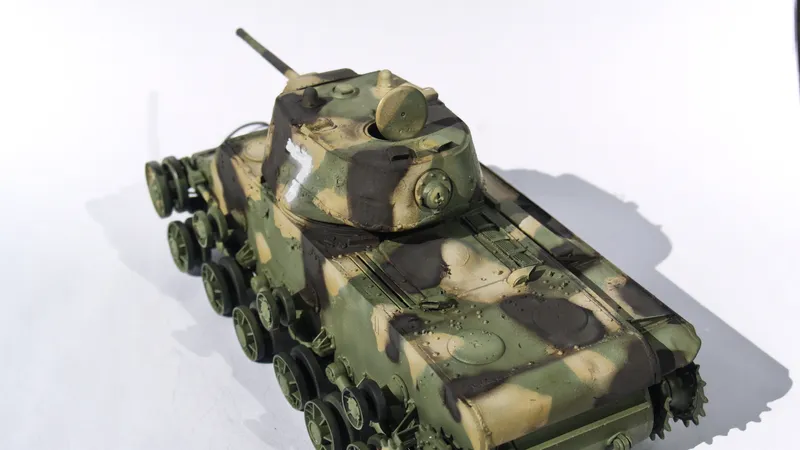
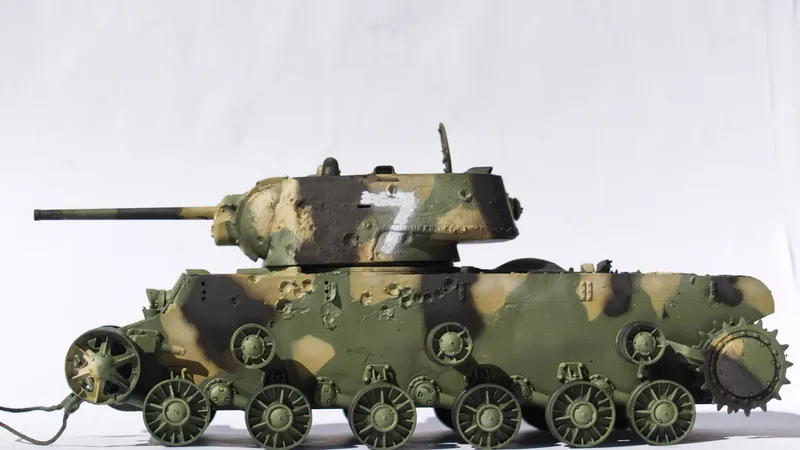
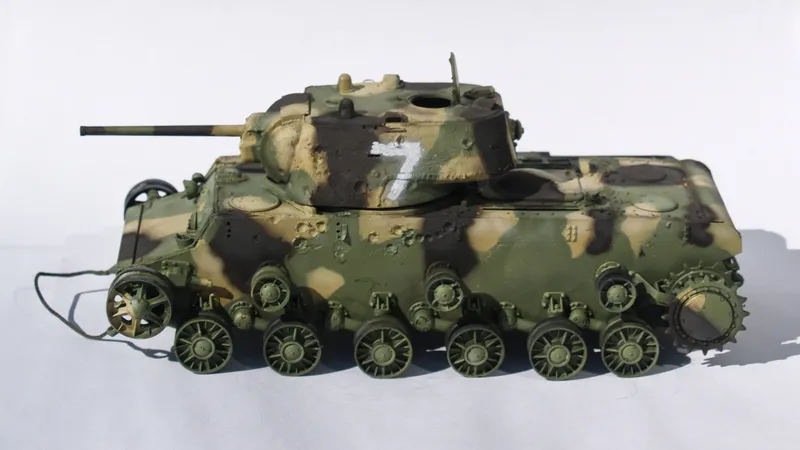
Day 6 and 7: Airbrushing the camo
Model finally painted. I used Gaahleri GHAD-39 airbrush. All the colors were mixed from Vallejo and AK 3rd Gen acrylics. I diluted them with AK 3rd Gen thinner. This is my standard approach to airbrushing. These paints spray really well and they are less toxic than alcohol based paints.
First, the model was covered with dark green similar to 4BO. Then, I Started adding multiple highlights by adding successively lighter olive color, yellow and white. Highlights have to be very visible, because weathering will tone it down. I repeated this procedure with every color, lightening it with lighter shade. Green areas around the comuflage patches were masked with Patafix.
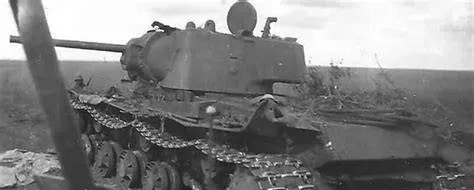
This three-color camouflage pattern is based on photos of real vehicles. It was used until 1944. After 1944 soviet vehicles were painted only in green like 4BO. I tried to reacreate the camo pattern on bottom of the picture.
- S
 STUDIO93591 days ago
That's a great camouflage color scheme :p