

Scott Wood
@scottwood
12
Following
72
Followers
11
Updates
270
Likes
45
Comments
17
Votes
137 days ago
Week 1 - Construction pt. 1
Hello and thank you for checking out my progress post!
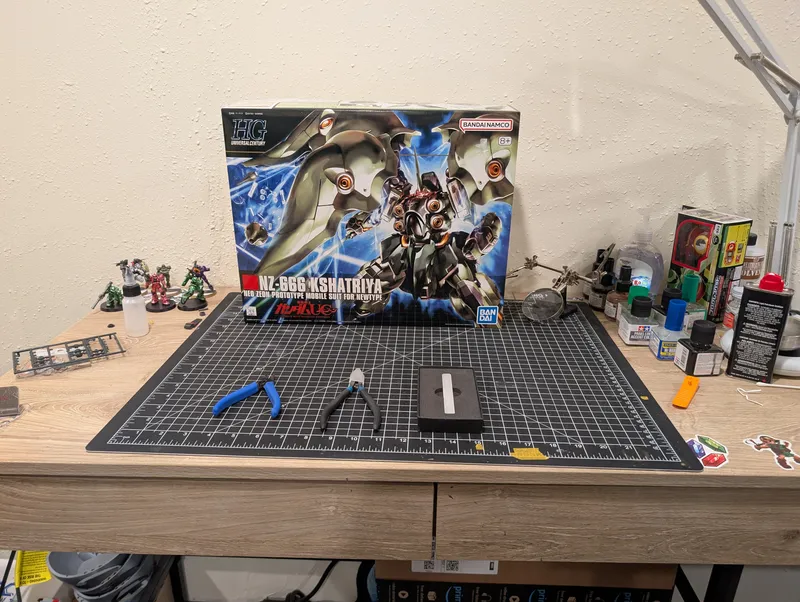
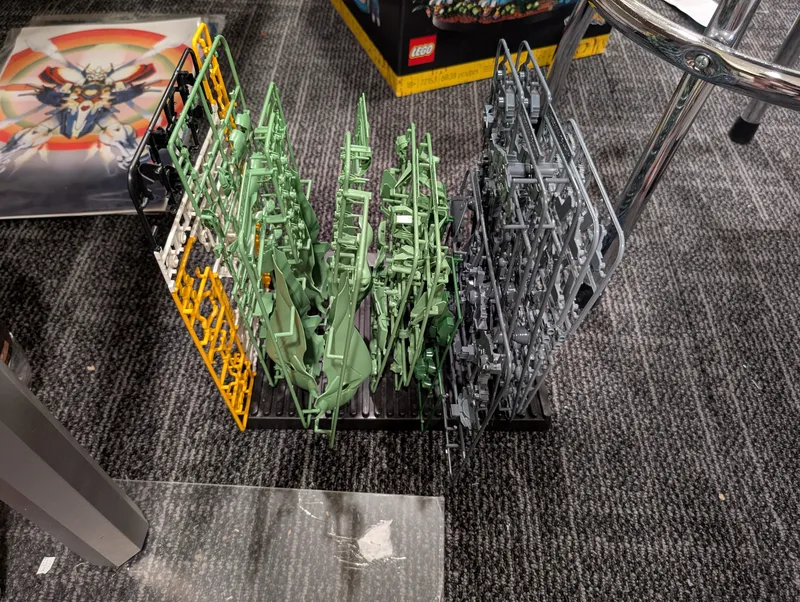
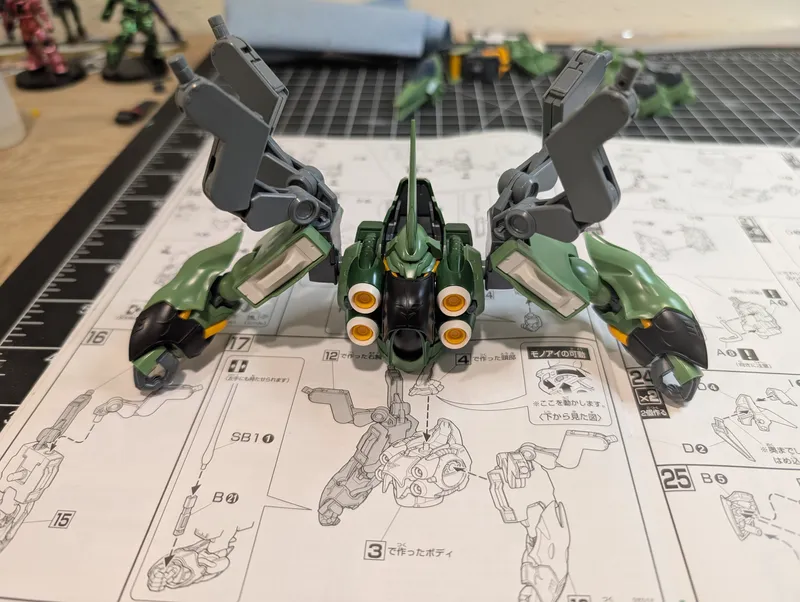
This week is a little underwhelming to look at but good progress was made. This week, I started actually building the model, yay! Despite being an HG set this is a pretty sizable model which I wasn't expecting. It has nice detail too which is awesome. With this I'd say it's halfway, or just over, completed.
As for my process, I am building the model so I can pose it, measure things out, and get a good idea of what I want it to look like when it's 100% complete. But that does mean the whole process takes a lot longer because I put it together and then take it apart, only to put it together again 🫠. I do think this is super important when painting though, because it informs me on what is actually visible, and in some cases what colors I think need to change to be more accurate.
Now for my actual build process I think I go a bit extreme, but I do think all the small details add up and become visible.
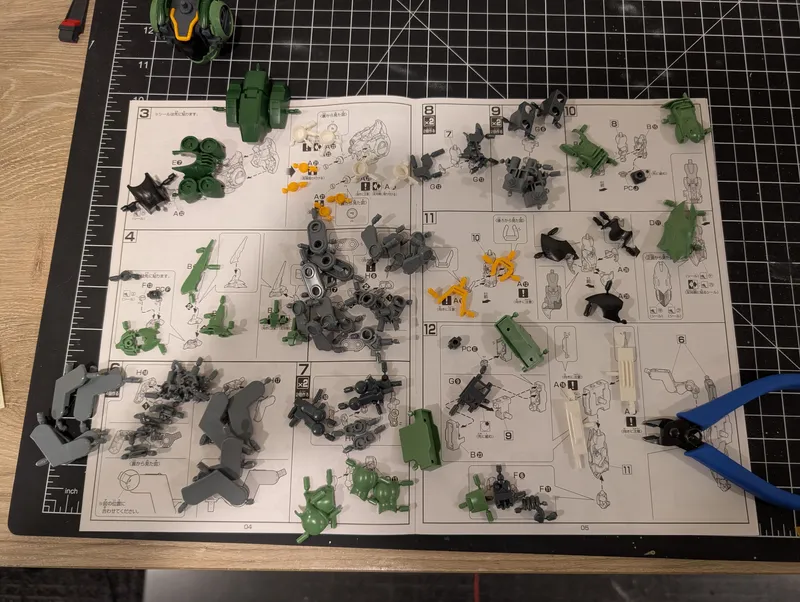
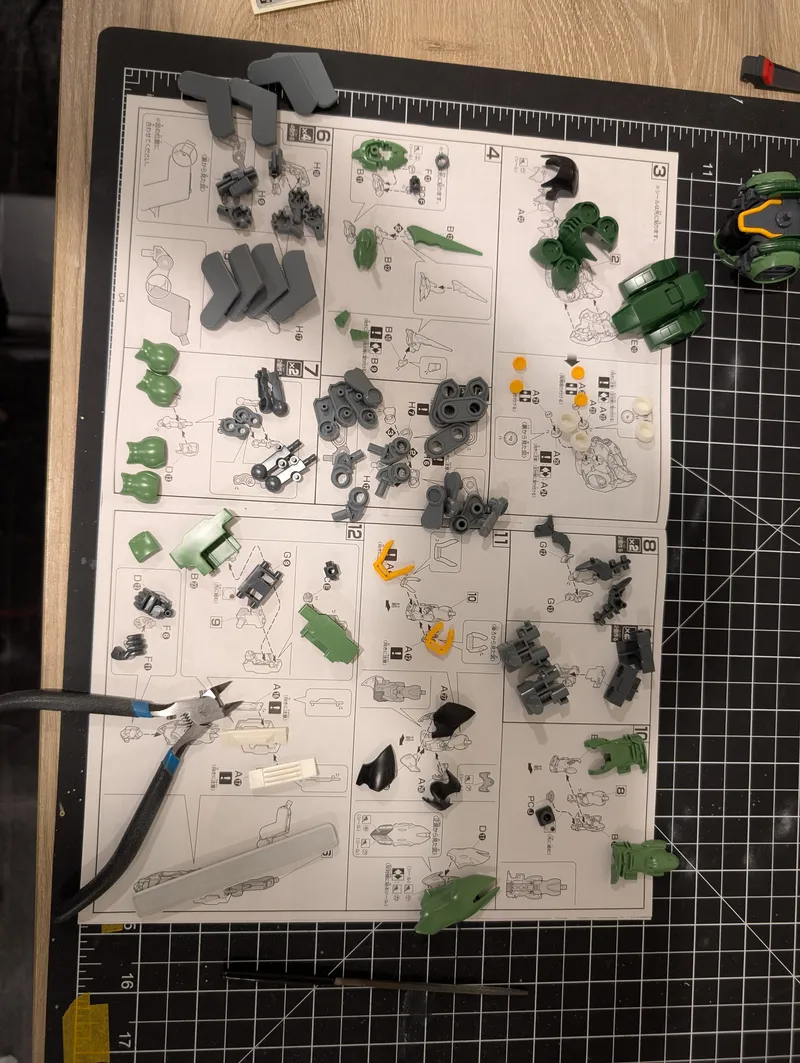
1. I cut out each piece on a page using some cheap snippers, leaving extra bits of the runner on the piece.
2. I go over each piece using my much sharper and more precise snippers, cutting off all of the extra runner that was left over.
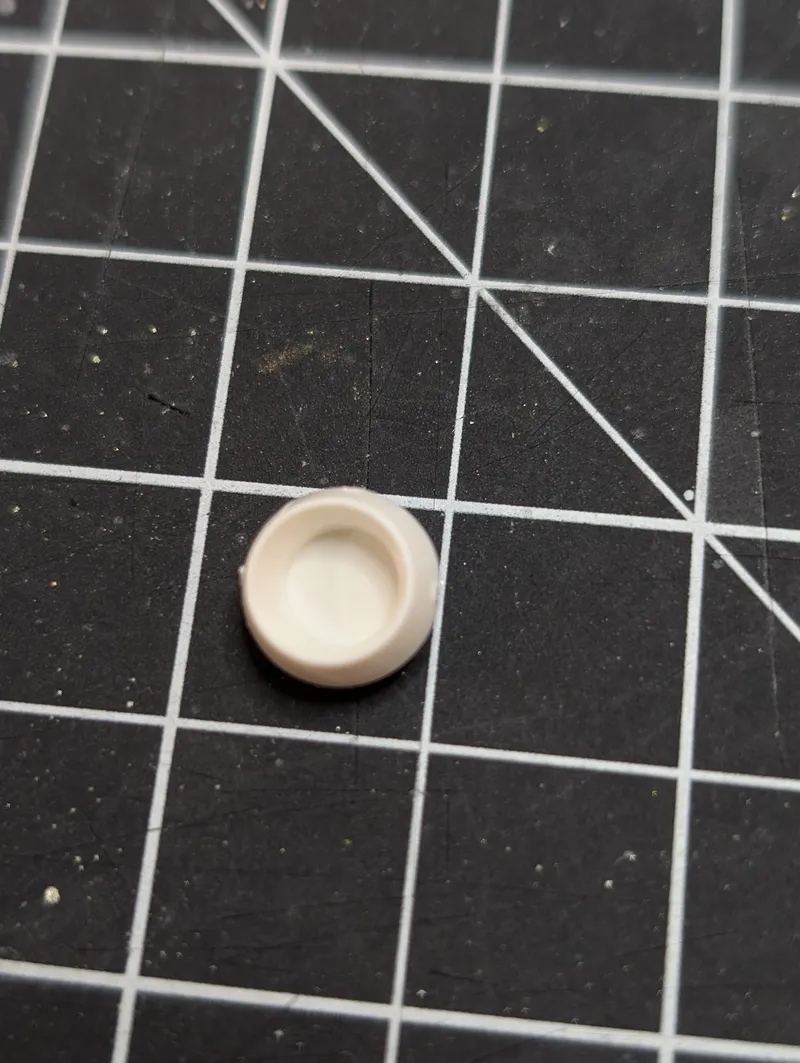
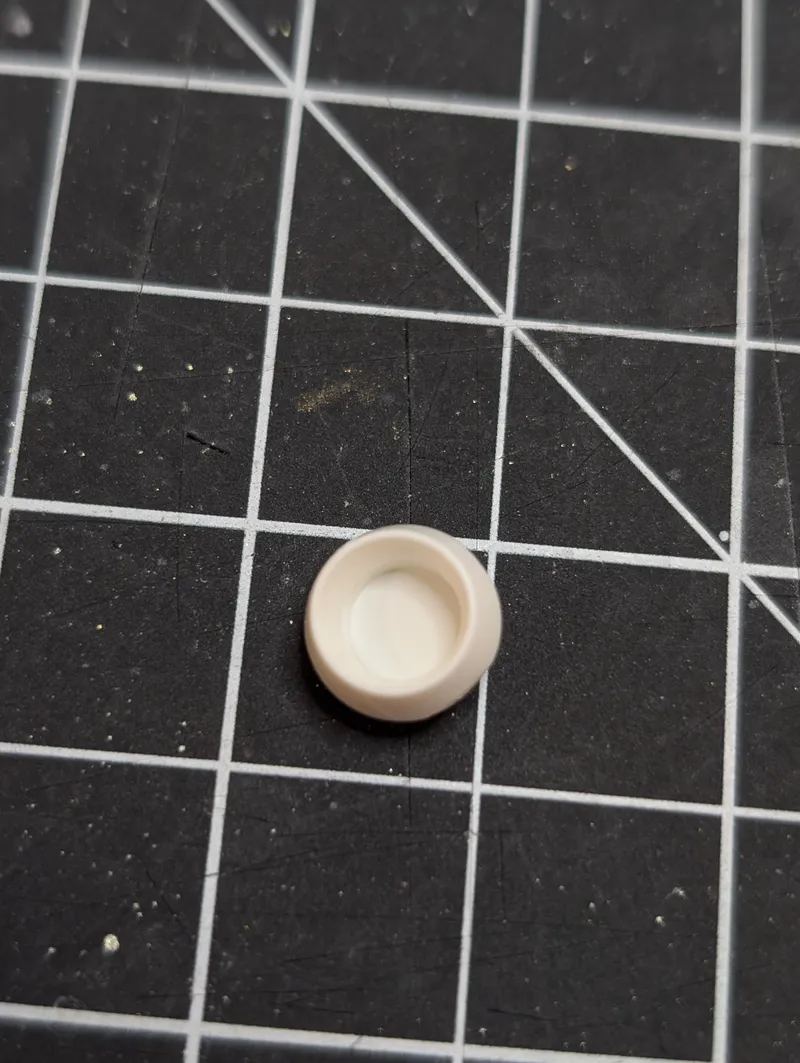
3. Using a glass file, I file off any excess runner leftover and make the piece even
4. After every piece on the page has been cut and filed, I go through and put it all together. Go to the next page and repeat.
The reason I do two cuts is twofold. I don't want to use my nicer and shaper snippers for grunt work of cutting through the thick part of the runner. And I want to make my second cut as precisely as possible, which can be difficult when it's left on the runner.
I explicitly use a glass file (unless I can't get a good angle) because the glass files are less rough and they last a lot longer. The glass file seems to wear down the excess runner down to the surface evenly, and if I end up running the file across the main surface if doesn't file things unevenly.
I don't know if I can recommend that everyone does this amount of processing, just because it really does take forever. I think it's a great way to build just because it forces me to handle every piece with care, and I think that shows when it's all finished. It works for me but I definitely think it's overkill. Tell me if you think it's a good approach or if it's overkill.
I'm going to try and make these updates every Monday, and be consistent. For the next week I plan to have the model finished and I'll get some preliminary posing and measuring done. I hope you'll check it out!
- S
 STUDIO93583 days ago
That glass nail file trick is great :p
- MA
 Mecha Assembly eXperience134 days ago
This is the unglamourous work of Gunpla 😅 Processing parts and masking are really hard on my back but it's in this foundation that one's work can really shine. Looking forward to seeing more progress! 🤩 Thanks for sharing and best of luck! 🙏🍻
- CC
 Cristian Carlone137 days ago
Good progress! Your approach to cut and prep pieces before assembling is the way to go, imho. It’s the same process I use. What type of glass file do you use?