

Scott Wood
@scottwood
12
Following
72
Followers
11
Updates
270
Likes
45
Comments
17
Votes
@scottwood
12
Following
72
Followers
11
Updates
270
Likes
45
Comments
17
Votes
72 days ago
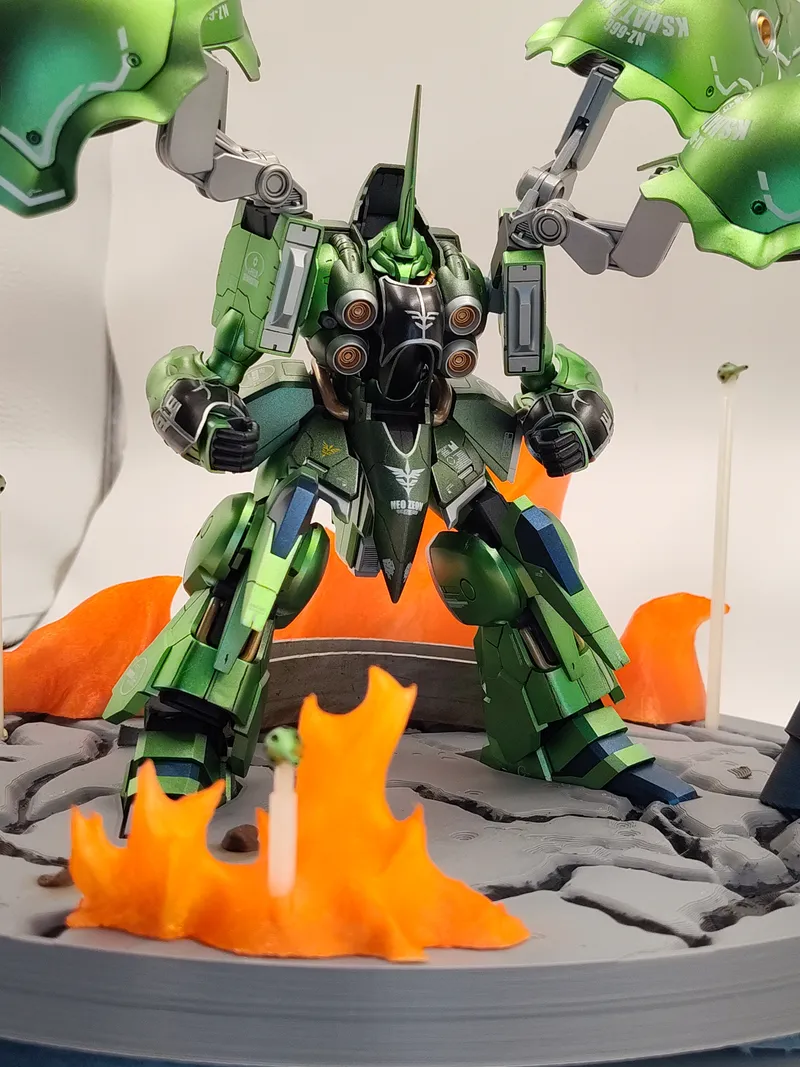
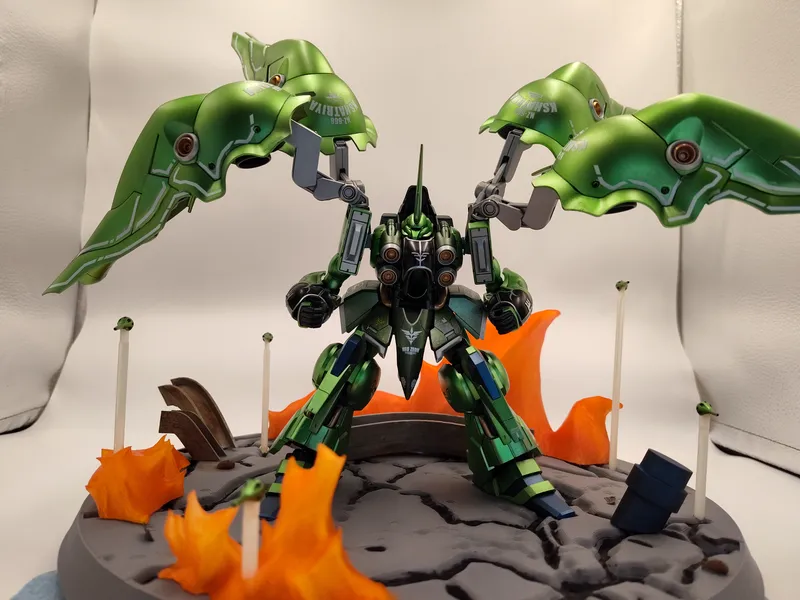
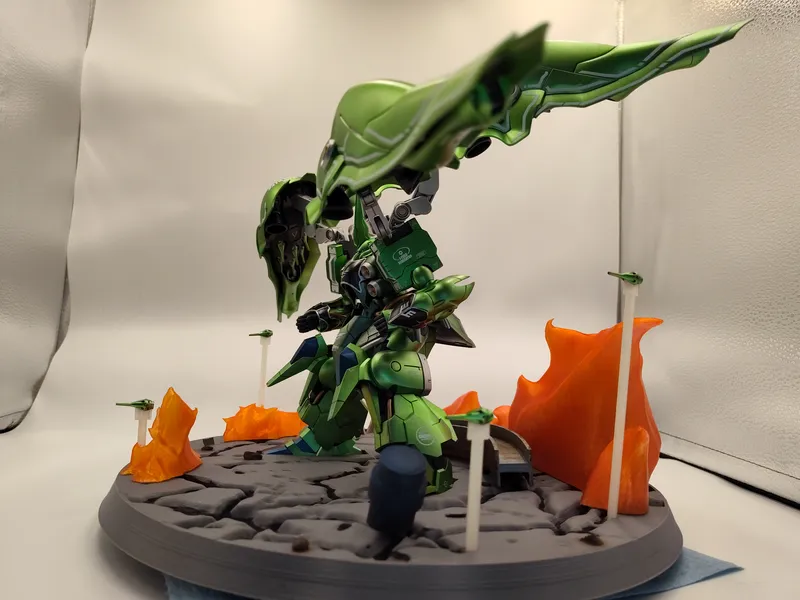
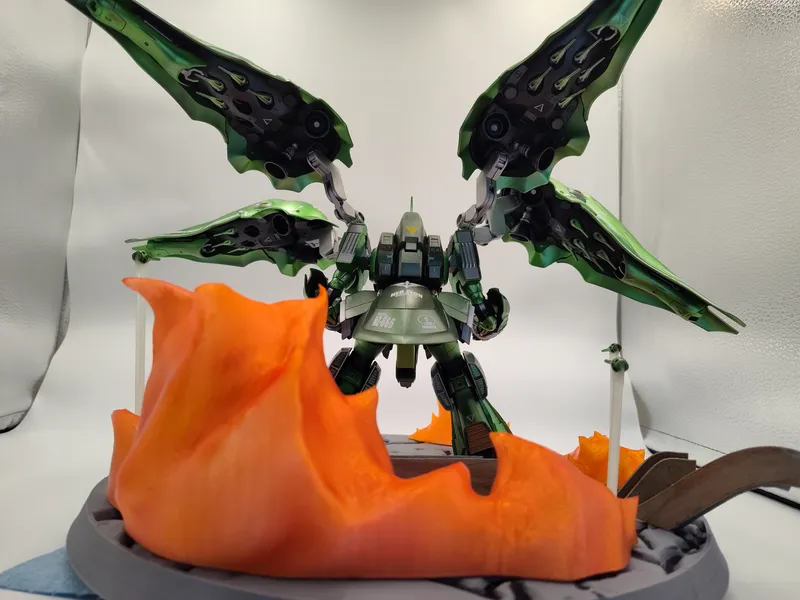
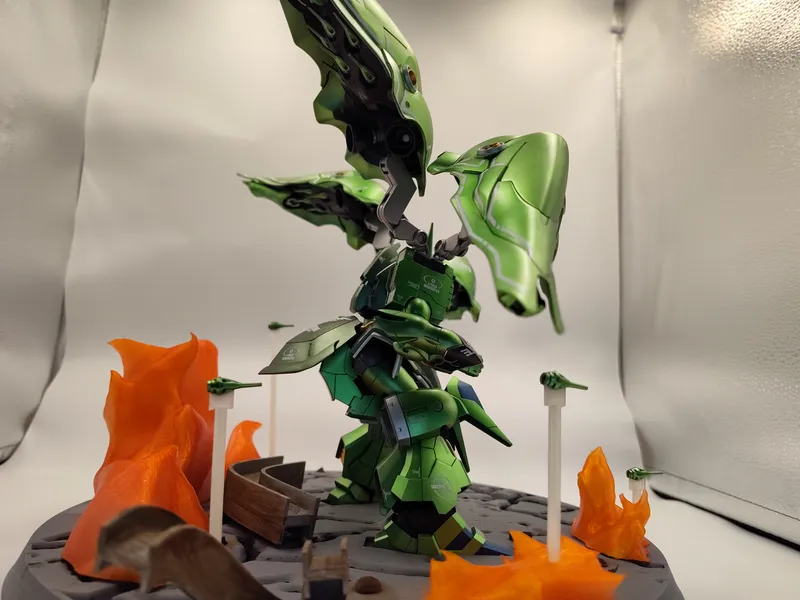
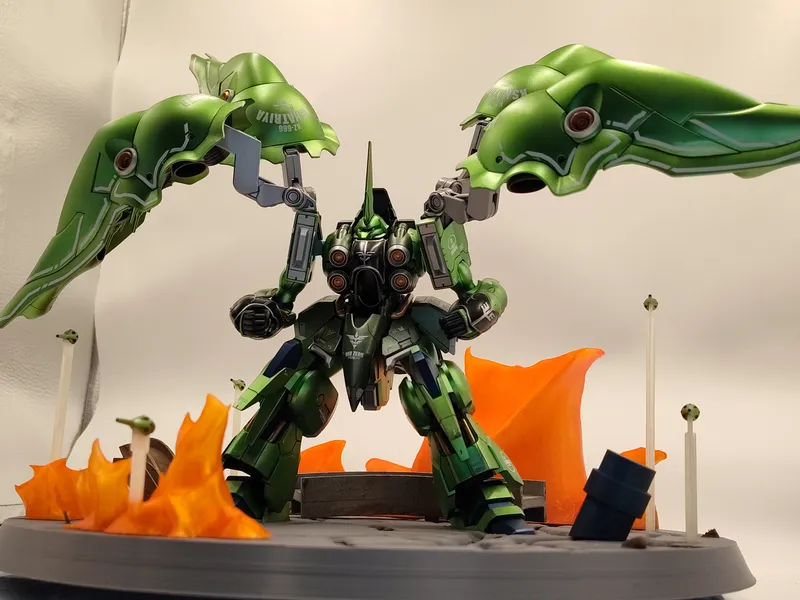
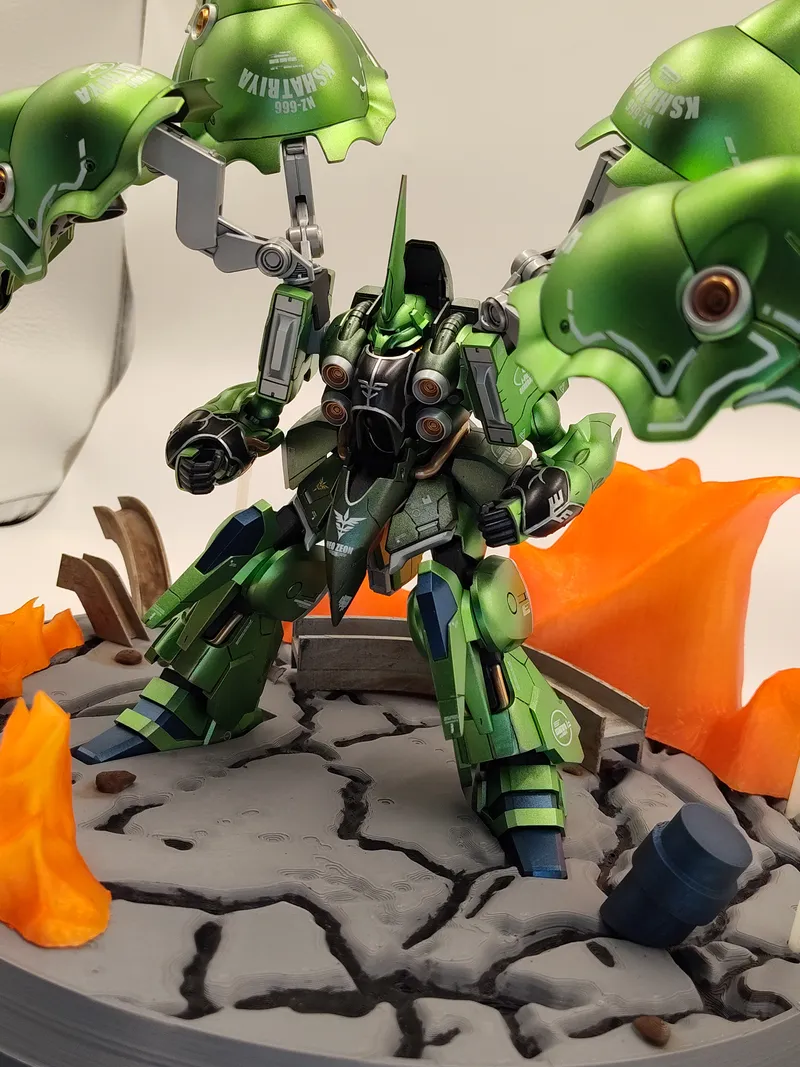
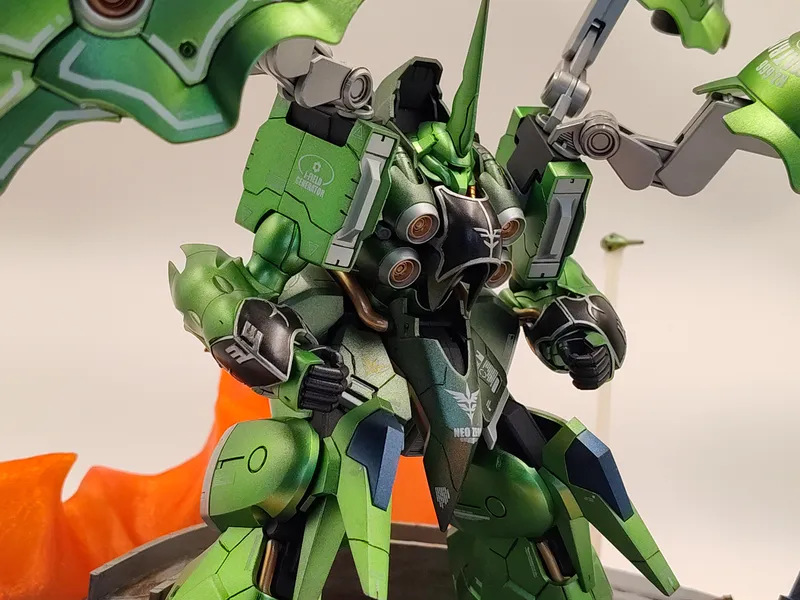
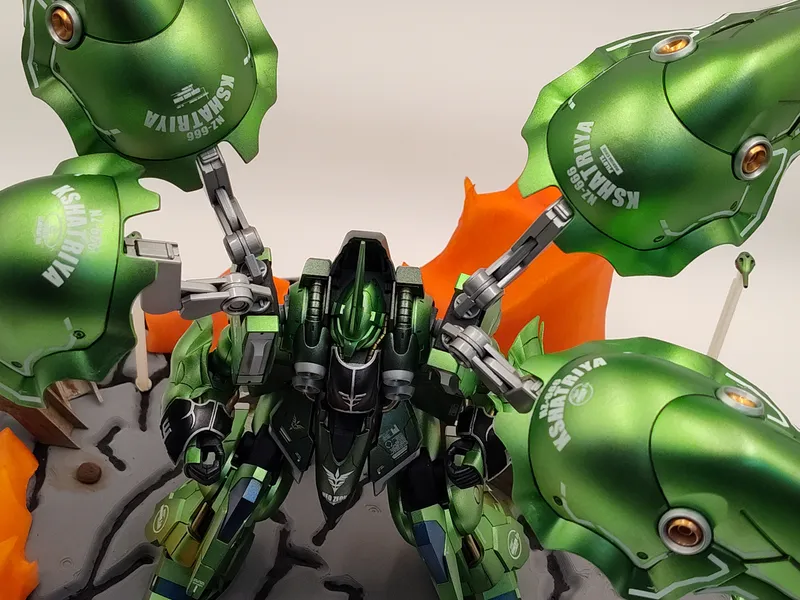
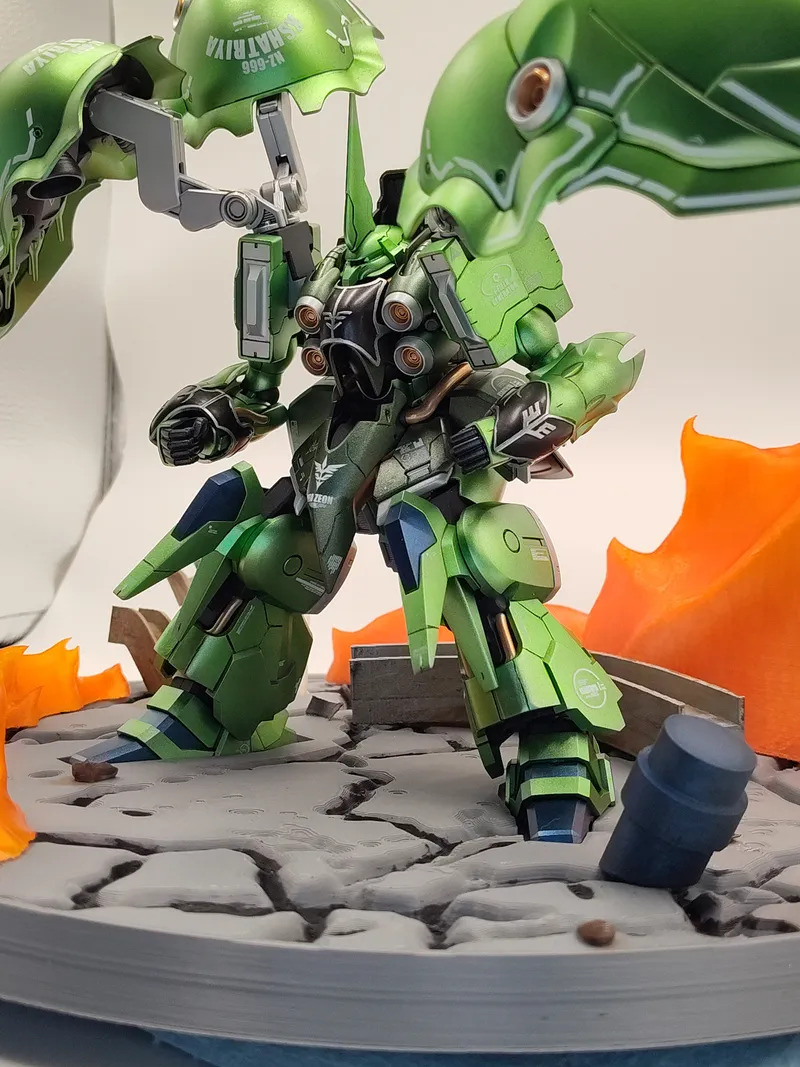
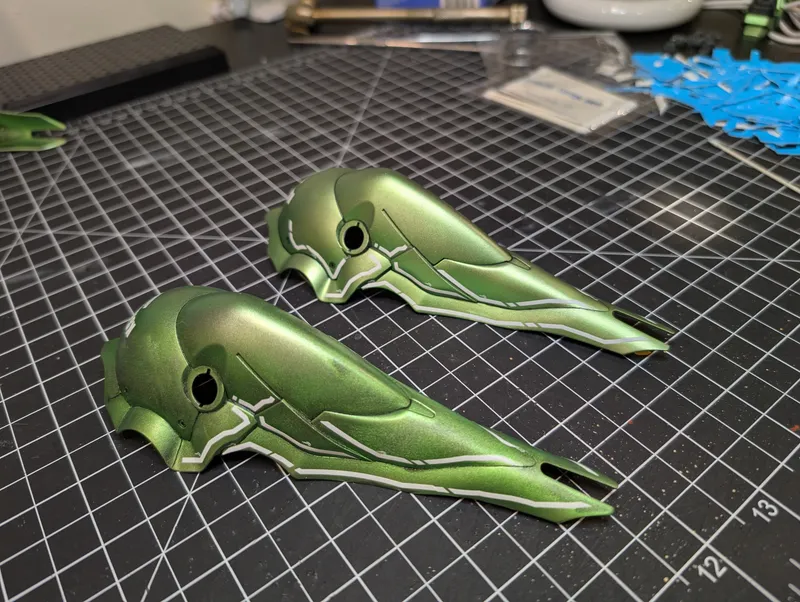
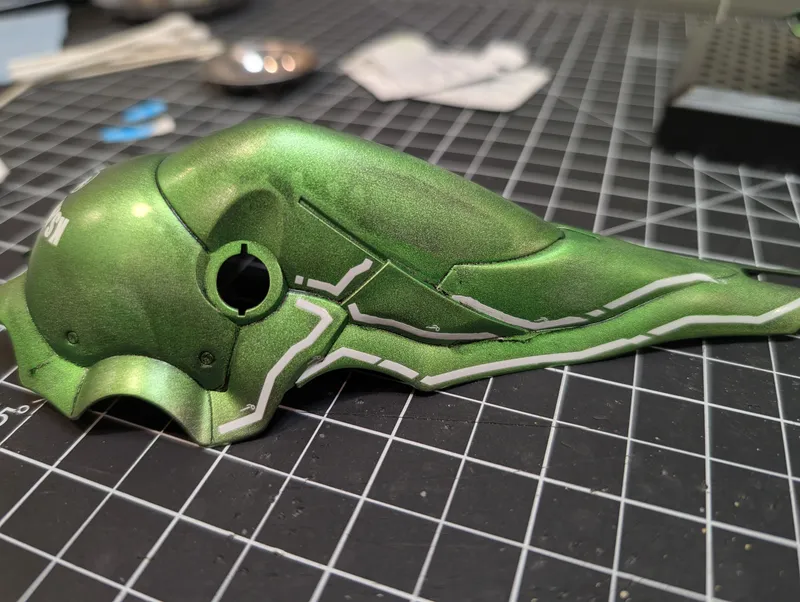
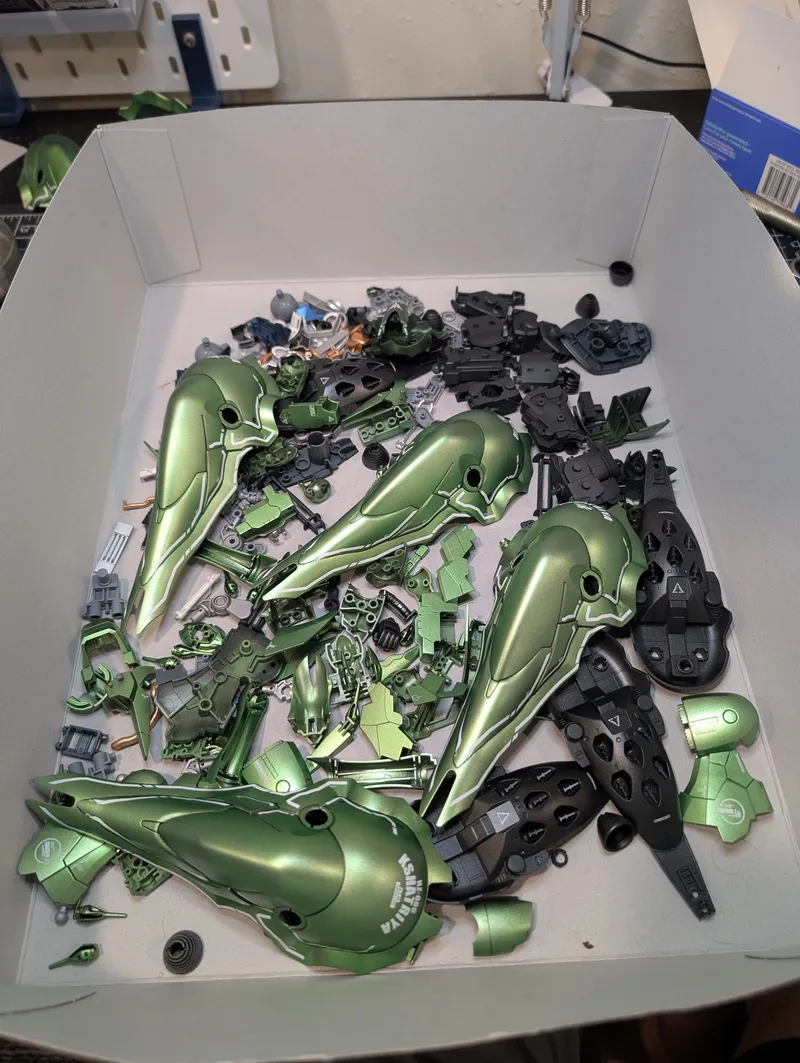
After 10 weeks of work, the Kshatriya is finished! I'm trilled with how it came out and I feel it showed off my skills as a builder pretty well. The scene is taken from the anime in one of the fight scenes with the Kshatriya having just been knocked into an abandoned space station, igniting the whole thing. For this build, I took the HG Kshatriya model, added additional panel lines, painted it and added waterslide decals. I meticulously painted every piece of the model so it looks good from any angle. The black bits have silver lining for the detail work, that was hand painted and isn't using a sticker. Additionally, I've modeled and 3D printed the base as well as props. The fire was printed in clear PLA and then colored with clear reds, yellows, and oranges to give it a good fire look. The other pieces were painted and then some rust-like paint was added to age them. I've also added stands for the funnels to sit on to better show those off and make the appearance closer to the scene. Thank you to all who followed and supported my work! This was a very fun experience and I'm trilled that people get to see all of the hard work that has gone in. 🙇
73 days ago
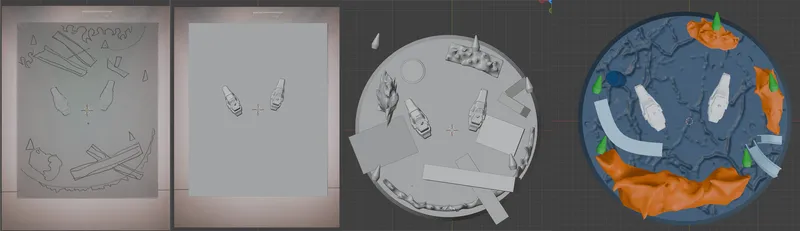
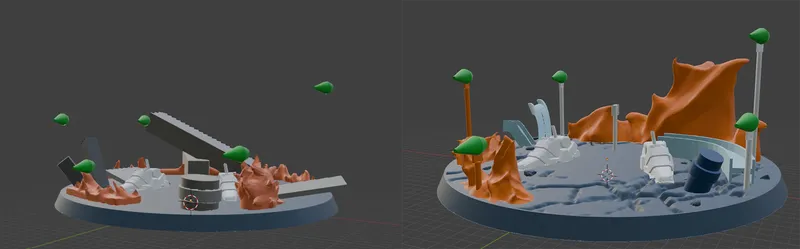
Hey! These posts were lost in the website revival, so this is a quick repost/recap of the last few weeks before I make the final post. Over the last two weeks I finished up painting all of the Kshatriya pieces. There was a whole issue with the wings causing me to have to redo them, that was unfortunate. 😓 After that I modeled a base using some of the 3D scans I had taken way back when I initially made the model. Once that was finished (which took several days) I started 3D printing the base. Thankfully I have two printers and was able to print everything in double time, though that's a bit moot now that the deadline was extended. Now that everything is printed, it just needed to be painted. The biggest part was all of the fire, which I printed in clear plastic and painted with clear paints, I'm pretty happy with how that looks. And with that, all of the remaining work was finished. This is a very brief recap but the last few weeks were grueling, but it's all worth it. With that, thank you for sticking with me on this project, the next post will be the most exciting as we finalize the project!
88 days ago
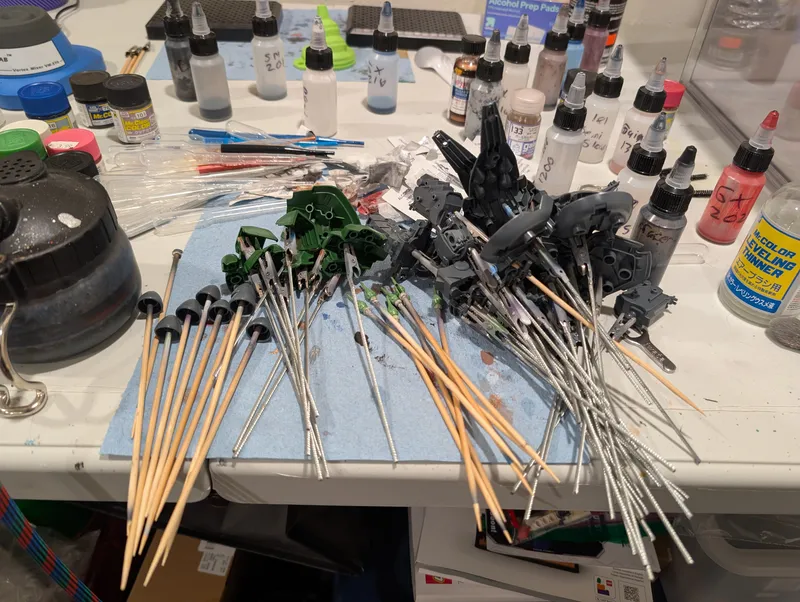
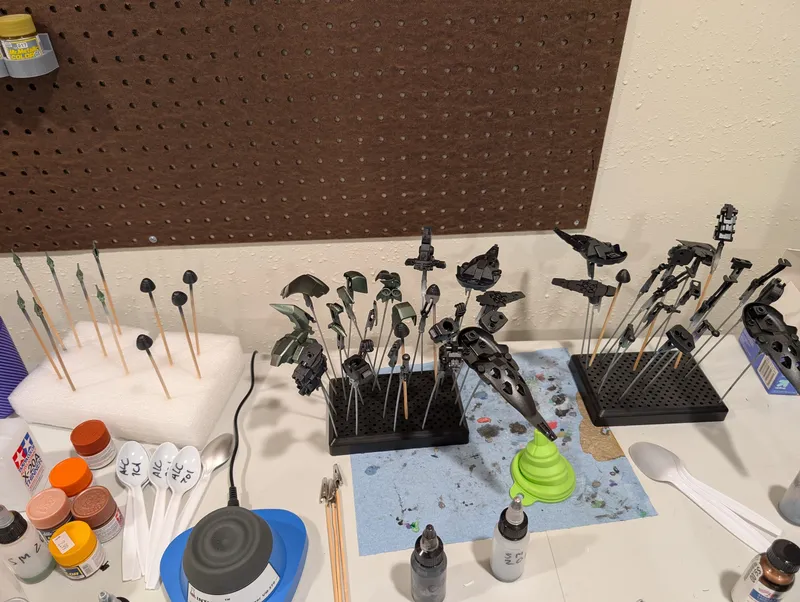
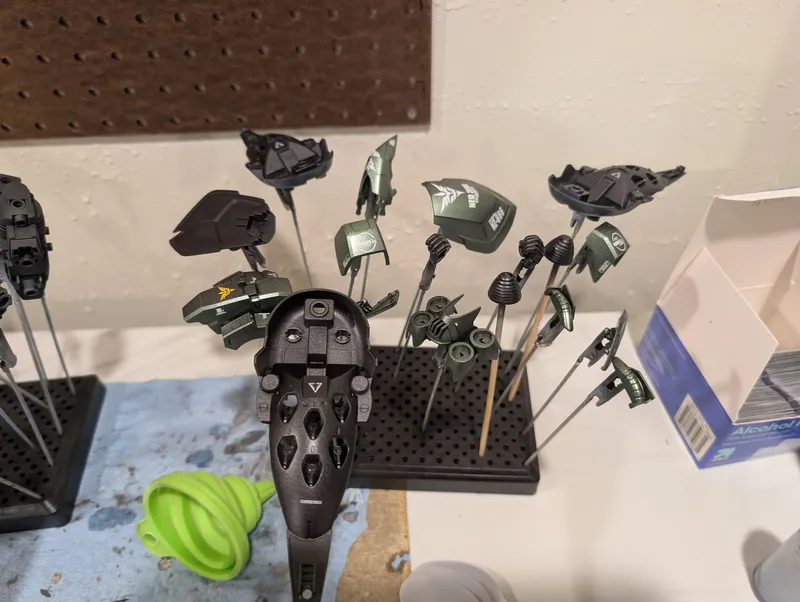
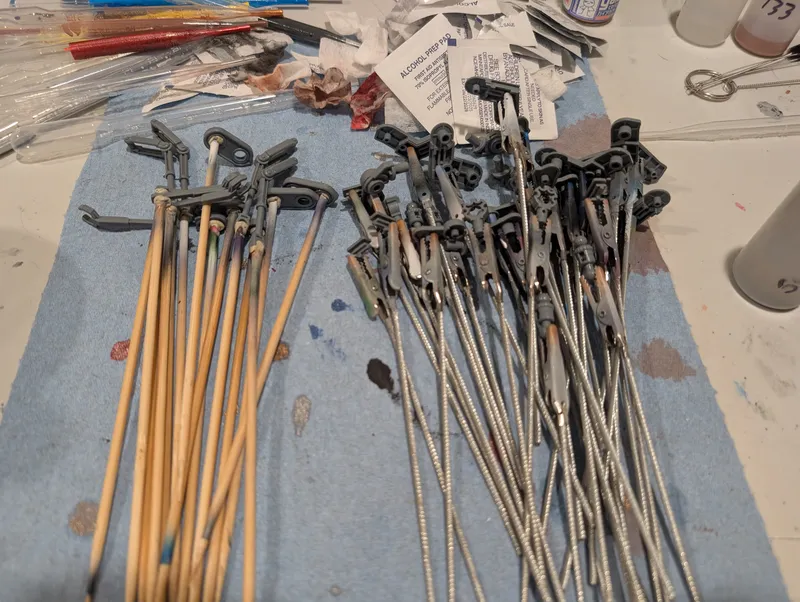
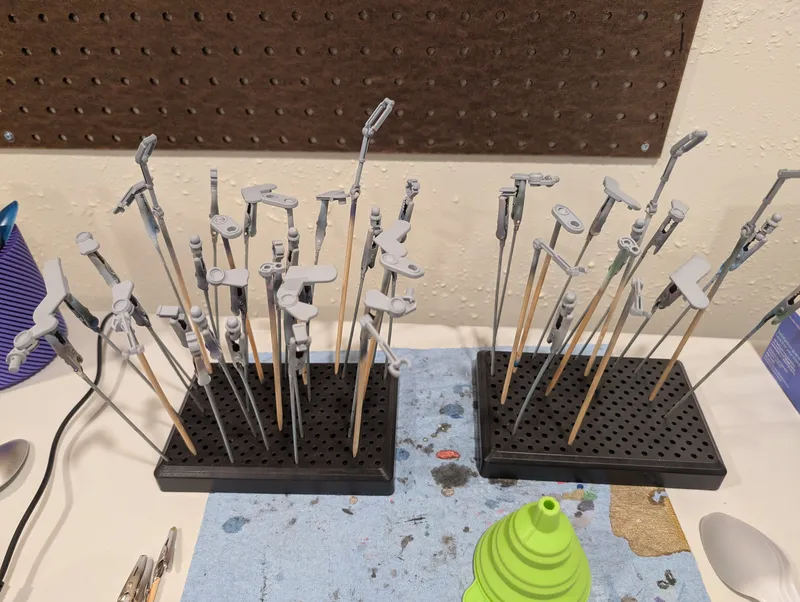
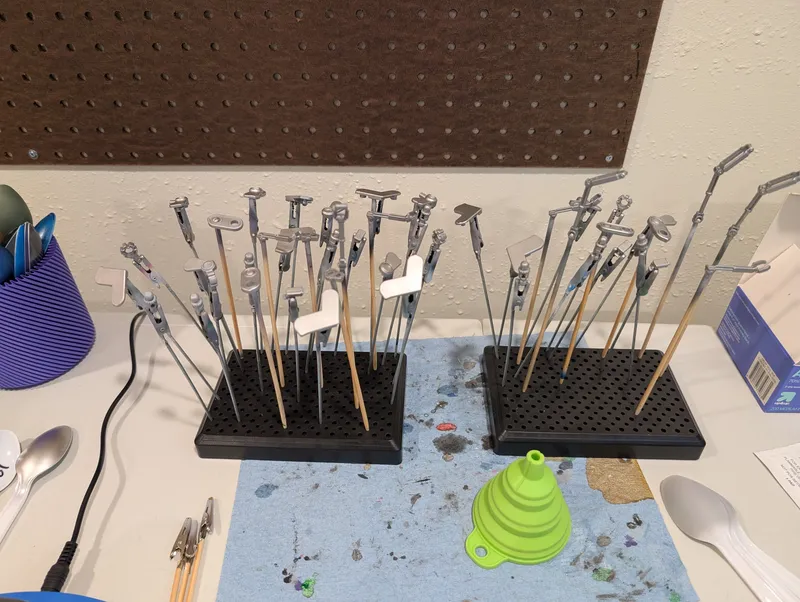
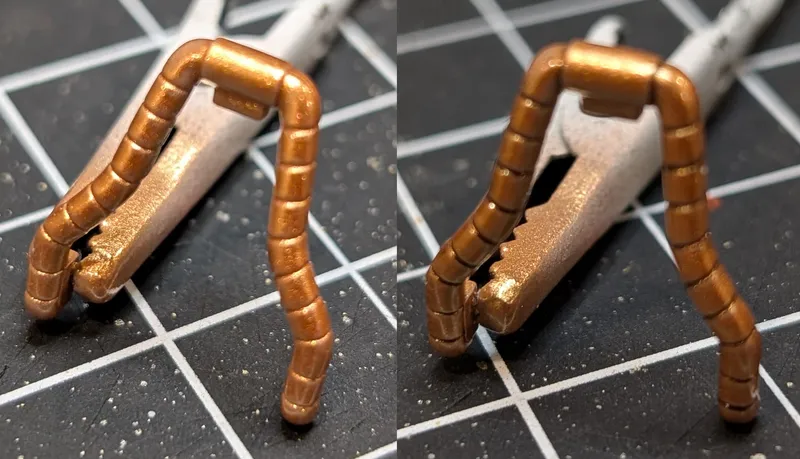
Hello and thank you for checking out my progress post! For the third week I've been painting, there are so so many pieces 😓 but good progress is still being made.
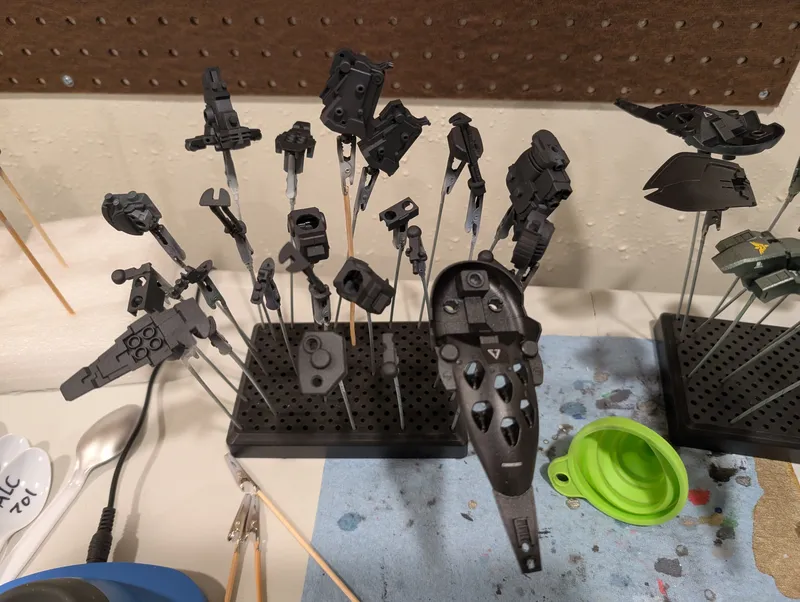
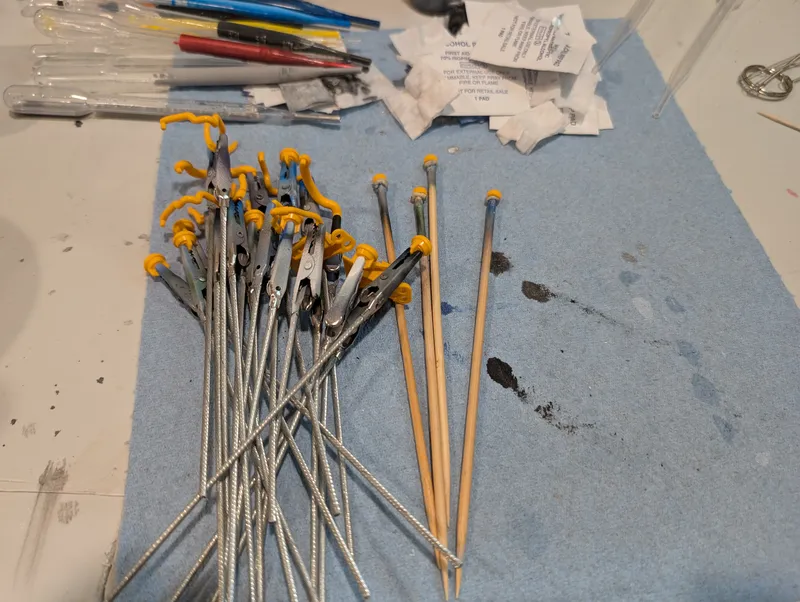
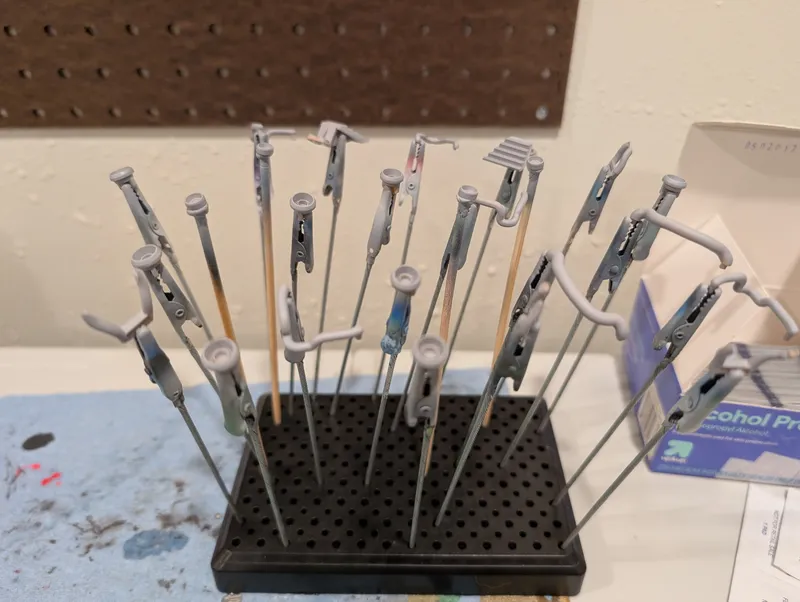
For this week I focused on the dark green (using Mr. Metallic Color 211 + Mr. Clear Color 101) and dark grey for the inner frame (with Mr. Metallic Color 201). Originally I had planned on using a different color for the dark grey/black pieces, but I forgot which primer base would work with it. I was supposed to use a grey base to follow it with a dark grey, but ultimately I based everything in black because that was going to be the base for the dark green and I got carried away 😅. If I had used the original color on black it would just been pure black.
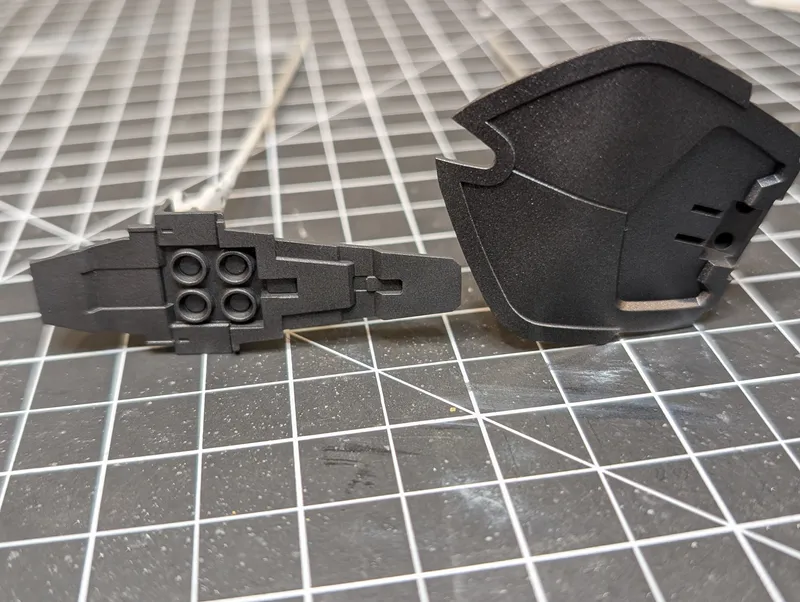
So I had to improvise and I leaned into using the metallic black and then relying on the top coat to lighten the color and given the inner frame the look I wanted. This was ultimately a good thing because there were parts that once I saw in metallic black I thought looked great! So, happy accident, I guess. For the more exterior facing pieces (like the underside of the wings) I went with a semi glossy top coat, and the interior I used a flat top coat. You can really see how much of a difference that makes, it's actually pretty impressive.
I also needed to reblend a color for the dark green, the original color was clear black layered on a metallic green, but I had previously gotten a better color by just mixing the colors together, so that took a while to get the ratio right again but I'm glad with how that turned out too.
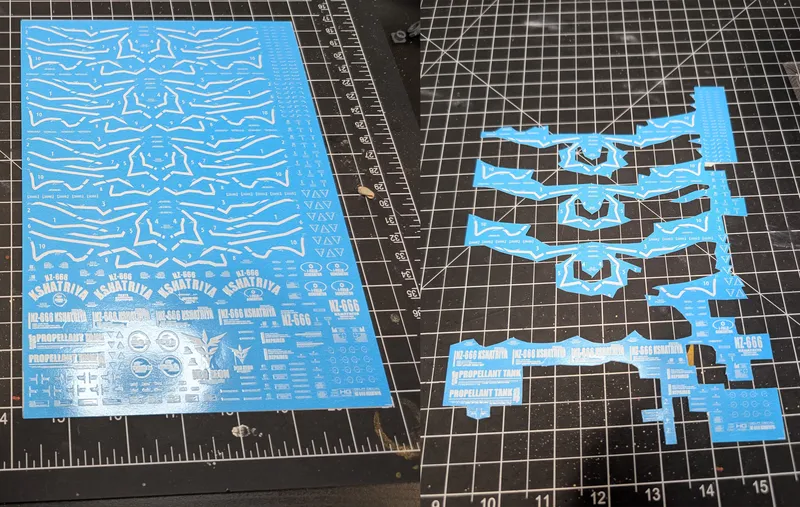
I also threw on some water slide decals but I'll get more into that next week with what is hopefully the last week on painting! And the many many green pieces... See you next week!
95 days ago
Hello and thank you for checking out my progress post! This week I continued with painting, and I'm pretty happy with how things are looking.
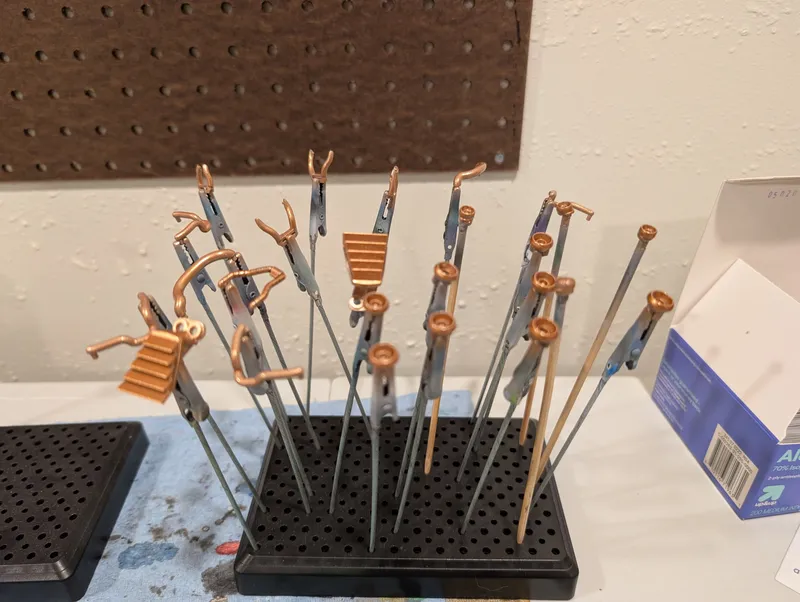
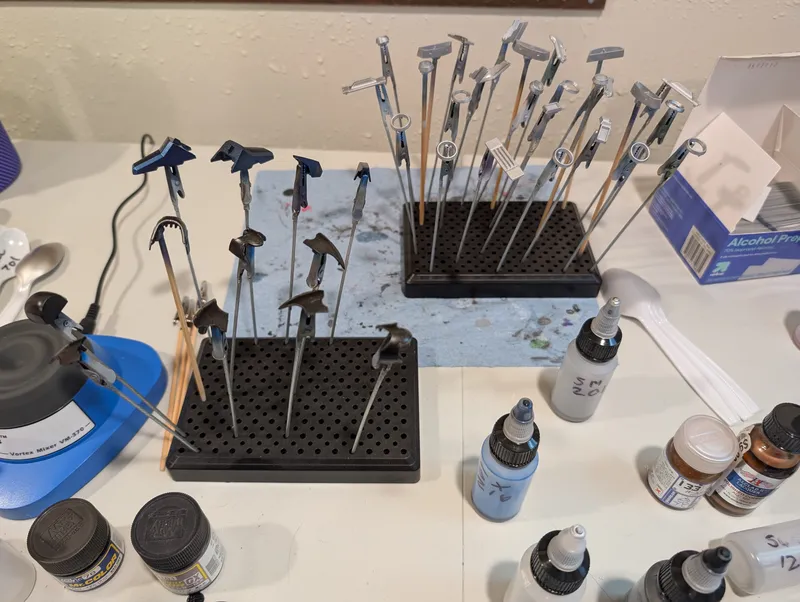
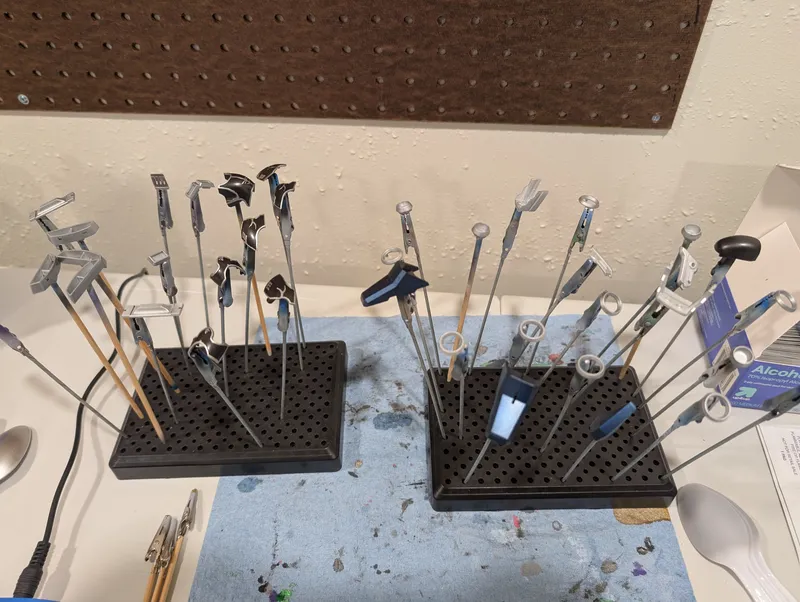
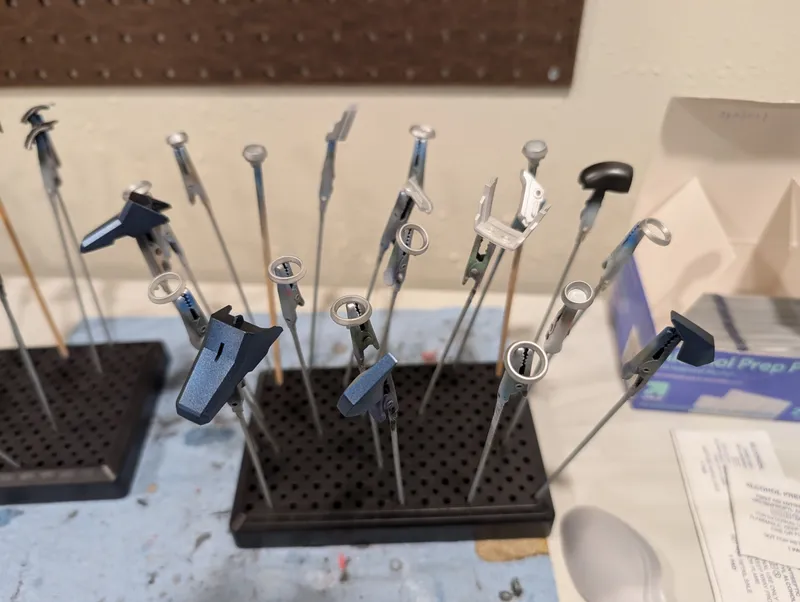
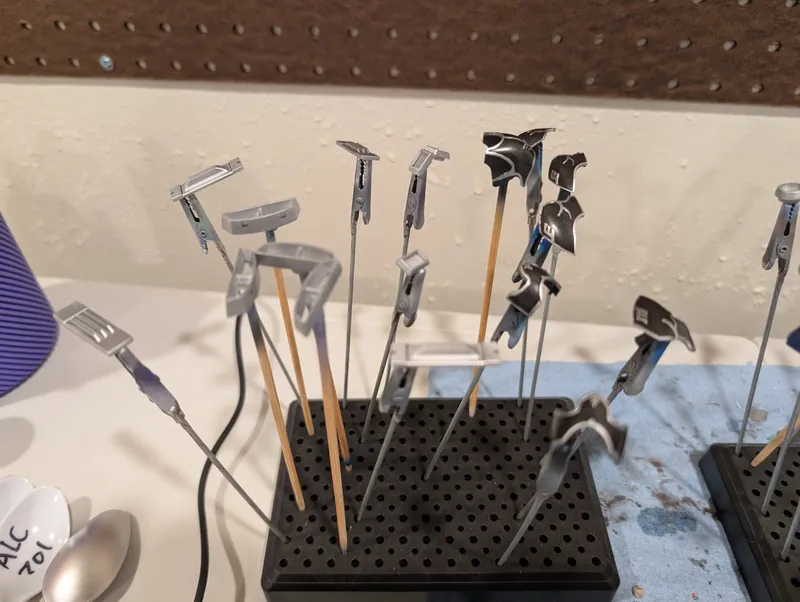
For this week, I decided to paint the grey and yellow parts. For the grey I decided to use Mr. Color Super Metallic 201 (Super Fine Silver 2) and for the yellow I went with Gaia Color 133 (Pearl Copper), both on a grey primer base. If you read one of my updates from a few weeks ago you might remember me doing some tests around which color to use for yellow, before landing on the Gaia Color, which is a first for me, so this was pretty exciting to try.
The Gaia paint was a bit different to work with. I didn't realize this color would be closer to a clear coat and require a few passes to get the shade I wanted. Generally with Mr. Color paints I can get away with just one coat and have a satisfying color. Or maybe it's just that those paints dry almost immediately, making multiple coats happen in quick succession 🤷. In any case, I'm pretty happy with how the color eventually came out, even if it took longer. I think the metallic shine on it is color to the Mr. Color paints so they work together pretty seamlessly.
The silver was very uneventful which is good. Nothing interesting beyond just the base coat and a nice glossy top coat, which I did for both paints. Generally I use either flat or semi glossy because I think when it's too shiny it looks closer to a toy than metal, but for these I thought shiny was a good look.
This week, I wanted to go over a bit of my panel lining process. It's not the most interesting but I want to break up my process steps over the weeks. Generally for panel lines I tend to use a pure black for high contrast, I like the impression of shadows and the more stylized look it gives. I use the Tamiya panel liner, which I've never had an issue with, and it's easy to find locally. I would be interested in trying others for different colors but I can never find any 😓.
Anyway, after adding the panel liner and letting it dry I follow up by rubbing off the excess with a crafting q-tip that's been dipped in lighter fluid. The lighter fluid is a new thing for me, I used to use an eraser to kinda rub off the extra and that never worked right. I did some research and saw lighter fluid being recommended as it's a very weak paint thinner, so I tried it and I think it works perfectly, highly recommend it!
Alright that's enough rambling for this week, next week will hopefully be more interesting to look at. What do you think of my color choices? And do you have any tips or tricks for panel lining? Let me know, I am always looking to improve. Especially if you have any tips around colored panel lines, I'll include a picture of the last model I painted where I did make my own gold panel liner, and it looks fine but I don't think it spread as well as I wanted. Anyway, see you next week!
102 days ago
Hello and thank you for checking out my progress post! This week I finally started painting! Updates for the next few weeks are going to look pretty similar to this one but I'll try to mix things up each week to stay interesting.
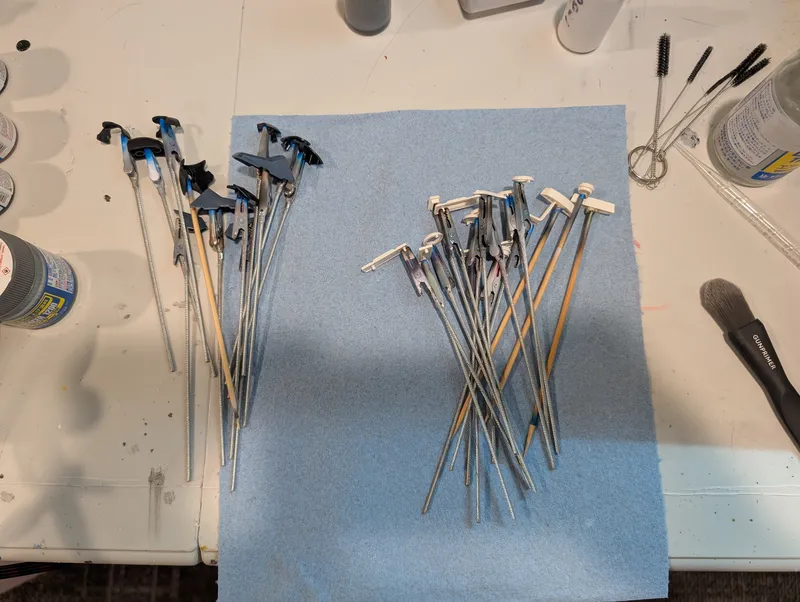
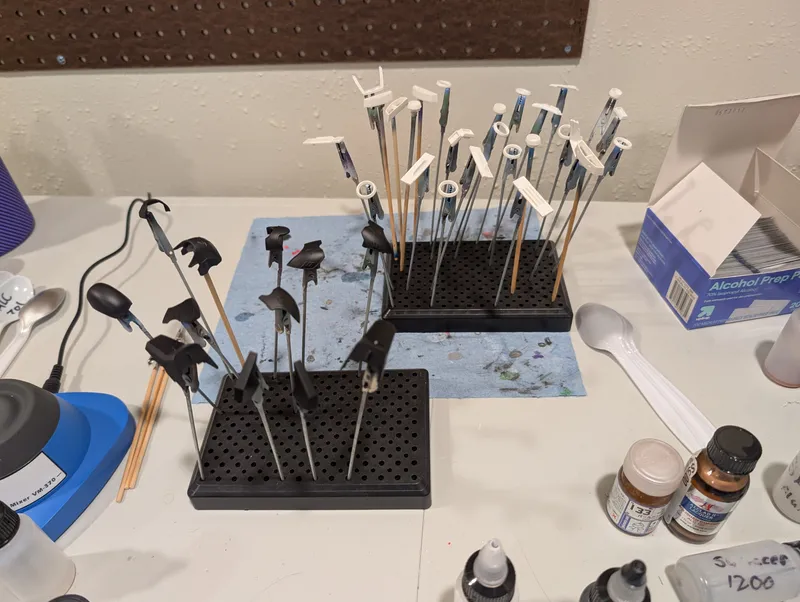
First up I decided to work on the white, black, and blue colors. This is mainly because each of them on their own didn't amount to much so I could batch them together. A bit of an overview of my painting process (all of this is with an air brush):
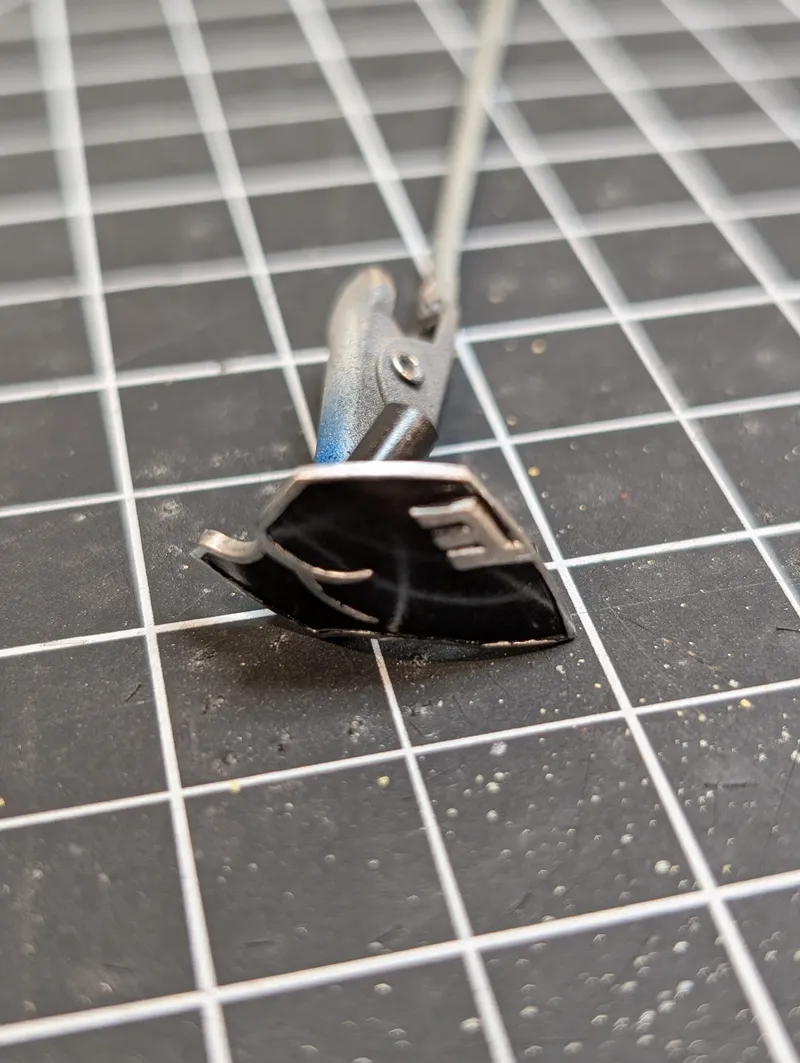
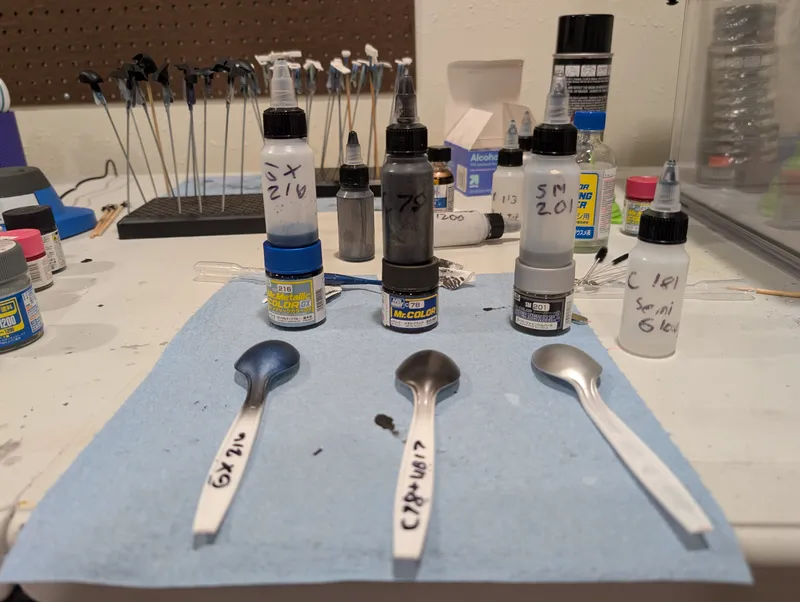
1. I prime all the pieces, for the black and blue colors I use a black base to give these a darker undertone, and for the white I used a white base (yes I am aware that painting white a different white is silly, but I do). Priming is incredibly important, largely so the future paint coats have a better surface to bond to. But the primer is also a base coat and affects the overall color tone. Doing this we can achieve a better contrast between all of the colors.
2. I paint the main colors. For these I used Mr. Color C76 (Metal Black), Mr. Metallic Color GX216 (GX Metal Dark Blue), and Mr. Color Super Metallic 2 (Super Fine Silver 2). As you can tell I like painting my models with metallic colors lol 😅, but I really like the more realistic look it gives, and I like shiny things. Something to note here, I am using a silver for the white, canonically these pieces ARE supposed to be white. But when I was picking colors I was looking at references and saw a few that used silver and I thought it looked good. Also there isn't really a "Metallic White", so technically silver is a metallic white. Anyway, I think it was a good choice but let me know your thoughts!
3. Then I use a glossy topcoat, add panel liner (more on that next week), and then another topcoat if needed. Usually I'll do a semi glossy here because I think regular glossy is a little too reflective and unrealistic for my giant robot model.
Kind of a side note about the black pieces:
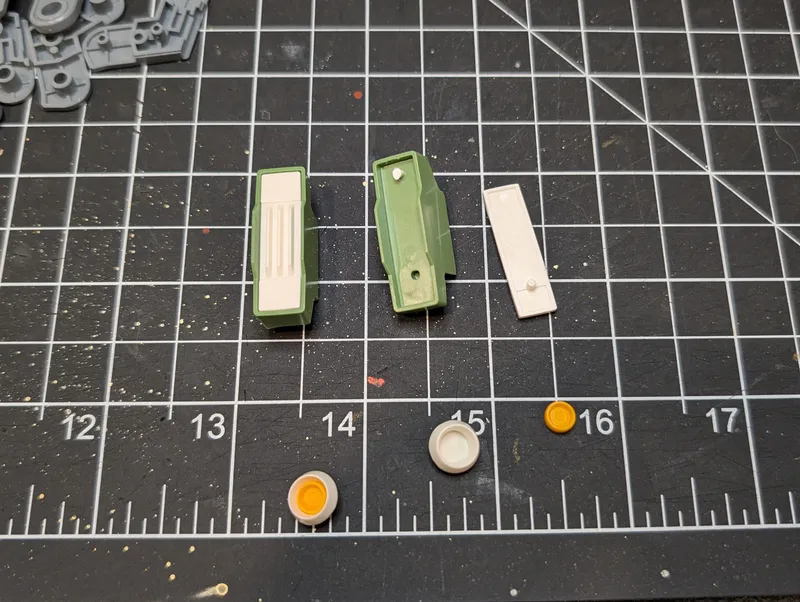
On the Kshatriya (and other unicorn neo zeon models) there are details on the black pieces that are meant to be white, but because the models are simpler they just print the piece as black and provide stickers for the detail. I don't really like stickers, at least not for this sort of detail I don't. Thankfully, the pieces have the details extruded, making it easier to hand paint the detail on. You can see in the before and after for one of the black pieces, but I think it turned out really well!
This is the second time I've tried to hand paint these details, and I feel like I've gotten quite a bit better. The first time was some years ago when I was painting part of a Rozen Zulu (picture included). That may have been the first model I had ever actually painted too, thinking back. But if you look closely at the white trim and details you'll see that the paint is messy and uneven, I struggled to paint with the areas I wanted, it wasn't great. Compared to now however, I can say that the paint itself looks a lot more even and smooth and I did better to not paint on black areas.
Ok, that's plenty for this week, thank you if you read to the end and let me know if you think this is overkill for painting models, I'm open to criticism. There's still a lot to do but hopefully the coming weeks will be fun to look at and see as everything starts to come together! See you next week.
109 days ago
Hello and thank you for checking out my progress post! This week is a bit light as far as an update goes, I just got back from Gencon so I didn't have a ton of time to work. But I was still able to get some prep work done before I really start painting.
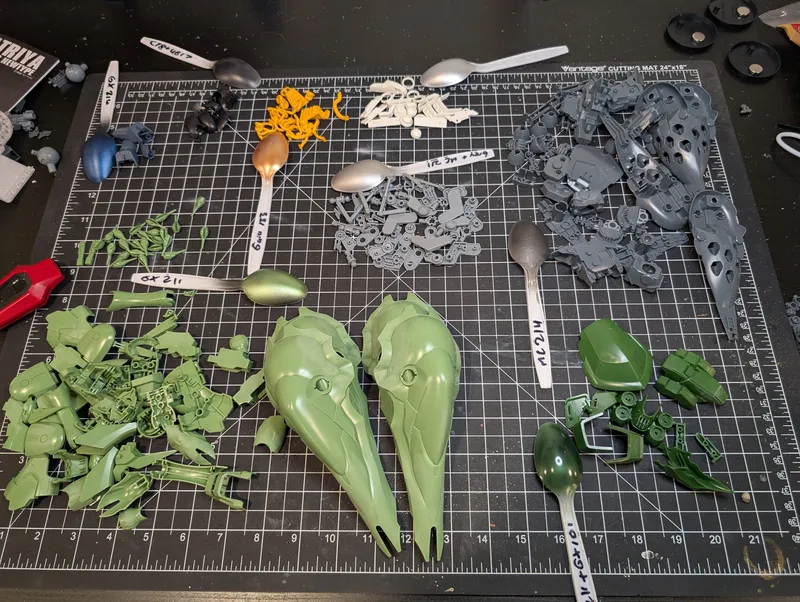
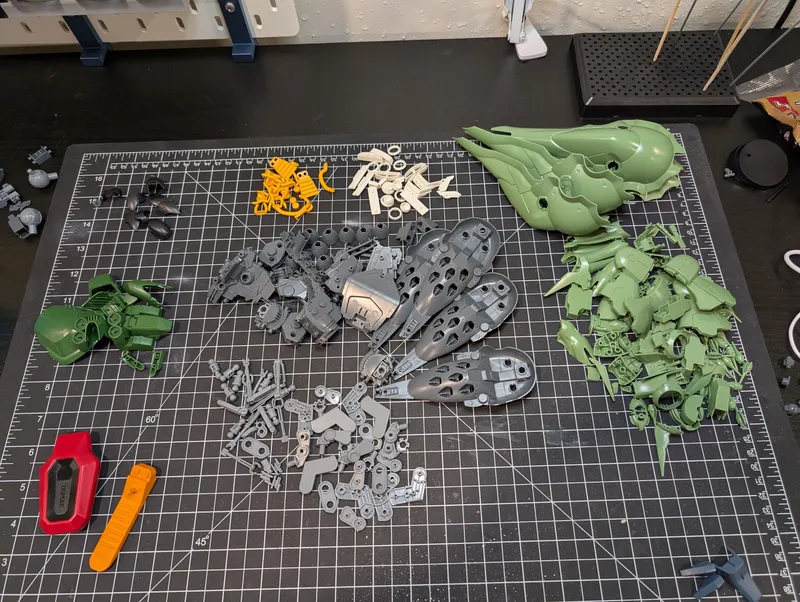
Now that the panel lines are all scribed and everything is disassembled I've sorted all of the parts into groups based on color. Then I figured out which colors will be used where.
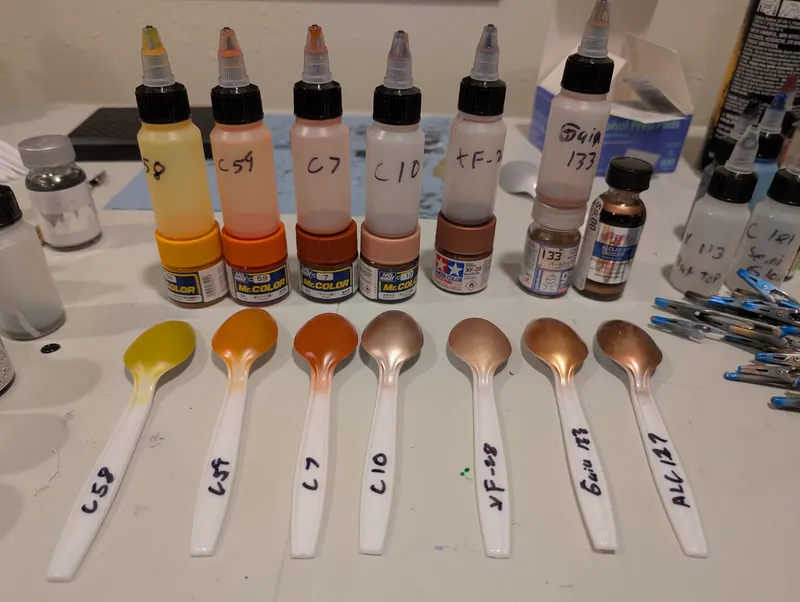
Generally I keep colors the same, or at least similar. But I like using metallic paints to give the model a more realistic look, or at least what I imagine would be a more realistic look. Because I have entirely too many paints I make color swatches of the paints on plastic spoons. This is great for model work because plastic spoons have an oddly very similar surface as plastic models.
Anyway, for the most part I have spoon swatches for all of the colors I intended on using except for the orange. So I tested out a bunch of different yellows, oranges, and bronze colors to see which one I thought would match best and look closest to what I wanted. Normally I stick to the Creos "Mr." line of paints, but I recently picked up Gaia and Alclad paints for a different future project and I wanted to test those out too. Out of the many samples I tried, I think I am actually going with the Gaia paint for the orange here, it matches the tones of the other metallic paints.
But that's enough preamble, next week will actually start the painting process! But because this update would be very boring and uninteresting with just 2 pictures, I added an extra sample of what the finished product should look similar too, just to give an idea of what this is all leading to 😉.
116 days ago
Hello and thank you for checking out my progress post! This week I tried something new as part of my process. As I eluded to last update, I generally would move on to painting now but instead I decided to try adding panel lines.
Why? Well, with every kit I make I always enjoy adding the panel lines, and this will be no exception! But, this kit is an HG model, and generally I build MG, largely because they're bigger and I like that. But they also have more detail that I think can get lost on smaller models, at least HG models anyway. So as I looked over all the pieces I could tell panel lining here would be either difficult or unfulfilling. Then as I was scrolling through other GWCC entries I had seen several other people were adding their own panel lines, and I thought it would be neat.
All of that is to say, I'm easily influenced and I want this to look cool and detailed. For the most part I thought the model looked pretty ok with the detail it had but I figured more can still be added. And in some areas this was a good move, particularly along the wings, as those had very shallow lines that would not have shown up very well if at all.
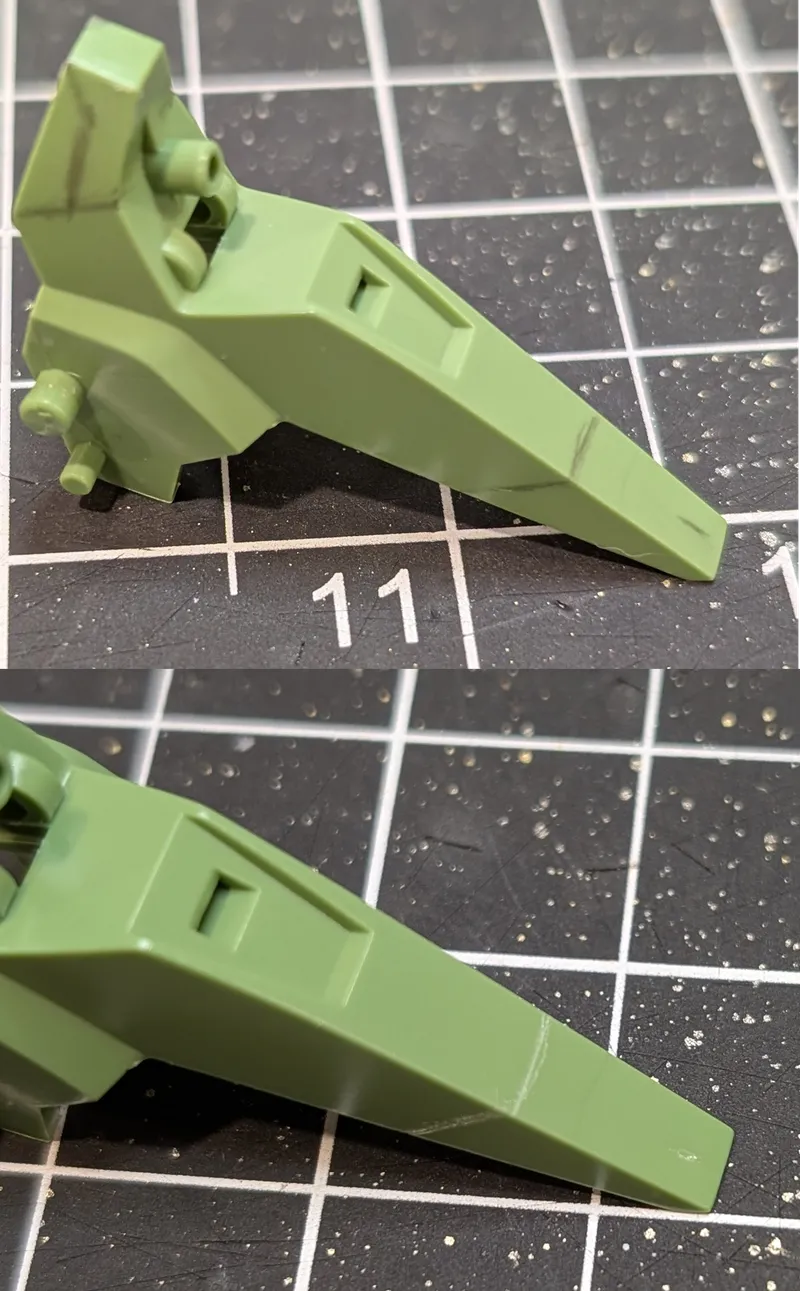
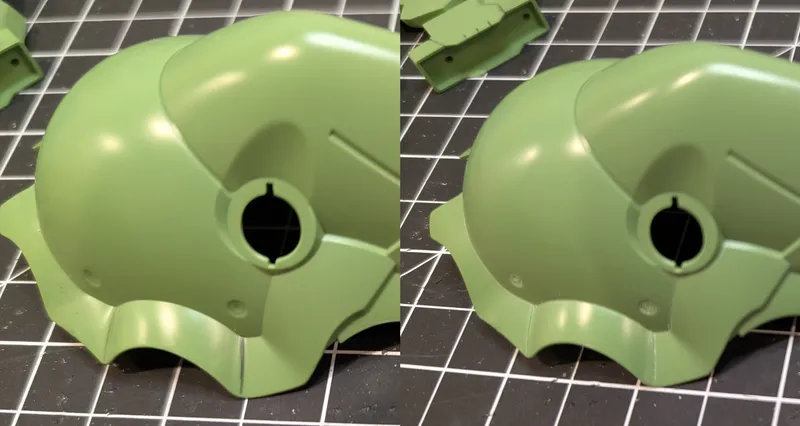
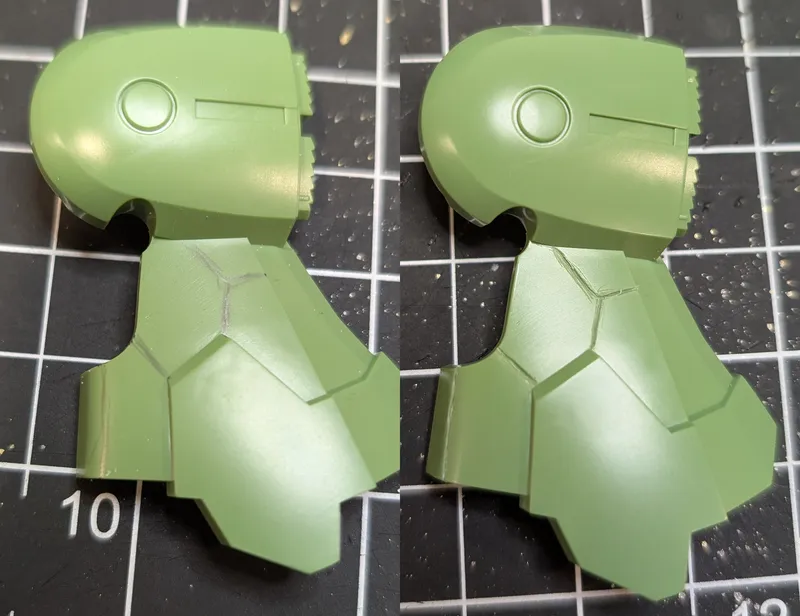
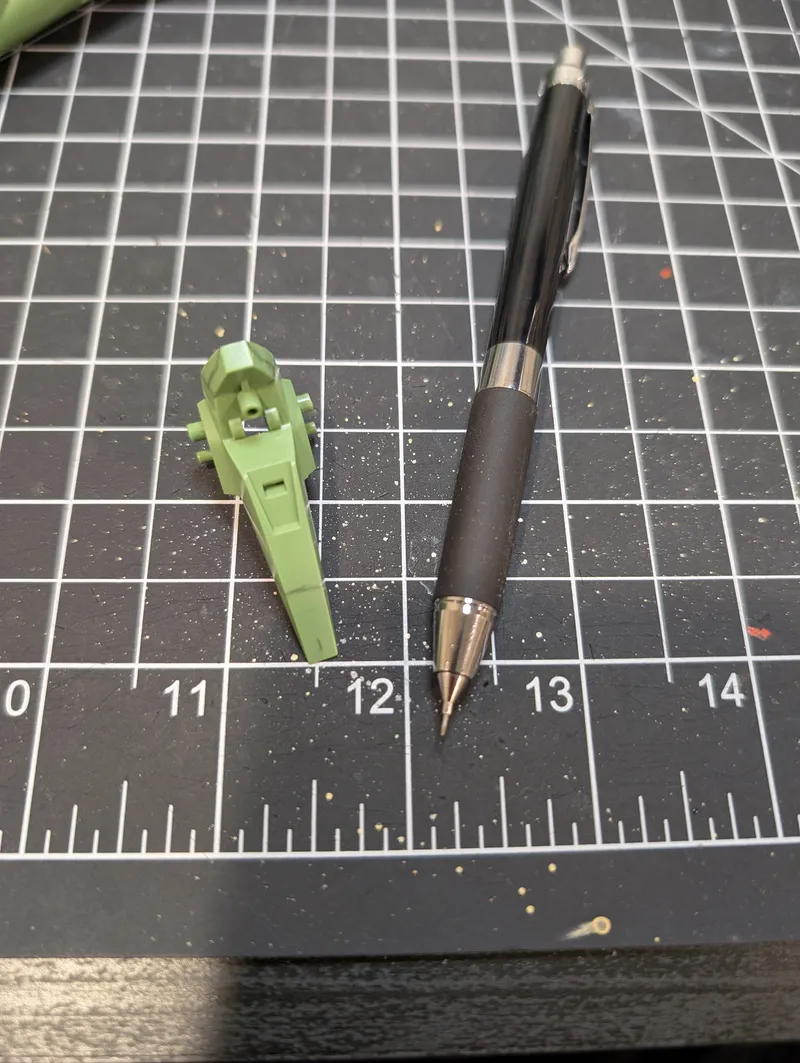
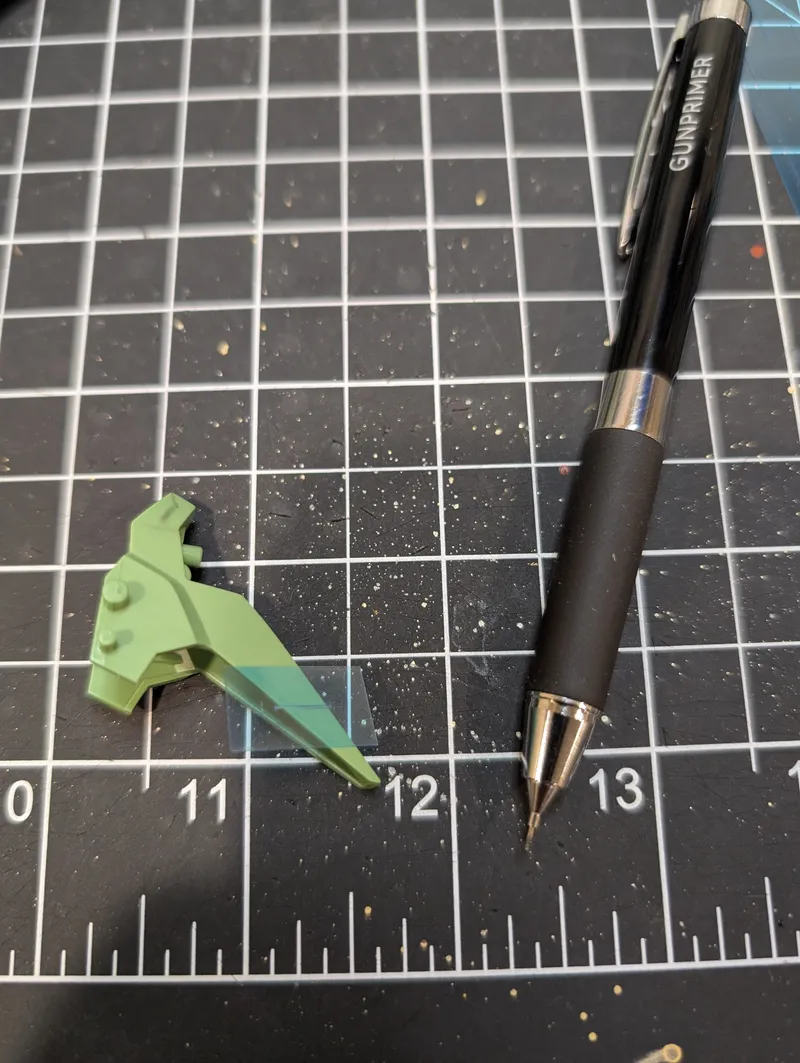
To start, I went through all the pieces I thought would stand out and drew some lines where I thought they'd look nice using a pencil. Then if I still thought it looked good from a distance I decided to etch them in. For this I happened to have a scribing pencil, which is just the form factor of a pencil with a nice sharp metal chisel. I would just use this to lightly trace the lines I had drawn and do that repeatedly until some nice etched lines formed.
As you can see in the pictures, a lot of the ones done by hand were... a little messy, which makes sense, I don't have the steadiest hands. I think they're passable and on the final product the imperfections are hopefully not noticeable.
I do have some scribe assist templates, which are meant to be overlayed where you want your lines and then they will keep your chisel in the same area, creating very straight lines. I tried these and had varying success. My biggest issue was if the line was on a curve, I couldn't keep the template down in the same place. Since most of the lines were on curved pieces this didn't do a lot for me, but where it did it works great!
Overall I'm mostly happy with these lines and I hope it adds to the piece. I sanded all of them afterwards to clean up the MANY soft scratches I had made, and anything else that's shallow should get filled in by paint primer next week.
If anyone has tips and tricks or opinions about scribing please let me know, I thought it was fun and hopefully worthwhile but I definitely have room for growth. Thanks for checking out another update and I'll be back next week with the first step of painting!
123 days ago
Hello and thank you for checking out my progress post! This week was a fun one to talk about, as interesting as disassembly is, it wasn't that though.
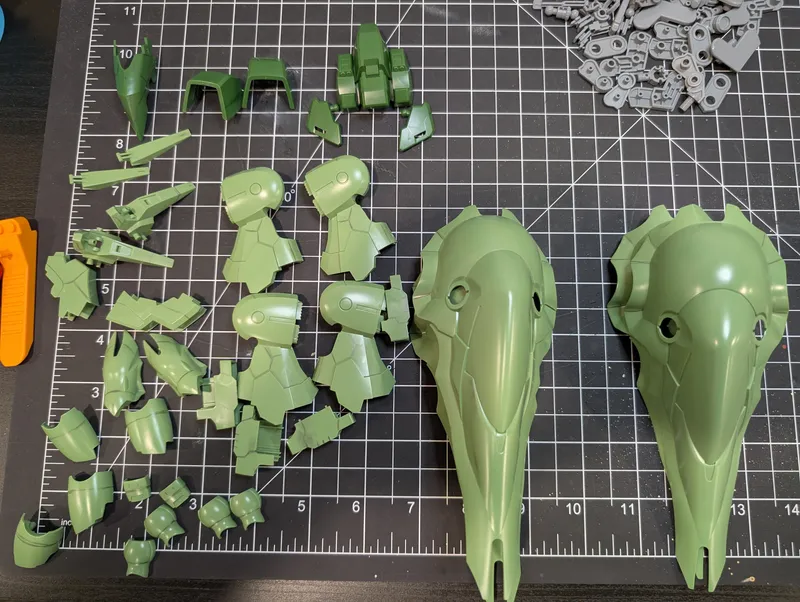
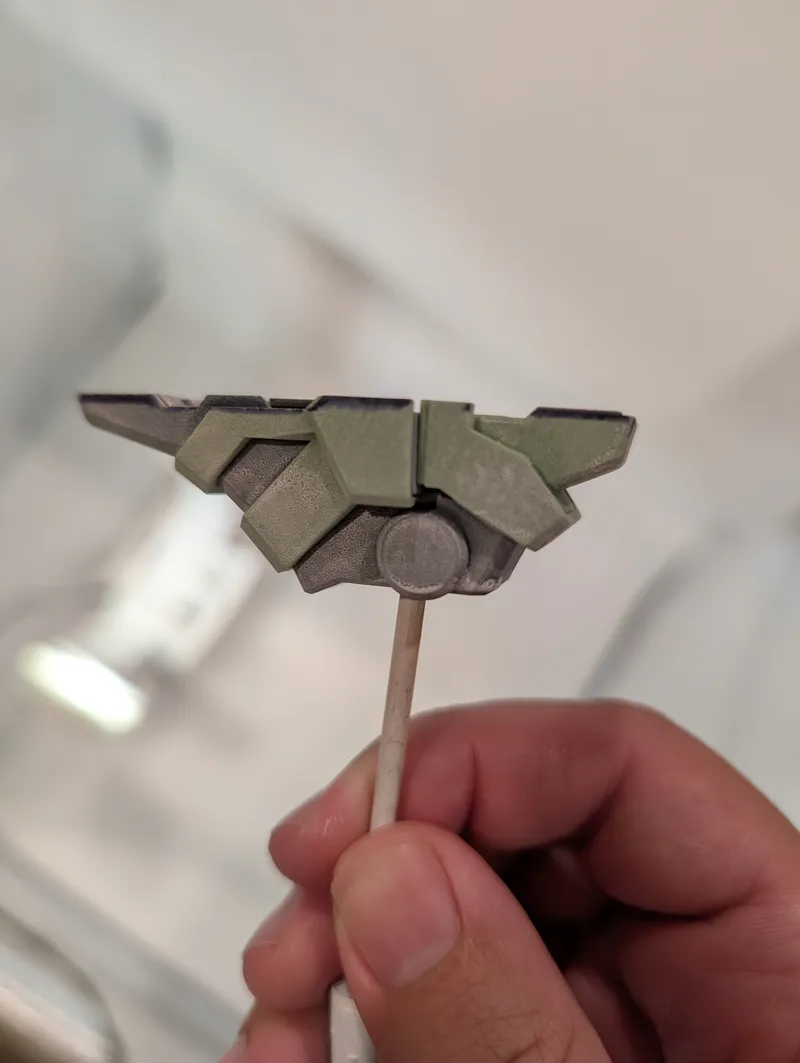
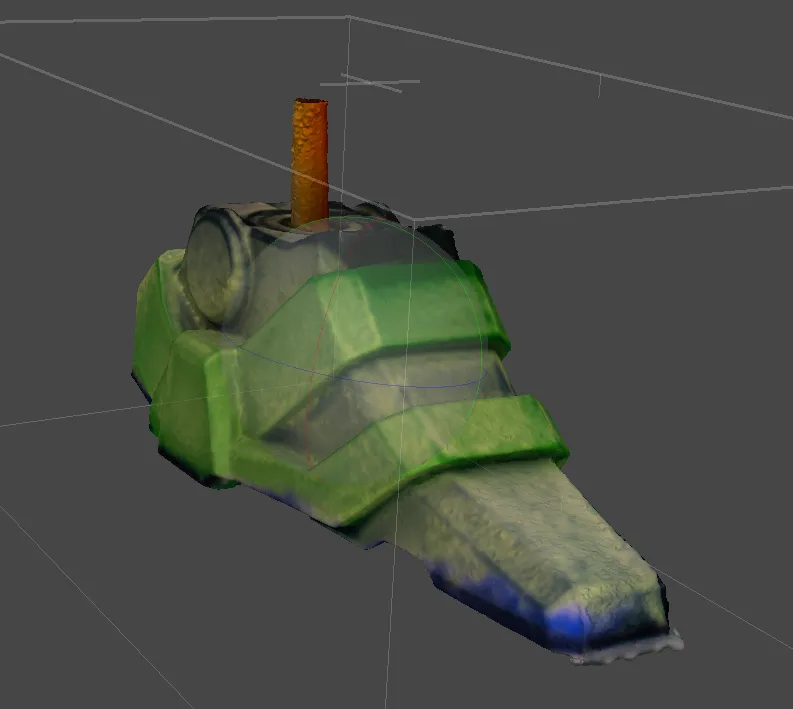
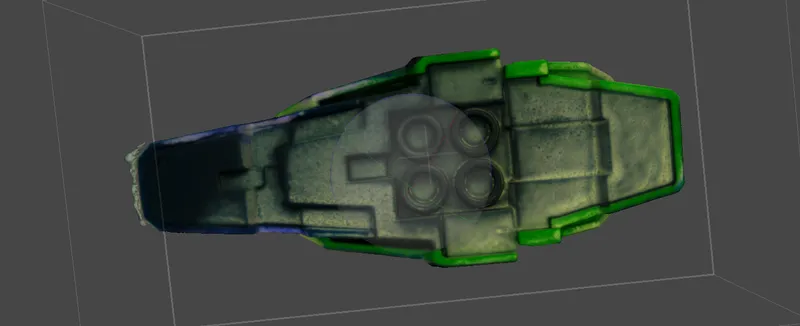
This week I scanned the foot of the Kshatriya using my homemade 3D scanner! I also disassembled the model entirely, but that's boring to look at and read. Even though it was most of the week we're not going to focus on it.
The reason I wanted to scan the foot is for later when modeling the base I want to place the door in 3D space, make indents in the base to help position the final model better. I still need to measure the foot so I can scale it properly in Blender later however.
Now you may be asking "Scott, if you have to measure the foot entirely and you're going to use the foot to make very simplified shapes for cutouts in the base, then what's the point?" Or you might be wondering "Did he use a 3D scanner for this to justify having spent so much time in making it and it's cool to talk about?" 😏
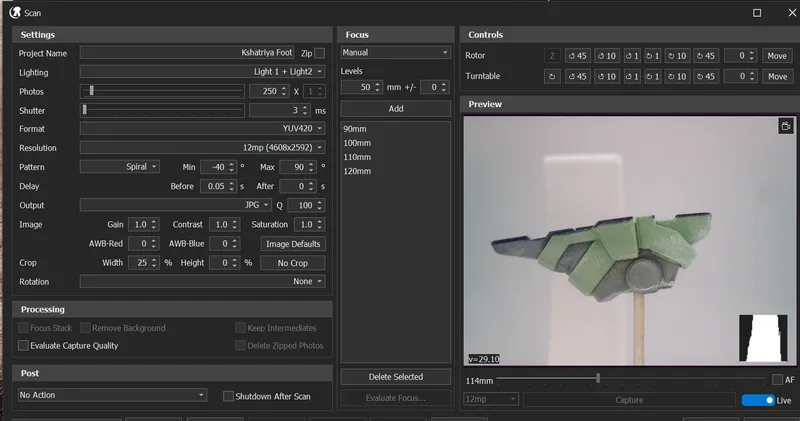
So first off, this scanner uses photogrammetry to remake the shape. That means that it takes tons and tons of pictures at different angles to recreate it. Meaning the first step is spray the foot with some scanner spray, which is just going to give it more texture that can be tracked by the software later. After that I set it on the scanner stand and set it to take a bunch of pictures.
After I've got entirely too many pictures, I run them through a quick photo adjustment to up the contrast a ton so the scanner software can better see and track regions.
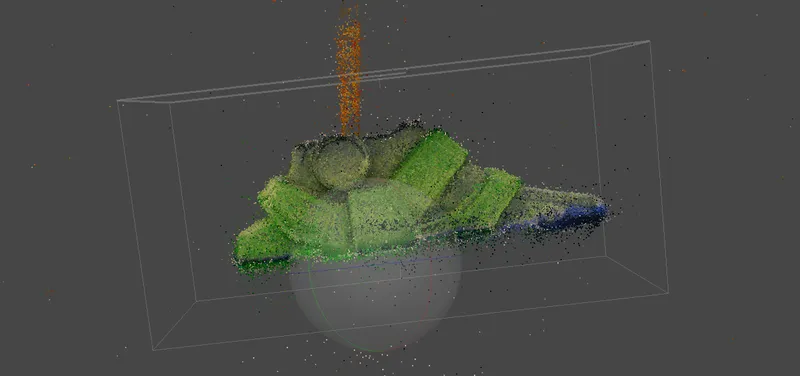
Finally I import all the photos to the software, align the photos, then generate the mesh. This process takes several hours since the software has a lot of photos to go through. I think the final mesh came out looking pretty good though! I'm happy with the level of detail I got out of it, and this will be very helpful later.
Outside of the scanning I definitely needed to do, I disassembled the rest of the model down to individual pieces. This is so I can group them by color for painting later. It's annoying to build and then disassemble but it's an important step for painting because I can skip a few pieces that aren't visible, any shortcuts I can take are good!
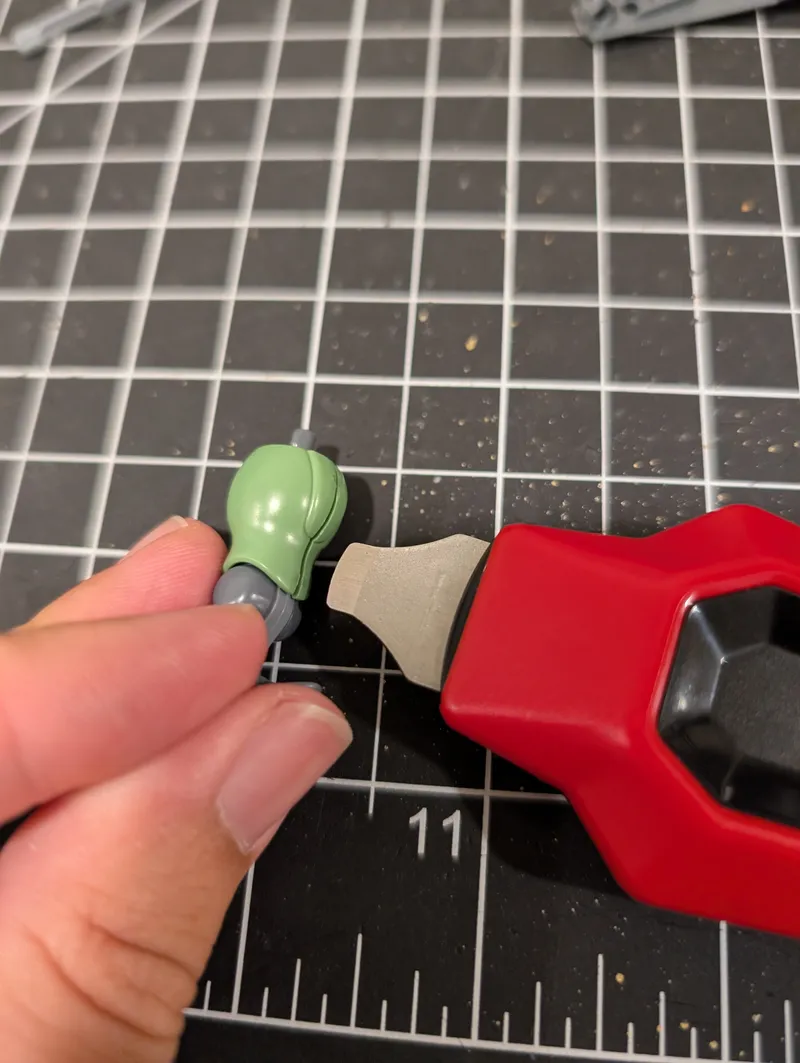
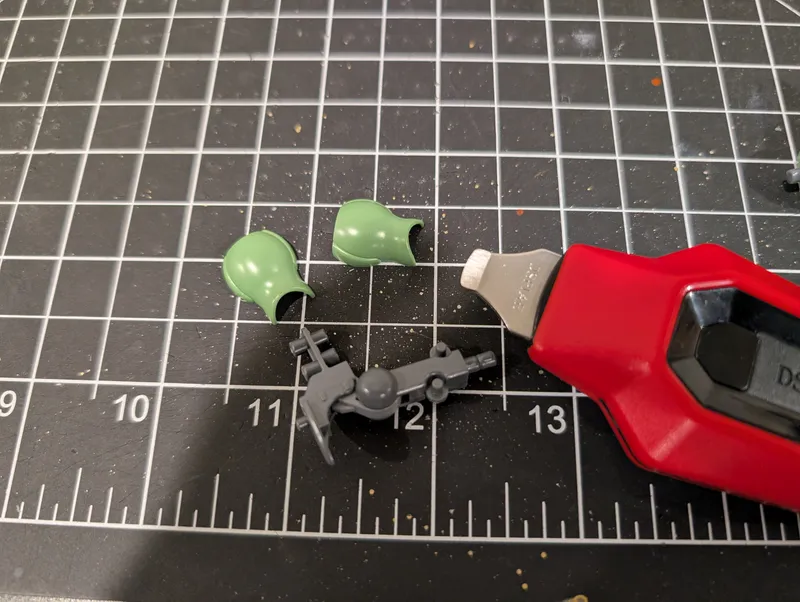
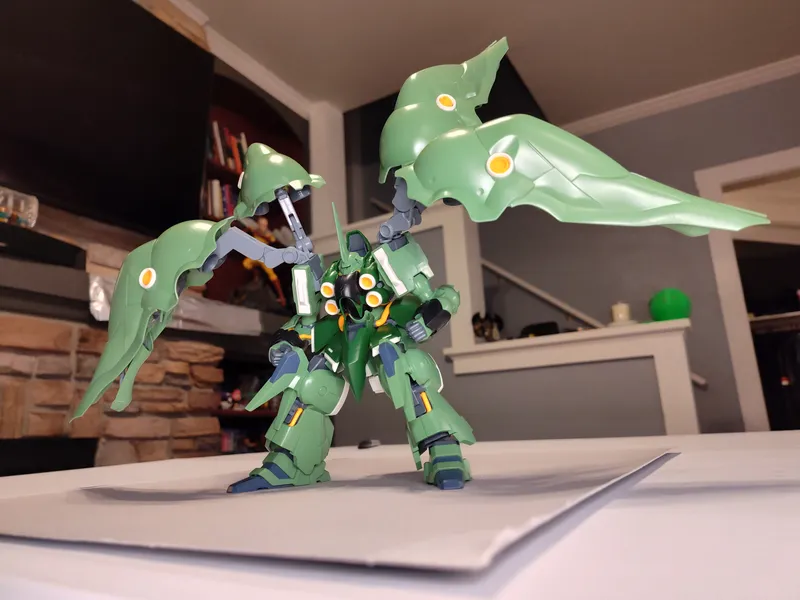
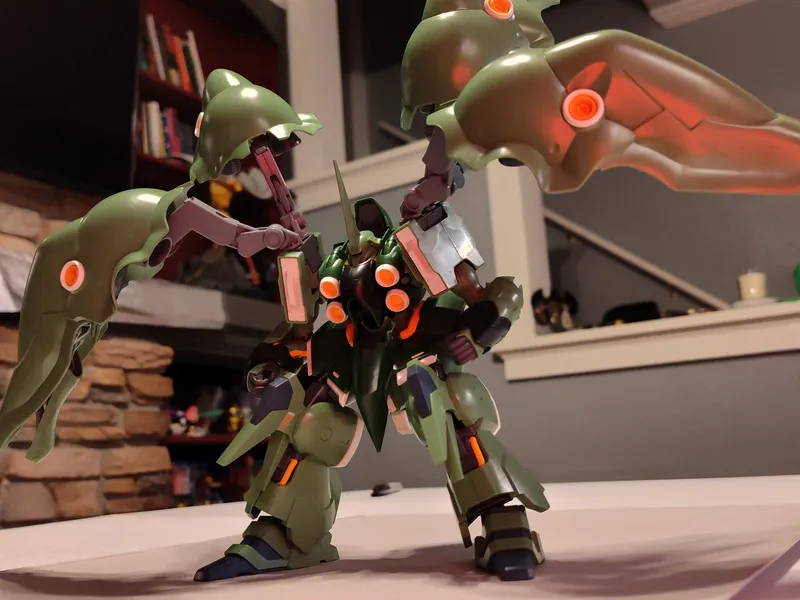
There were a few pieces that were difficult to get apart, like the shoulder component pictured here. There were just no edges to grab onto and use as leverage. Thankfully I finally got it out though. Any longer and I would have drilled a hole in the back so I could push it out 😅.
Now that that's all done, I can move onto the next step. Normally this would be painting but... Well more on that next week!
130 days ago
Hello and thank you for checking out my progress post! This last week was a pretty exciting one. I've completed the Kshatriya (first pass)!
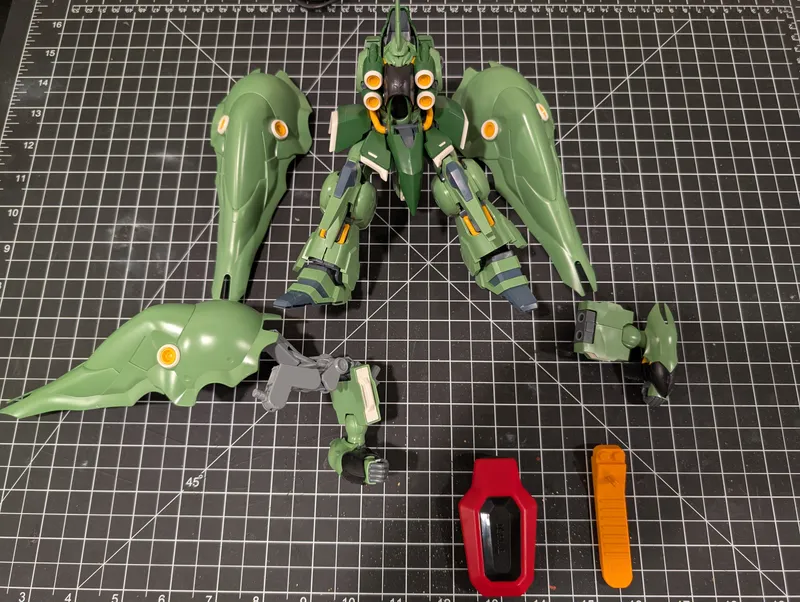
All of the parts are cut, sanded, and assembled. This model is a lot bigger than I expected for an HG scale, generally I work with MG so I'm used to the size but it was unexpected. There are also 24 funnels that had to be cut out and sanded, that took longer than it should have 🙃. But when it was all finished I was pretty happy with what I was looking at. So happy, in fact, that I immediately went to pose it and take pictures.
Generally I always like to do a before and after on my models when I intend to paint them, but there is a very special reason I did it for this one. Because I am 3D printing a base for this I need to know dimensions and make sure the model can hold the pose. This particular model is VERY heavy, so that's very important to know. Thankfully the wings have very nice locking mechanisms so they can hold a pose.
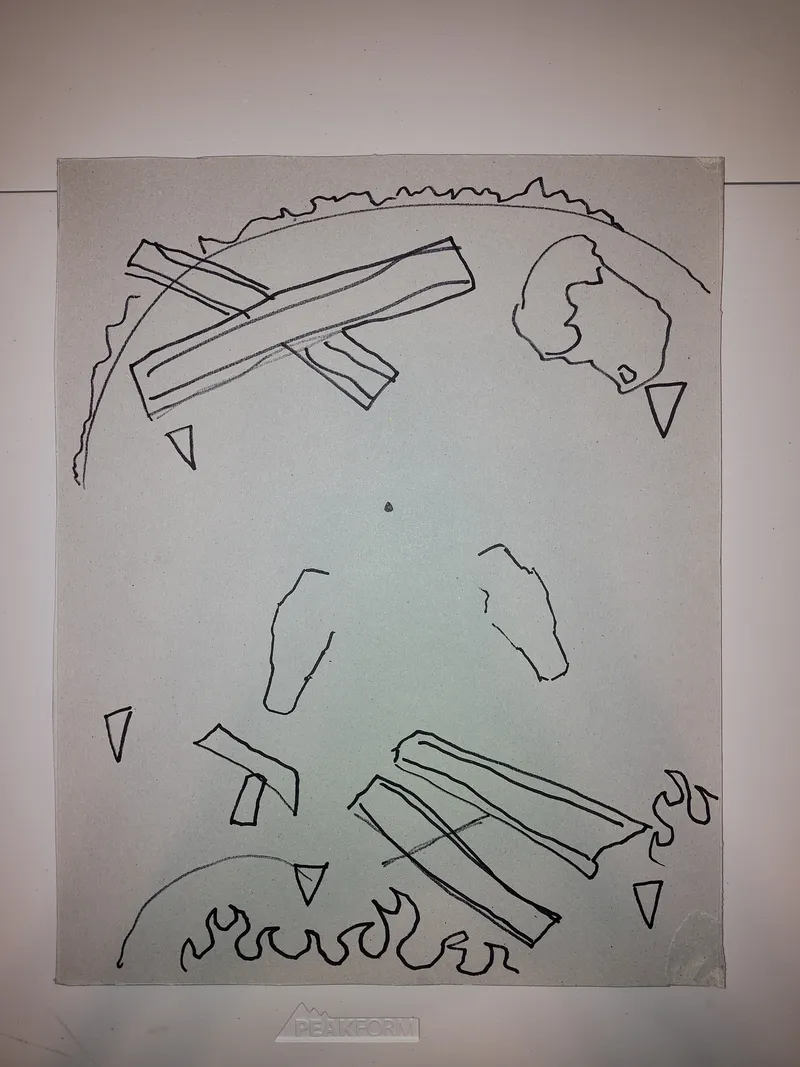
I used the box the model came in, cut it up to the size I was looking for, and posed the Kshatriya on it. Then I took a sharpie and drew out some points on it. I outlined the feet so I'd have a general idea of where it's going to stand, and then drew a lot of extra stuff on the box. This gives me an idea of what to model and where.
Here, I want to model in debris and fire. I also want to setup some of the funnels to be floating nearby. So I added a lot of scribles to the box to just give a general idea of all of that.
As I said before, the model is very heavy and struggles to hold a pose. Thankfully, however, there is a hole at the bottom of it for adding a pole or stand to help it stay positioned. So I marked that on the box as well for later.
Next up I will need to disassemble the entire model, sort them into color groups, find actual colors I want to use, then move on to painting! It is a bit of a pain to assemble and disassemble, especially when a lot of pieces aren't always designed to come apart, but the information I got from the test pose is invaluable and would have caused many issues later, so it was very important to do this first 😉.
137 days ago
Hello and thank you for checking out my progress post!
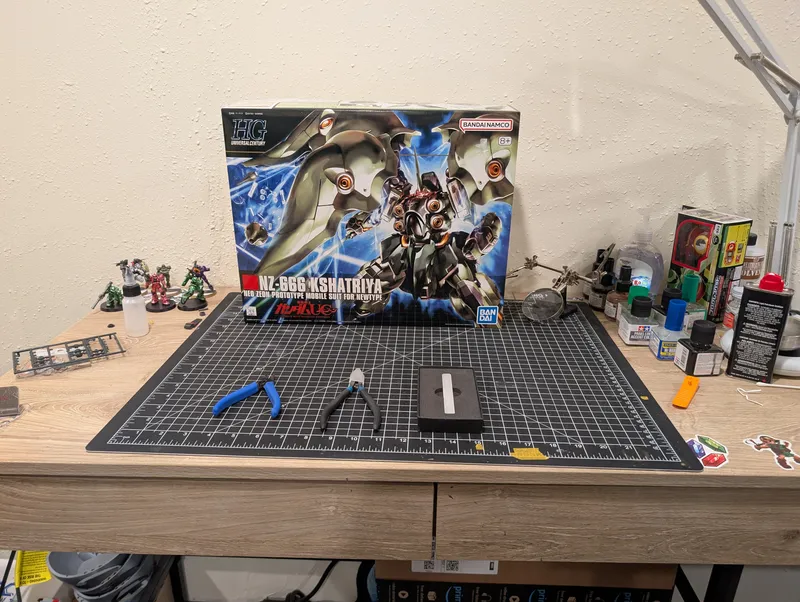
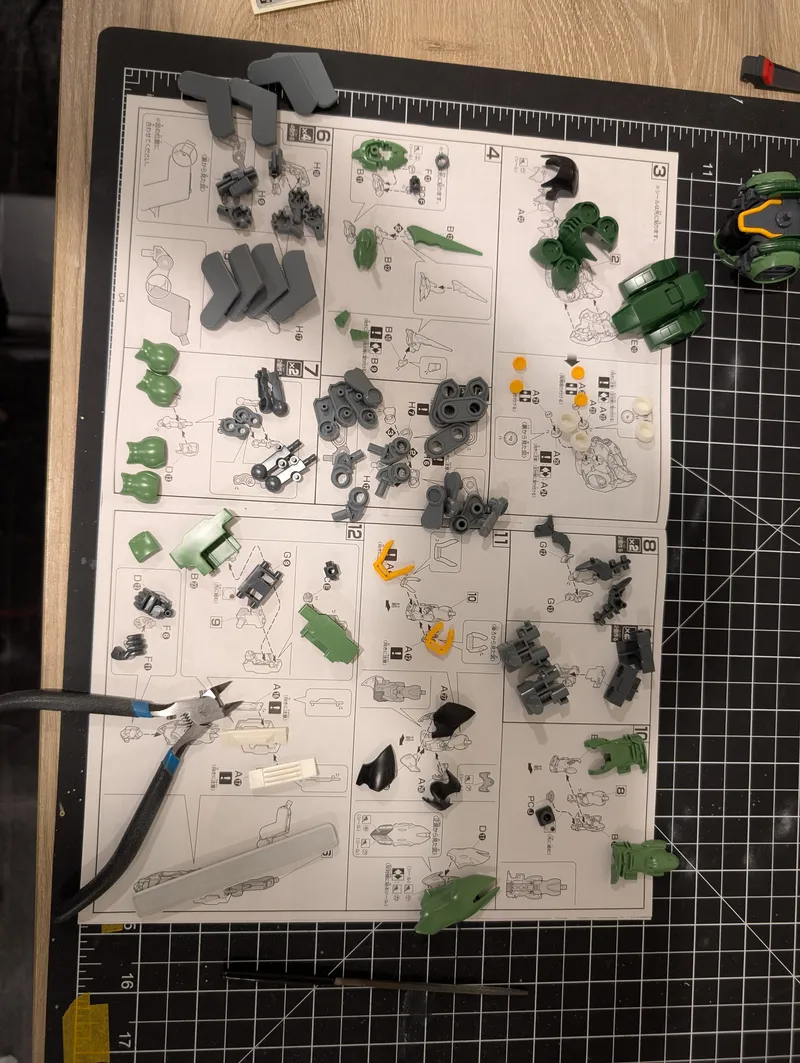
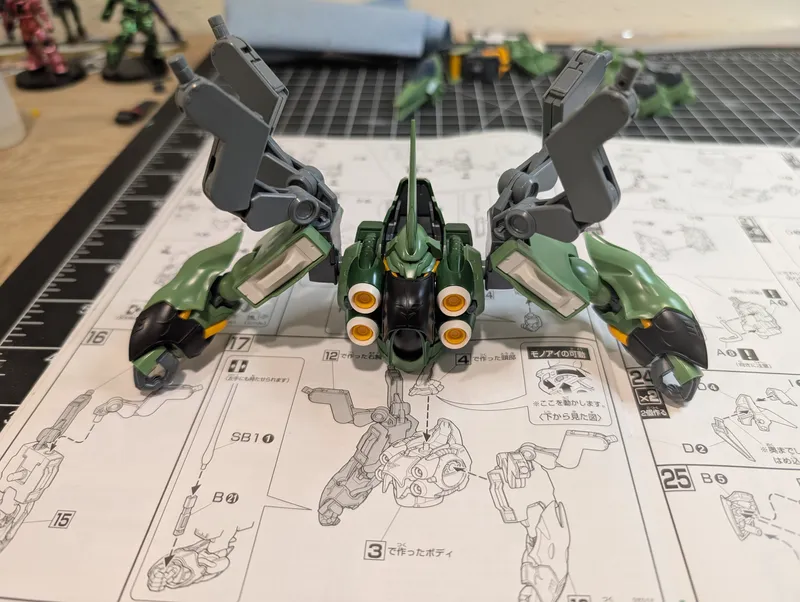
This week is a little underwhelming to look at but good progress was made. This week, I started actually building the model, yay! Despite being an HG set this is a pretty sizable model which I wasn't expecting. It has nice detail too which is awesome. With this I'd say it's halfway, or just over, completed.
As for my process, I am building the model so I can pose it, measure things out, and get a good idea of what I want it to look like when it's 100% complete. But that does mean the whole process takes a lot longer because I put it together and then take it apart, only to put it together again 🫠. I do think this is super important when painting though, because it informs me on what is actually visible, and in some cases what colors I think need to change to be more accurate.
Now for my actual build process I think I go a bit extreme, but I do think all the small details add up and become visible.
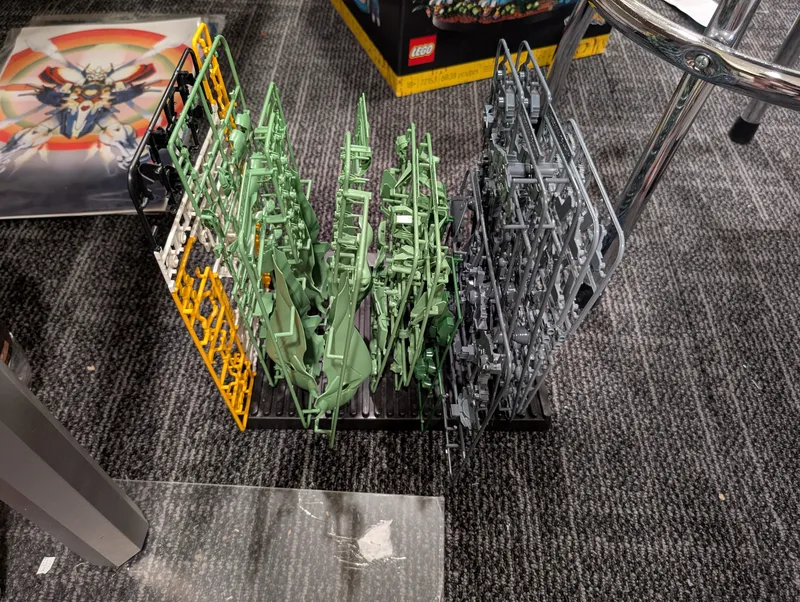
1. I cut out each piece on a page using some cheap snippers, leaving extra bits of the runner on the piece.
2. I go over each piece using my much sharper and more precise snippers, cutting off all of the extra runner that was left over.
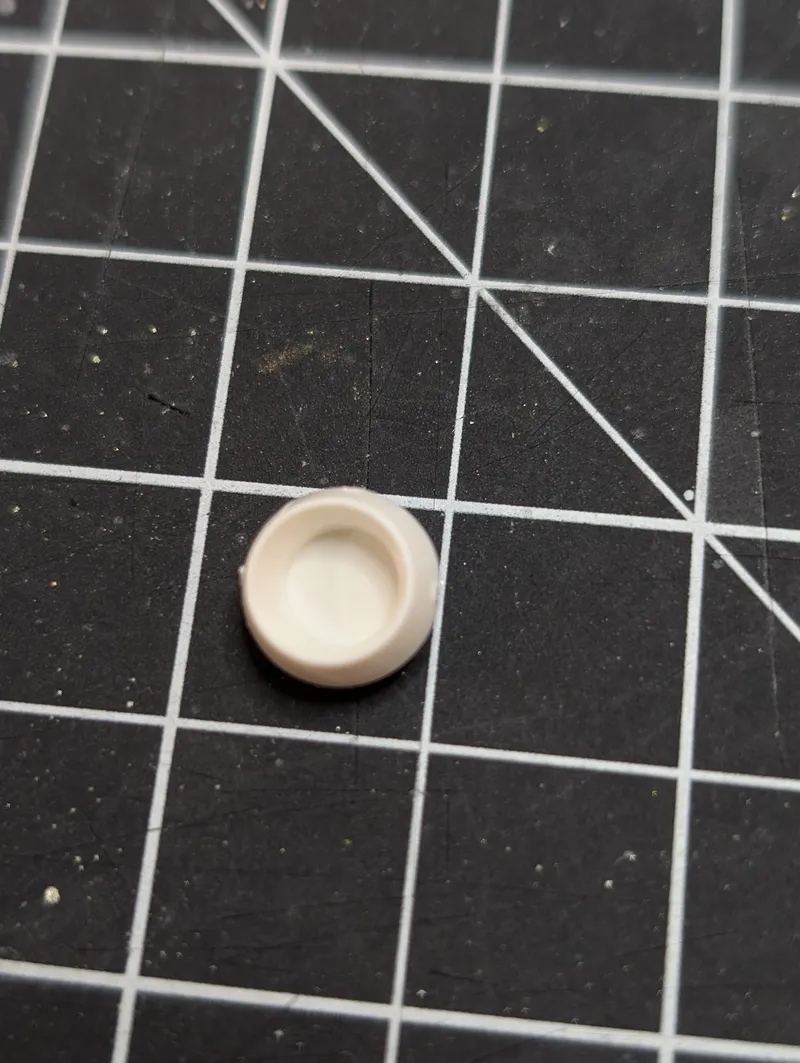
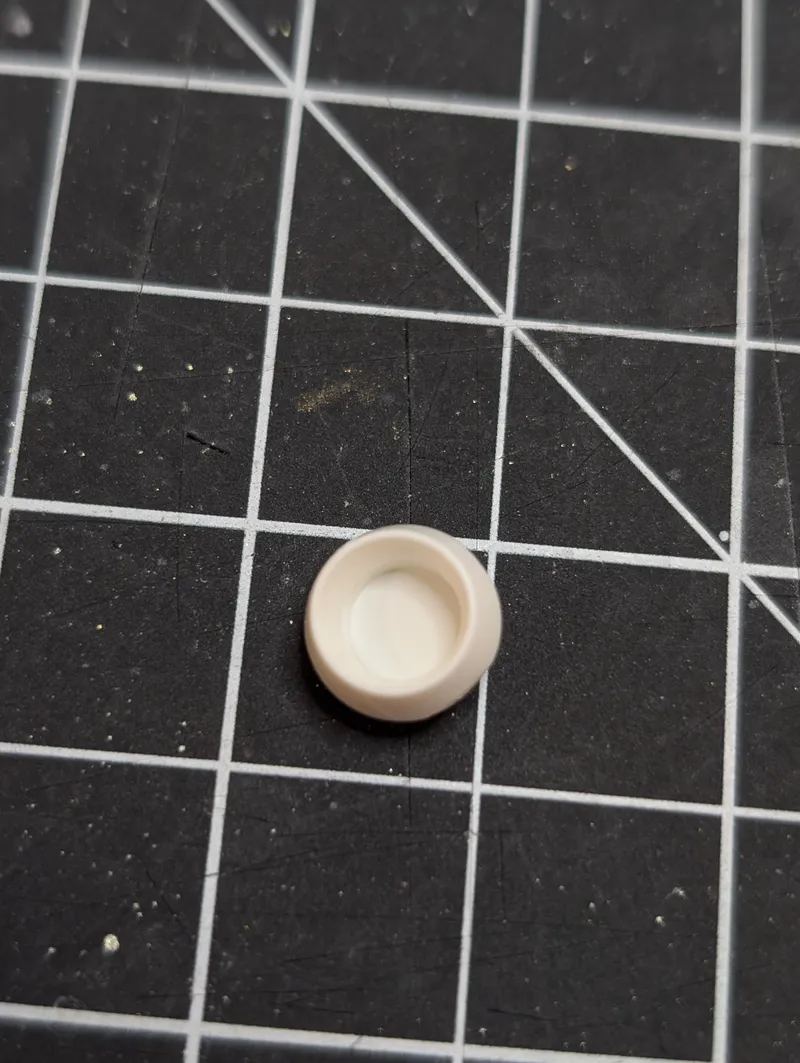
3. Using a glass file, I file off any excess runner leftover and make the piece even
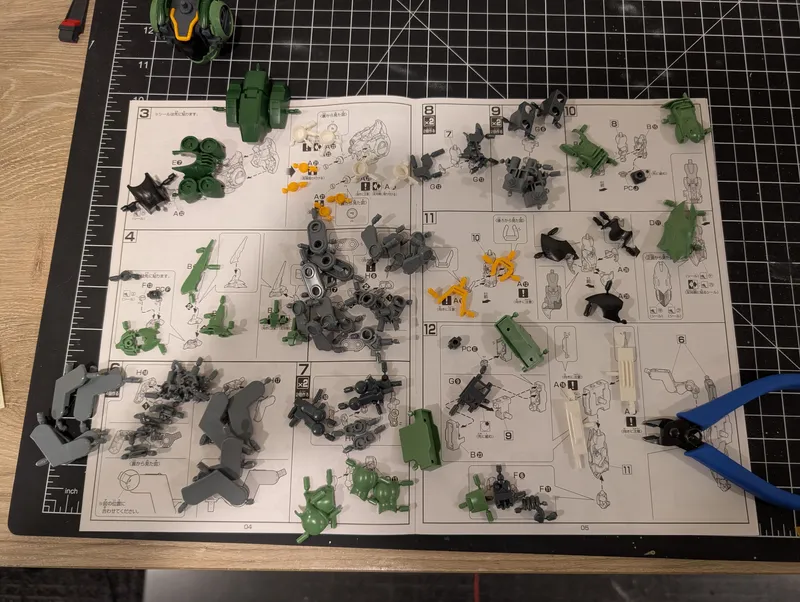
4. After every piece on the page has been cut and filed, I go through and put it all together. Go to the next page and repeat.
The reason I do two cuts is twofold. I don't want to use my nicer and shaper snippers for grunt work of cutting through the thick part of the runner. And I want to make my second cut as precisely as possible, which can be difficult when it's left on the runner.
I explicitly use a glass file (unless I can't get a good angle) because the glass files are less rough and they last a lot longer. The glass file seems to wear down the excess runner down to the surface evenly, and if I end up running the file across the main surface if doesn't file things unevenly.
I don't know if I can recommend that everyone does this amount of processing, just because it really does take forever. I think it's a great way to build just because it forces me to handle every piece with care, and I think that shows when it's all finished. It works for me but I definitely think it's overkill. Tell me if you think it's a good approach or if it's overkill.
I'm going to try and make these updates every Monday, and be consistent. For the next week I plan to have the model finished and I'll get some preliminary posing and measuring done. I hope you'll check it out!