

Scott Wood
@scottwood
12
Following
72
Followers
11
Updates
270
Likes
45
Comments
17
Votes
102 days ago
Week 6 - Painting part 1
Hello and thank you for checking out my progress post! This week I finally started painting! Updates for the next few weeks are going to look pretty similar to this one but I'll try to mix things up each week to stay interesting.
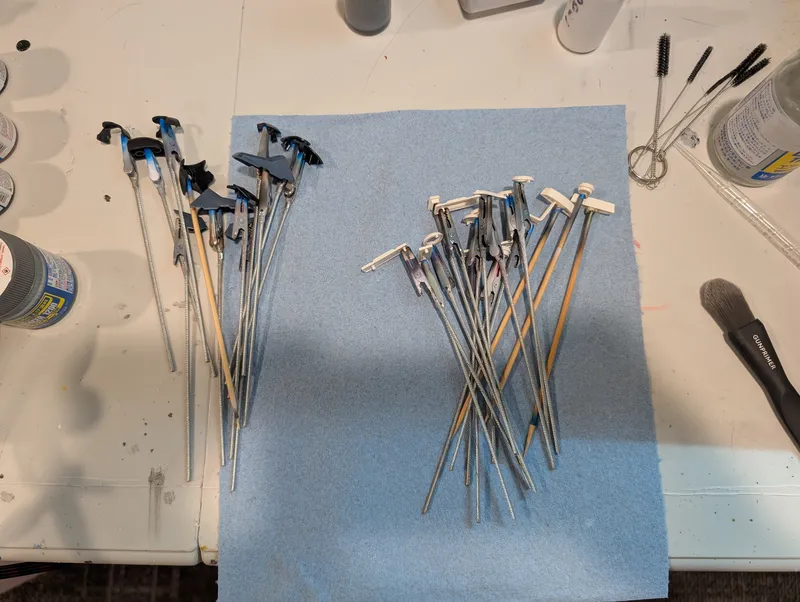
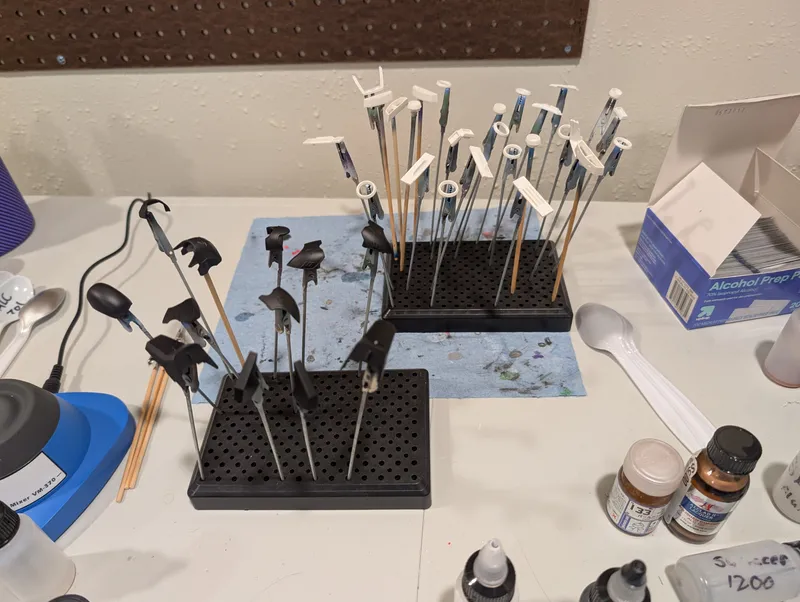
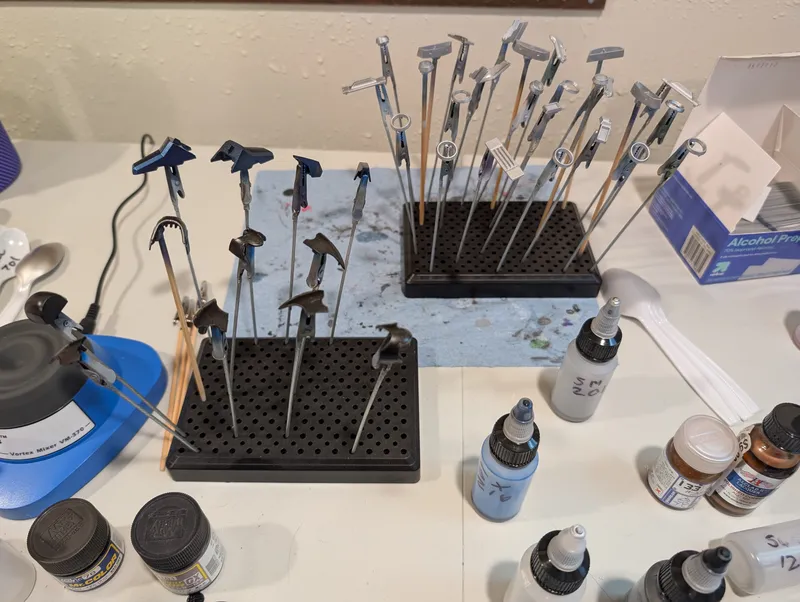
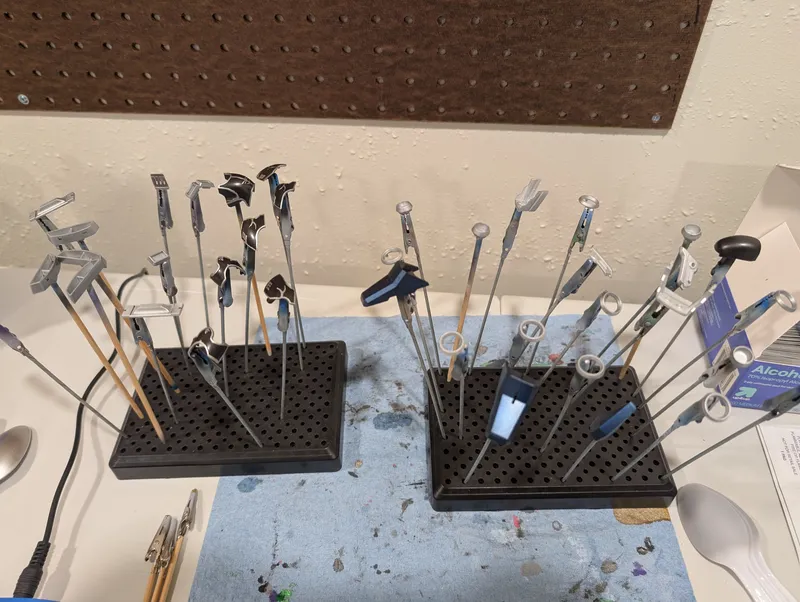
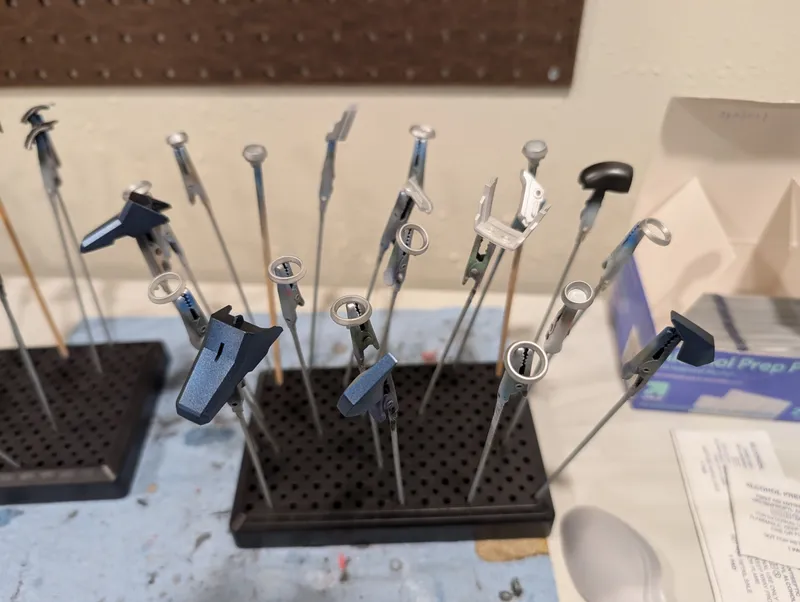
First up I decided to work on the white, black, and blue colors. This is mainly because each of them on their own didn't amount to much so I could batch them together. A bit of an overview of my painting process (all of this is with an air brush):
1. I prime all the pieces, for the black and blue colors I use a black base to give these a darker undertone, and for the white I used a white base (yes I am aware that painting white a different white is silly, but I do). Priming is incredibly important, largely so the future paint coats have a better surface to bond to. But the primer is also a base coat and affects the overall color tone. Doing this we can achieve a better contrast between all of the colors.
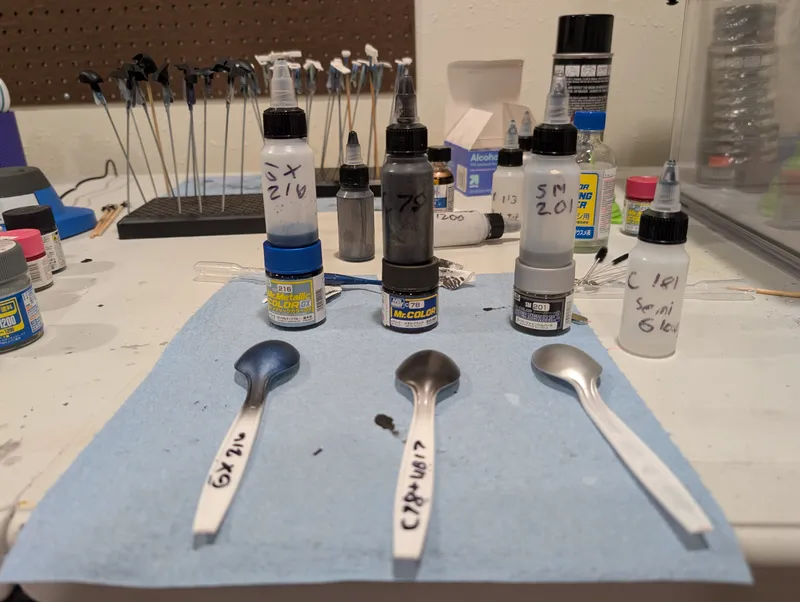
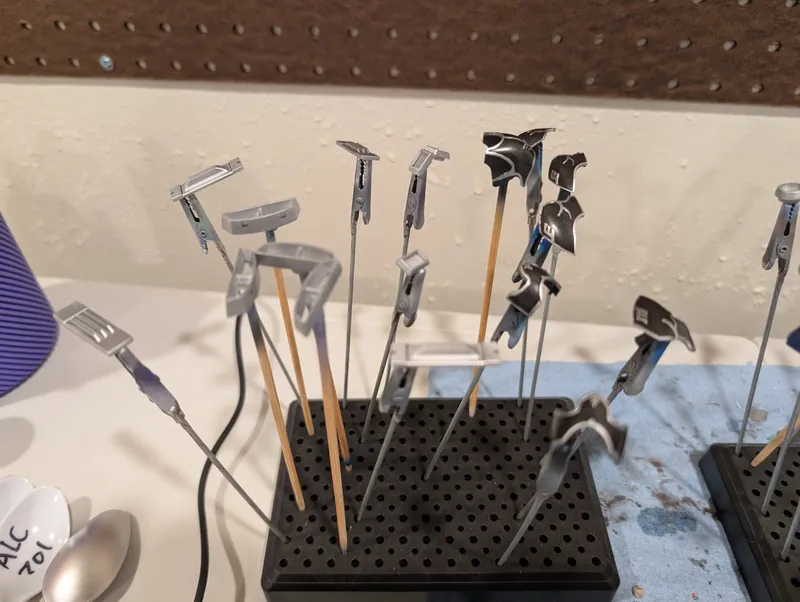
2. I paint the main colors. For these I used Mr. Color C76 (Metal Black), Mr. Metallic Color GX216 (GX Metal Dark Blue), and Mr. Color Super Metallic 2 (Super Fine Silver 2). As you can tell I like painting my models with metallic colors lol 😅, but I really like the more realistic look it gives, and I like shiny things. Something to note here, I am using a silver for the white, canonically these pieces ARE supposed to be white. But when I was picking colors I was looking at references and saw a few that used silver and I thought it looked good. Also there isn't really a "Metallic White", so technically silver is a metallic white. Anyway, I think it was a good choice but let me know your thoughts!
3. Then I use a glossy topcoat, add panel liner (more on that next week), and then another topcoat if needed. Usually I'll do a semi glossy here because I think regular glossy is a little too reflective and unrealistic for my giant robot model.
Kind of a side note about the black pieces:
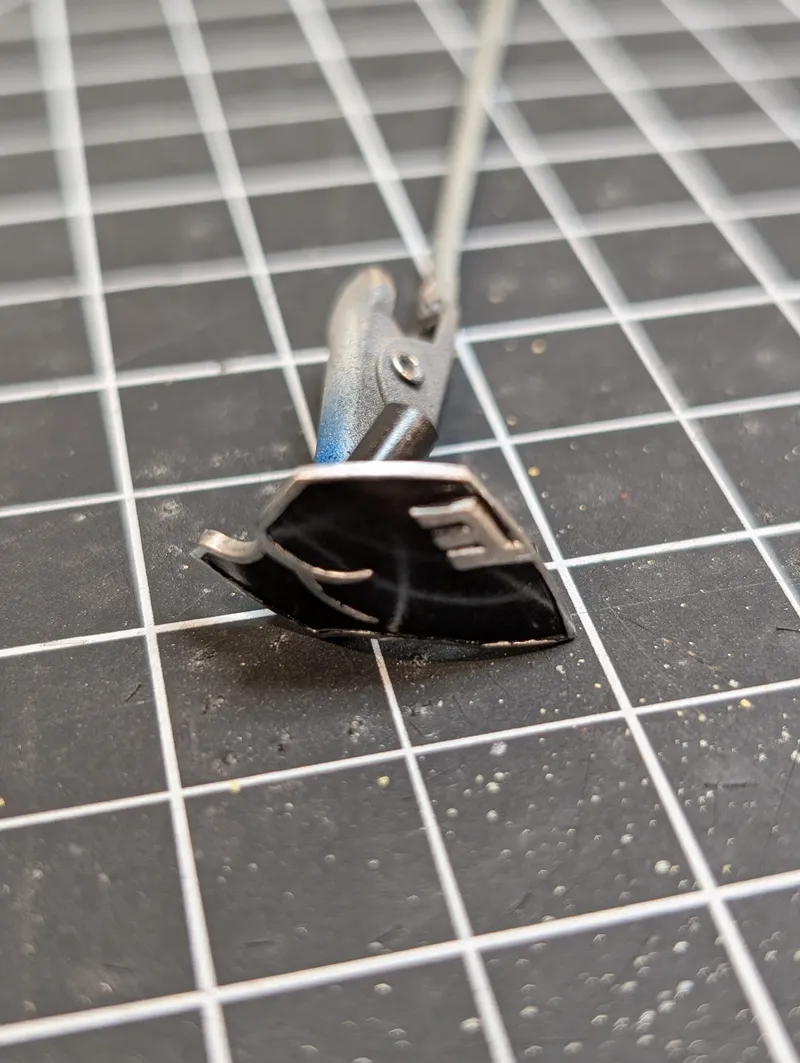
On the Kshatriya (and other unicorn neo zeon models) there are details on the black pieces that are meant to be white, but because the models are simpler they just print the piece as black and provide stickers for the detail. I don't really like stickers, at least not for this sort of detail I don't. Thankfully, the pieces have the details extruded, making it easier to hand paint the detail on. You can see in the before and after for one of the black pieces, but I think it turned out really well!
This is the second time I've tried to hand paint these details, and I feel like I've gotten quite a bit better. The first time was some years ago when I was painting part of a Rozen Zulu (picture included). That may have been the first model I had ever actually painted too, thinking back. But if you look closely at the white trim and details you'll see that the paint is messy and uneven, I struggled to paint with the areas I wanted, it wasn't great. Compared to now however, I can say that the paint itself looks a lot more even and smooth and I did better to not paint on black areas.
Ok, that's plenty for this week, thank you if you read to the end and let me know if you think this is overkill for painting models, I'm open to criticism. There's still a lot to do but hopefully the coming weeks will be fun to look at and see as everything starts to come together! See you next week.
- S
 STUDIO93566 days ago
What a great season for painting :p
- DG
 Daniele Guerrini100 days ago
Bellissimo laboratorio per la pittura! Complimenti!