

Scott Wood
@scottwood
12
Following
72
Followers
11
Updates
270
Likes
45
Comments
17
Votes
123 days ago
Week 3 - Scanning and Disassembly
Hello and thank you for checking out my progress post! This week was a fun one to talk about, as interesting as disassembly is, it wasn't that though.
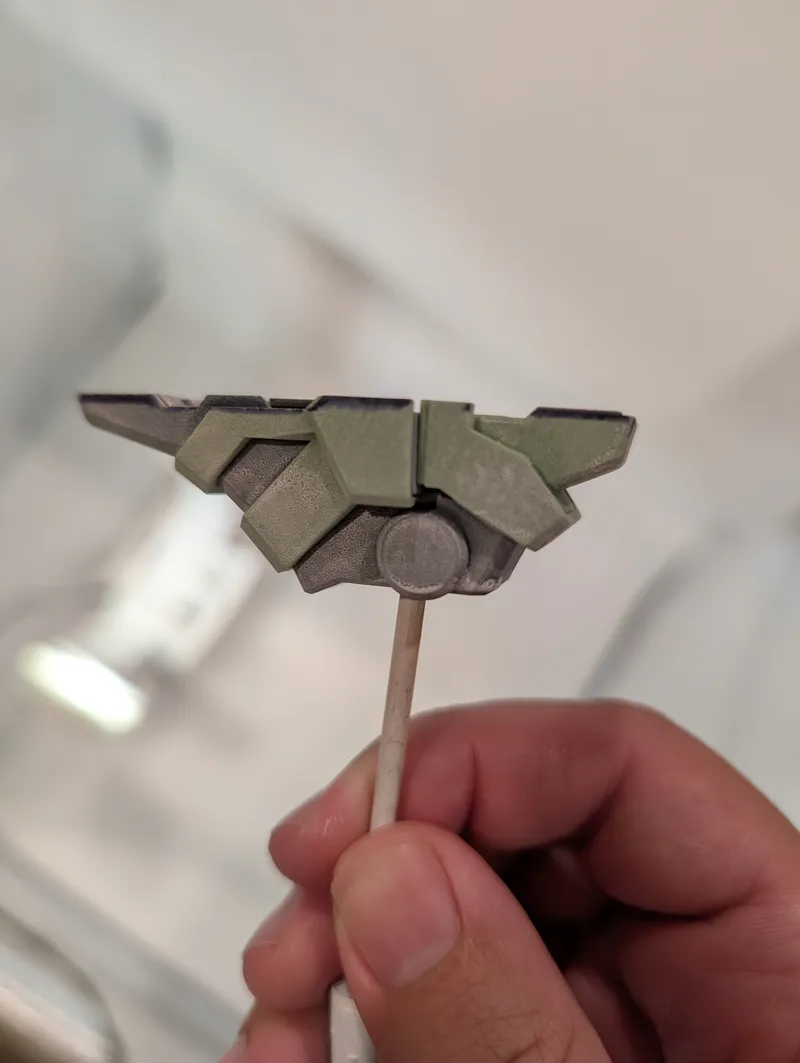
This week I scanned the foot of the Kshatriya using my homemade 3D scanner! I also disassembled the model entirely, but that's boring to look at and read. Even though it was most of the week we're not going to focus on it.
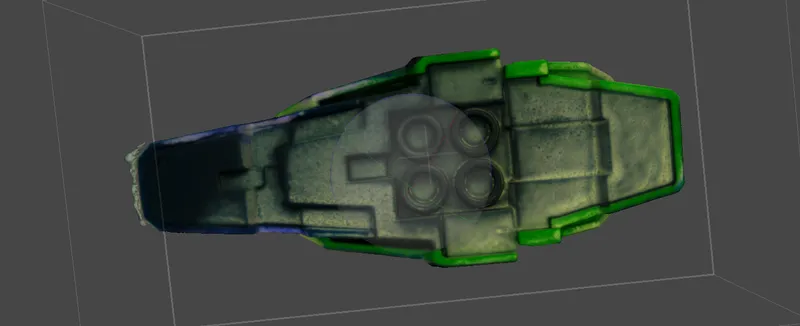
The reason I wanted to scan the foot is for later when modeling the base I want to place the door in 3D space, make indents in the base to help position the final model better. I still need to measure the foot so I can scale it properly in Blender later however.
Now you may be asking "Scott, if you have to measure the foot entirely and you're going to use the foot to make very simplified shapes for cutouts in the base, then what's the point?" Or you might be wondering "Did he use a 3D scanner for this to justify having spent so much time in making it and it's cool to talk about?" 😏
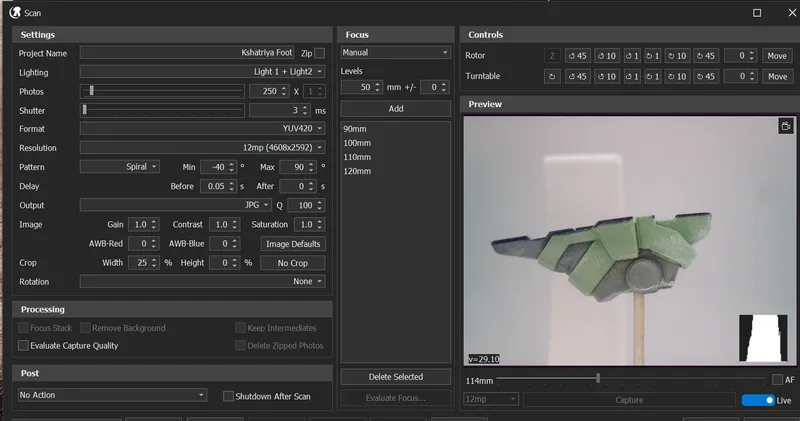
So first off, this scanner uses photogrammetry to remake the shape. That means that it takes tons and tons of pictures at different angles to recreate it. Meaning the first step is spray the foot with some scanner spray, which is just going to give it more texture that can be tracked by the software later. After that I set it on the scanner stand and set it to take a bunch of pictures.
After I've got entirely too many pictures, I run them through a quick photo adjustment to up the contrast a ton so the scanner software can better see and track regions.
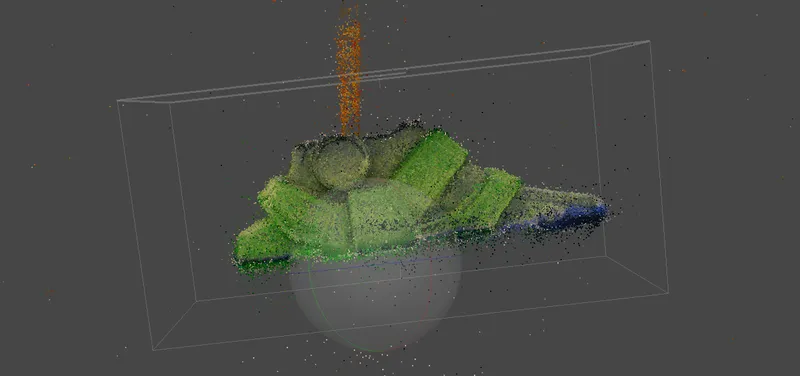
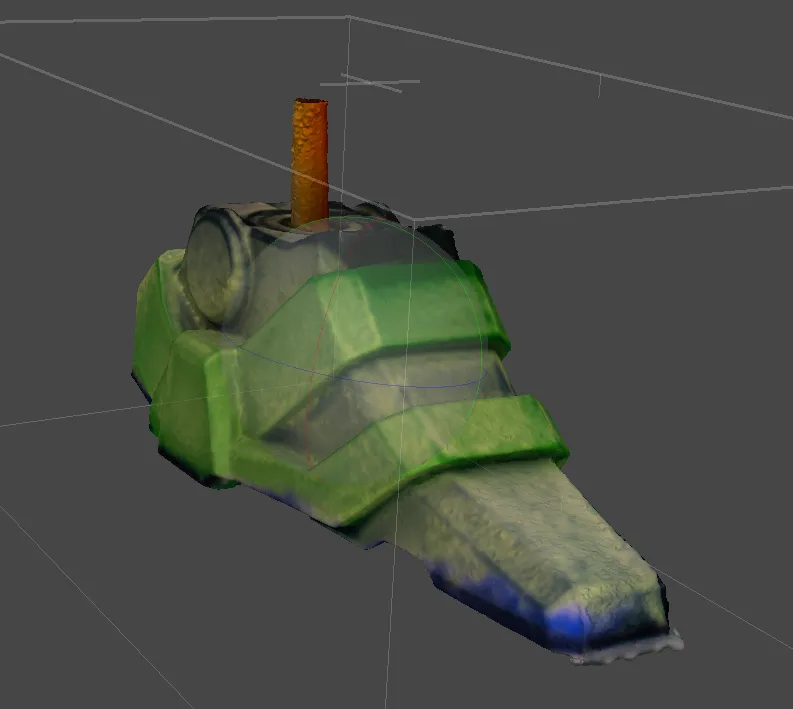
Finally I import all the photos to the software, align the photos, then generate the mesh. This process takes several hours since the software has a lot of photos to go through. I think the final mesh came out looking pretty good though! I'm happy with the level of detail I got out of it, and this will be very helpful later.
Outside of the scanning I definitely needed to do, I disassembled the rest of the model down to individual pieces. This is so I can group them by color for painting later. It's annoying to build and then disassemble but it's an important step for painting because I can skip a few pieces that aren't visible, any shortcuts I can take are good!
There were a few pieces that were difficult to get apart, like the shoulder component pictured here. There were just no edges to grab onto and use as leverage. Thankfully I finally got it out though. Any longer and I would have drilled a hole in the back so I could push it out 😅.
Now that that's all done, I can move onto the next step. Normally this would be painting but... Well more on that next week!
- S
 STUDIO93571 days ago
Great scanning job :p
- CK
 Christopher Koch122 days ago
I wish I had more ways to 3d model I just use my head currently
- A
 Athe3D122 days ago
good job!!!
- F
 faulk123 days ago
Great work. Impressive update.