antampatz
@antampatz
994
Following
106
Followers
36
Updates
829
Likes
111
Comments
274
Votes
130 days ago
Week 9 — Upper Torso Clean-Up & Surface Preparation
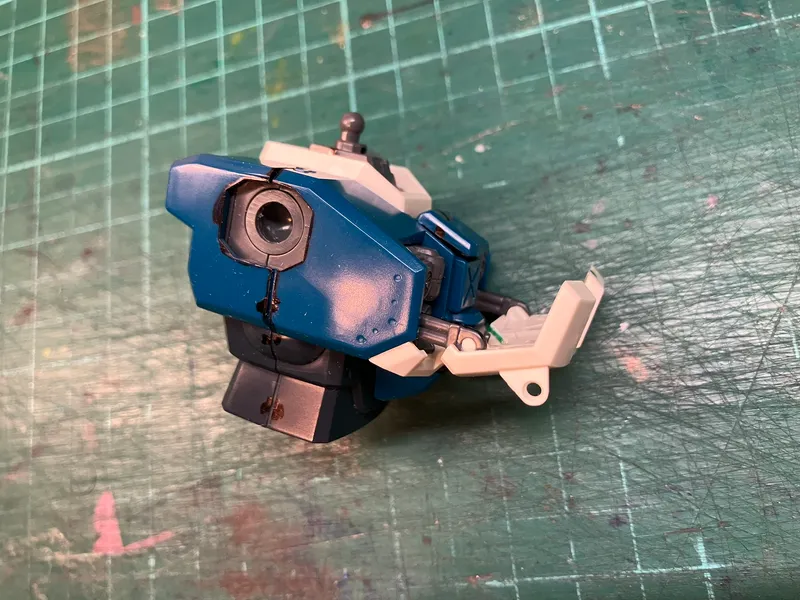
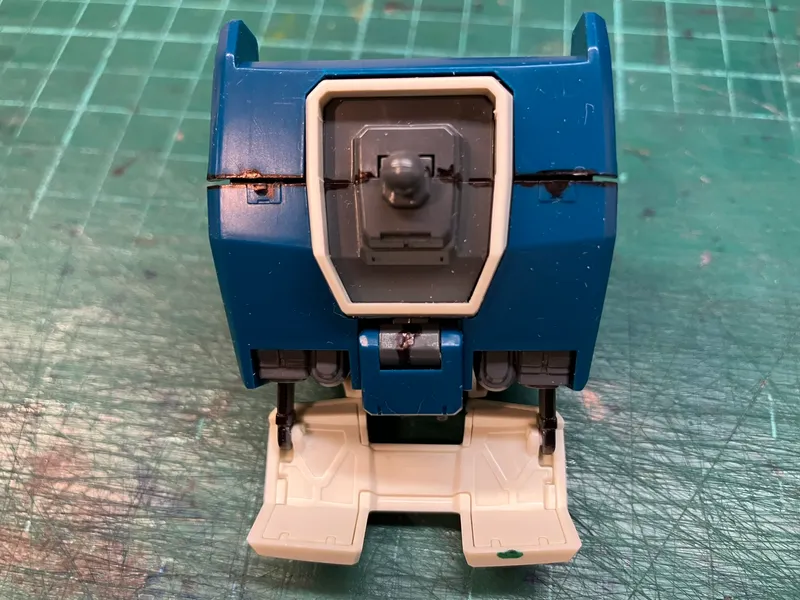
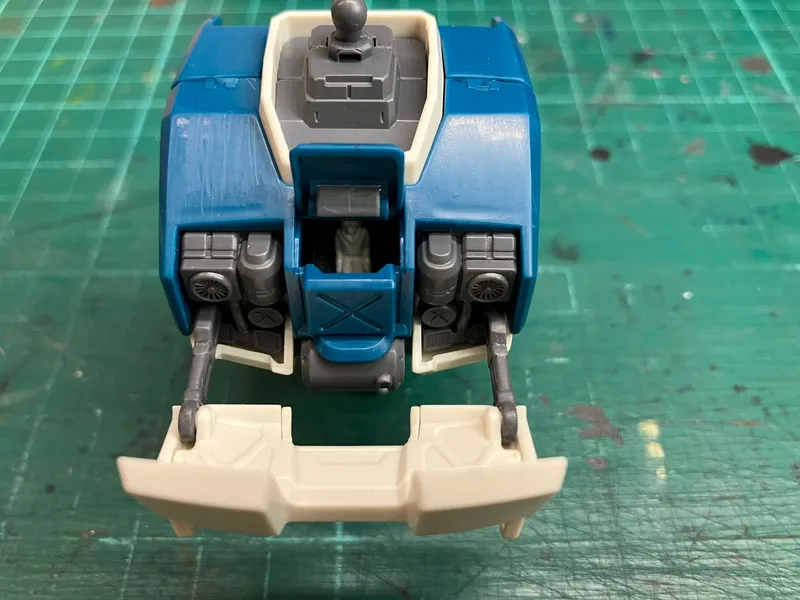
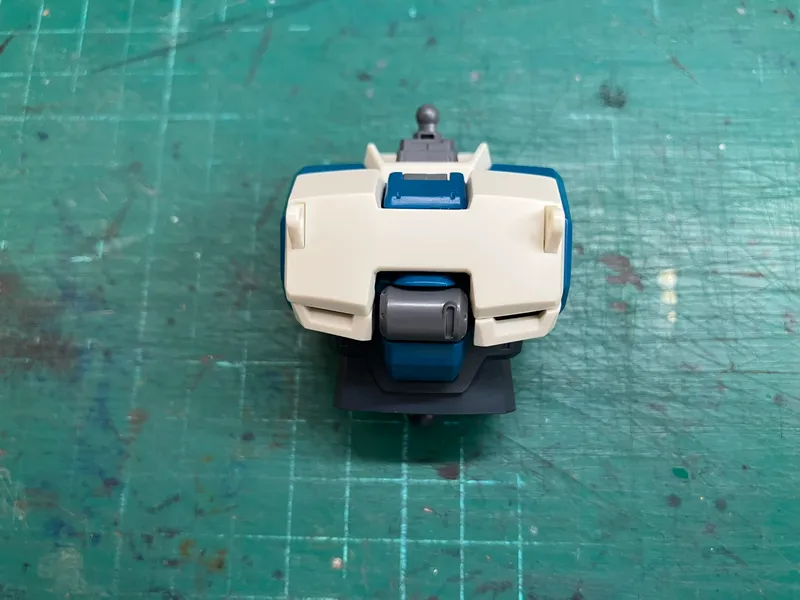
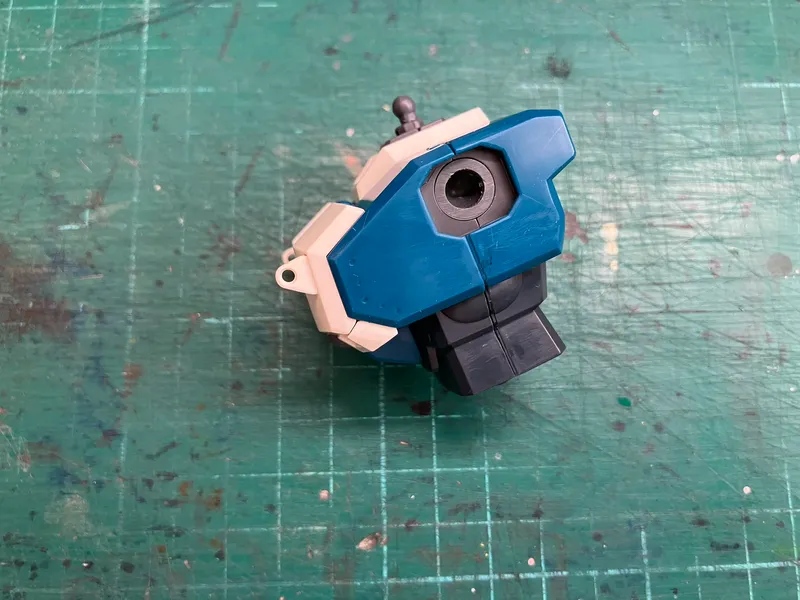
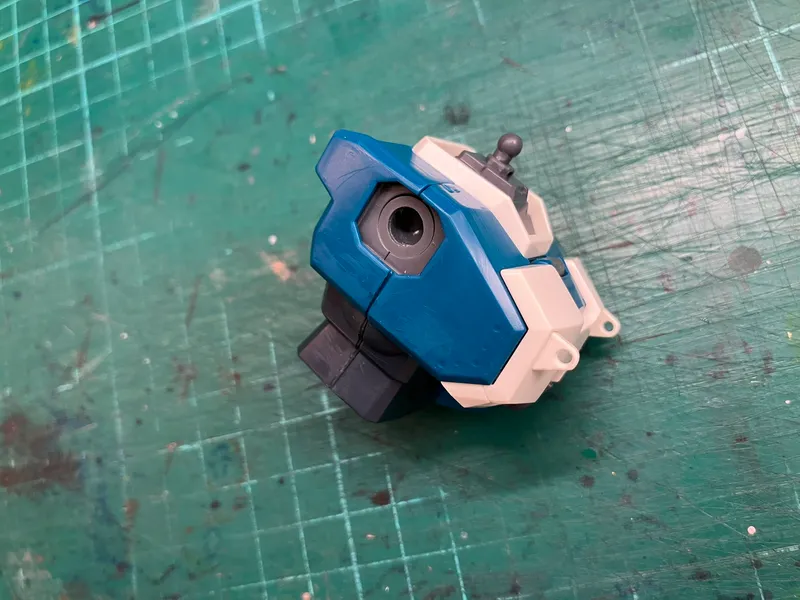
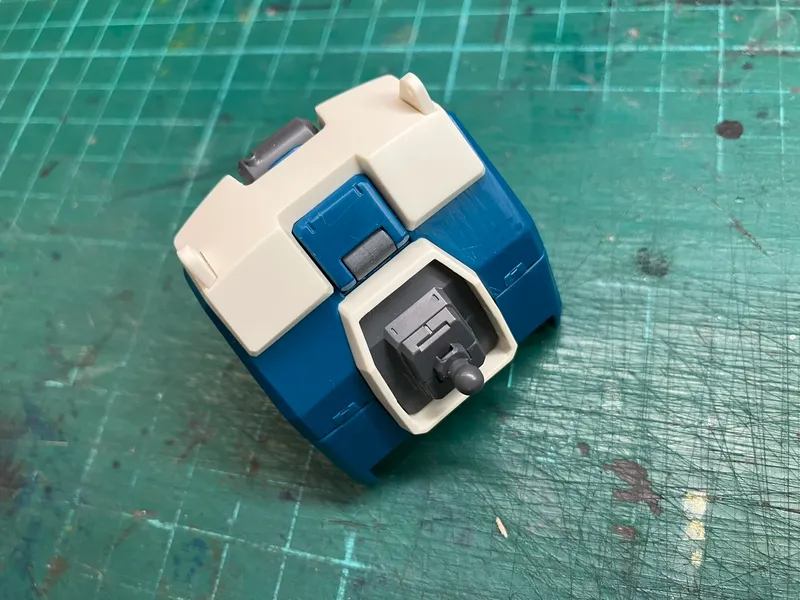
This week I continued the clean-up work, moving on to the upper torso.
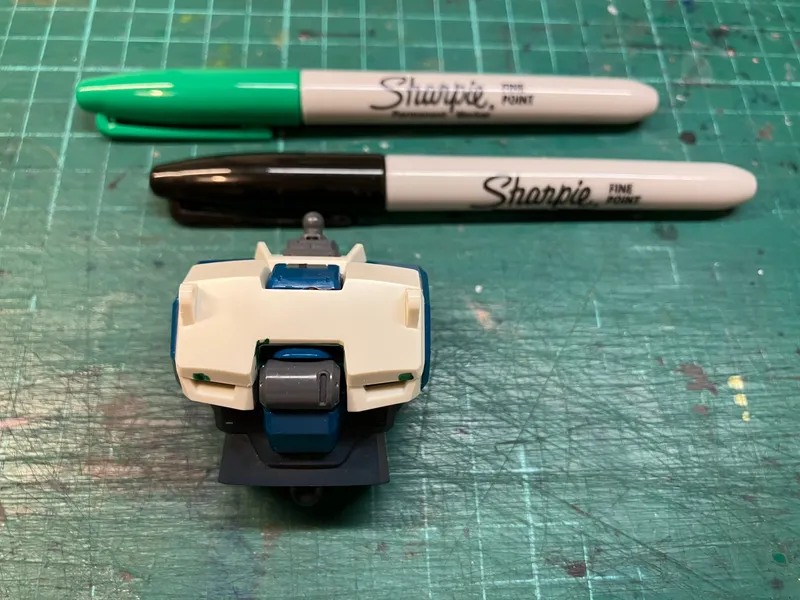
As with the legs and waist, the focus was on dealing with the main surface issues before getting further into paint preparation and final detailing. The upper torso is a very visible part of the model, so I wanted to take the time to clean up the armour and frame parts properly.
I started by checking the parts for gate marks, mould lines, and visible seams. Some of these areas are fairly easy to miss at first, especially where the mould lines run along edges or around raised details, but they can still catch the light — or become more obvious once primer and paint are applied.
I then worked through the parts using the same approach as before: sandpaper, metal and glass files, a mould-line scraper, and a melamine sponge to even out the surfaces. This helped remove the remaining gate material and reduce the small raised lips left by the moulding process, leaving the parts with a more consistent matt finish.
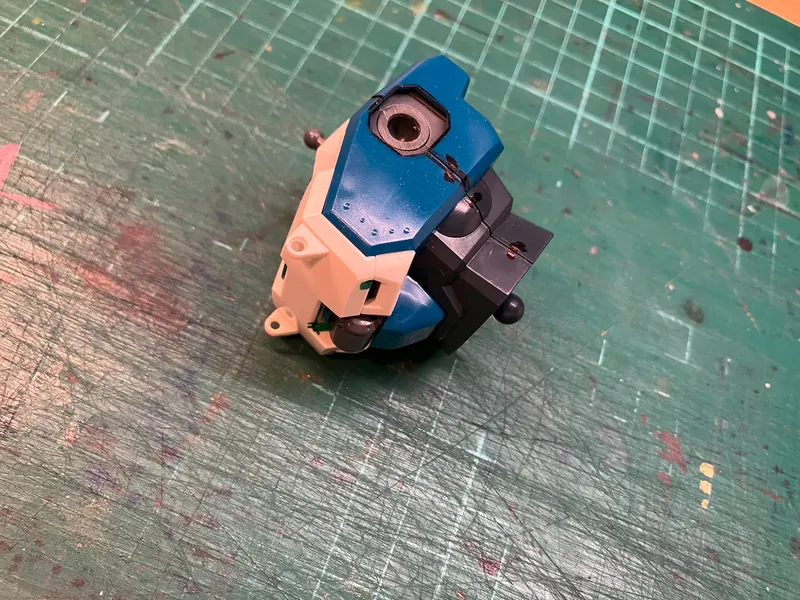
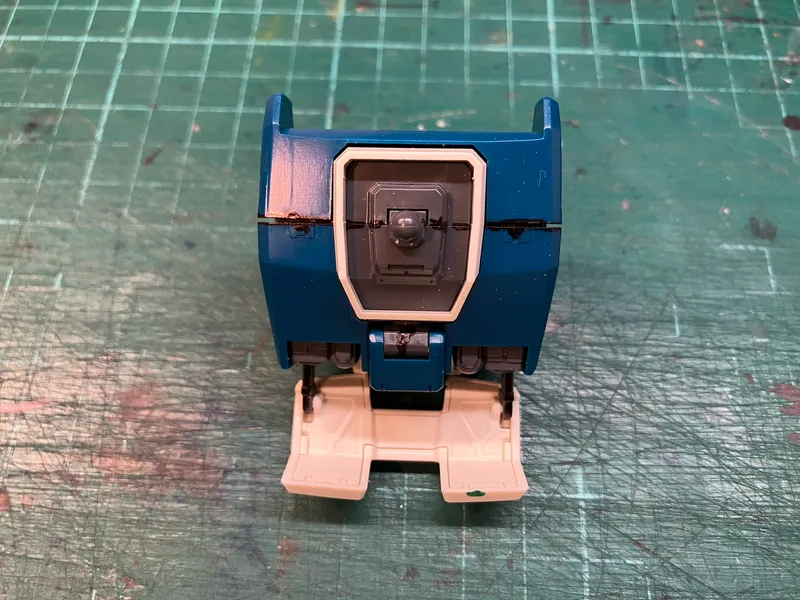
The main seam decision this week was on the upper torso inner frame. There is a seam running across the frame, splitting it into front and rear sections, and part of this remains visible around the neck area, surrounded by the white collar. Rather than cementing this closed, I decided to turn it into an intentional panel line.
To do this, I used the same approach as on the leg and waist inner frame areas. I carefully worked along the join where the two parts meet, using a scriber, scraping tools, and the back of a hobby knife blade to sharpen and define the line. I left a slight gap between the parts while working across the seam, which helped guide the tools and make the line read more deliberately. The aim was not to hide the join completely, but to make it look like part of the mechanical design rather than an unfinished construction seam.
Keeping this seam functional also has a practical benefit. It means the inner frame can still come apart if needed later. If time allows and I decide to explore LEDs, the internal cavity could potentially be used to house batteries or wiring. It also keeps access open to the shoulder joint polycaps, which may be useful in future if they wear out and need replacing.
This stage is not a major visual transformation, but it is another important step in preparing the model properly.
- S
 Step72129 days ago
Go on !
- A
- AQ
 Arvin Quezada130 days ago
Nice
- A