antampatz
@antampatz
994
Following
106
Followers
36
Updates
829
Likes
111
Comments
274
Votes
123 days ago
Week 10 — Backpack Rack Clean-Up & Future-Proofing
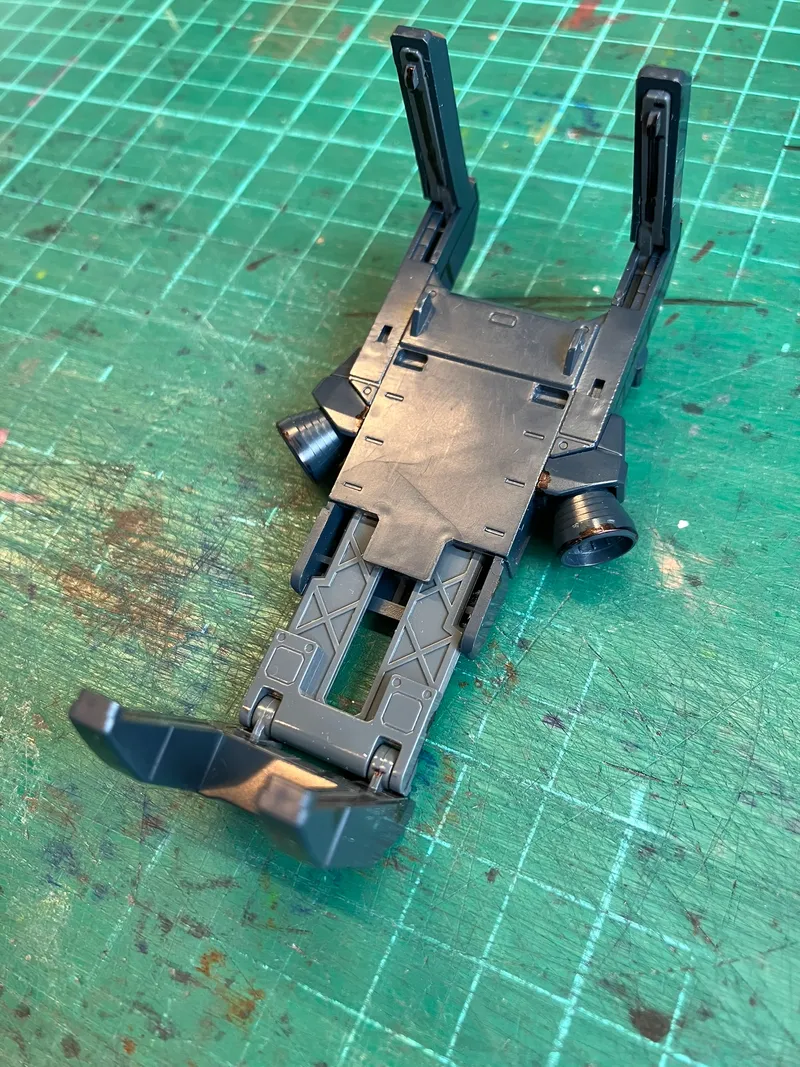
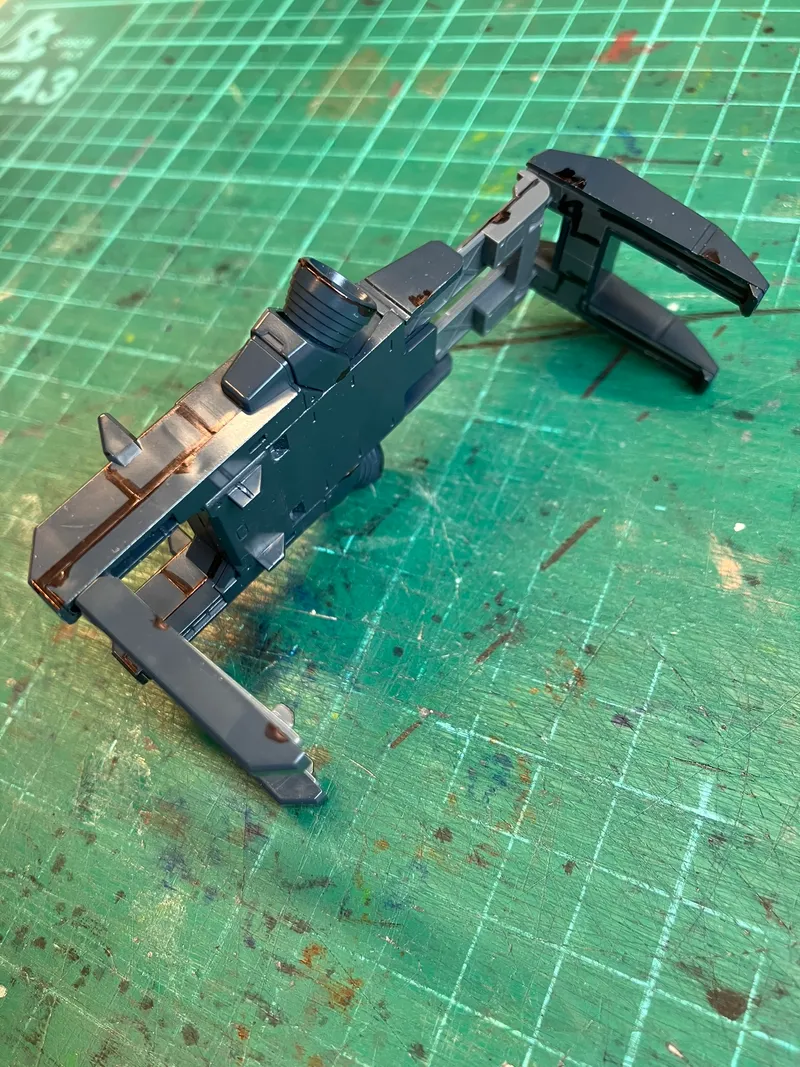
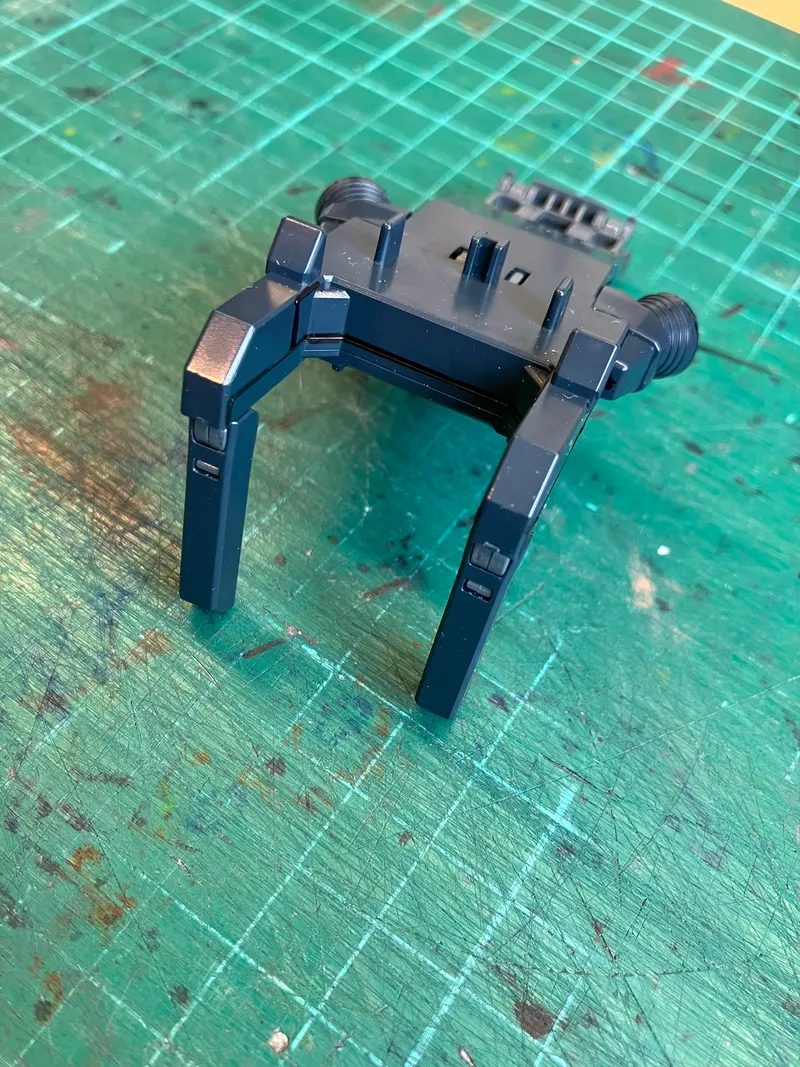
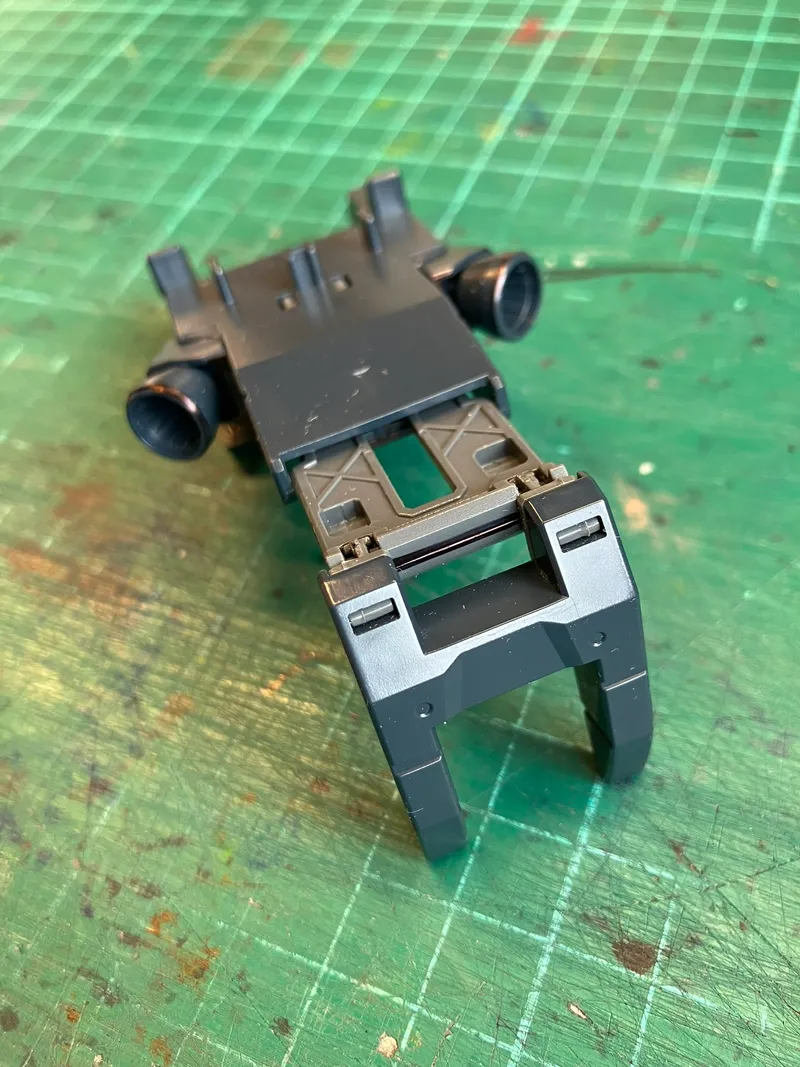
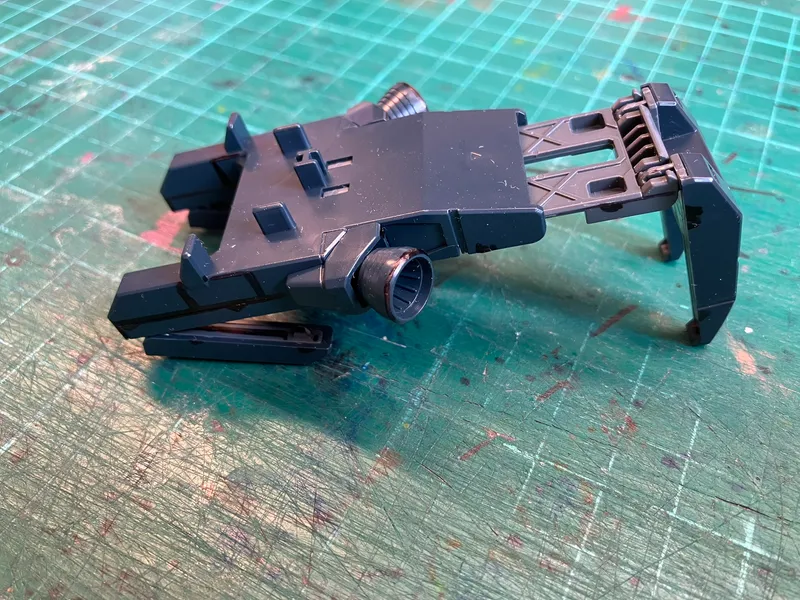
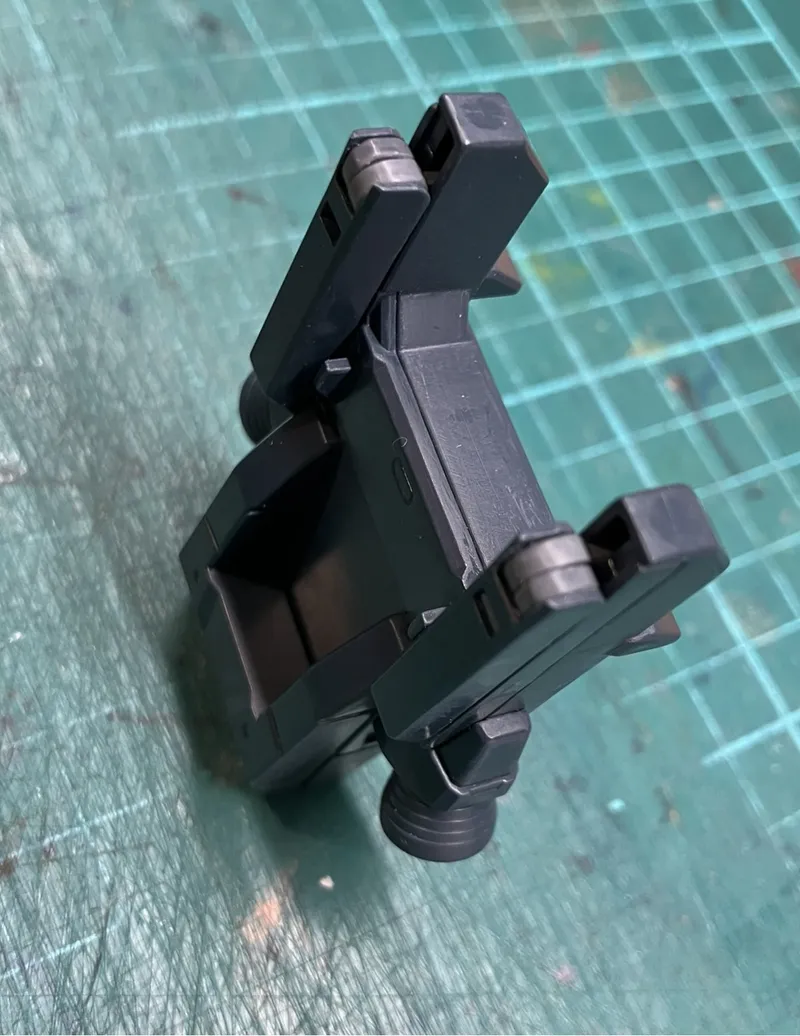
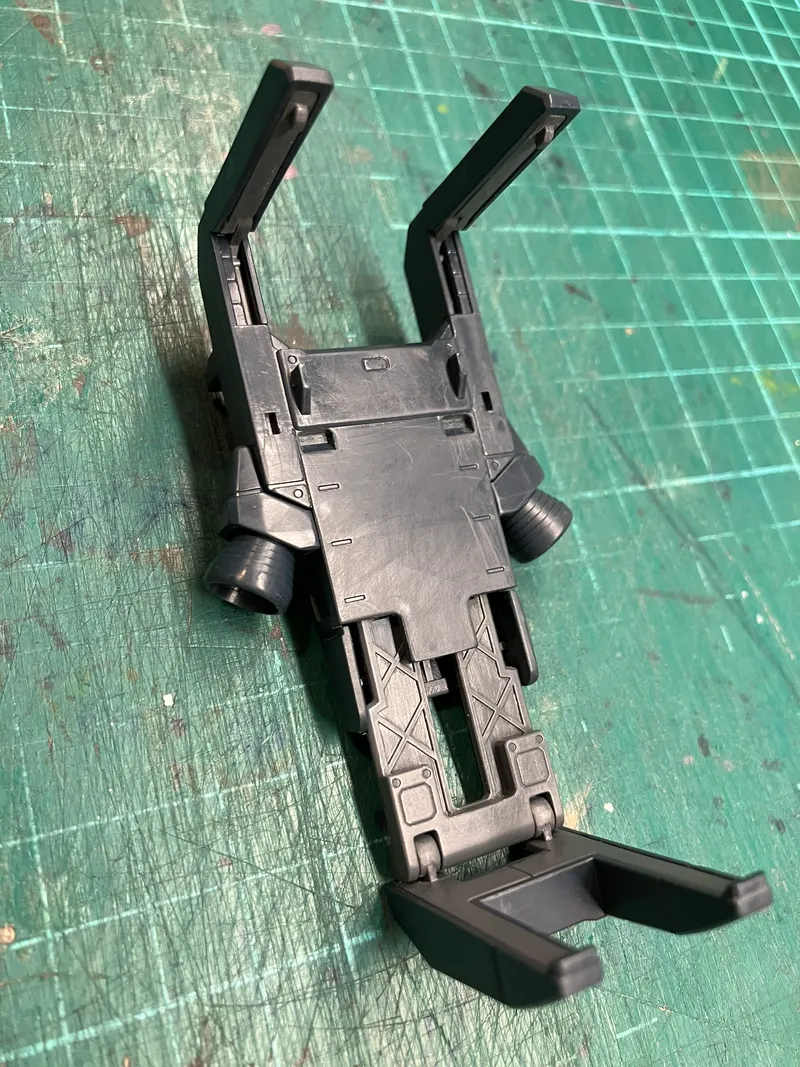
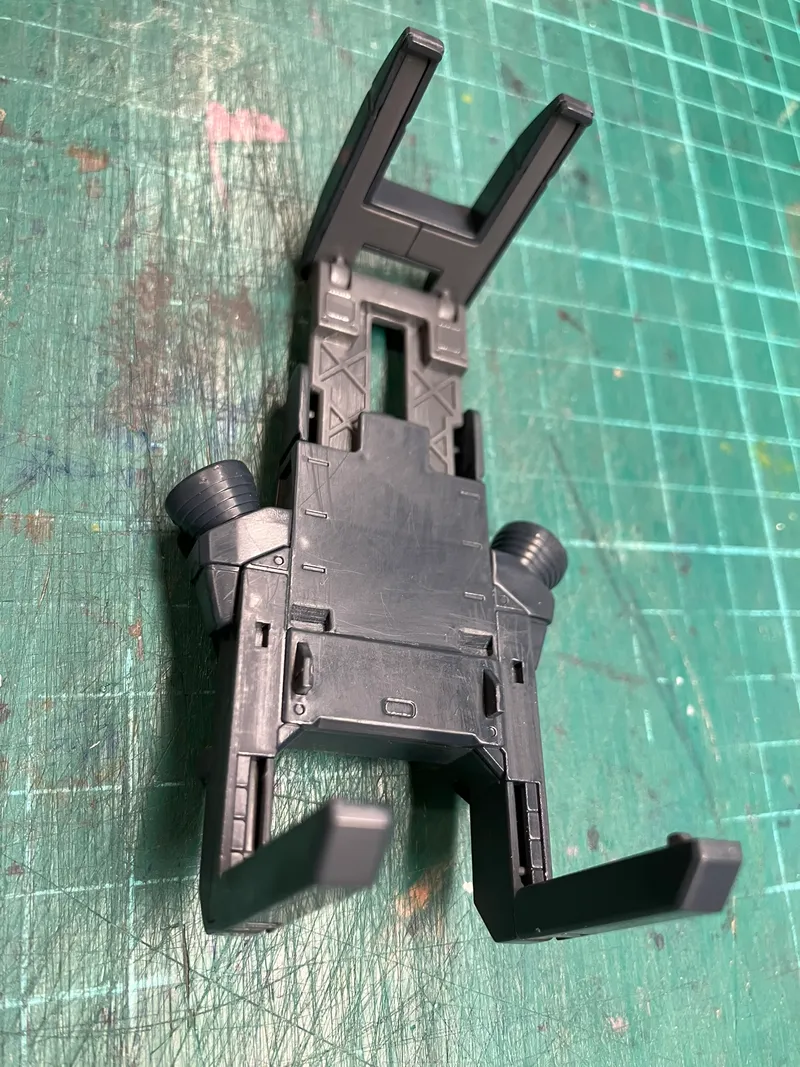
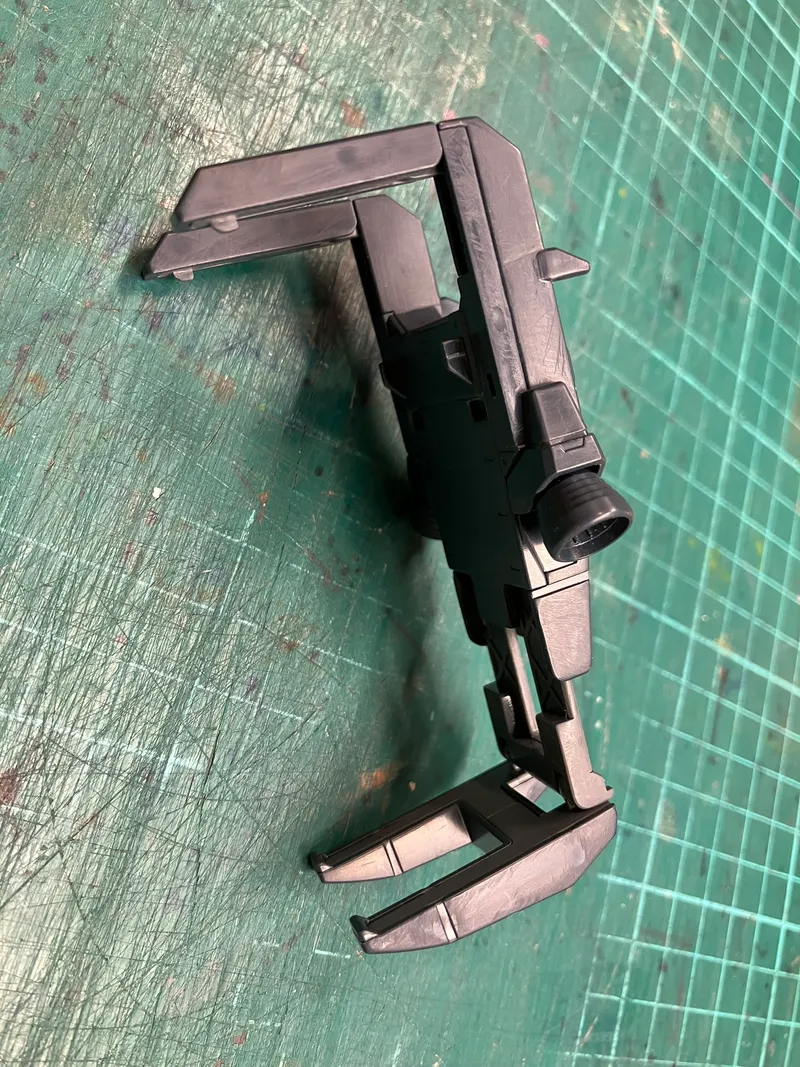
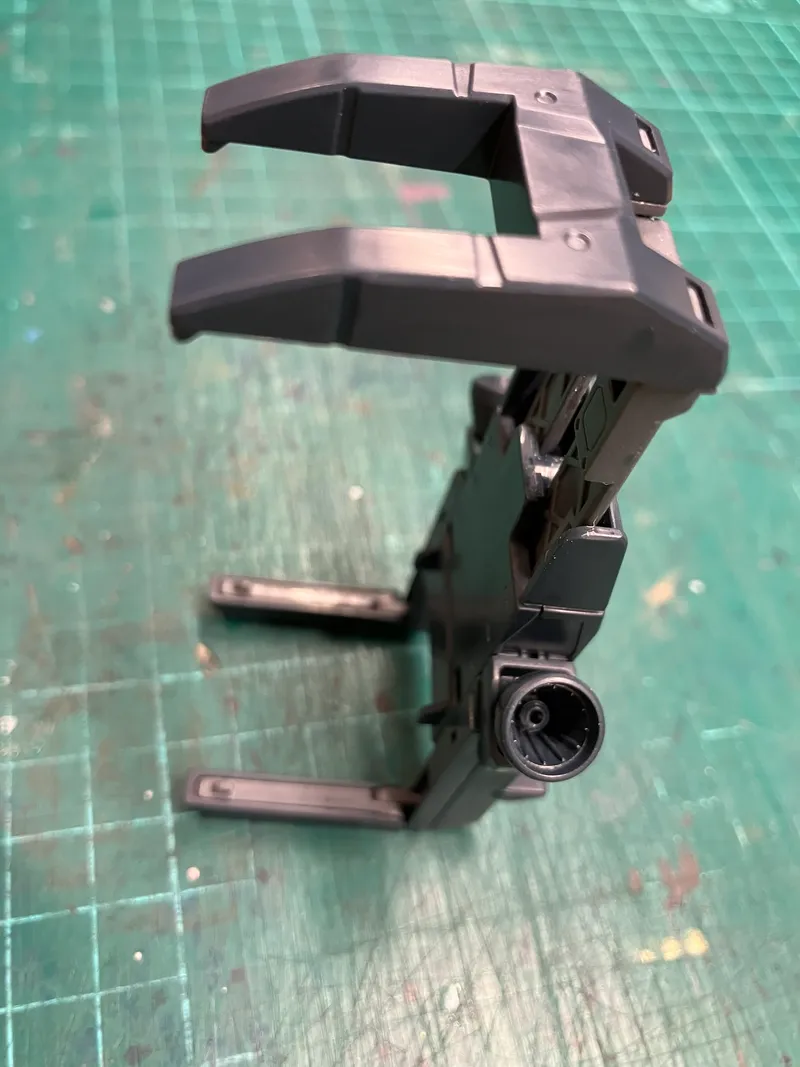
This week I moved on to the backpack rack assembly, focusing on surface clean-up and preparing the structure for some of the modifications planned later in the project.
As with the previous sections of the build, the first step was dealing with gate marks, mould lines, and visible seams. The backpack rack turned out to be one of the worst offenders so far when it came to mould lines. Many of these were located along exposed flat surfaces where they would remain highly visible after assembly, so it was worth taking the time to address them properly.
I worked through the various parts using the same process established on the legs, waist, and torso: a combination of files, sandpaper, scraping tools, and a melamine sponge to clean up the surfaces and remove the raised lips left by the moulding process. While time-consuming, this brought the parts to a much more consistent finish and helped sharpen some of the details that had become softened by the mould lines.
The rack also contains a number of visible joins. Rather than permanently removing these seams through cementing, I continued the approach used elsewhere on the inner frame by treating them as panel lines. This maintains access to the internal components while helping the joins appear more intentional as part of the mechanical design.
Keeping the rack serviceable is particularly important because it will form the foundation of one of the project's key modifications: a custom-built auxiliary backpack unit. Magnets will be installed within the outer shell of the rack to allow the backpack to mount and dismount easily. Maintaining the ability to open the assembly makes testing and adjustment much easier during development. It also provides a straightforward way to correct things later should issues arise—for example, if magnet polarity is installed incorrectly or if changes are required after test fitting.
One area that required a slightly different approach was the pair of thruster bells. These are highly visible curved parts, which makes preserving their circular profile during clean-up especially important.
To deal with the nub marks, each thruster bell was mounted to an alligator clip attached to a stick, with the opposite end fitted into a drill bit holder and mounted in an electric drill. By slowly rotating the part while working through progressively finer grades of sandpaper, I was able to remove the remaining gate residue while maintaining the roundness of the pieces. The method produced a much more even result than attempting to sand each area by hand.
Visually, this week's work does not represent a major transformation of the build, but it continues the process of refining the kit and laying the groundwork for later modifications. The backpack area is likely to play an important role in the final interpretation of the Gatekeeper concept, particularly through the addition of the custom auxiliary backpack, so investing time here now should provide more flexibility when those design decisions are eventually locked in.
- S
 STUDIO93573 days ago
That’s a great filing process :p
- A
- G
 GTSCodeBreaker121 days ago
i was always curious about this MS since it is far difference from the Gundam Ground type (one of my favorites UC MS), do you suggest me to watch the anime?
- Aantampatz69 days ago
Replying to GTSCodeBreaker
@gtscodebreaker, EZ-8 is very different indeed, but the design is a better fit, I find, to the more grounded, military‑realism tone of The 08th MS Team OVA. The OVA is only 12 episodes long, and I recommend it as it is one of my favourites!
- G
 Gandamus_rex123 days ago
Awesome 🔥
- A
- Aantampatz123 days ago
Thank you!
- CK
 Christopher Koch123 days ago
Very interesting and I can't wait to see what comes
- A
- Aantampatz123 days ago
@Cristian Carlone, thank you!