antampatz
@antampatz
994
Following
106
Followers
36
Updates
829
Likes
111
Comments
274
Votes
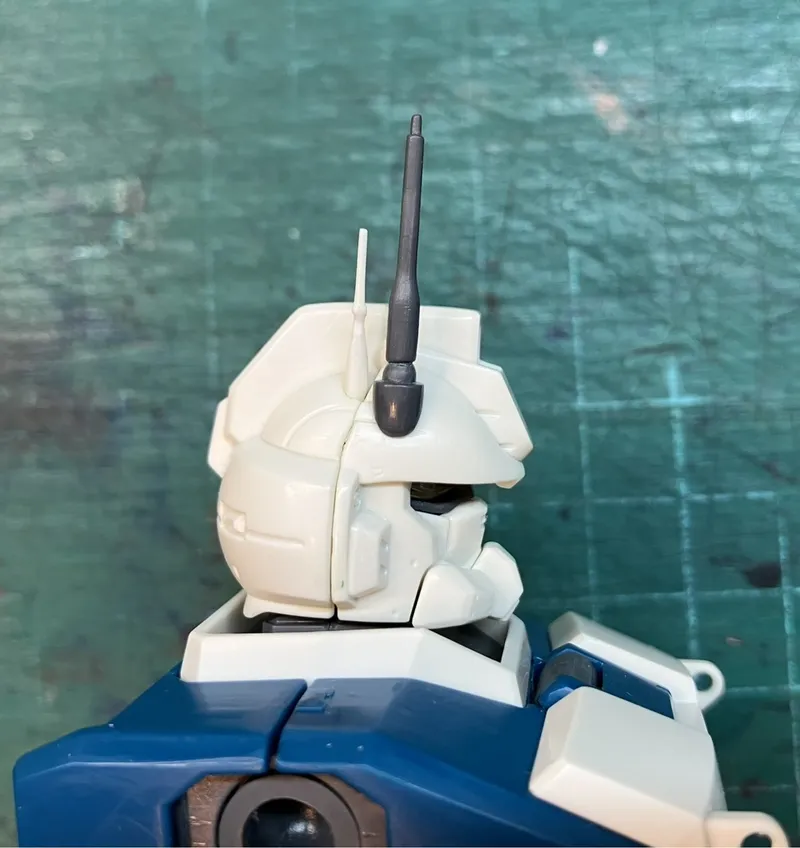
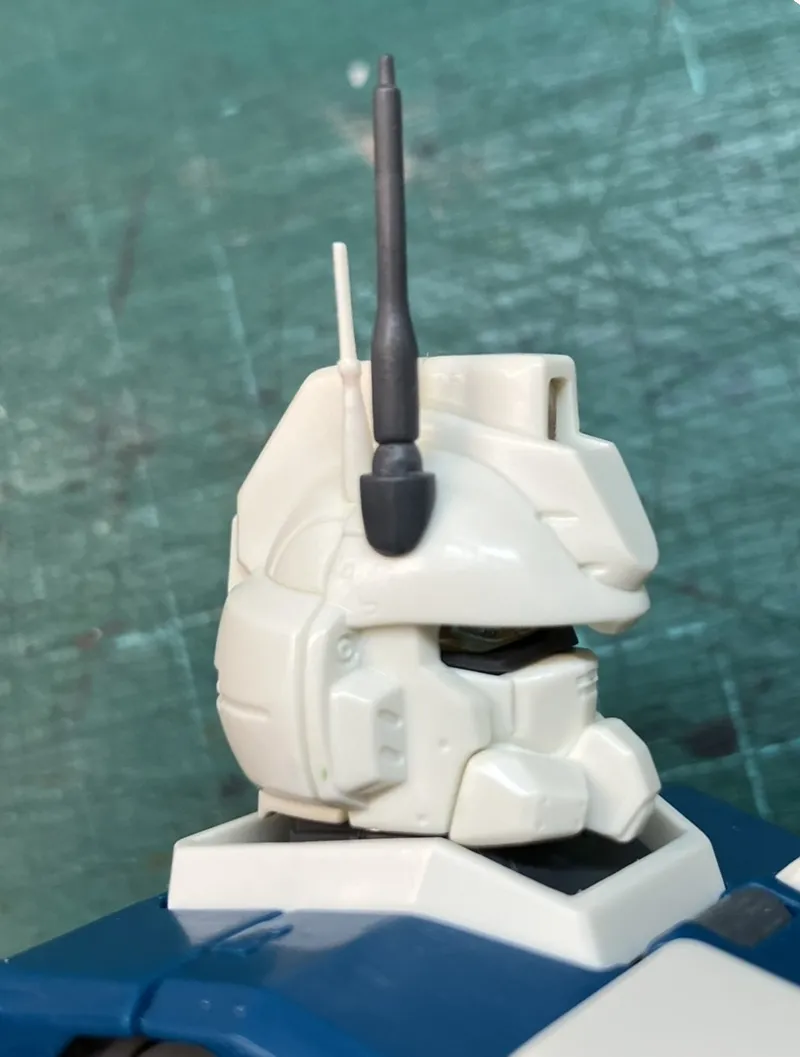
109 days ago
Week 12 — Head Clean-Up & Surface Preparation (Part 2)
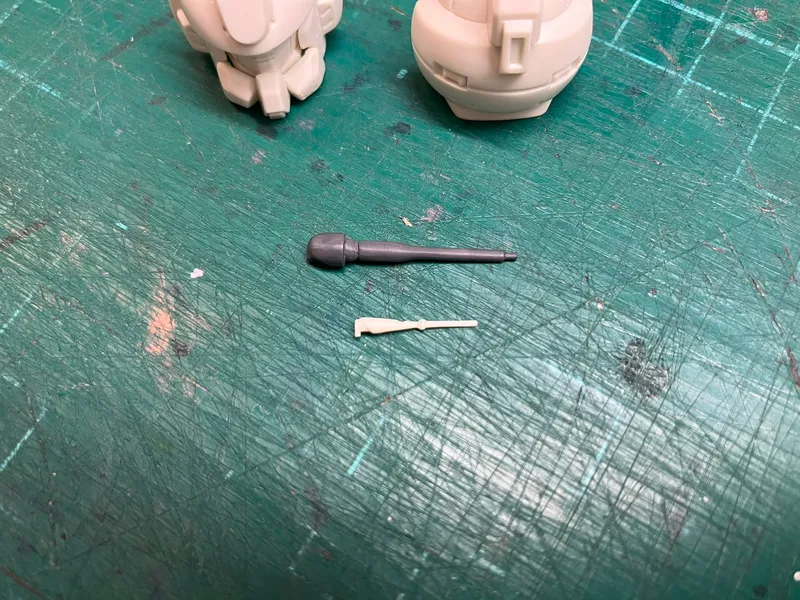
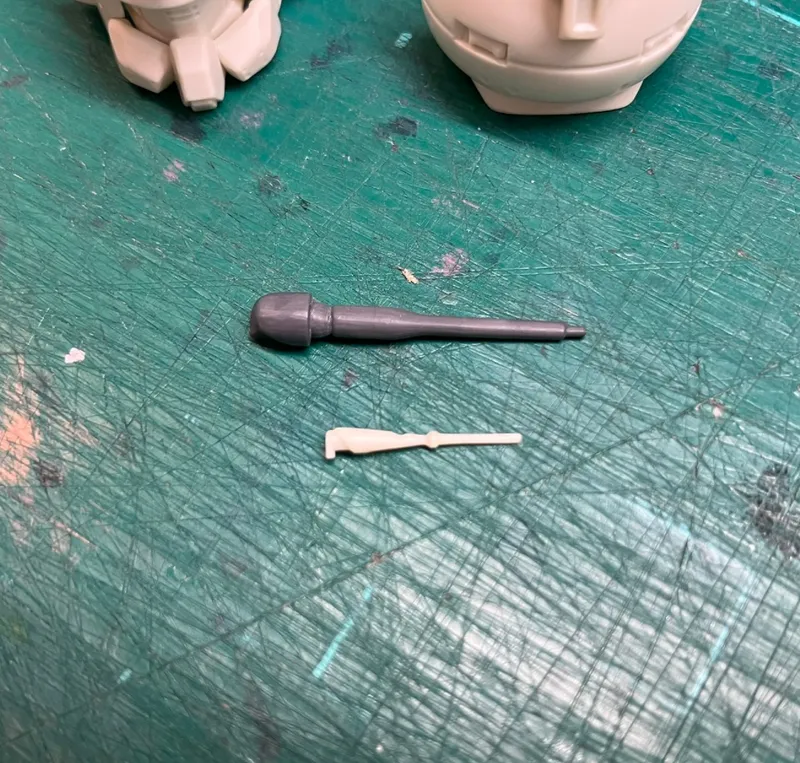
One area of the head assembly proved considerably more challenging than the rest: the antennae.
These are among the thinnest and most delicate parts in the kit, particularly the smaller rear antenna. Removing gate marks and mould lines from such a narrow piece requires holding the part securely while applying enough pressure to clean the surface, which leaves very little margin for error.
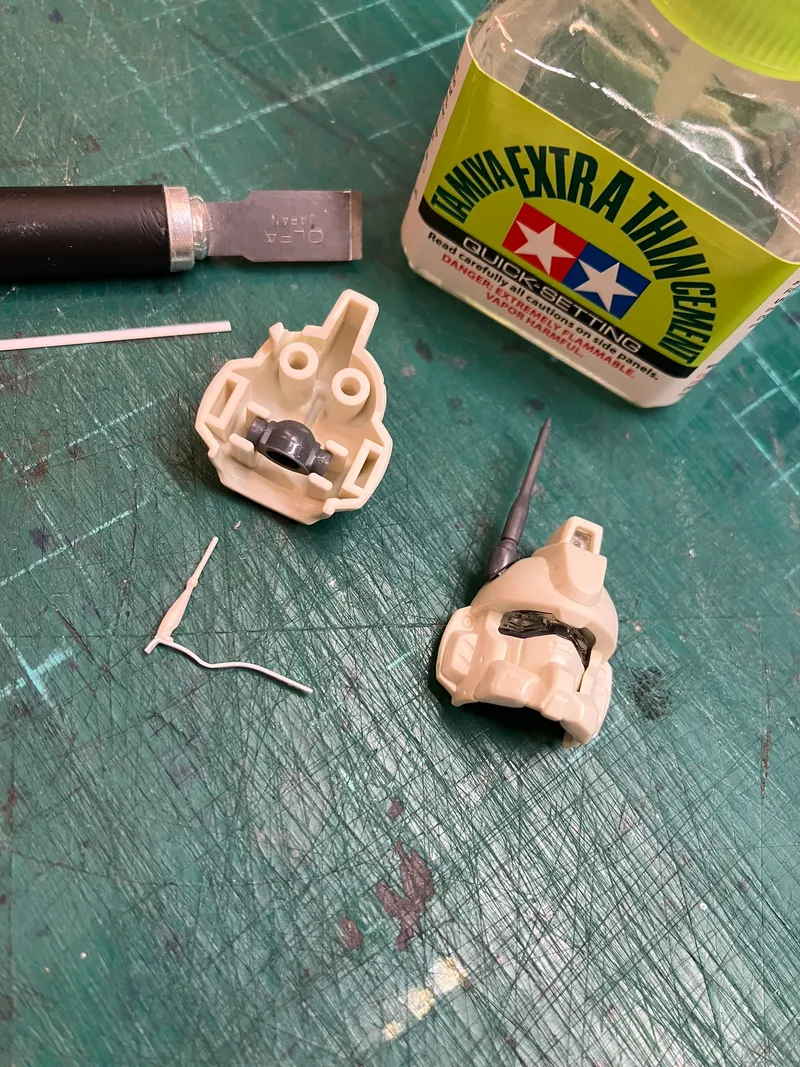
Unfortunately, during clean-up I removed slightly more material than intended and gouged part of the smaller antenna.
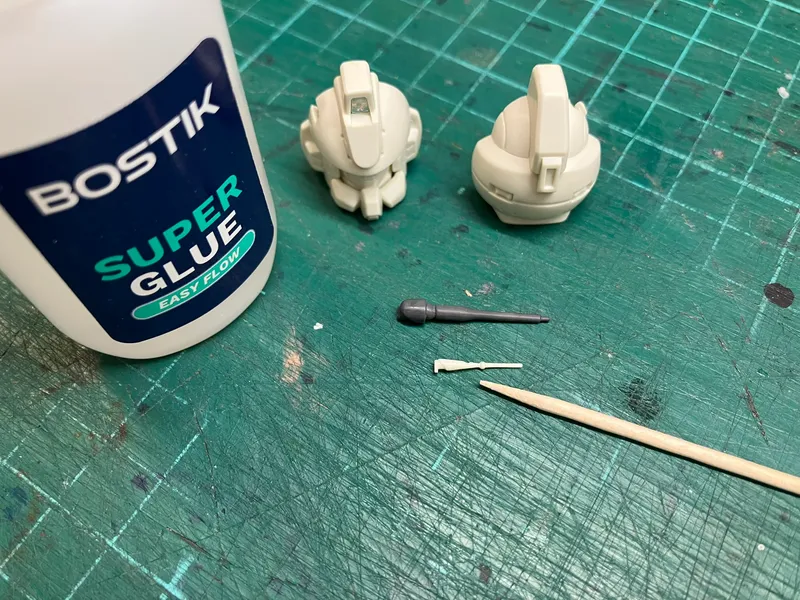
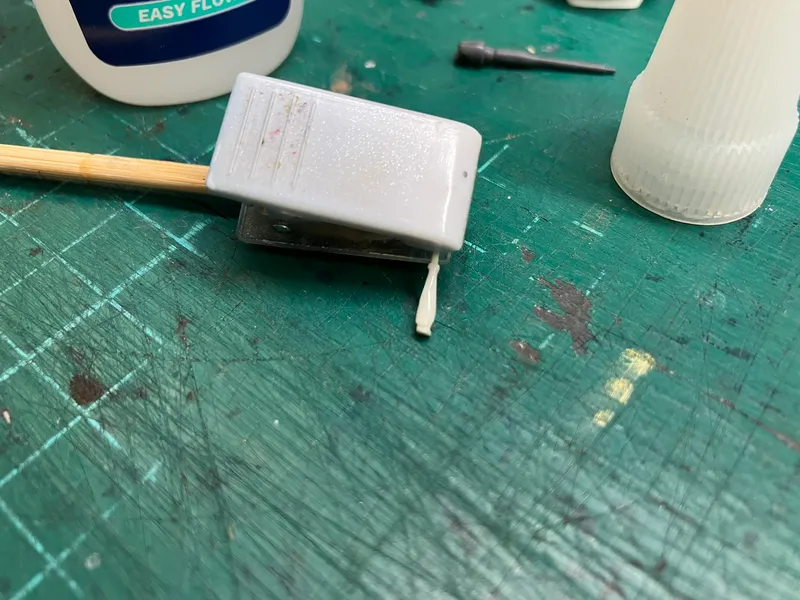
Rather than replacing the damaged section with leftover runner material, I decided to repair it using cyanoacrylate (CA) glue. Given how thin and flexible the part is, working with replacement plastic would have been difficult, both when shaping the repair and when handling the part throughout the process. Using plastic cement would also have introduced the risk of softening and deforming the surrounding area.
Instead, I built the damaged section back up with several small applications of CA glue, allowing each layer to cure before carefully refining the shape. This process was repeated until the missing material had been replaced and the profile of the antenna restored.
While working on the antenna, I also noticed that the clean-up process had made an existing issue more apparent. The part sits in its mounting point with a small amount of natural play, and reducing material around the mould lines and gate marks made that movement even more noticeable.
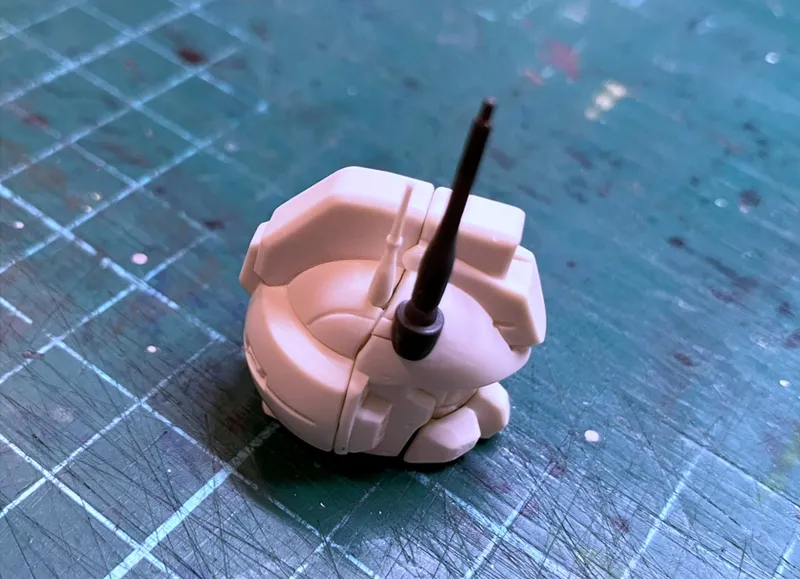
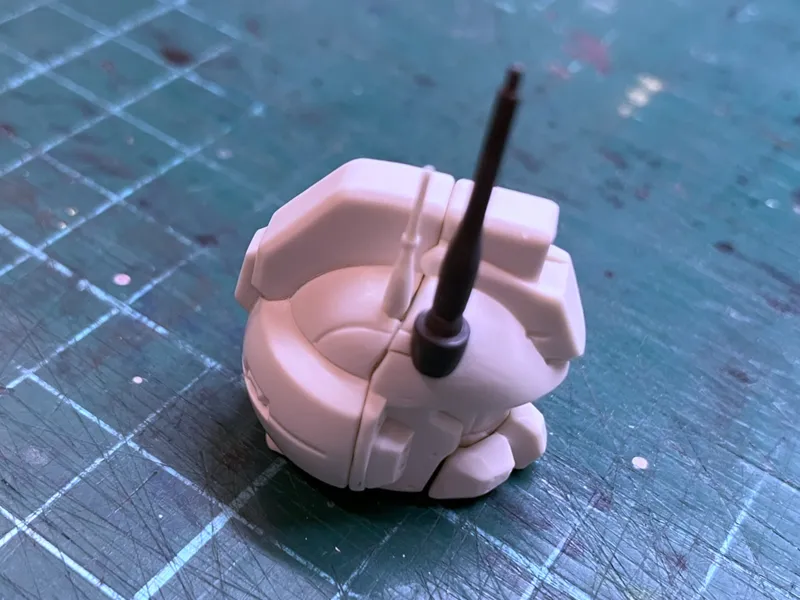
To address this, I cemented a long, thin strip of plastic sheet to the base of the antenna and carefully curved it to match the surrounding shape. This reinforcement will not be visible once the model is fully assembled, but it helps stabilise the antenna and significantly reduces unwanted movement. Given how small and delicate the part is, adding this extra support now should help improve its durability during painting, assembly, and future handling.
Repairs like this are never part of the original plan, but they are a normal part of model building. In this case, the damage was relatively minor and the repair proved straightforward, while the additional reinforcement should leave the part stronger than it was before.
It may be a small component, but the head is one of the focal points of the model, so taking the time to correct the issue now should pay dividends later once primer and paint start bringing the build together.
- S
 STUDIO93569 days ago
That's a great cylinder head modification :p
- A
- G
 Gandamus_rex108 days ago
Amazing ,love the ez8 and your work 🔥
- A
- KS
 Karl Scale Modeling109 days ago
Looking good, nice work
- A
- A