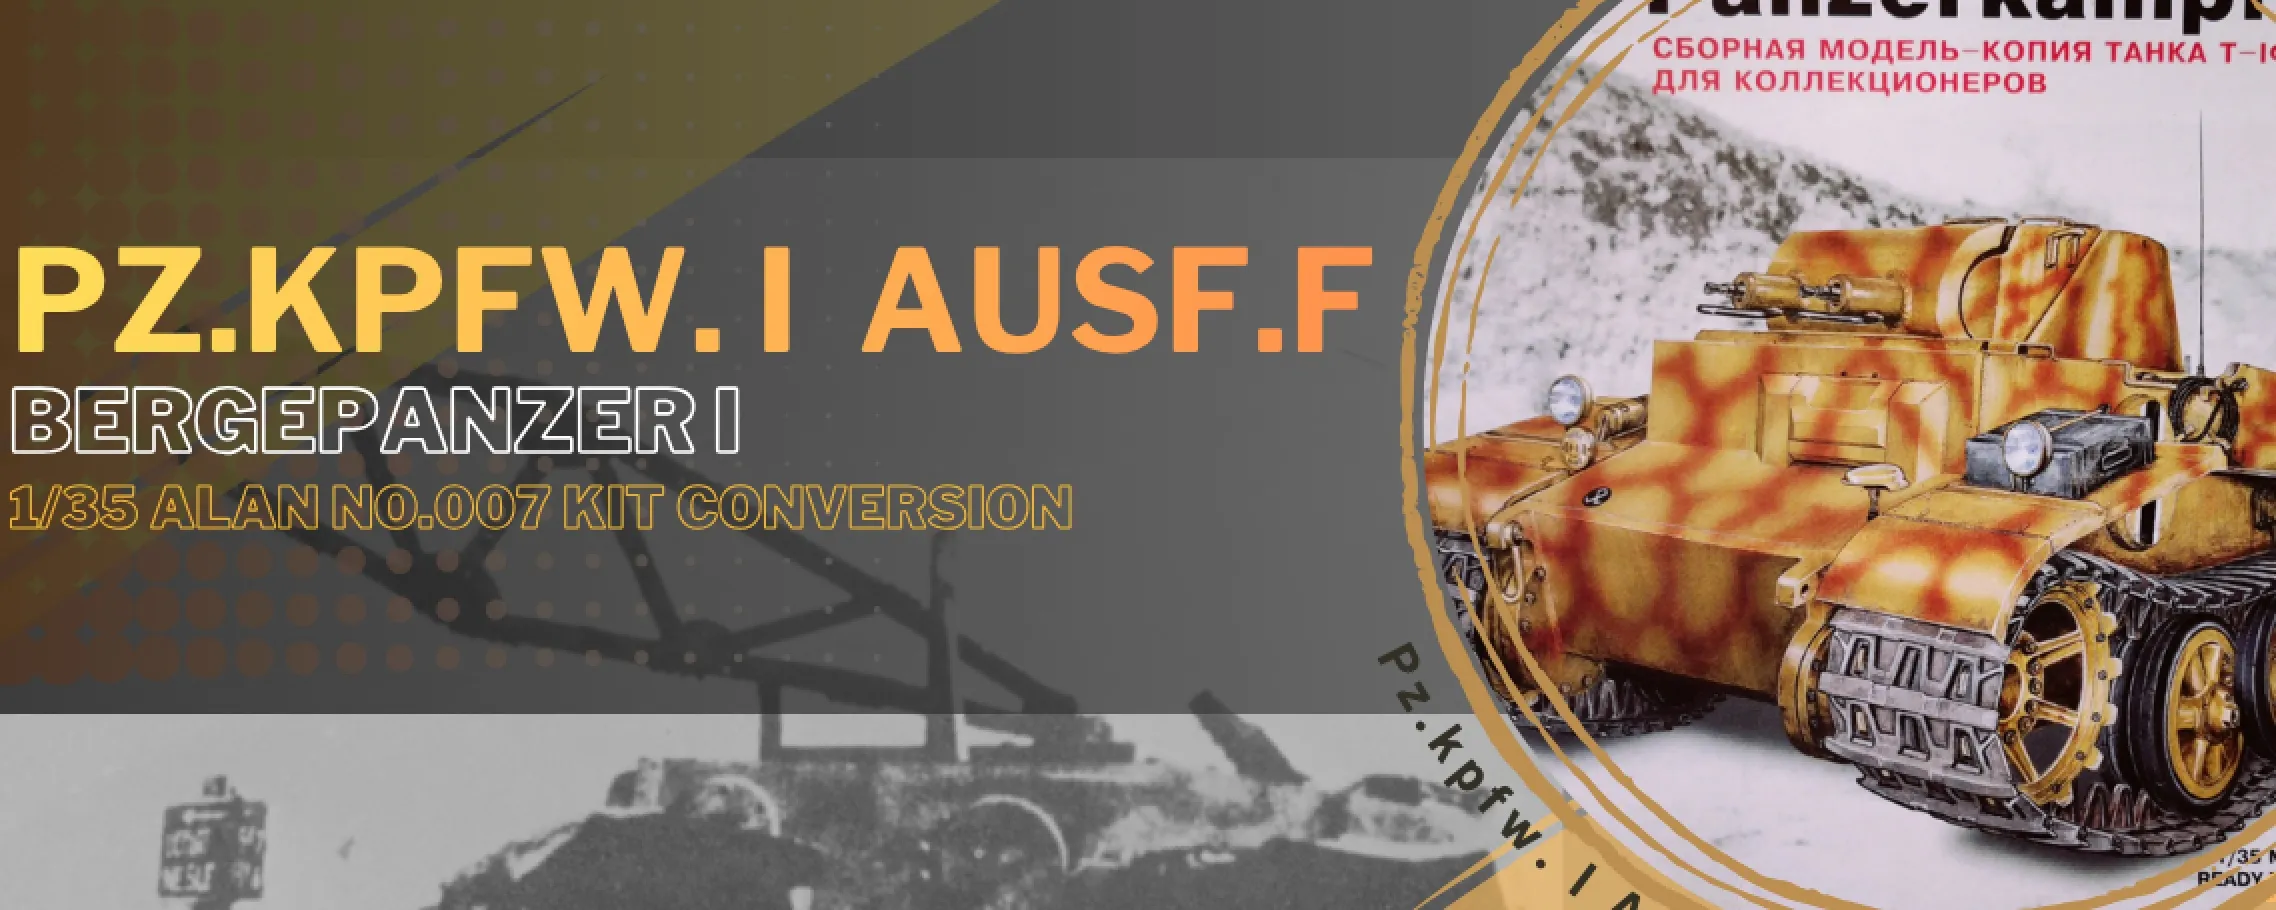
Dutch Dave Model Bench
@dutchdavemodelbench
118
Following
106
Followers
25
Updates
559
Likes
79
Comments
6
Votes
95 days ago
Build Blog #16: Finishing the Crane Construction – Bolts & Primer
Welcome back to the workbench! Today, we are finally crossing the finish line on the custom crane modification for our 1/35 Alan Panzer I Ausf. F. If you have been following along, you know this little "Pocket Tiger" has been a test of patience, but today’s session brings some incredibly satisfying visual progress.
In this update, we are adding the final structural details—the tiny rivets and bolts—before locking everything in with a fresh coat of primer. Let’s dive in!
🔩 Step 1: Adding the Bolt Detail
The crane structure looked good after our last session, but it lacked that heavy, industrial, bolted-together appearance. To fix this, we used stretched sprue to create microscopic bolts.
- Placement: Using the reference of this German field crane, we carefully mapped out the structural joints.
- Application: A tiny dab of extra-thin liquid cement was placed onto the crane arm using the fine glue brush. We then used the tip of a fresh X-Acto blade to lift each tiny bolt and press it into position.
- The Result: These tiny raised details completely change the scale of the crane. It no longer looks like a smooth plastic toy; it now looks like a heavy piece of field-engineered military hardware.
- To harmonise the bolts, last step was to sand them all to the same height.
💨 Step 2: Preparing for Primer
Because the Alan kit features very soft styrene, and our scratch-built crane utilizes a mix of plastic rods, sheet styrene, and cyanoacrylate (super glue) residue, getting a uniform surface is vital.
- Sanding: We did a final, gentle pass over the joints with a high-grit sanding stick to ensure all glue seams were flush.
- Cleaning: A quick wipe-down with a lint-free cloth and a bit of isopropyl alcohol removed any skin oils and plastic dust left behind from sanding.
🎨 Step 3: Priming the Crane
For this stage, we opted for a high-quality surface primer applied via airbrush.
A neutral, dark primer was selected to act as a solid base for the upcoming red primer and final Dunkelgelb factory finish.
- First Light Pass: We sprayed a very mist-like first layer to check for any chemical reactions with the plastic or the super glue joints. Everything held up perfectly.
- The Revealing Coat: A second, slightly heavier layer was applied to fully cover the crane.
The magic of primer never gets old. Once the single, matte color coated the crane, all the different materials—the sheet plastic, the white styrene rods, and our custom bolts—unified instantly. The primer layer proves that our structural alignment is straight, the joints are solid, and the tiny bolt details pop beautifully against the matte finish.
- 5
 585hillbillygarage94 days ago
Very cool 😍
- CC
 Cristian Carlone95 days ago
Lots of great work. It will look spectacular!
- DD