touge_scaleworks
@tougescaleworks
40
Following
115
Followers
26
Updates
1049
Likes
302
Comments
276
Votes
@tougescaleworks
40
Following
115
Followers
26
Updates
1049
Likes
302
Comments
276
Votes
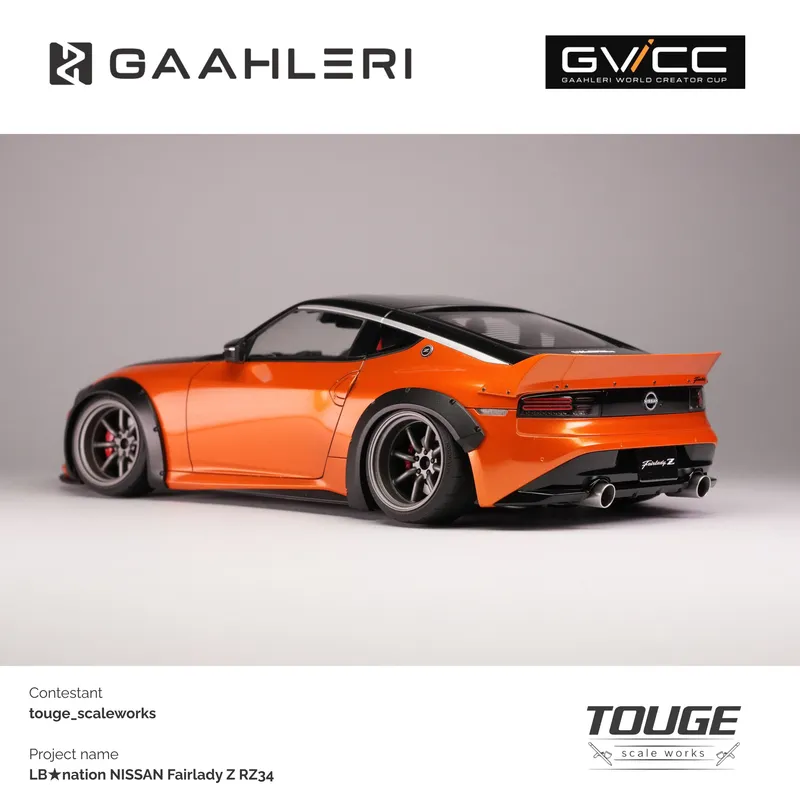
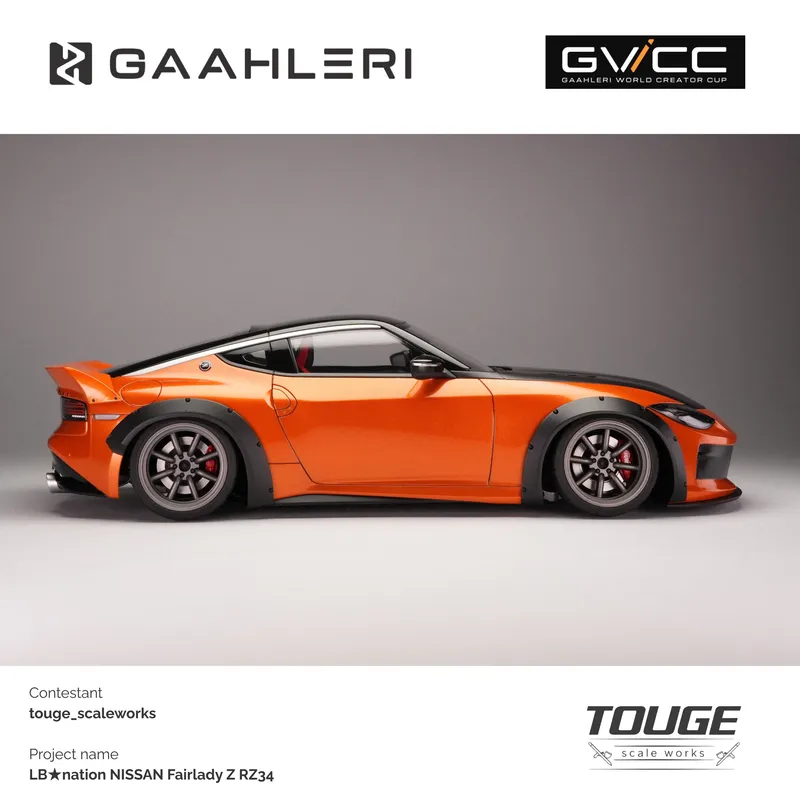
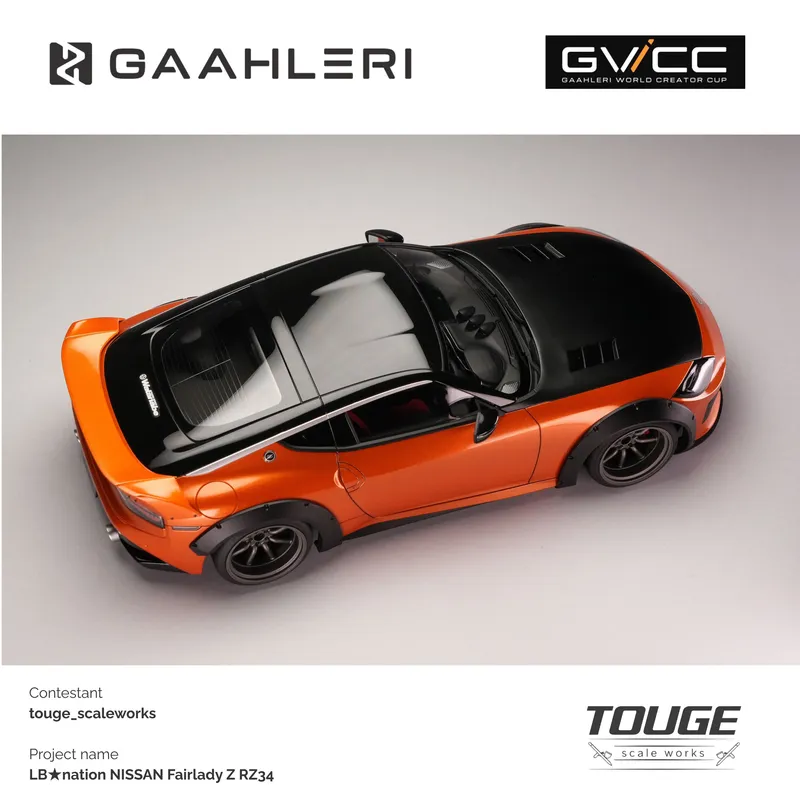
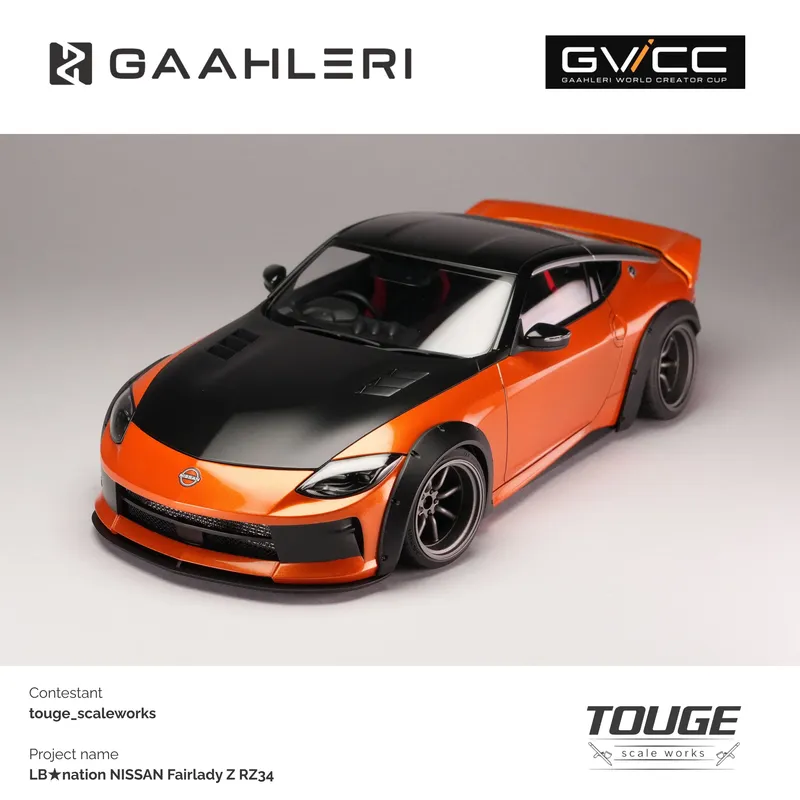
67 days ago
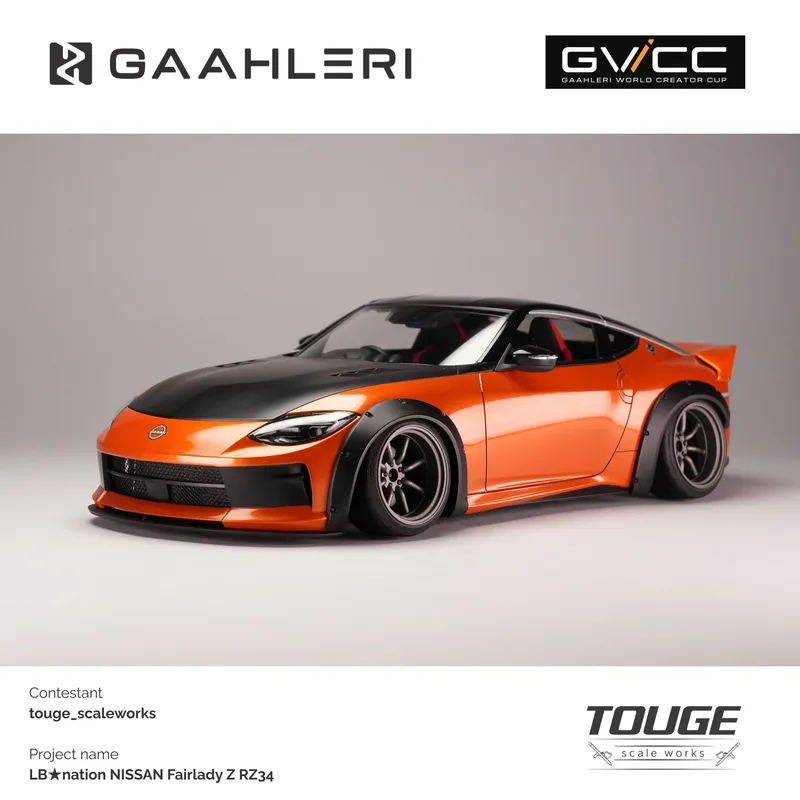
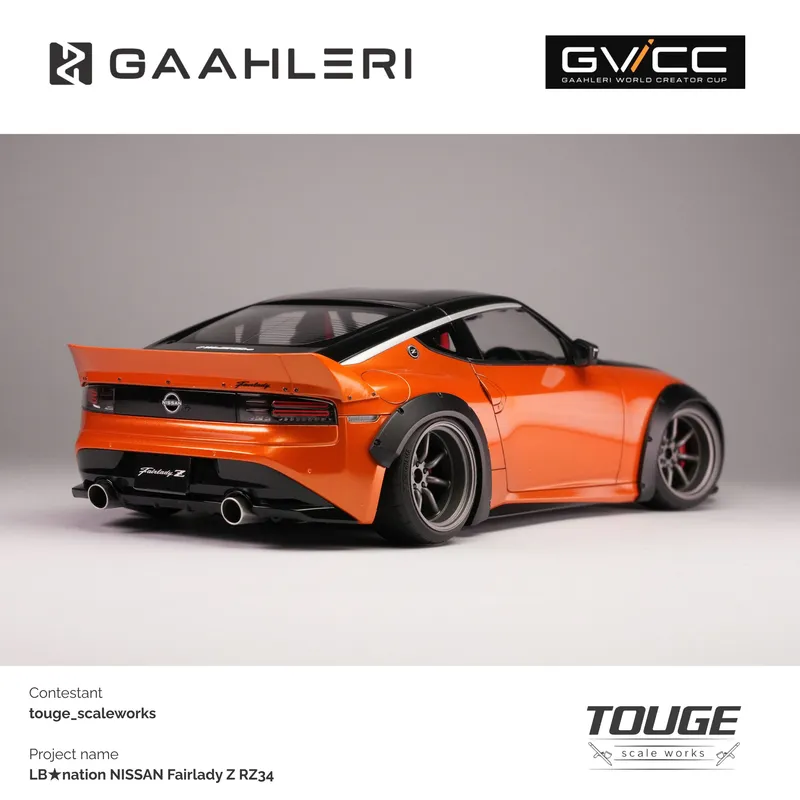
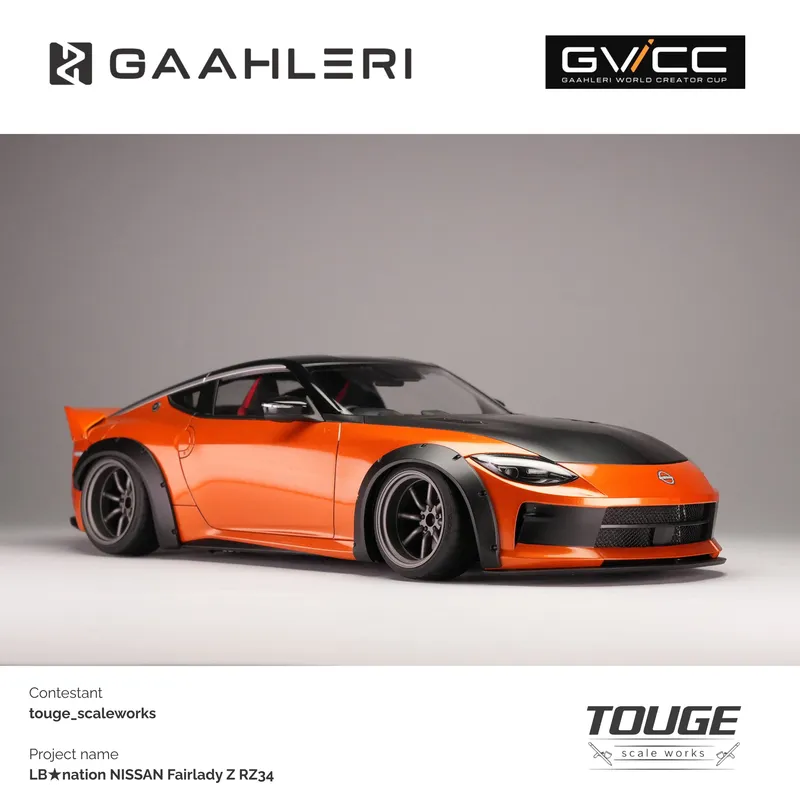
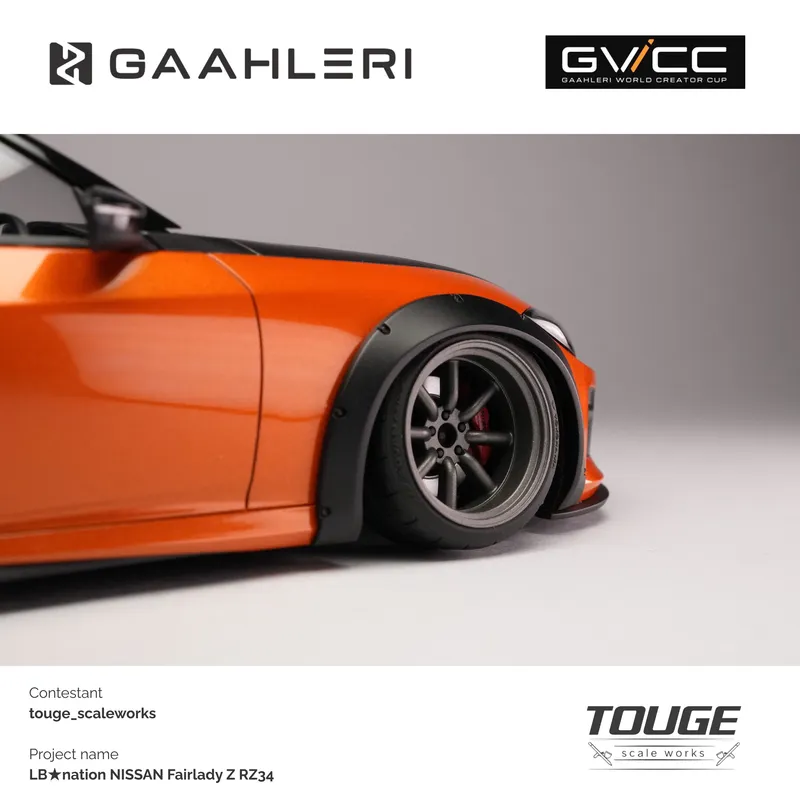
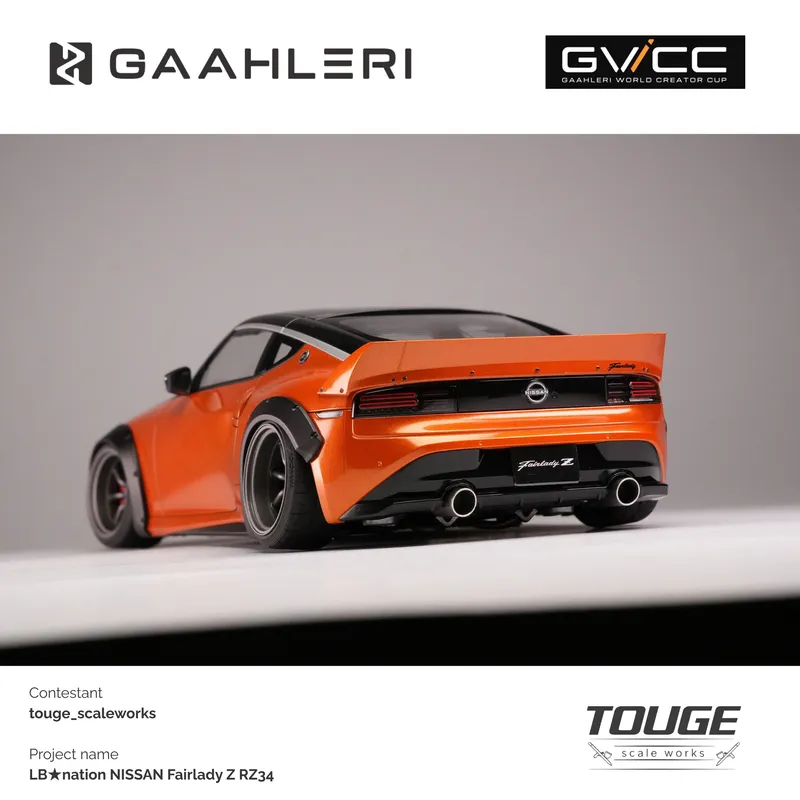
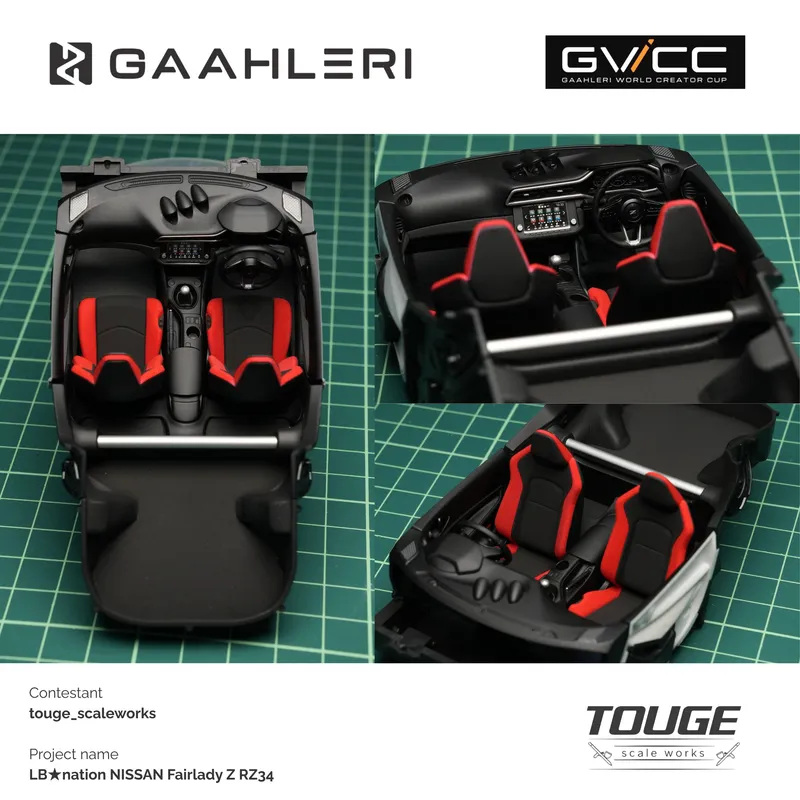
And finally… here it is.
My 1/24 Liberty★Walk Nissan RZ34 is officially finished after countless hours.
Here’s a brief list of features of my build:
This build pushed me to step out of my comfort zone, but every challenge along the way taught me something new, proving that this hobby is about much more than just a final piece, it’s a journey of patience, learning, and pure passion.
To Gaahleri and the GWCC team, thank you for the opportunity and for the experience of getting involved in this awesome club of creators.
To everyone who followed the progress or dropped a like/comment thank you for making this project even more rewarding.
I hope you like it 😊
P.S. When I finally took all the pictures, I noticed they were all in landscape orientation 😅, so I decided to add this frame to maximize the picture's visibility rather than retaking them all. Sorry for the inconvenience.
69 days ago
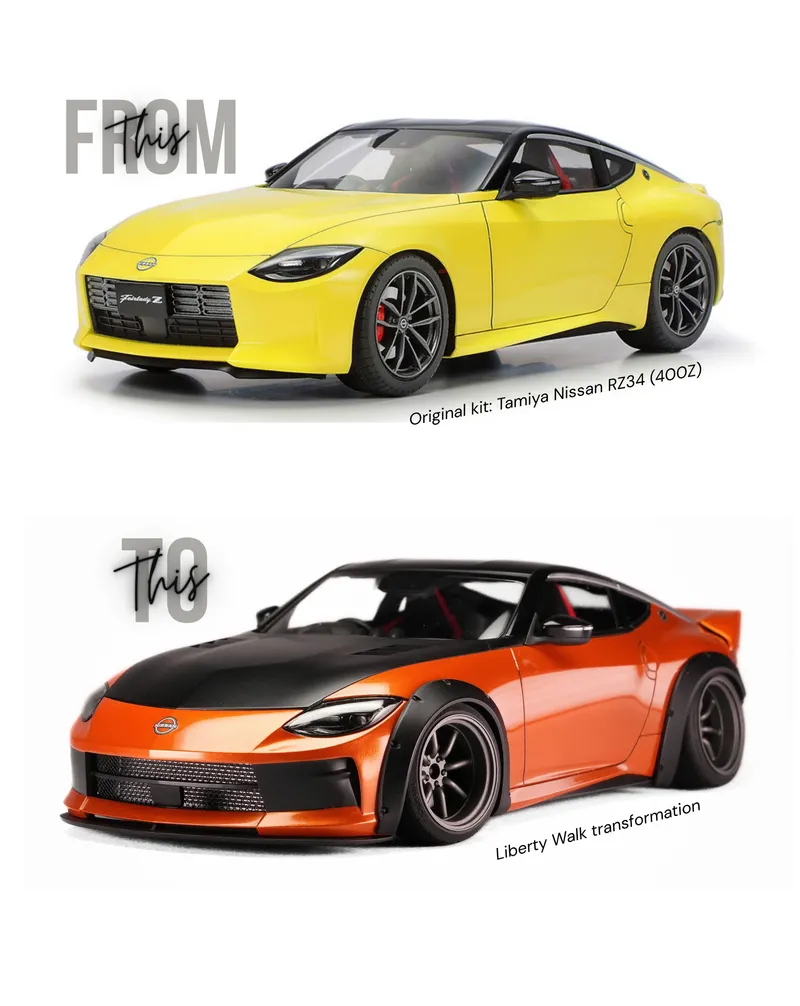
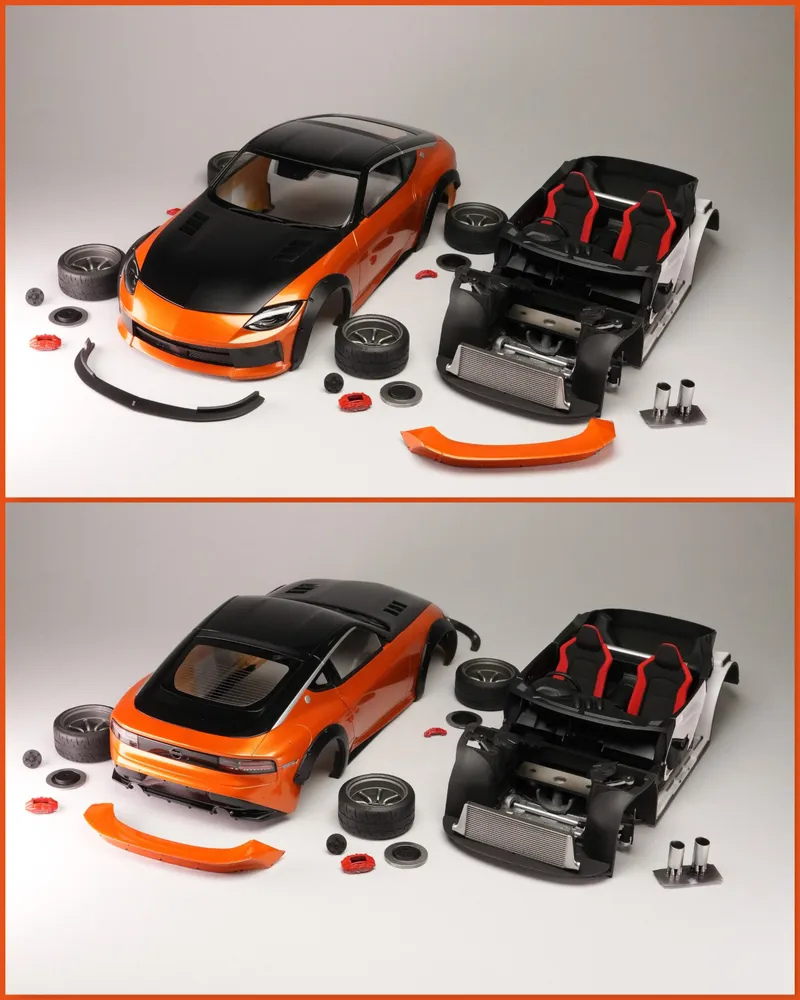
On the top is the original plastic kit you can buy and get from Tamiya if you strictly follow the instructions inside the box.
On the bottom is the Liberty Walk transformation I made for this fantastic Nissan 400Z along the GWCC. The car is much lower, wider and not suitable for bumpy roads 😜
71 days ago
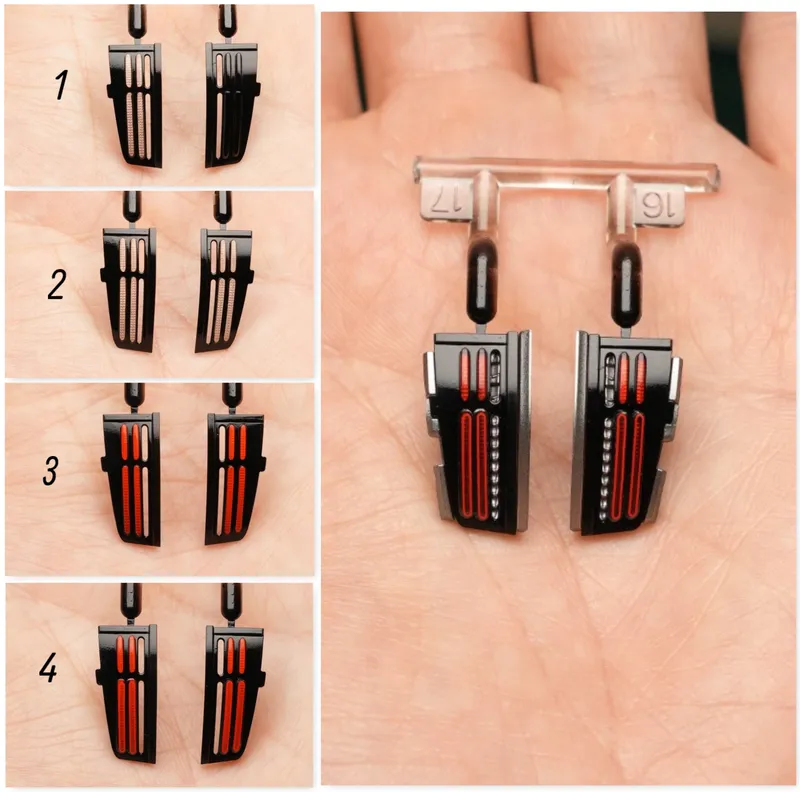
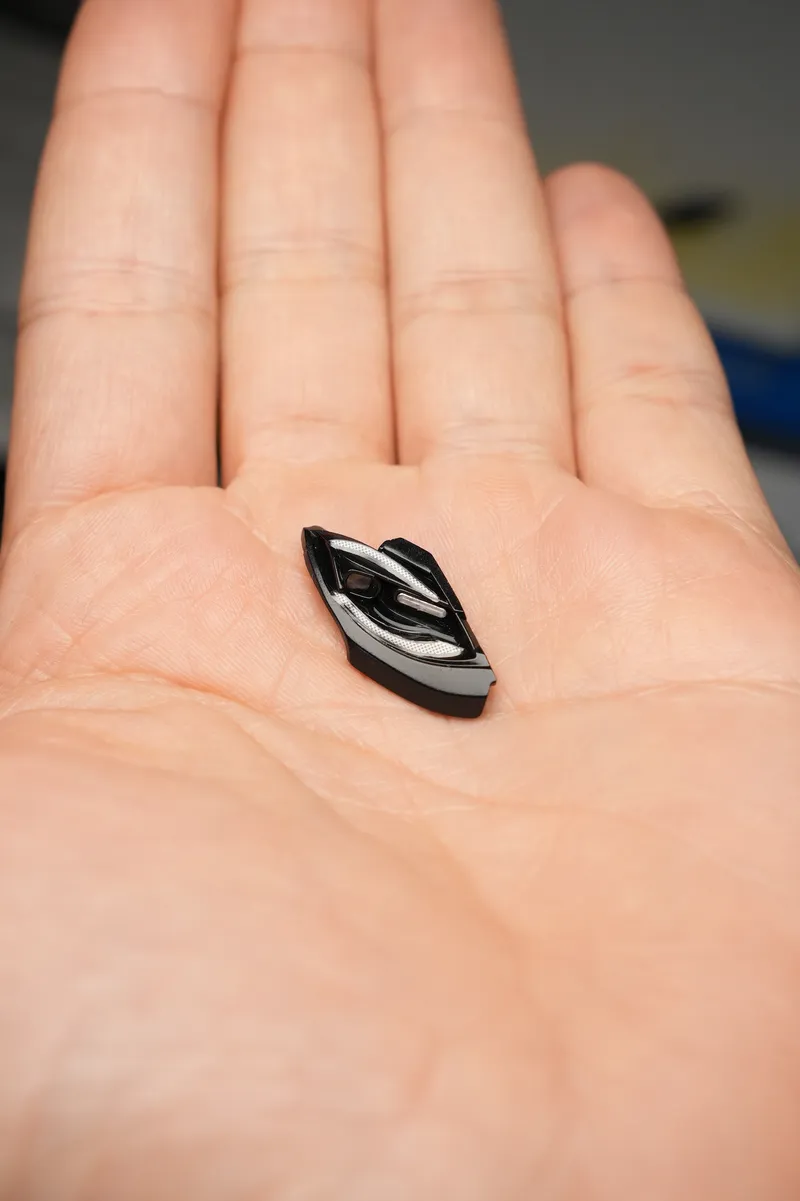
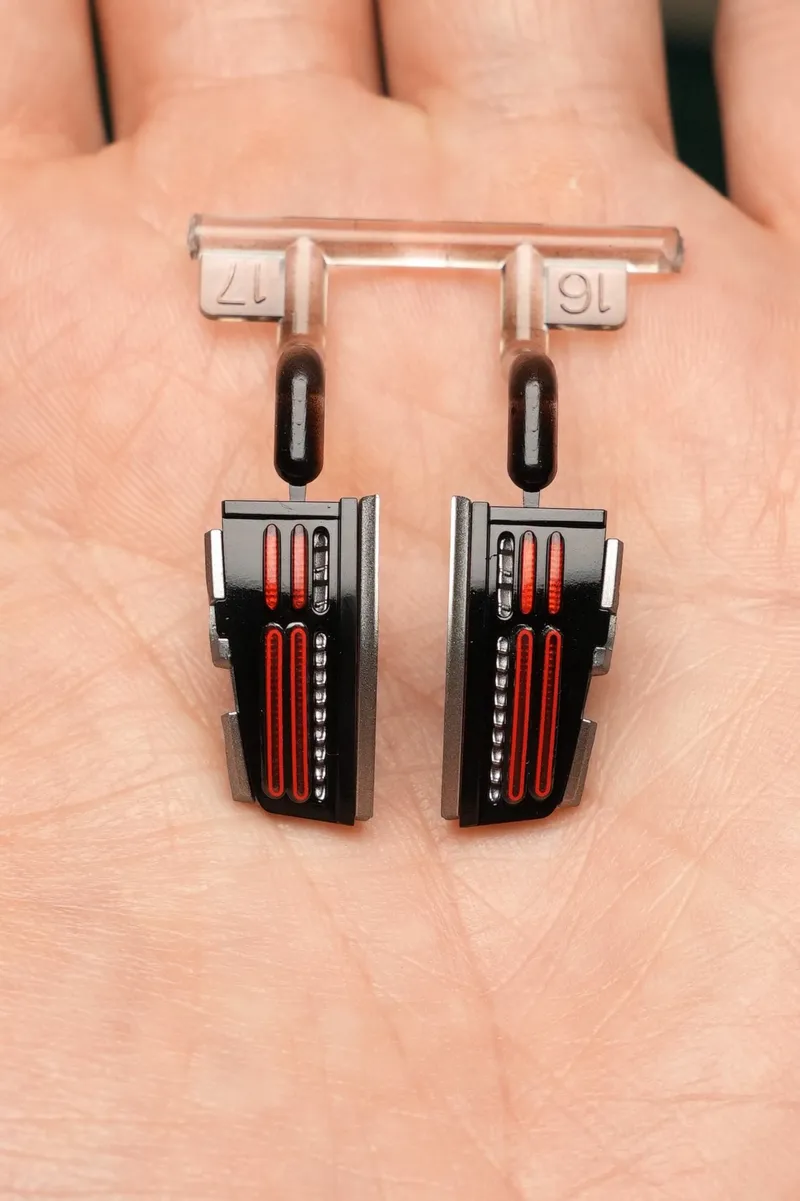
At this point I was so anxious to assemble it all. Installing the wheels is the best moment for me. I think the wheels and their fitment is what gives a lot of character to any car.
This is the last post before the final reveal!
73 days ago
I can already see the light at the end of the tunnel 😋
This is the last update I make of individual parts before I start the final assembly.
In the coming days you’ll be able to see the final result!
84 days ago
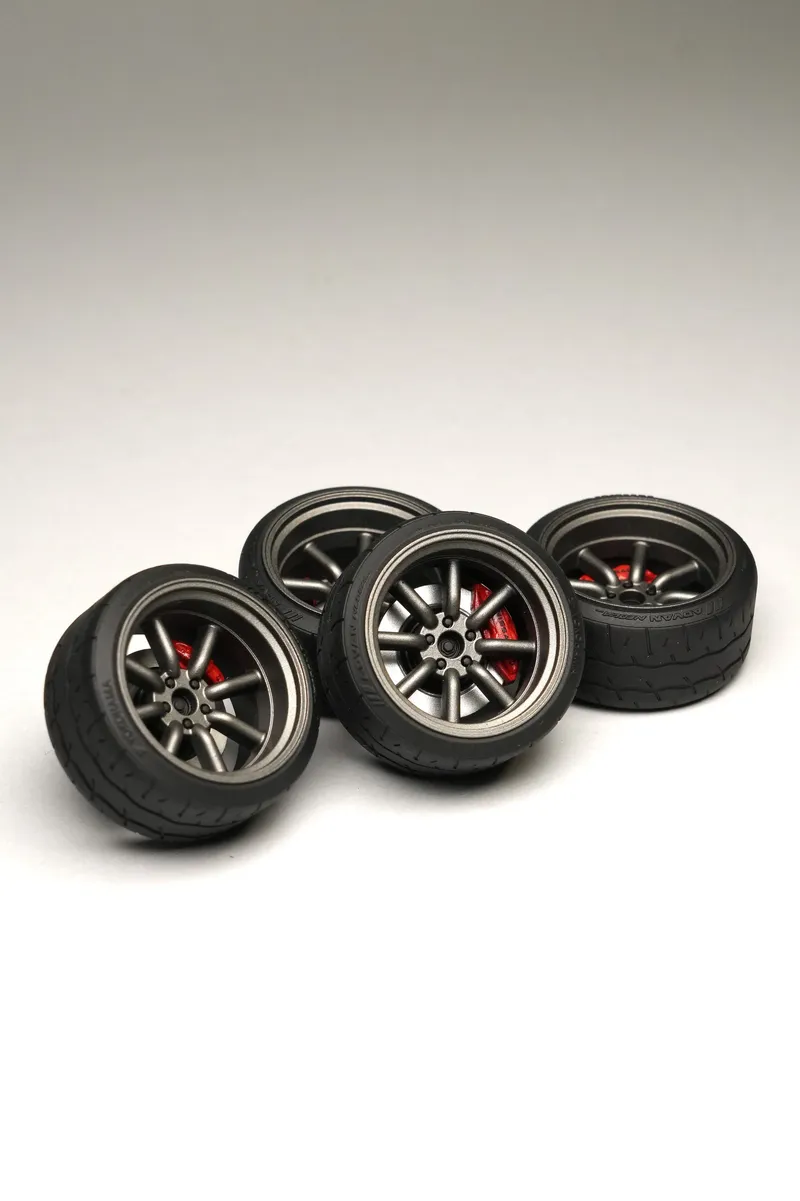
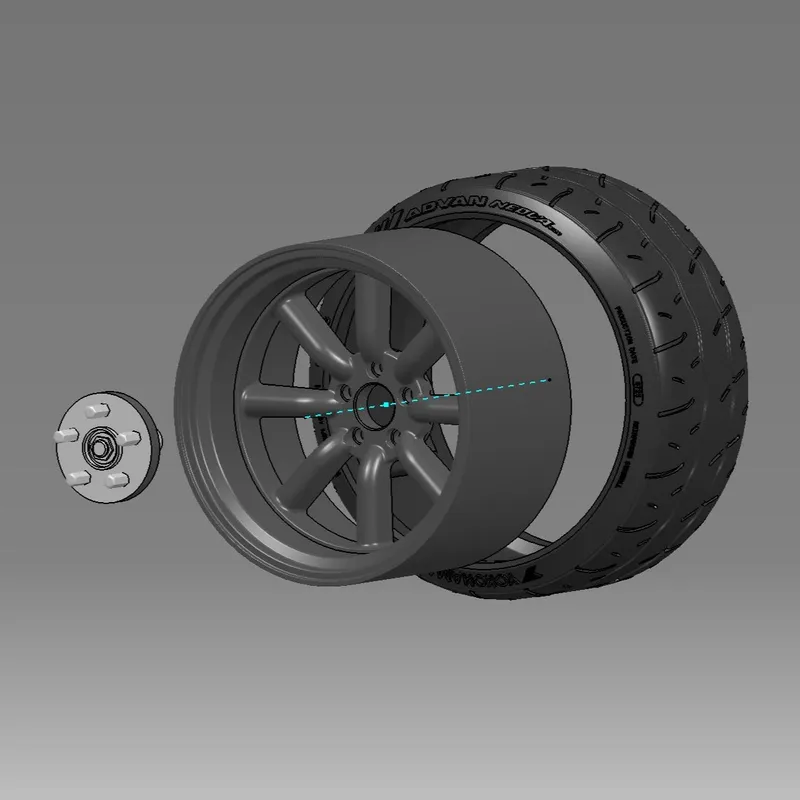
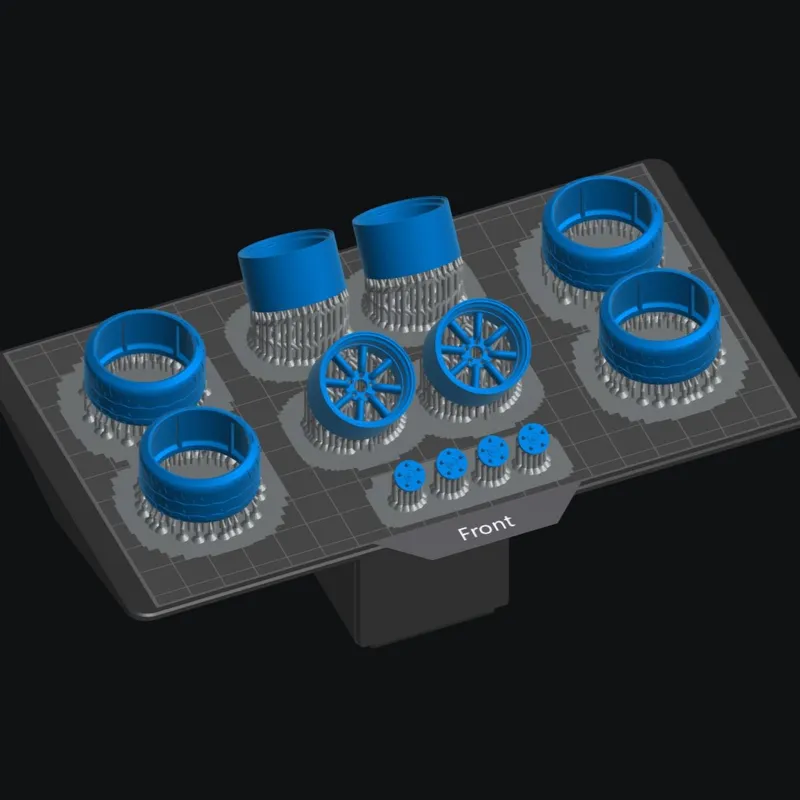
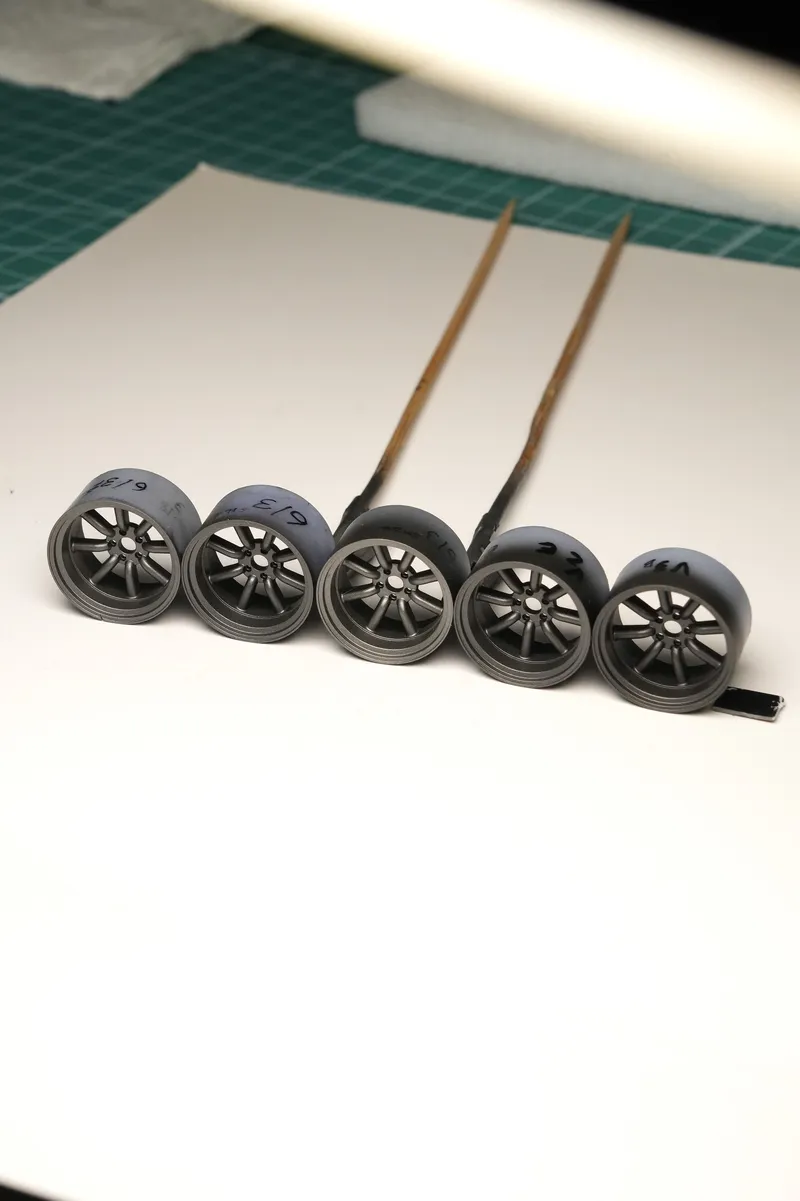
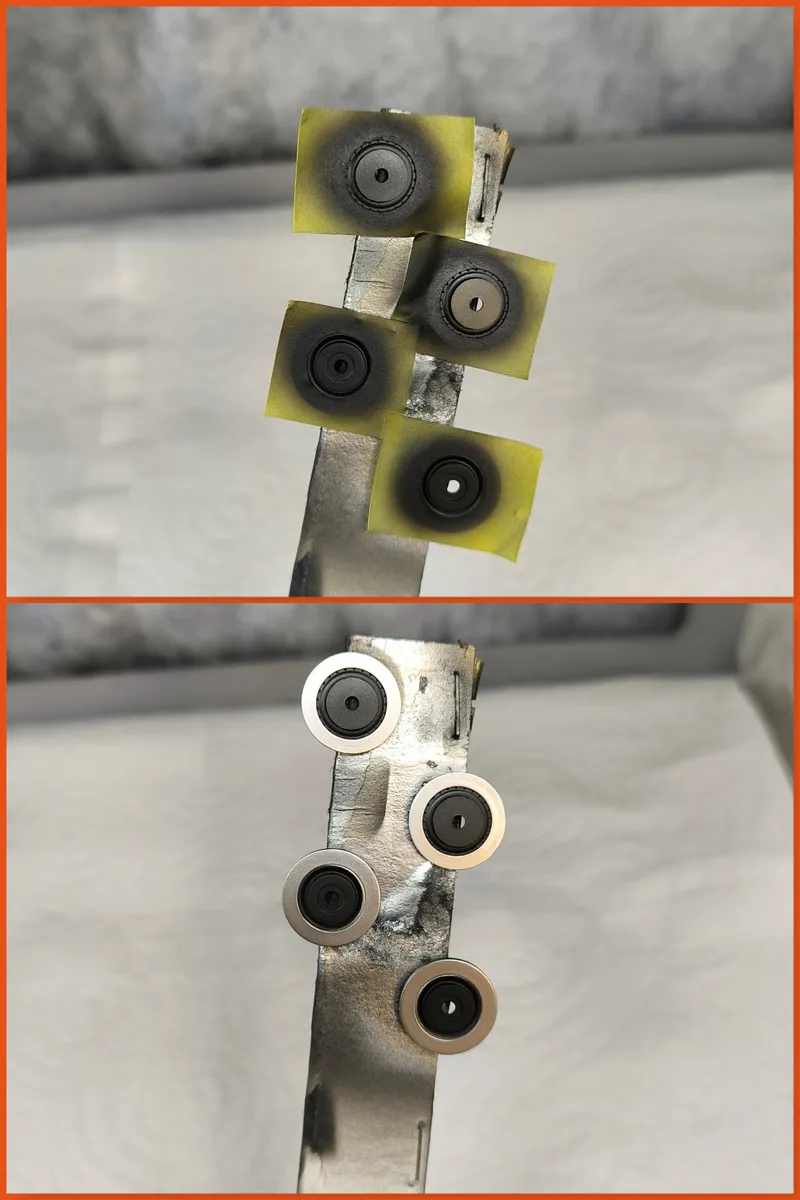
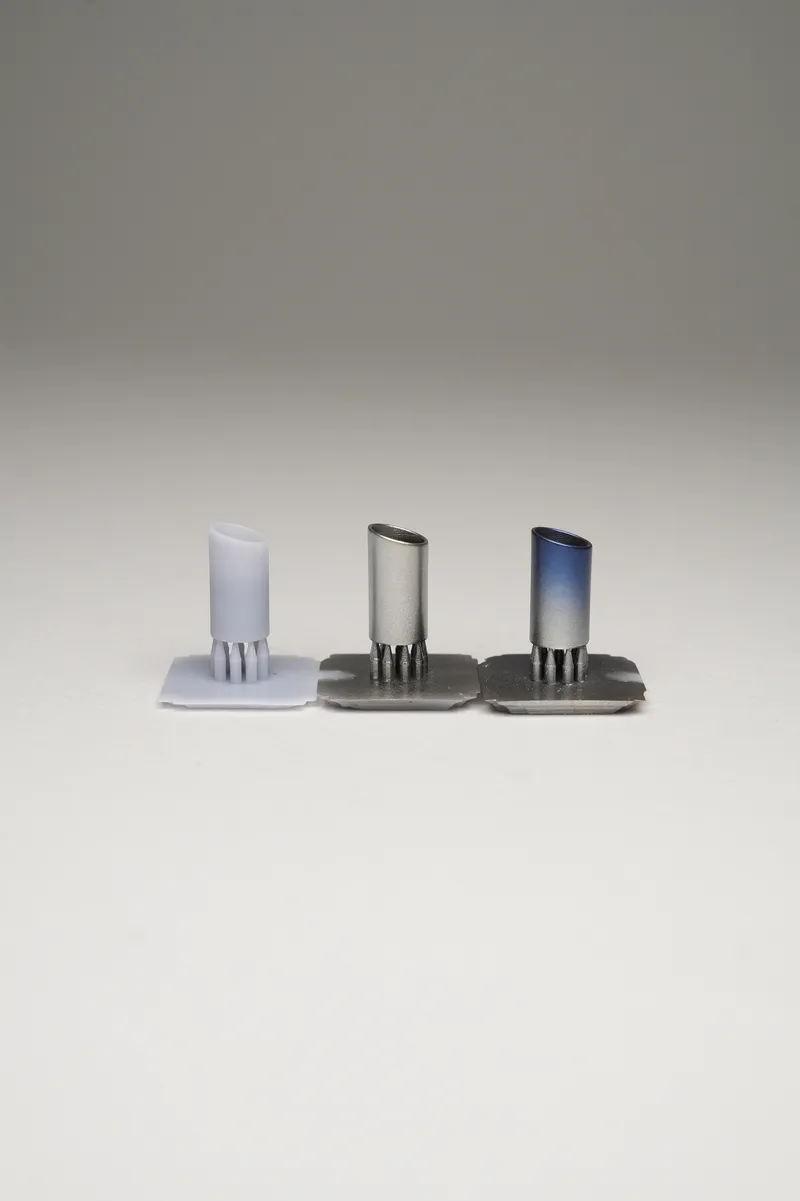
A few weeks ago I designed, printed and painted the first wheels and kept them apart until now. After testing them on a more advanced body I wasn’t fully convinced with the result, so I decided to modify a tiny bit the design and the color.
In the first picture you can see the final result. In the next picture you can see the paint test of the different color tones for the wheels. I also Include a picture showing the masking job to paint the brake discs and another one showing the muffler idea, although I’m not sure if I will finally go with the bluish finishing.
89 days ago
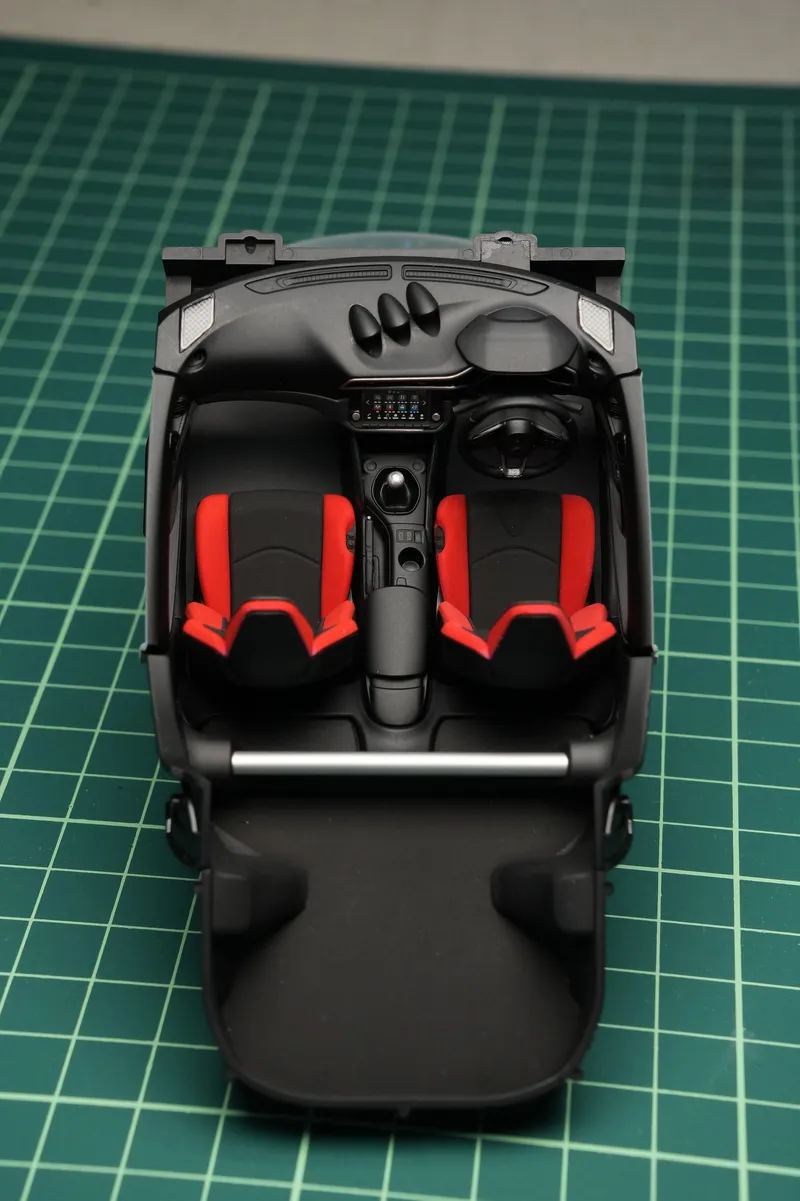
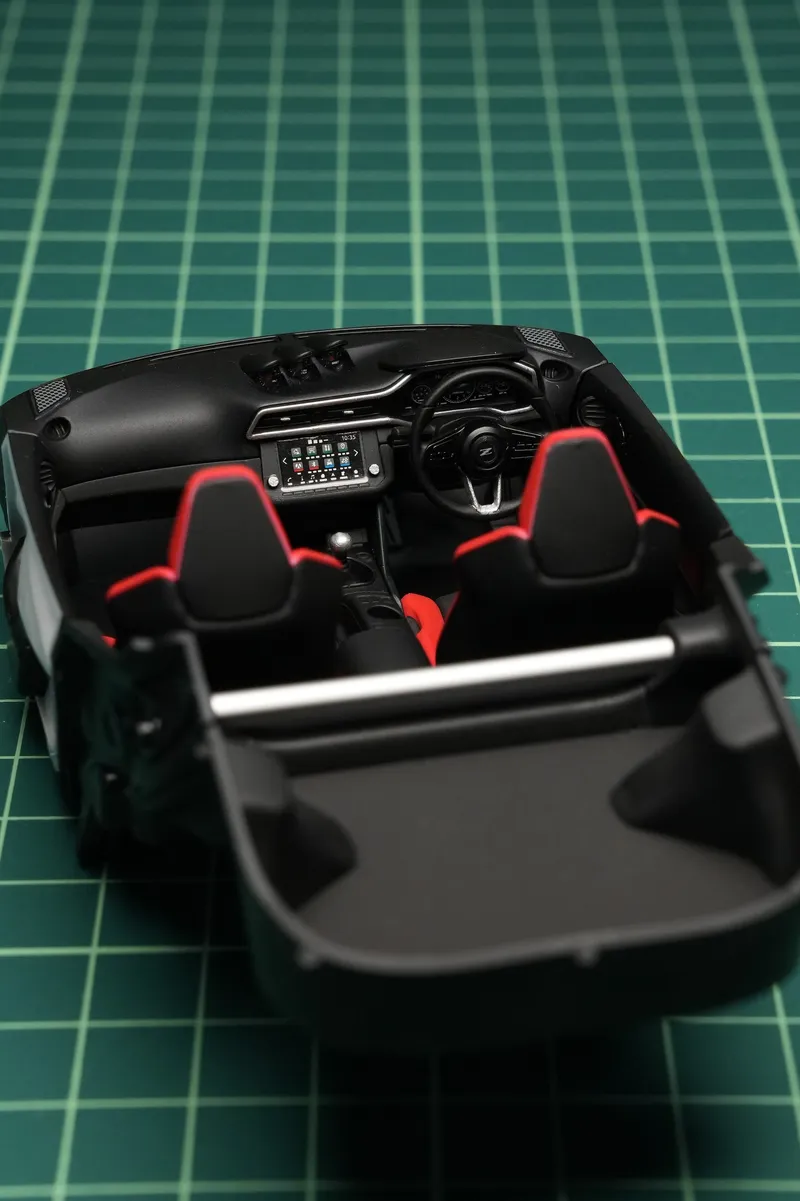
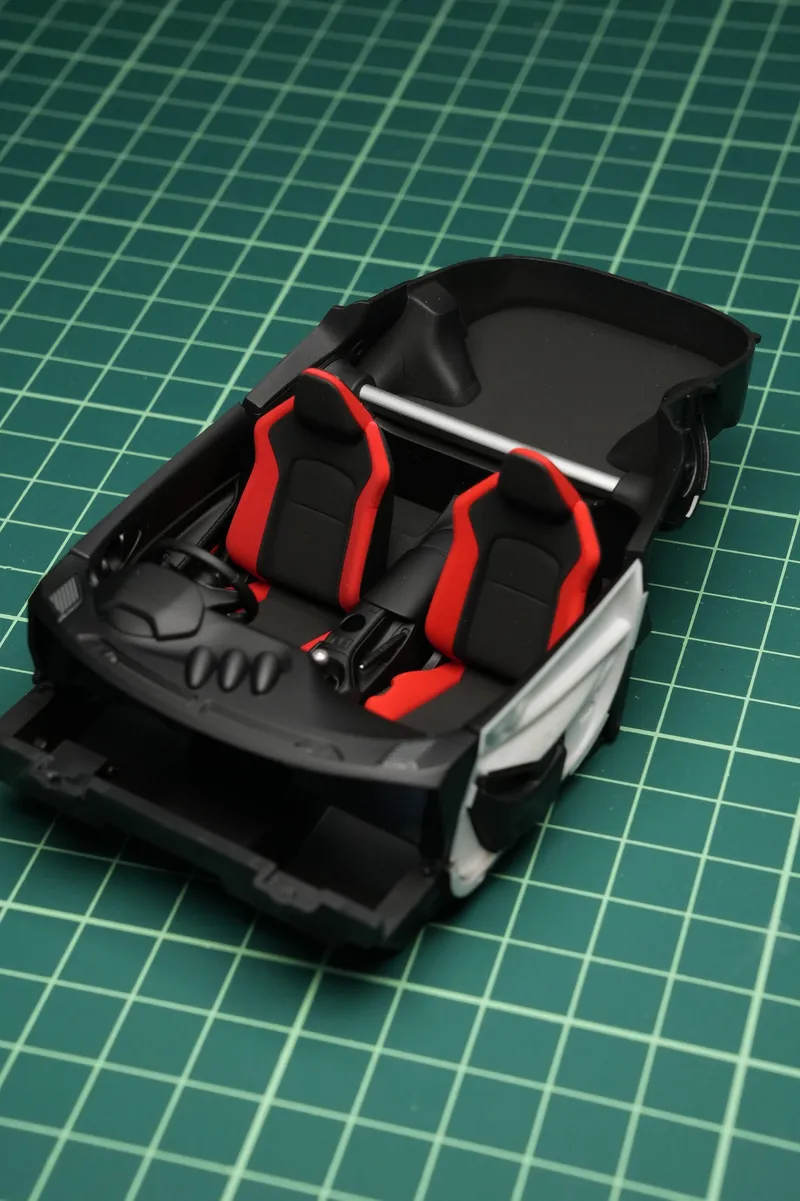
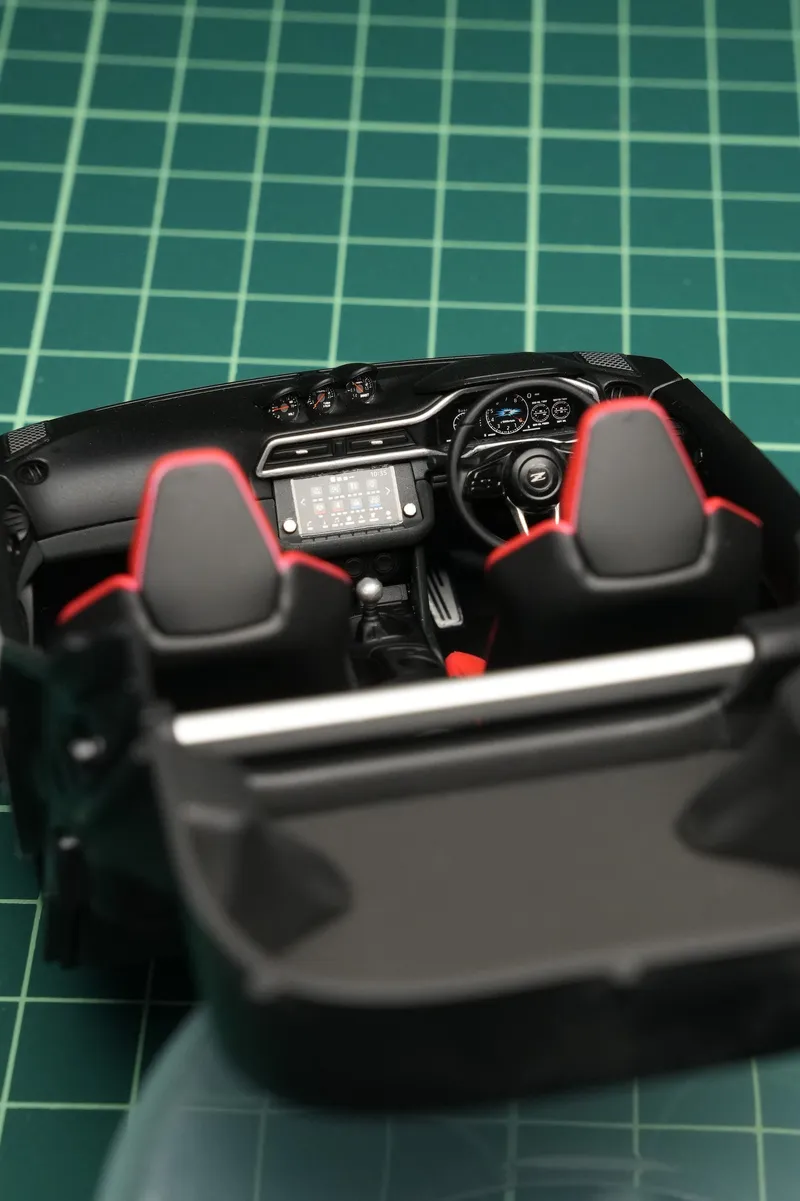
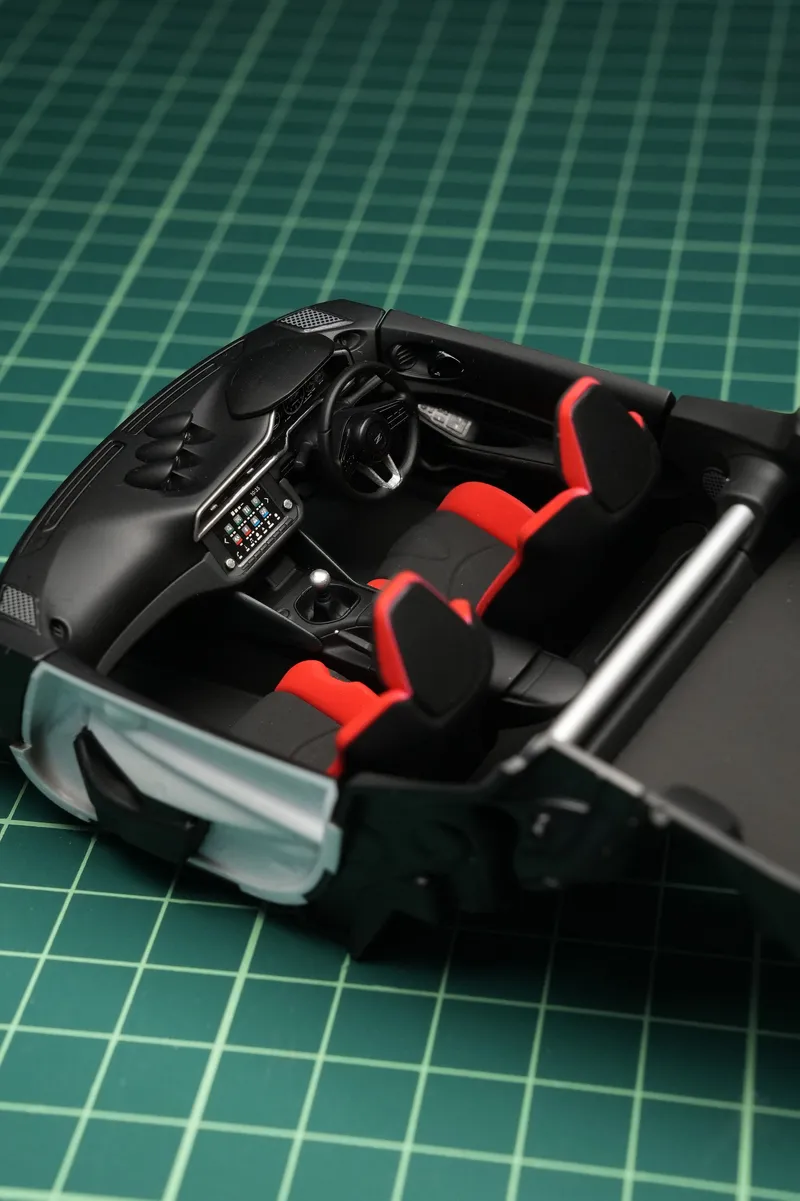
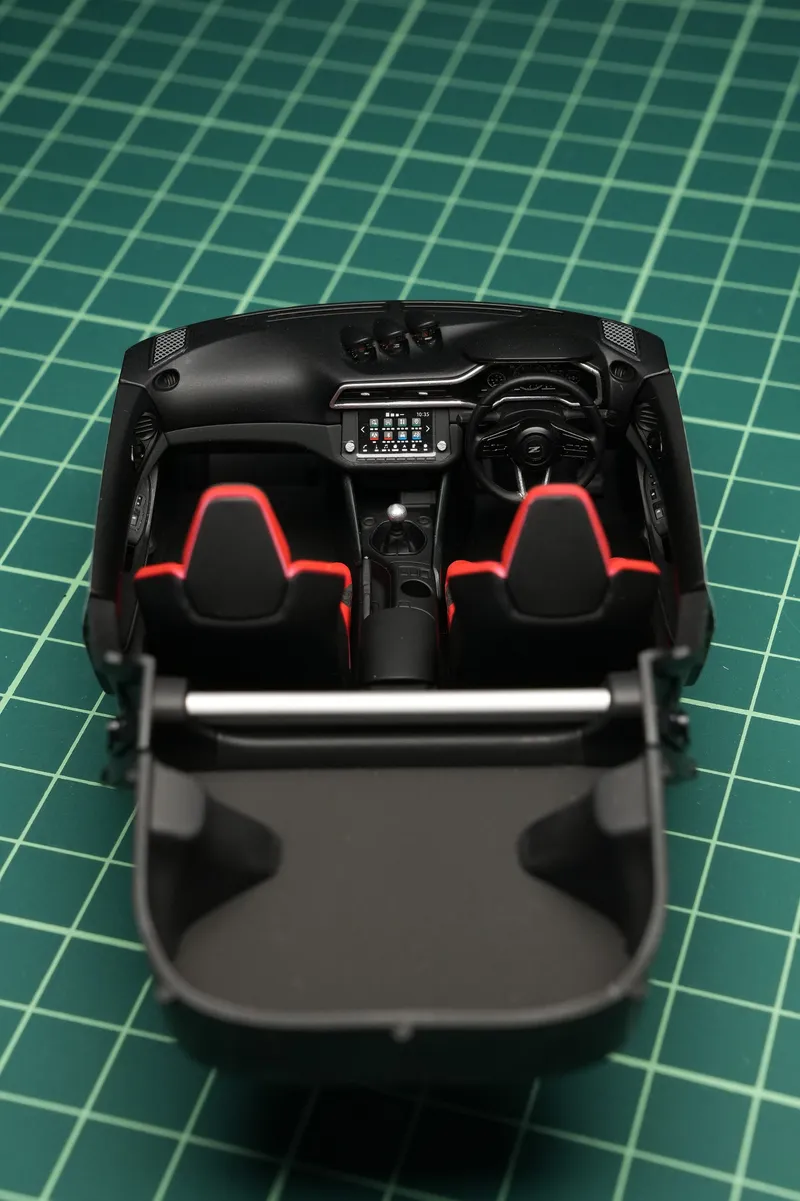
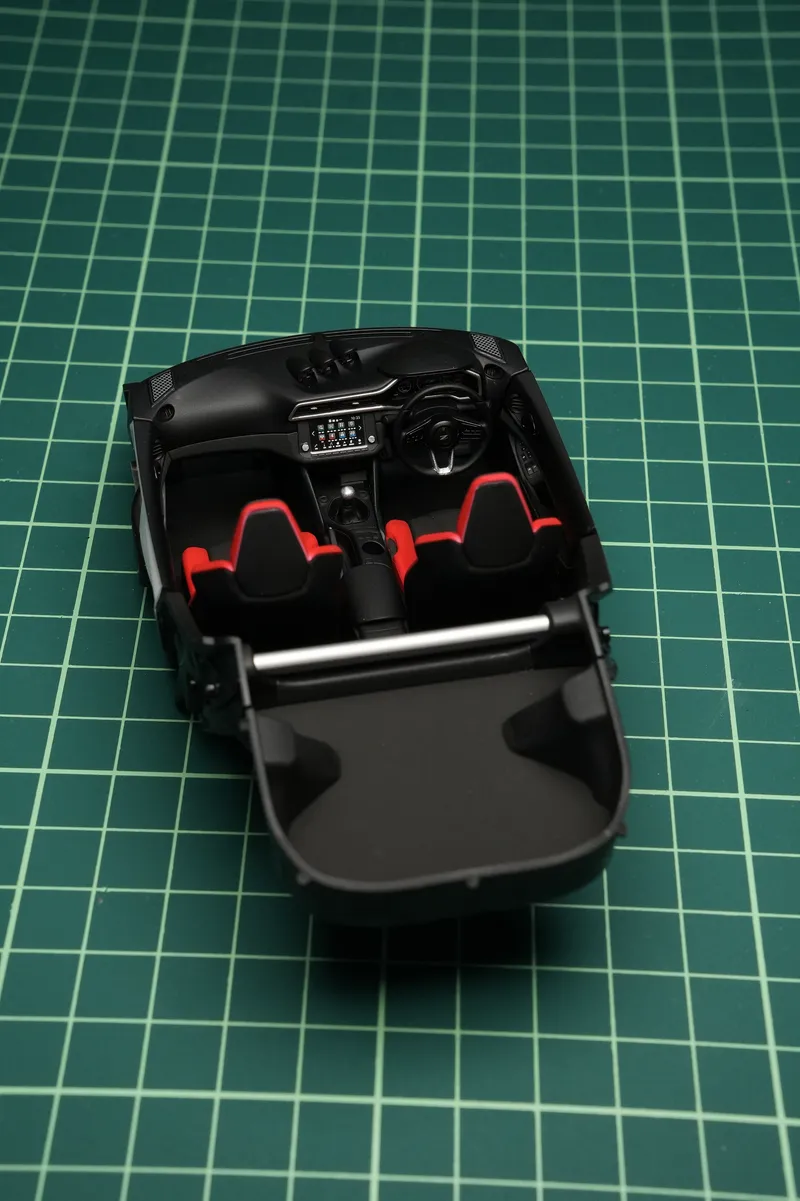
This is the interior finished and ready to be assembled to the base of the car.
I’m sorry I couldn’t show the process in more detail. I was so focused on finishing it that I entirely forgot to take some pictures in the meantime.
The dashboard is painted in semi-gloss black for most part of it, a custom mix of matt dark grey to give it some accent and silver color for the details.
The side panels are painted following the same principle.
The seats are painted in semi-gloss black for the back side, and a red/black color in matt finish for the front part, adding it some rough texture.
Later on I added all the decals and glued all the parts together.
I’m really aware that most of these details won’t be seen from the outside of the car once it’s assembled but I can’t help to spend some time in building things properly 😅
The next stage is to start assembling the body!
As always, thank you for taking your time on checking up on my progress 😊
93 days ago
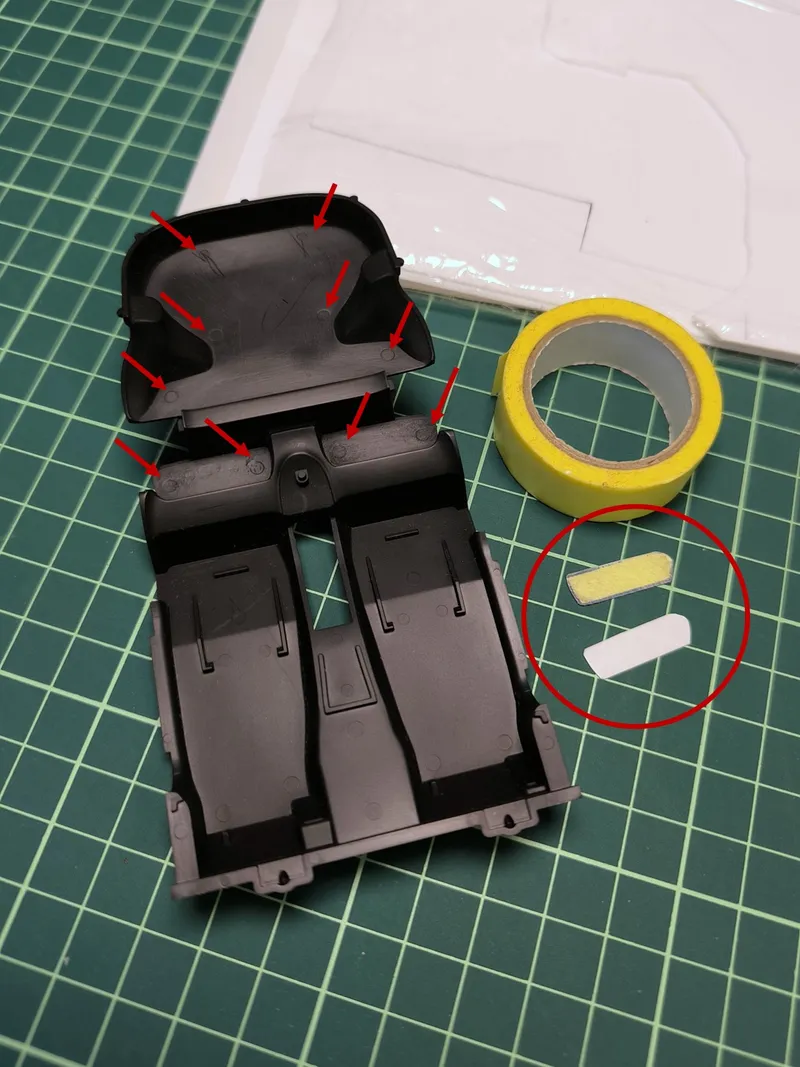
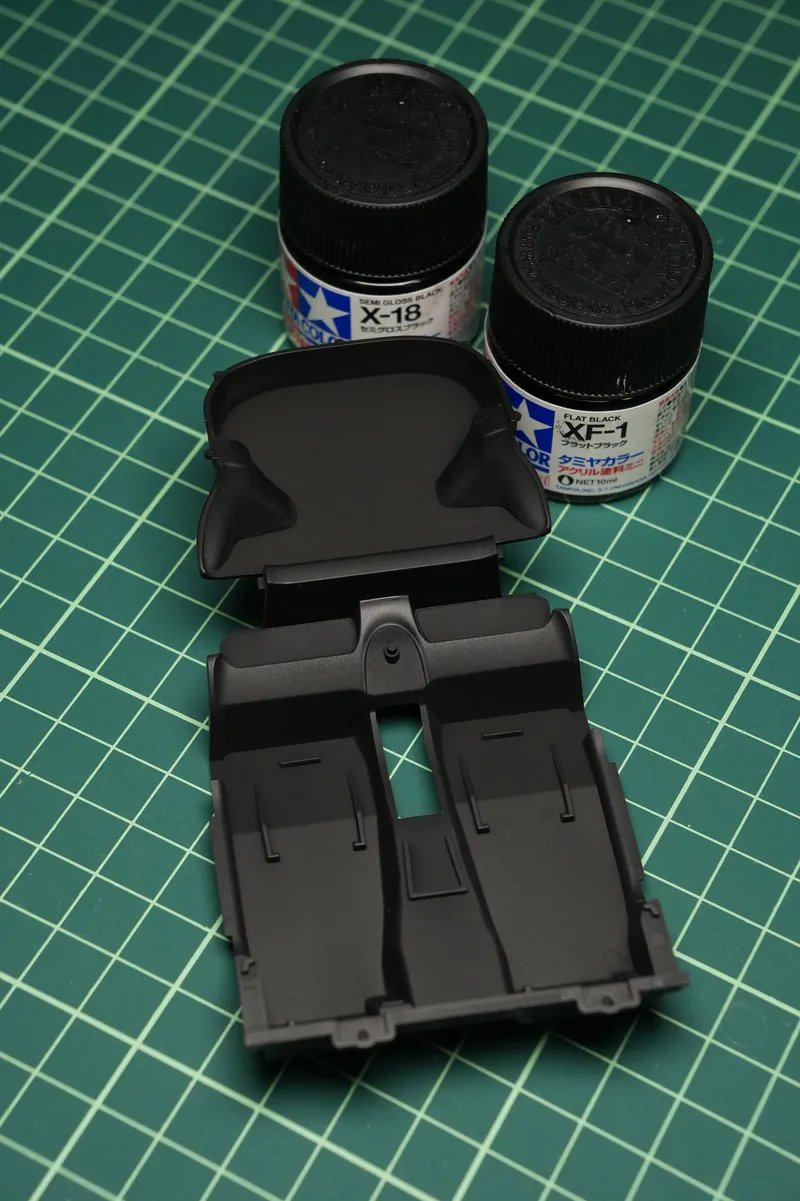
The interior of the original kit has the typical mold marks (marked in red), which make the part to look cheap and “plasticky”.
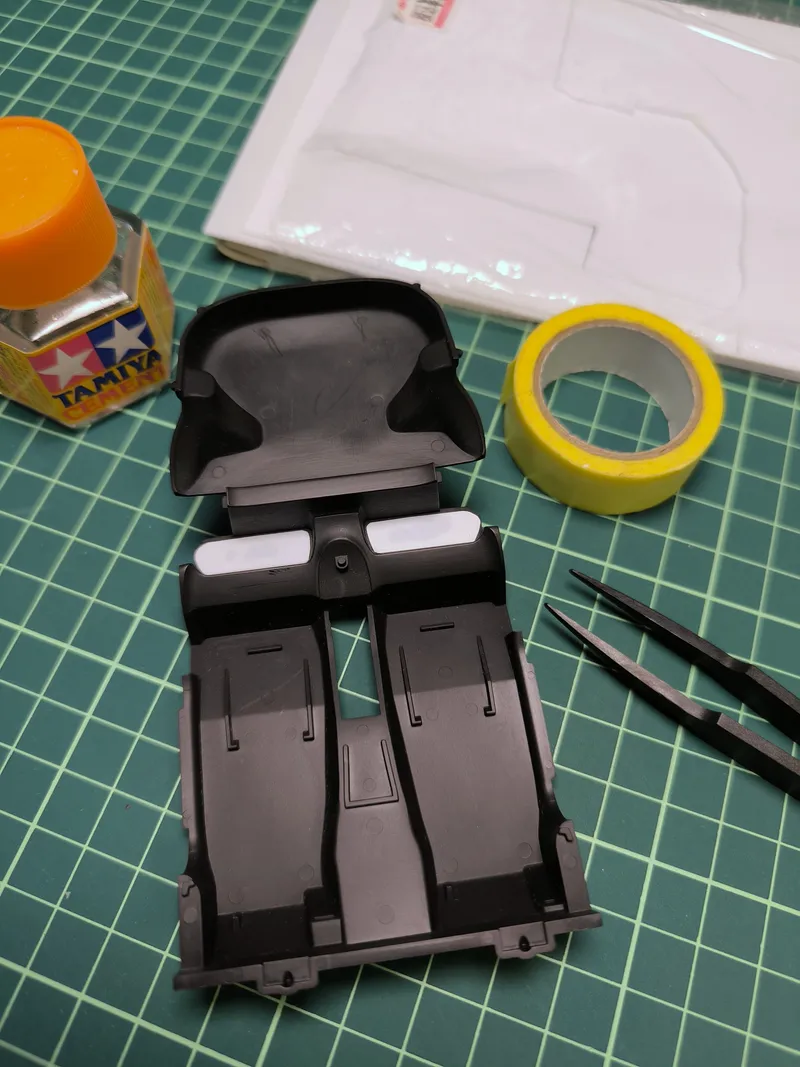
To remove these marks I applied two different strategies. In the bigger area I’m using simple sanding paper and sponges, from lower to higher grit. The smaller areas behind the seats are more difficult to access with the sanding paper and my fingers, so I cut a piece of styrene sheet with the same shape of the area to be fixed and glued in on top.
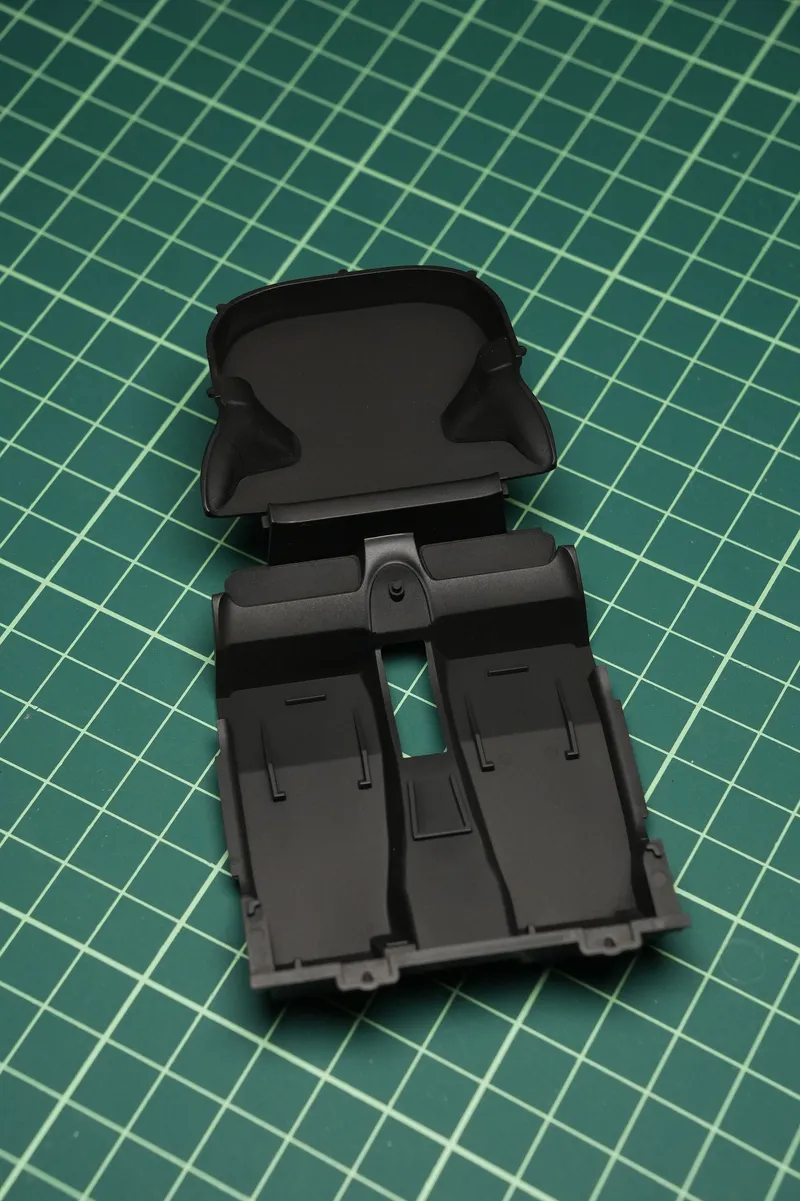
Later on I painted everything in two different finishes, semi-gloss black and flat black.
99 days ago
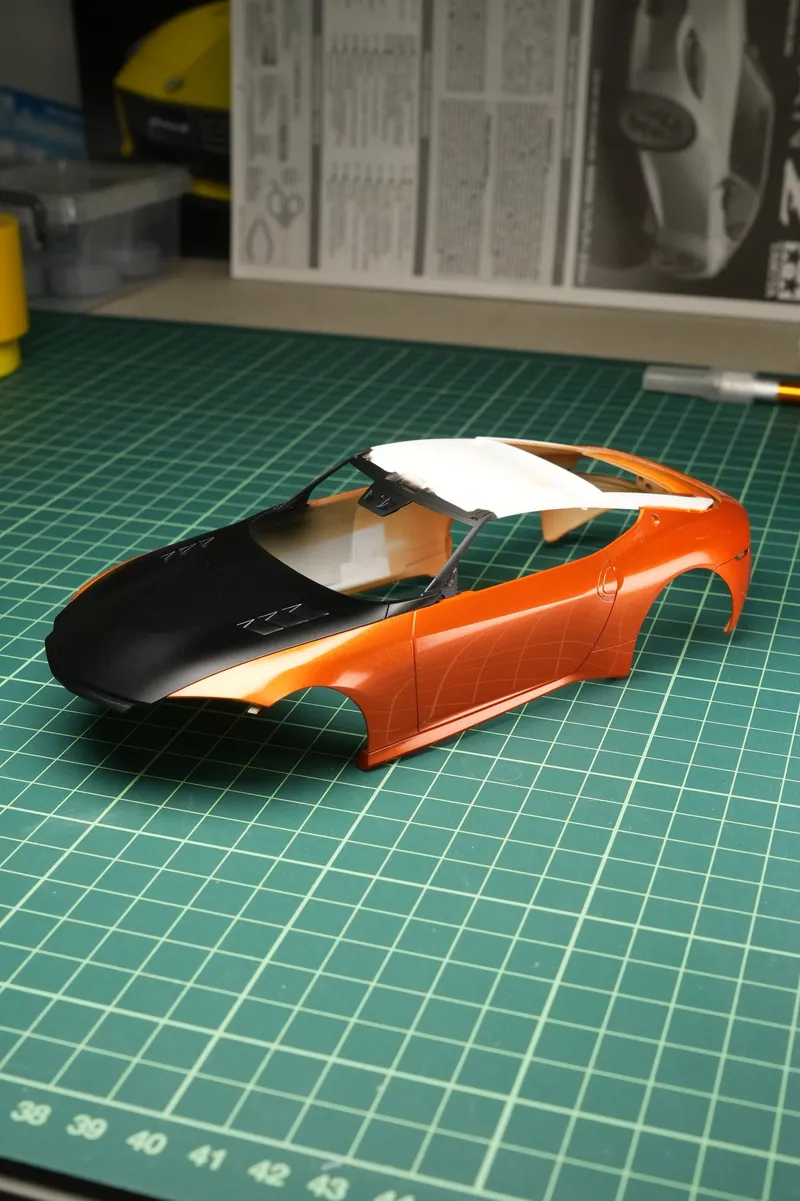
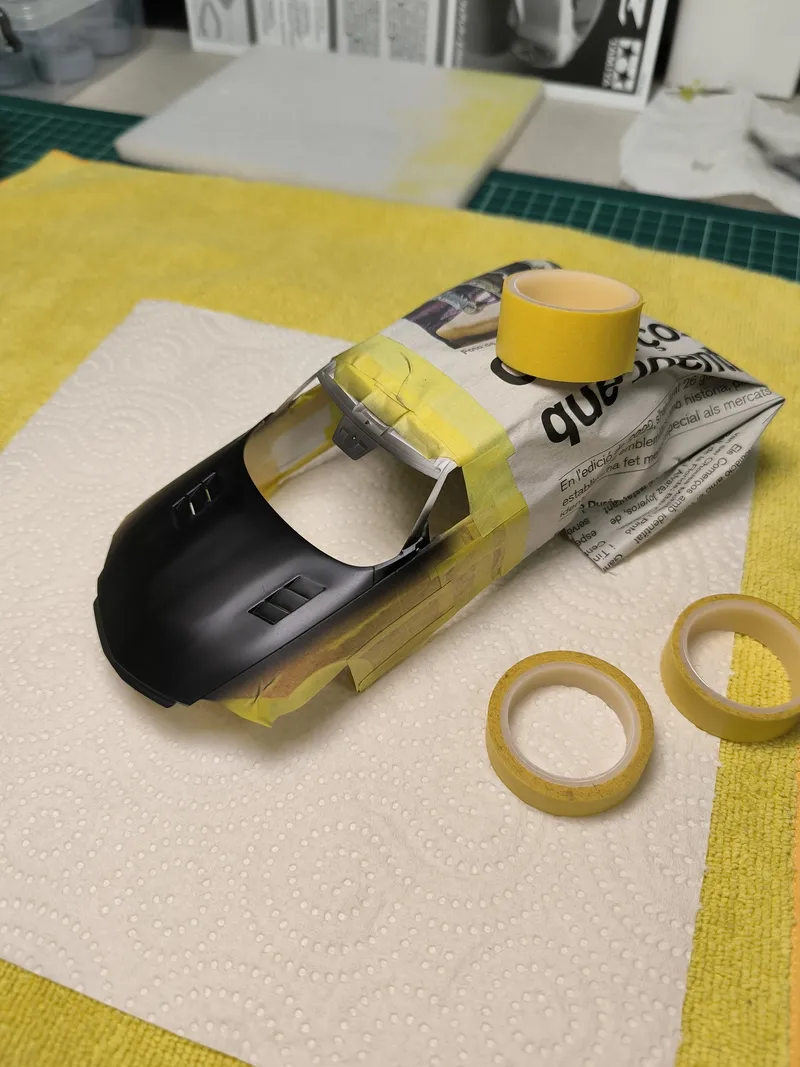
The real life Liberty Walk kit designed for the Fairlady ZR34 includes a fiber hood finished in semi-gloss black.
After polishing the entire body I masked it again, leaving the hood exposed. I painted it in a black base color and covered it in a semi-gloss clear coat.
The body will have a few more black accent parts such as the fenders, lips and sideskirts. Can’t wait to see them assembled 😊
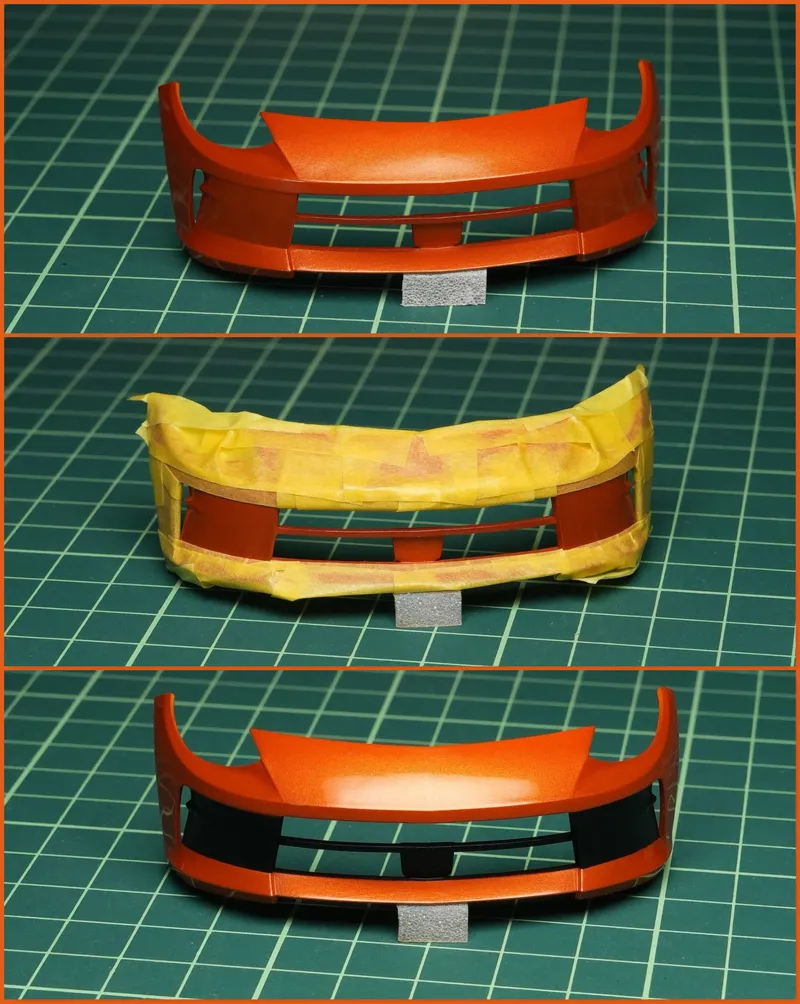
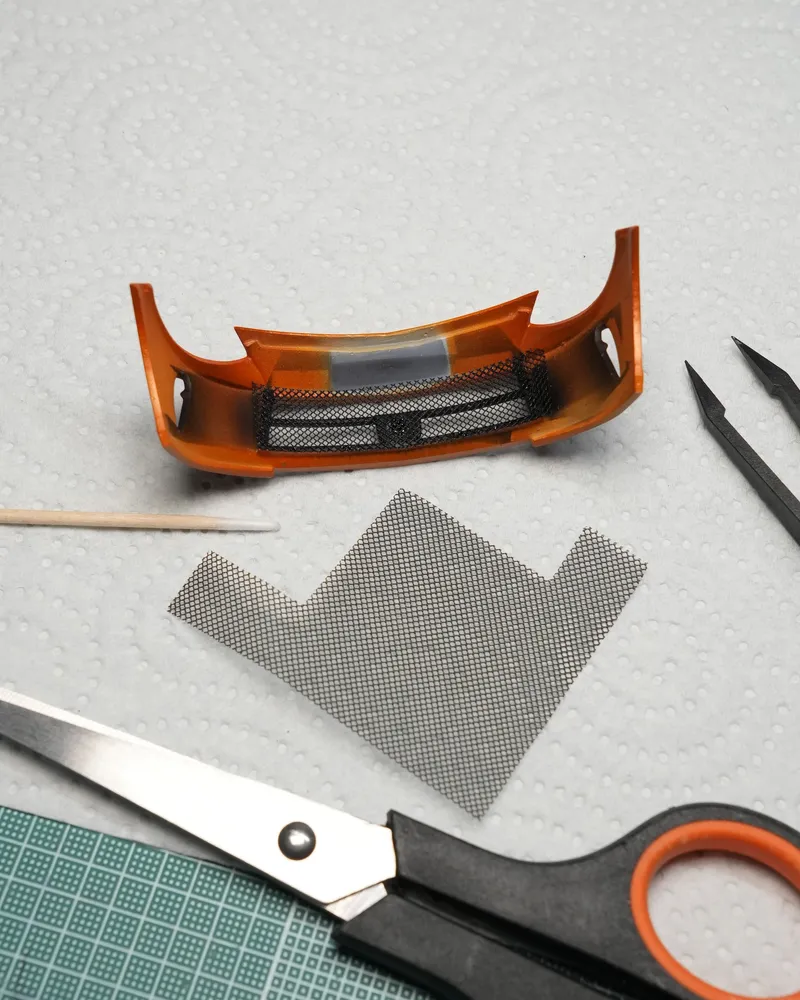
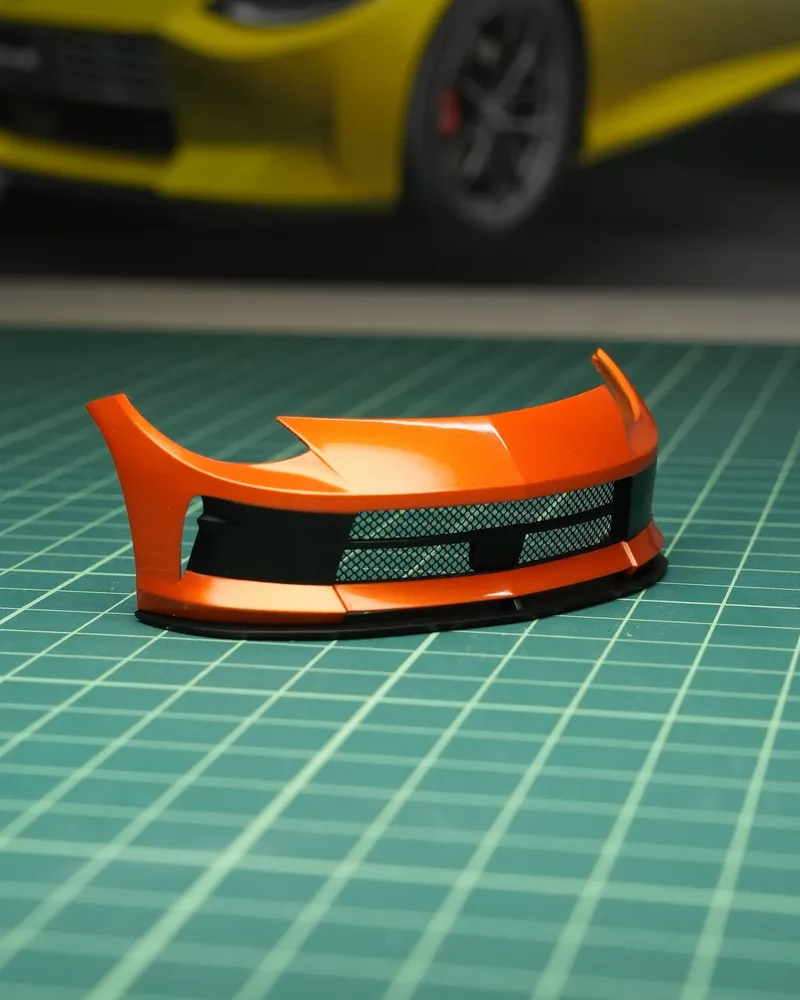
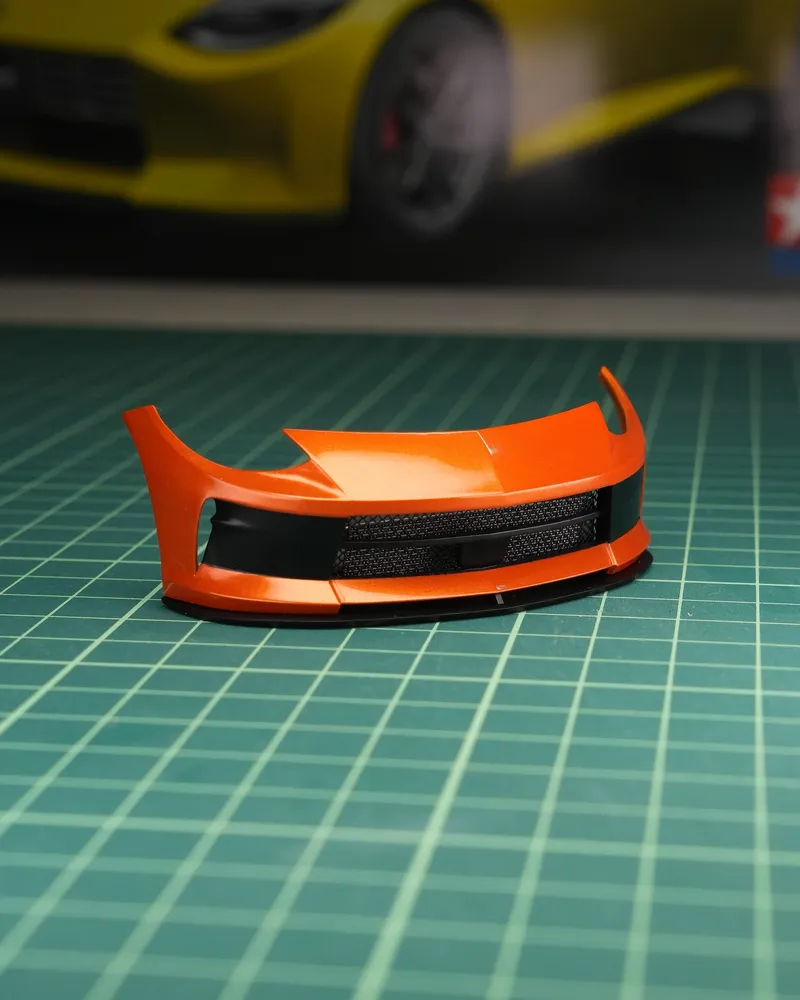
104 days ago
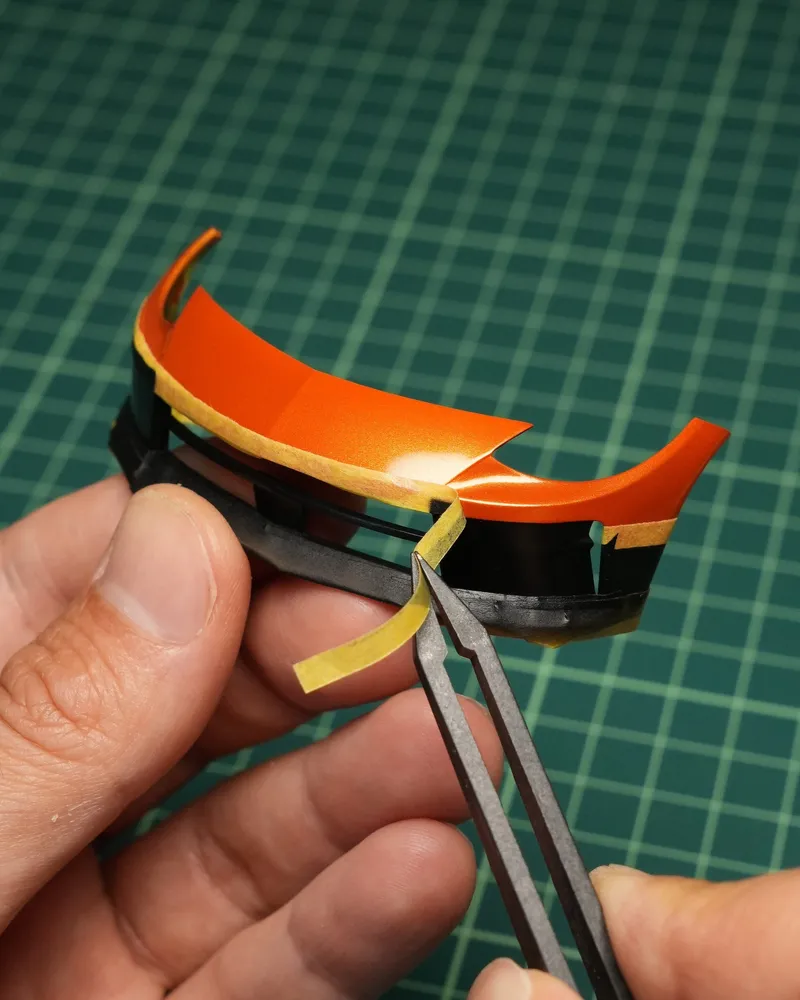
I’m sure most of you have this nervous feeling when peeling off the masking tape.
Will the paint go under the tape ruining my paint job? In that case.. How I’m going to fix it this time?
Stripping all the paint and starting over?
Repainting on top?
Maybe sanding it down?
Will rubbing alcohol make it worse?
… Will I give up this time?
Fortunately the process went smooth and the tape worked well. Yeeeei! 😁
I've also added a grille to the bumper. In the last photo you can see the radiator behind it.
107 days ago
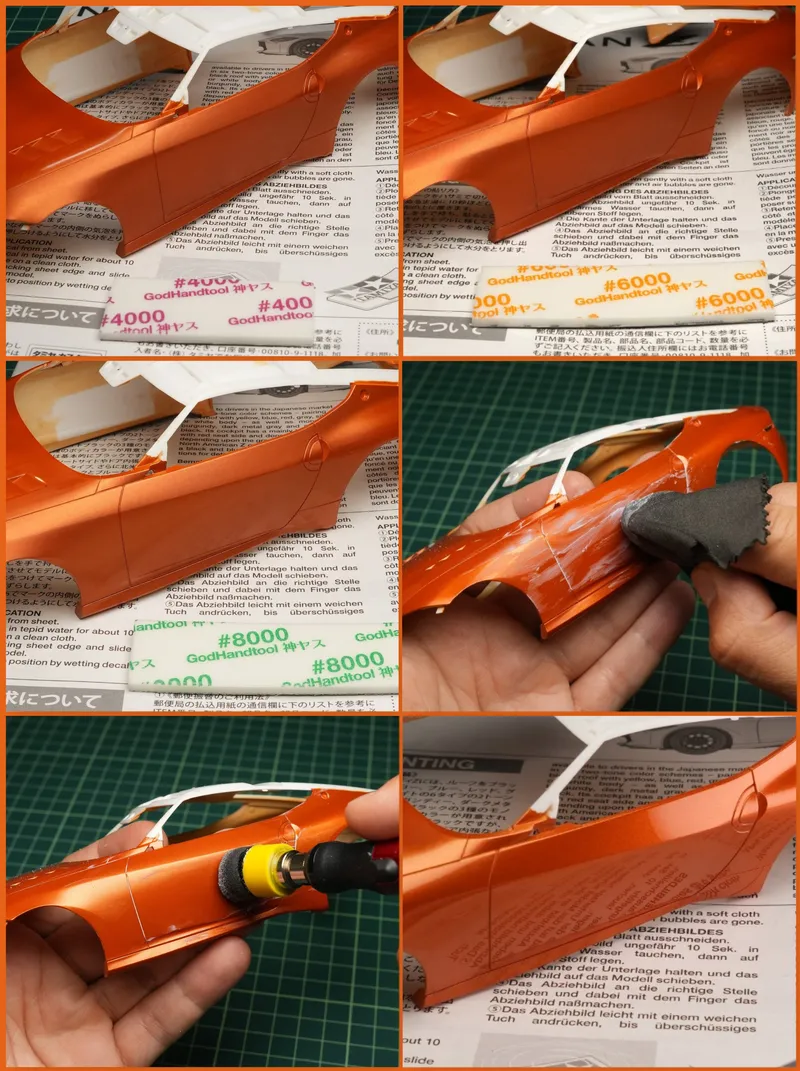
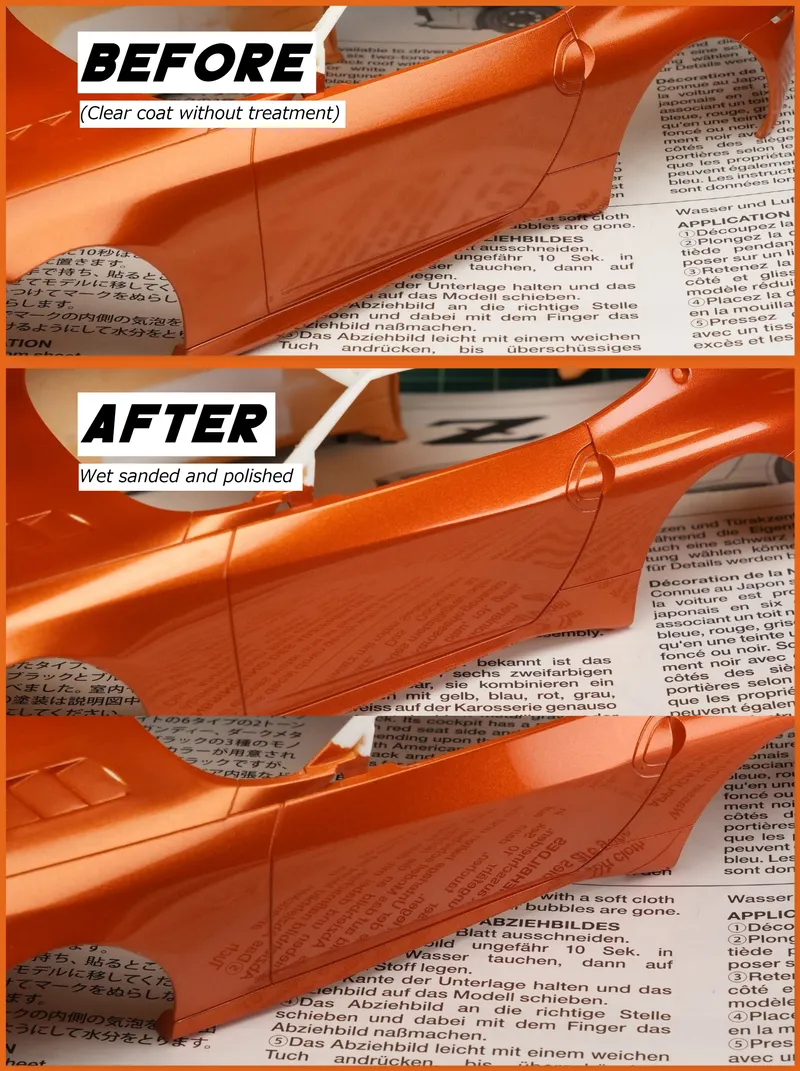
I always like to get a mirror finish for the gloss paint. In order to get it, and after getting the clear coat fully cured, I start wet sanding the surface with 2000 or 4000 grit depending on the roughness of the initial surface. After that I continue with 6000 grit and 8000 grit. Sometimes I also go up to 10000 grit if needed.
Once all the surface has been wet sanded you can already see that it got way smoother than initially.
IT 'S TIME TO BRING THE SHINE BACK!
I start rubbing carefully the surface with fine polishing compound and a microfiber cloth. I repeat the process as many times as I need to get a shiny surface.
You can help yourself with a mini-rotary tool to work on the larger surfaces.
Finally I do it once again with finish compound.
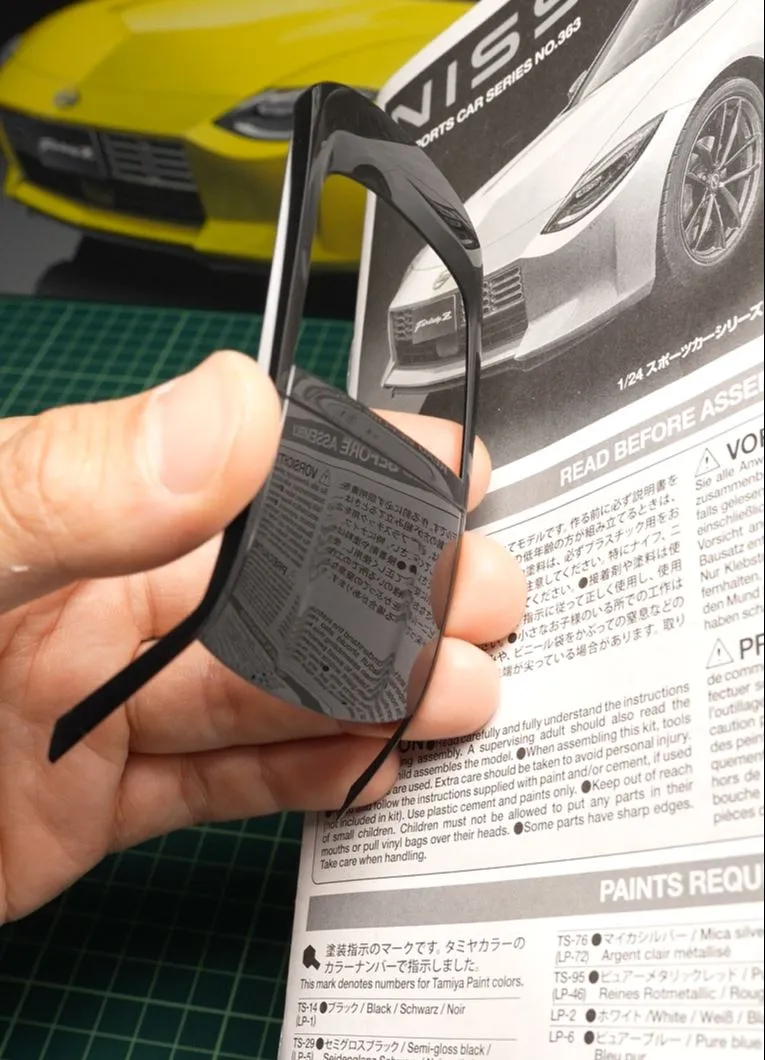
Here’s the result.