Bogdan Bolda
@bogdanbolda
441
Following
99
Followers
58
Updates
1620
Likes
353
Comments
143
Votes
16 days ago
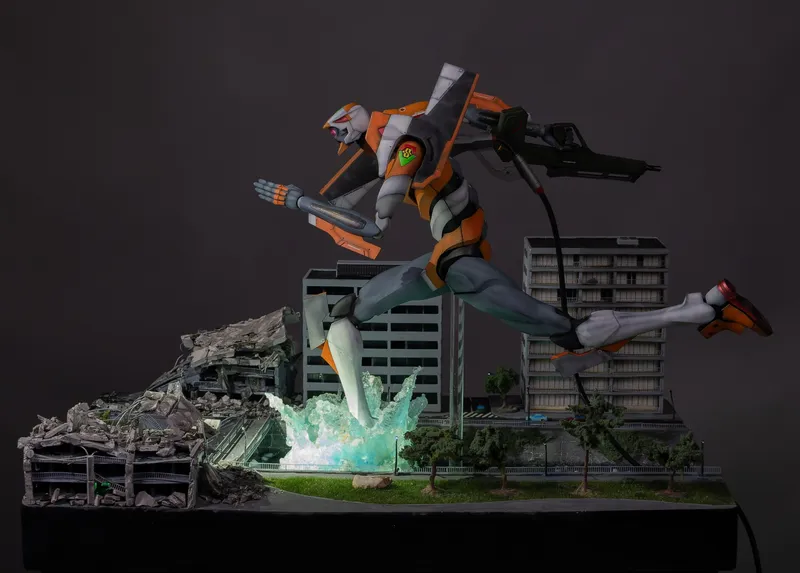
Big Splash - how I did it
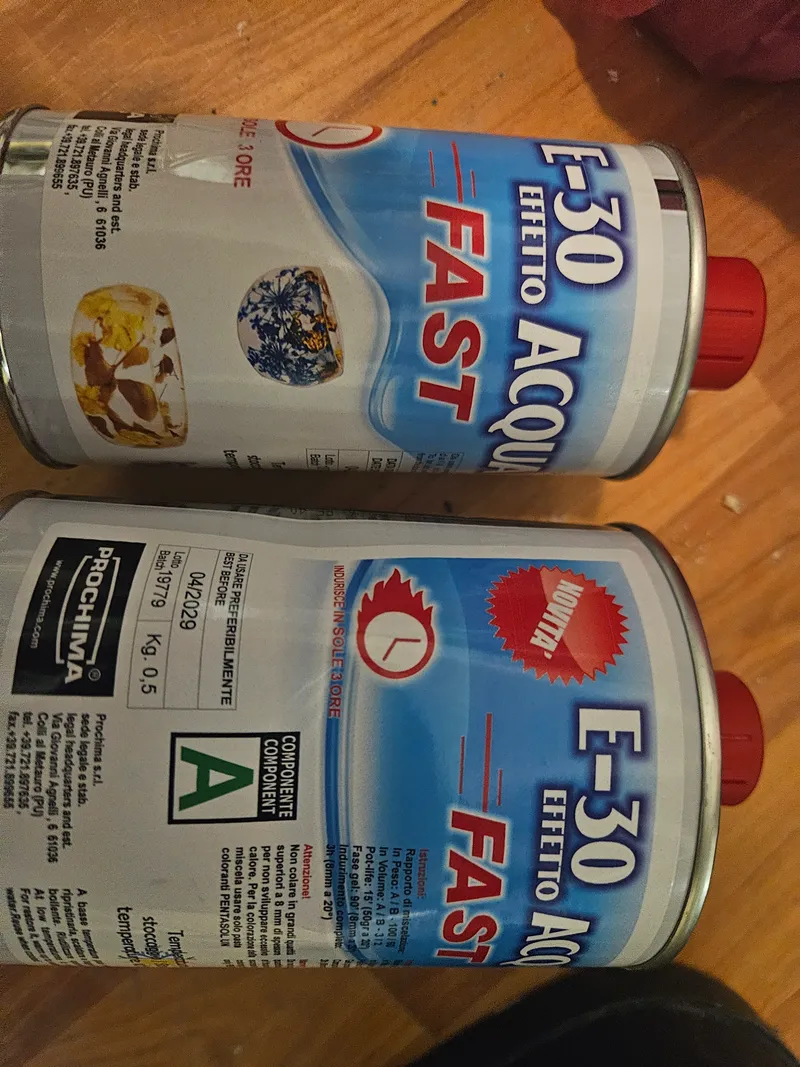
How I made the wave – materials needed:
Cotton wool
Two-component epoxy resin
Modeling clay
Plastic food wrap
Blue resin pigment
Crystal-clear silicone
Odorless white spirit (mineral spirits)
Clear PVA glue (craft glue)
White oil paint
UV resin
Tools needed:
Scissors
Tweezers
Surgical gloves
UV lamp
Heat gun
Wooden spatulas
Disposable cups
Jeweler’s scale
Process:
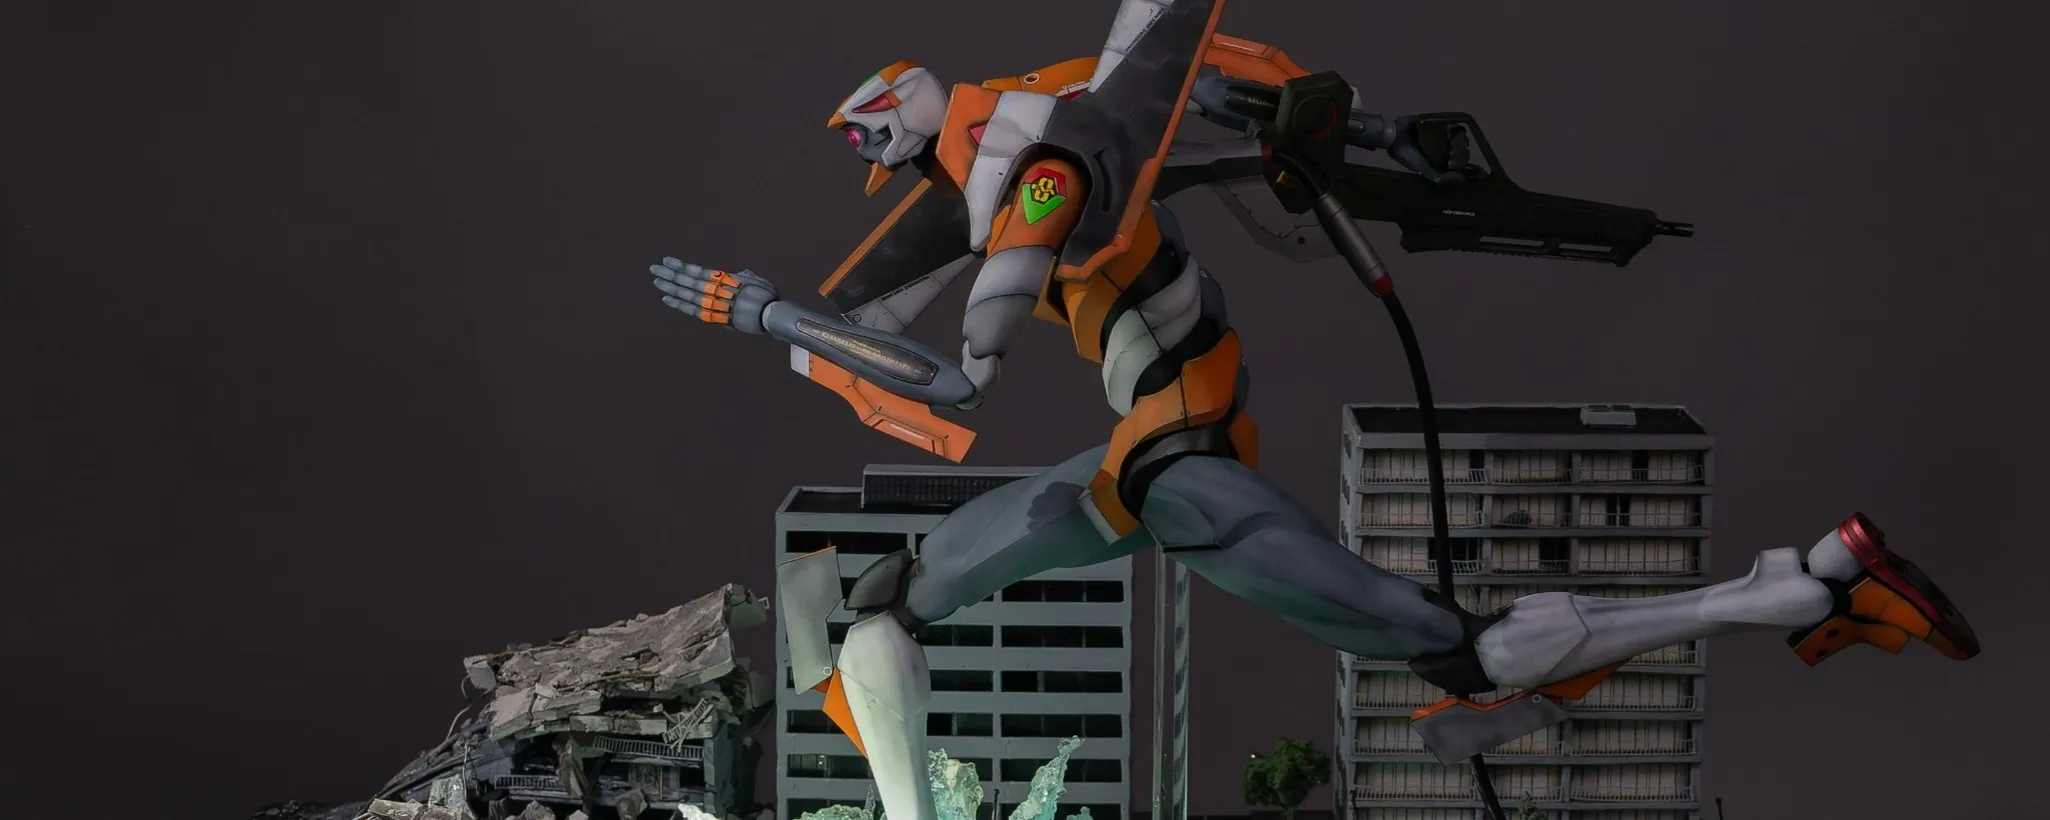
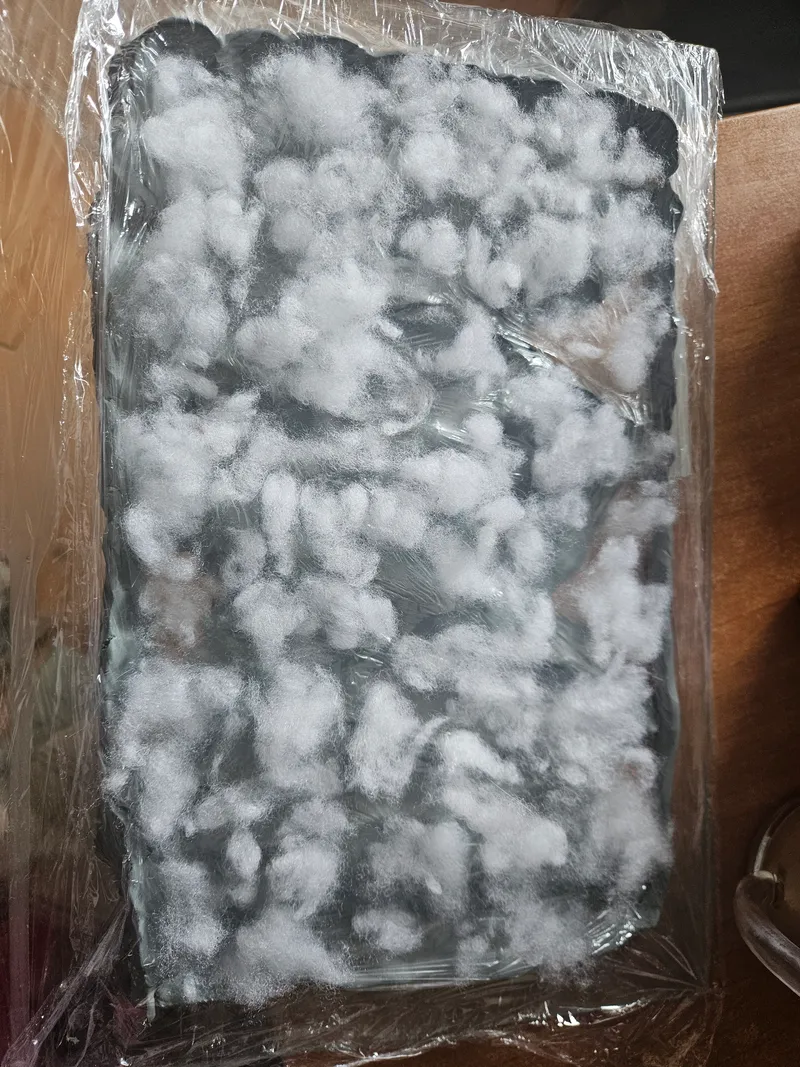
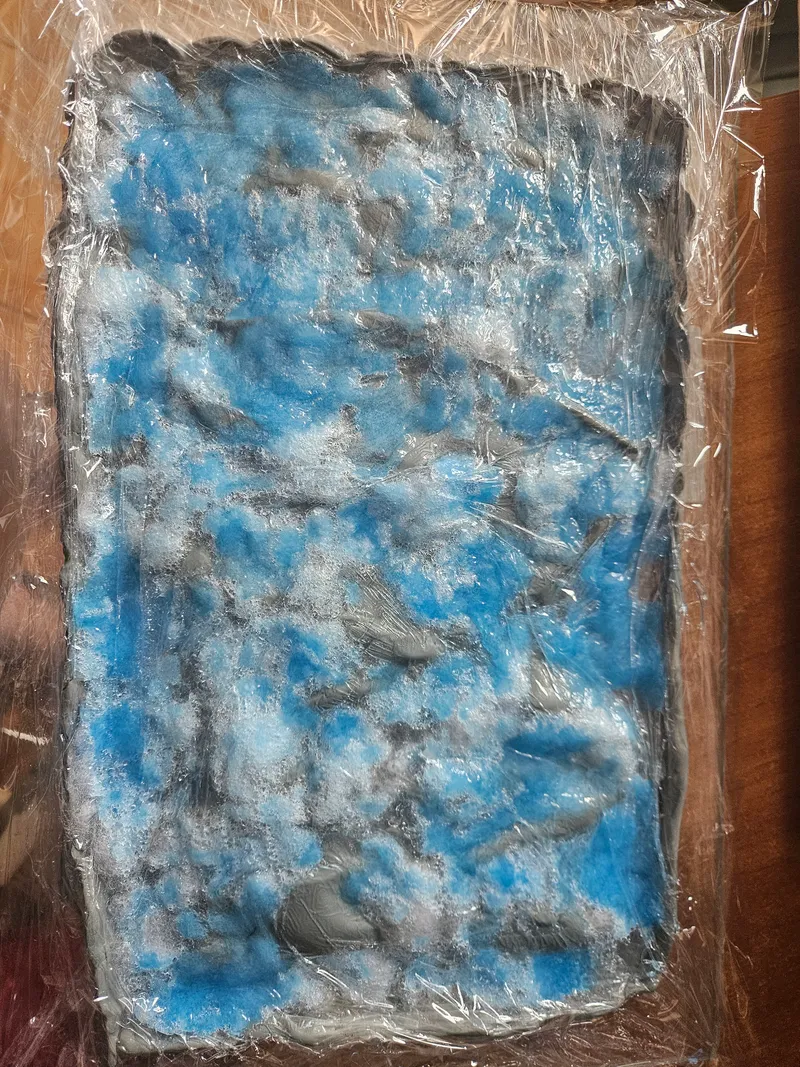
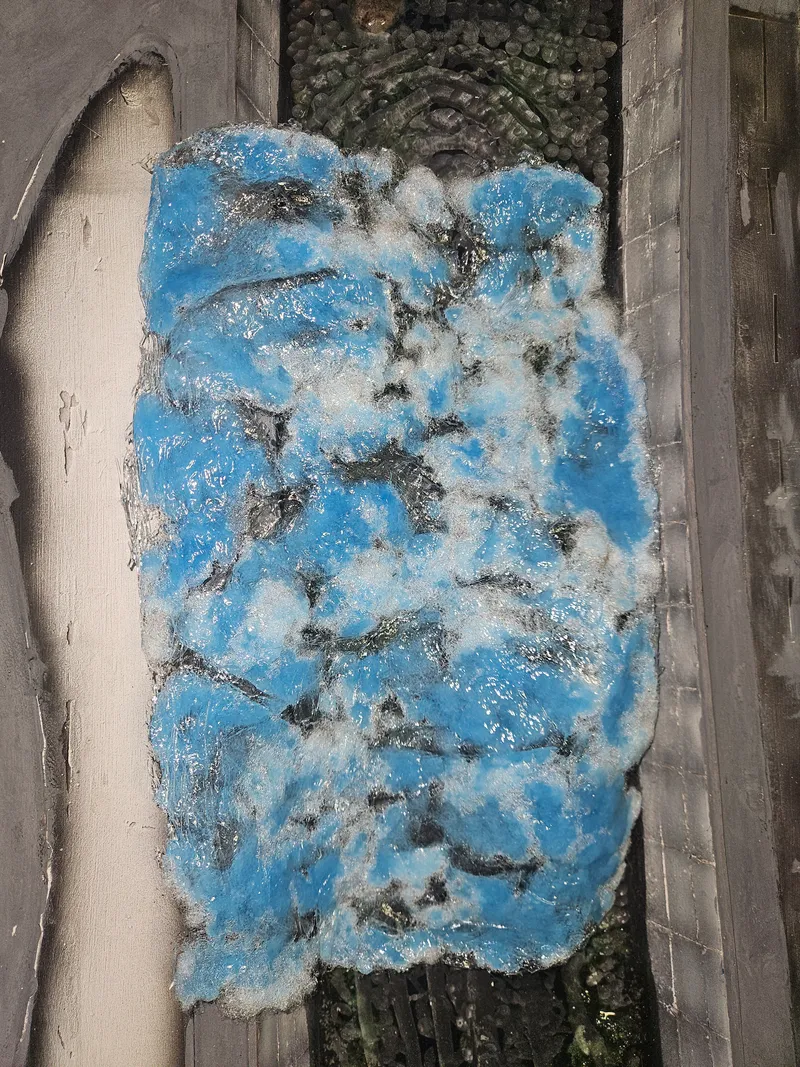
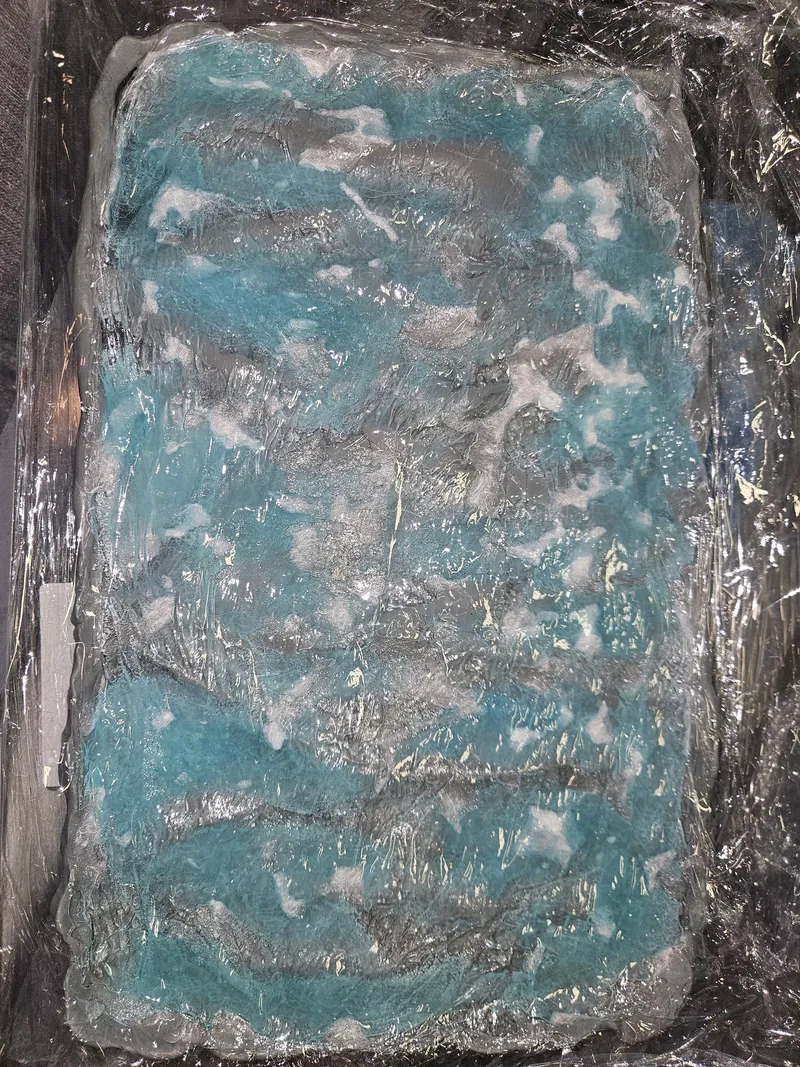
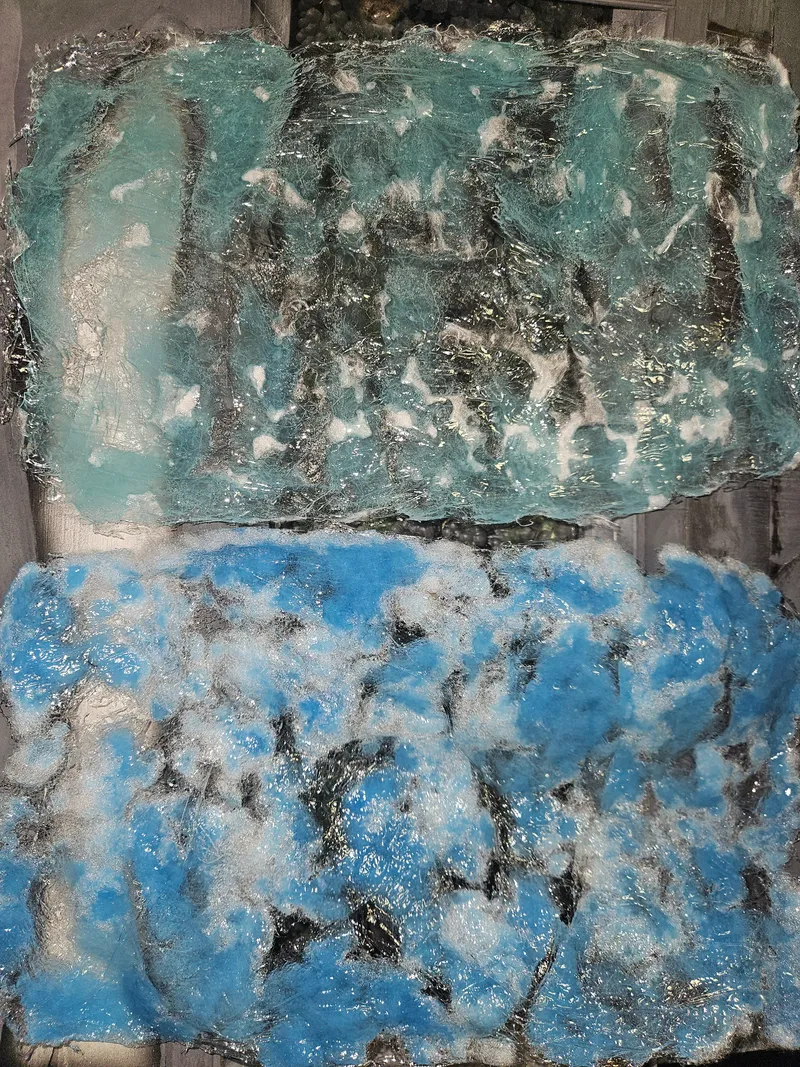
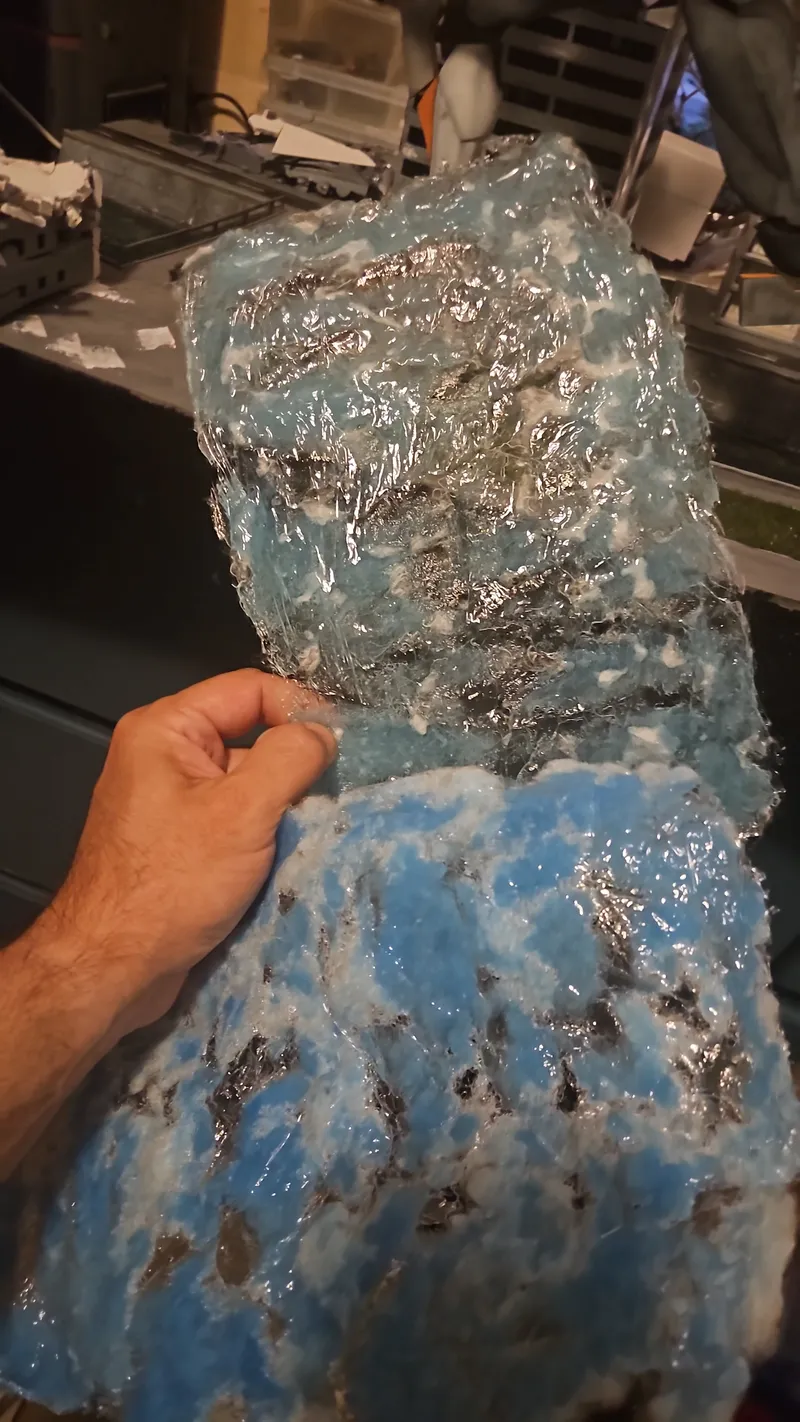
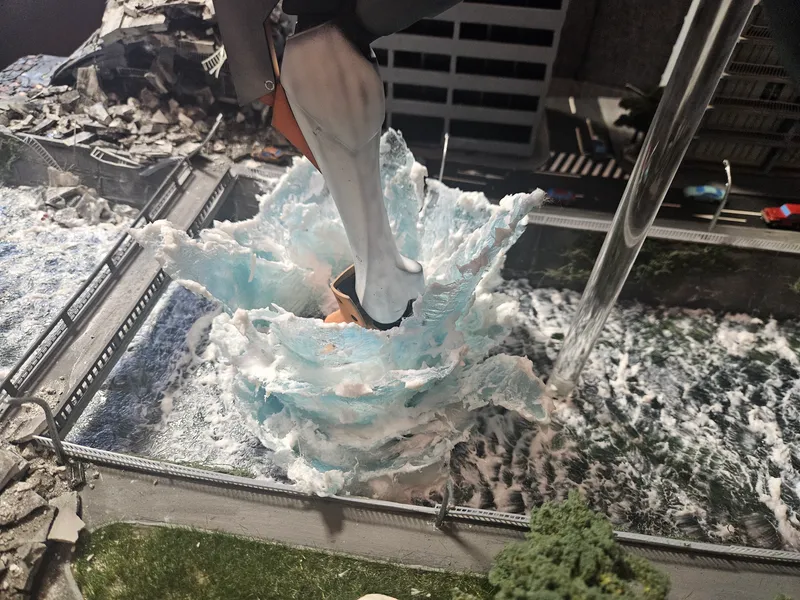
On a flat surface, I created a rectangular mold out of modeling clay, then added pieces inside to simulate an irregular shape. I covered this with plastic food wrap, followed by pieces of cotton wool to give the waves volume. I mixed the two components of the resin and added 4 drops of blue pigment. I poured the resin over the cotton wool, covered everything with plastic food wrap, and pressed down to distribute the resin across the entire rectangular area. Since I wasn't sure what the final surface area of the wave would be, I made a second one, but added only 2 drops of blue pigment—the first turned out blue, while the second leaned toward green. Once the resin had hardened, I broke it into pieces. I trimmed the pieces with scissors to achieve the desired shape, then used a heat gun to warm them up, bending and rounding them to fit the shape of the "foot" (base). *Note: It is recommended to wear gloves; the temperature used was 120°C. Keep the heat gun moving over a wider area so the resin doesn't melt.* In the meantime, I anchored the model onto the diorama and attached the resin pieces using UV resin, building up several layers with varying heights and shapes. To connect these layers, I tucked bits of cotton wool into the gaps; separately, I mixed silicone with white spirit in a cup until the consistency became more fluid. I highly recommend using *odorless* white spirit—I didn't, and the smell lingered for an entire month! 🤪
Using a spatula, I worked the mixture into the gaps and created smaller waves at the base. For greater height, build it up in layers. It takes about 2-3 hours to dry—the drying time depends on the amount of white spirit used, as it accelerates the silicone's polymerization. I applied clear PVA glue (white glue) along the crests of the waves to create "foam," and added a few more wisps of cotton wool in certain spots. Once everything had dried, I used a brush to apply white paint over the "foam" to enhance the effect.
- 5
 585hillbillygarage11 days ago
😍
- CC
 Cristian Carlone16 days ago
Wow! That’s a great explanation on how you created the effect! Thank you so much for sharing! What a superb effect you created. One question: are the buildings you used in the diorama from Tomy or from other vendors?
- BB
 Bogdan Bolda16 days ago
Replying to Cristian Carlone
@cristiancarlone The buildings are designed by me from the Evangelion. Two of them on the right river side. The other 2, the ruins, are in fact faild print of one of them 😝
- CCCristian Carlone15 days ago
Replying to Bogdan Bolda
@bogdanbolda, outstanding! 3D printing is incredible!
- BBBogdan Bolda15 days ago
Replying to Cristian Carlone
@cristiancarlone not quite that incredible...I had issues with all the prints - the slicer of the printer, after an update, ruined everything. But a lot of sanding and with the help of Mighty CA glue I manage to obtain 2 good buildings and 2 ruins