Almodelling
@almodelling
29
Following
60
Followers
20
Updates
368
Likes
73
Comments
0
Votes
105 days ago
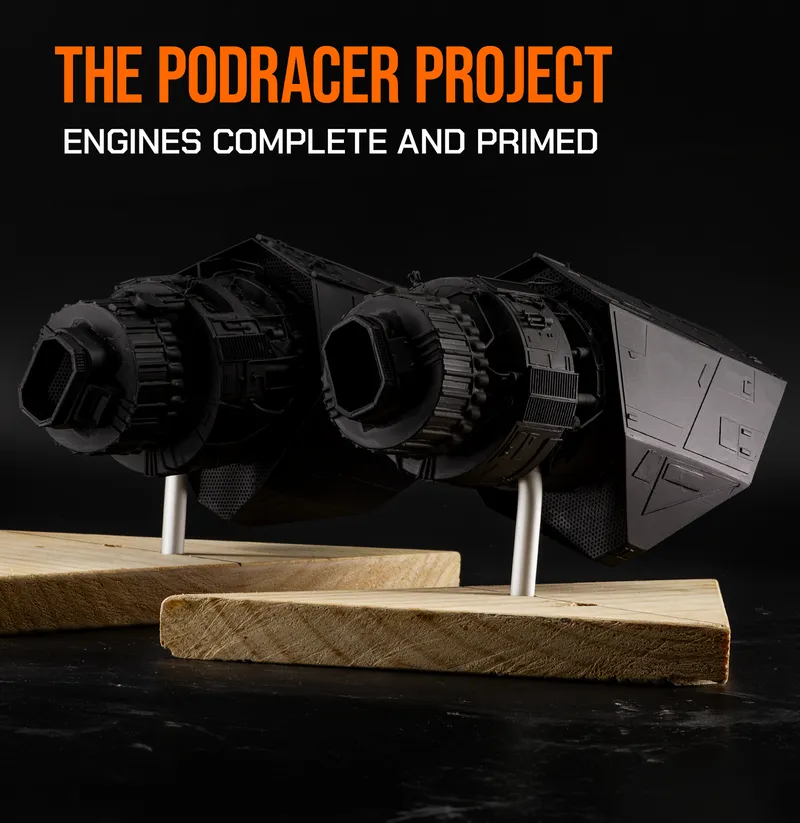
The Outer Rim Workshop: Engines complete and primed
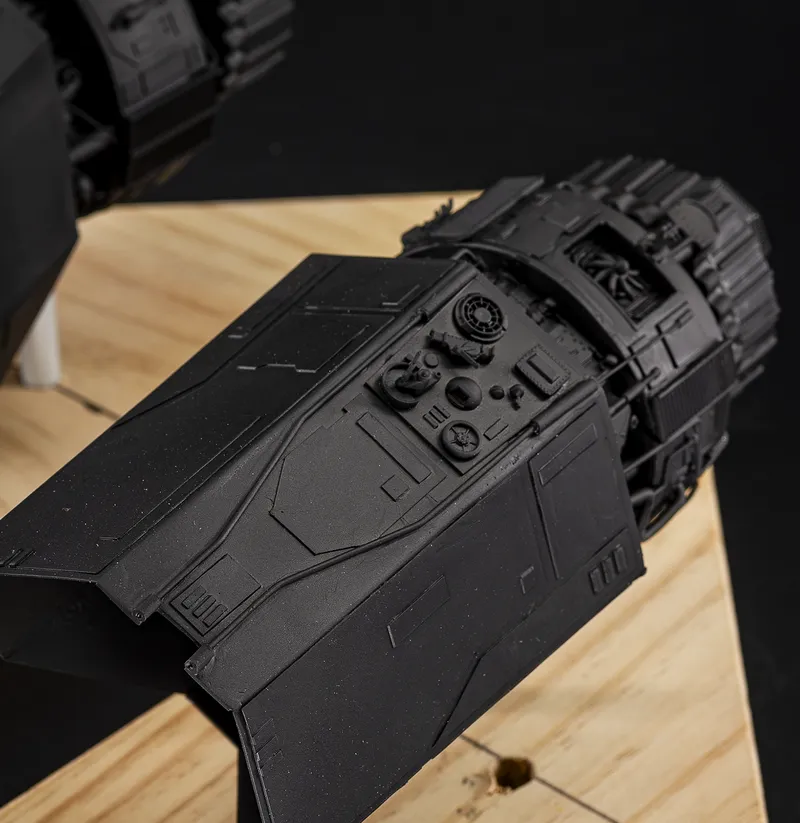
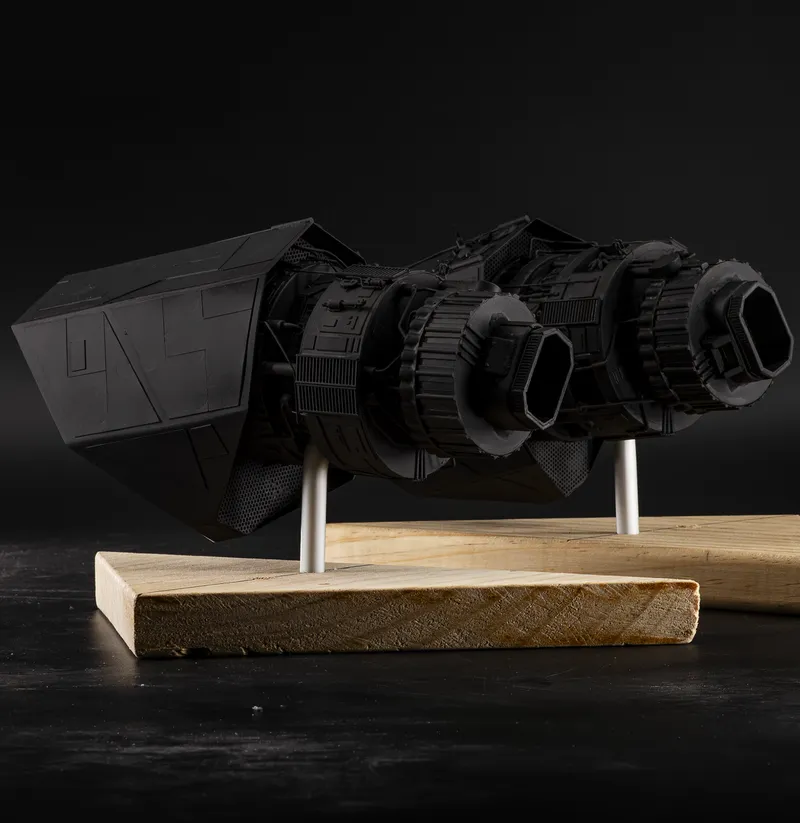
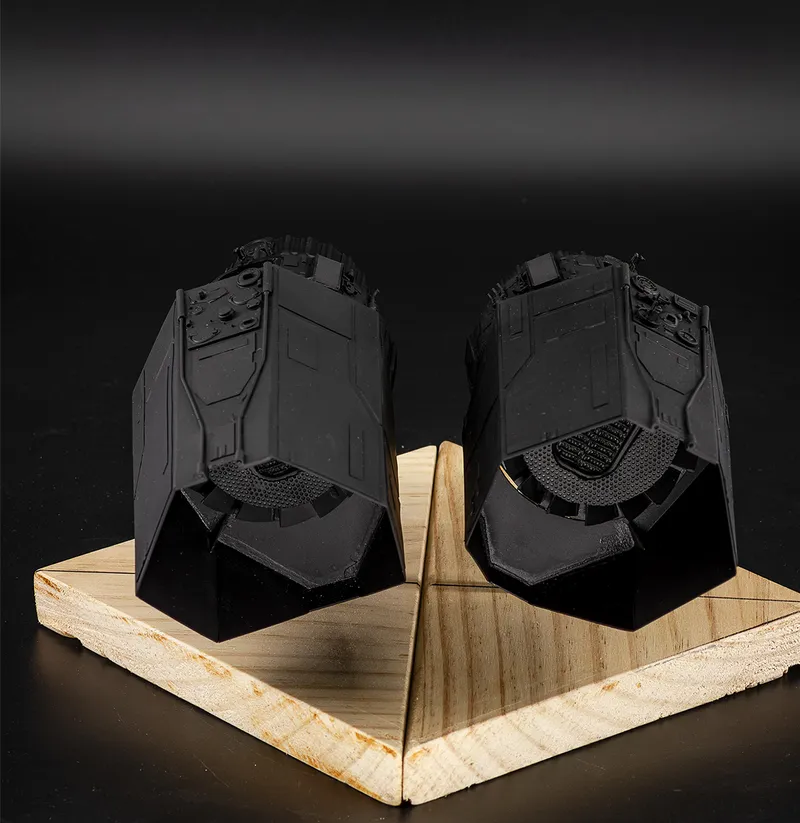
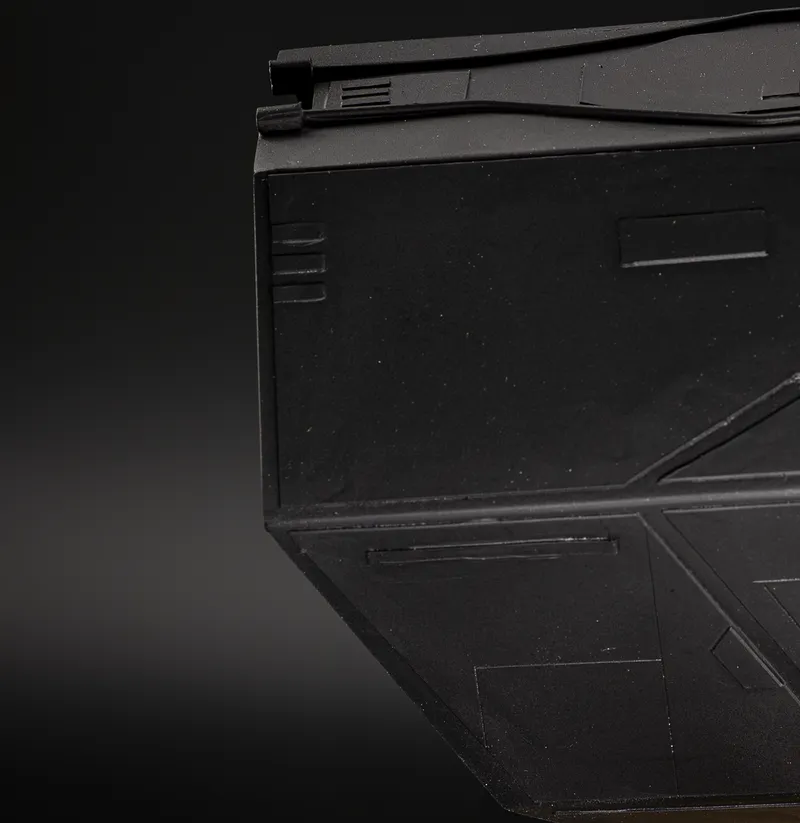
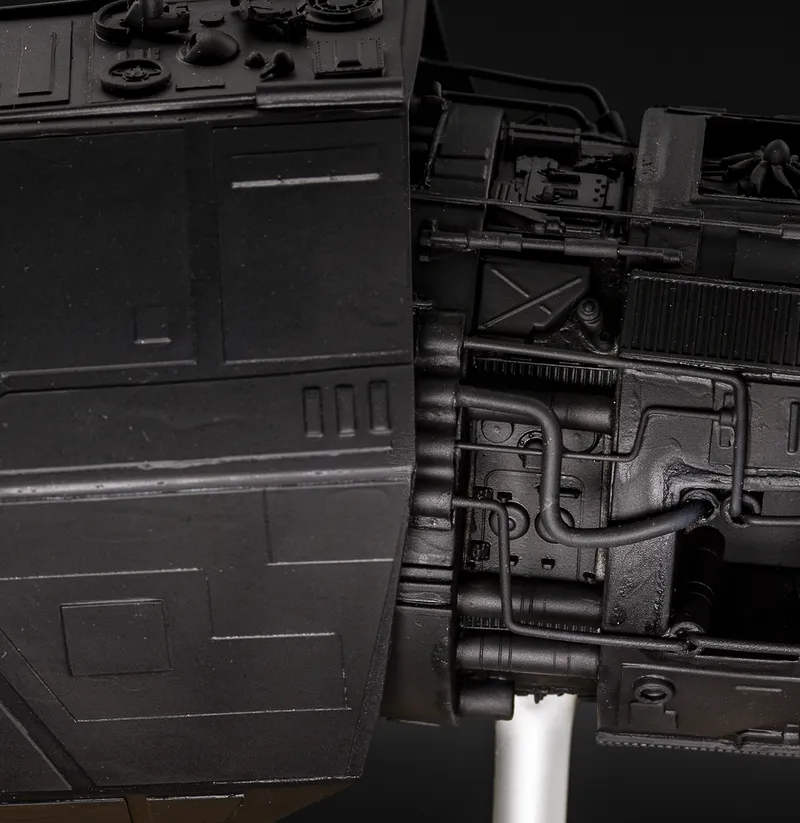
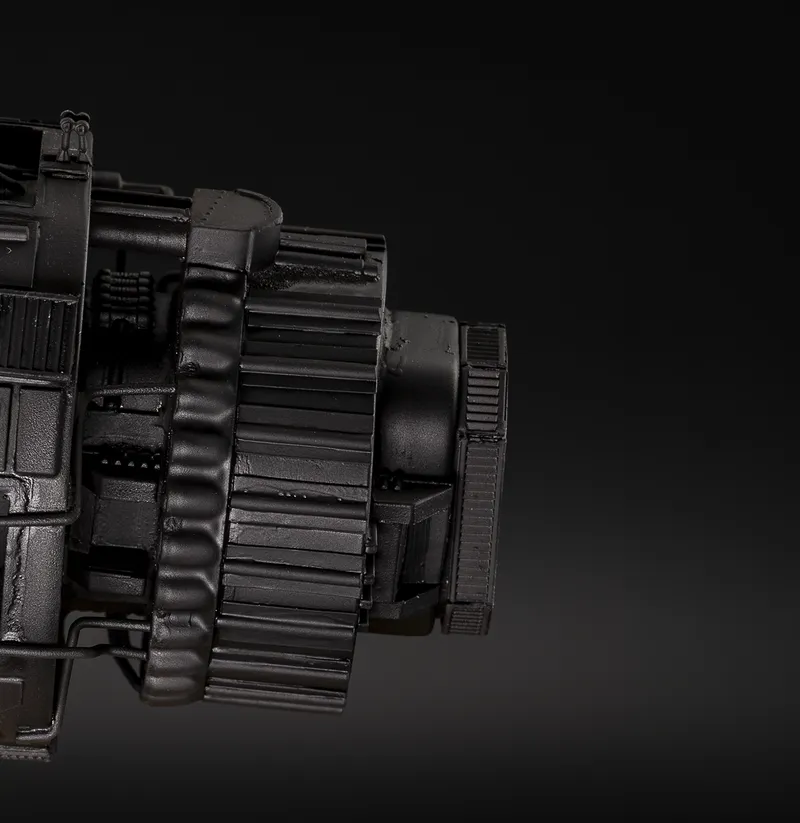
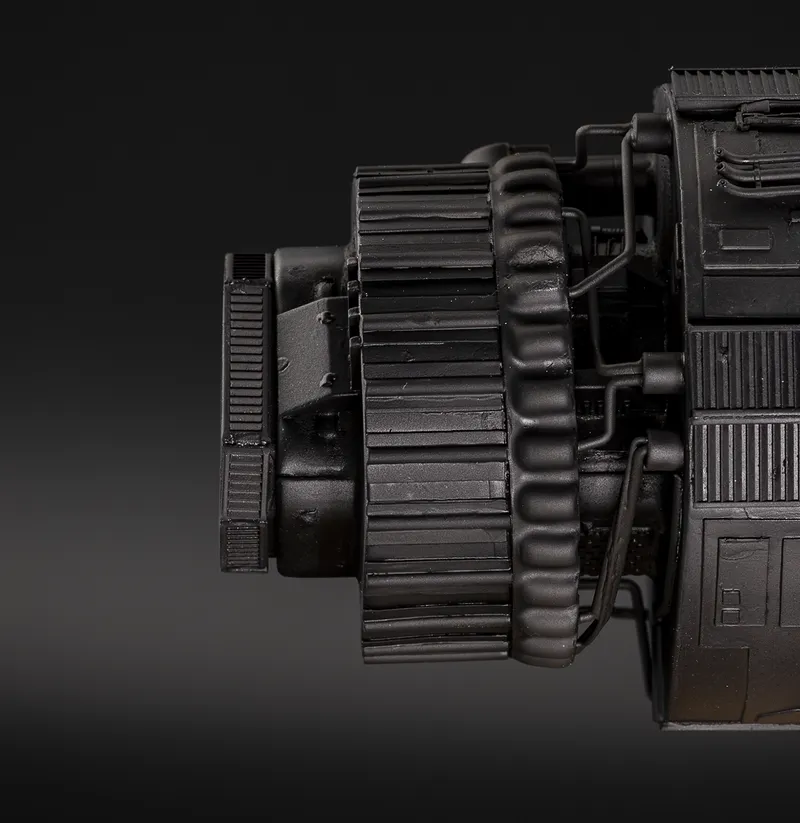
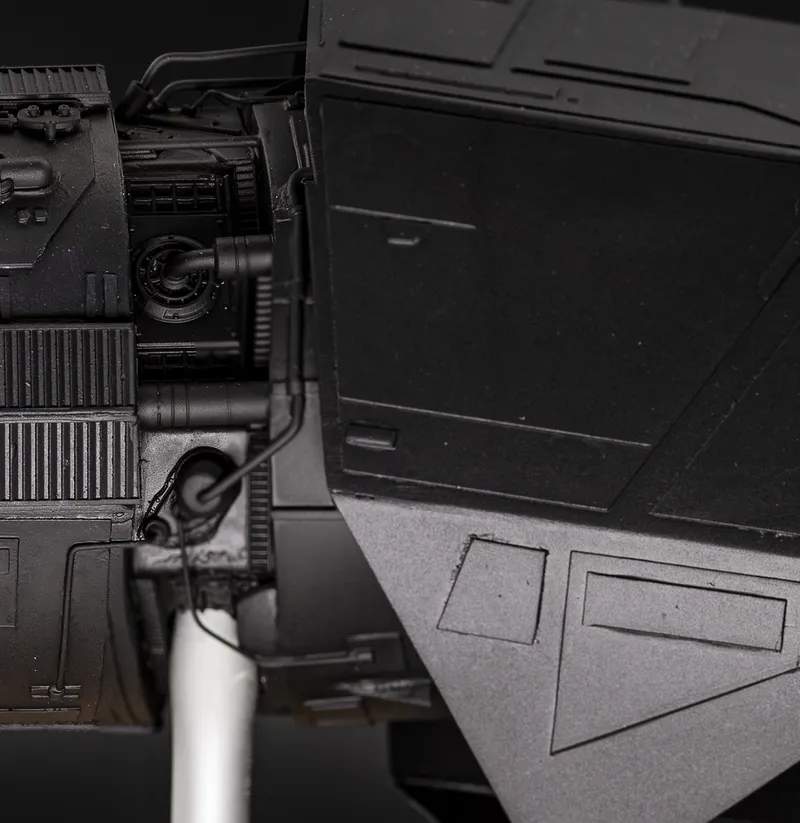
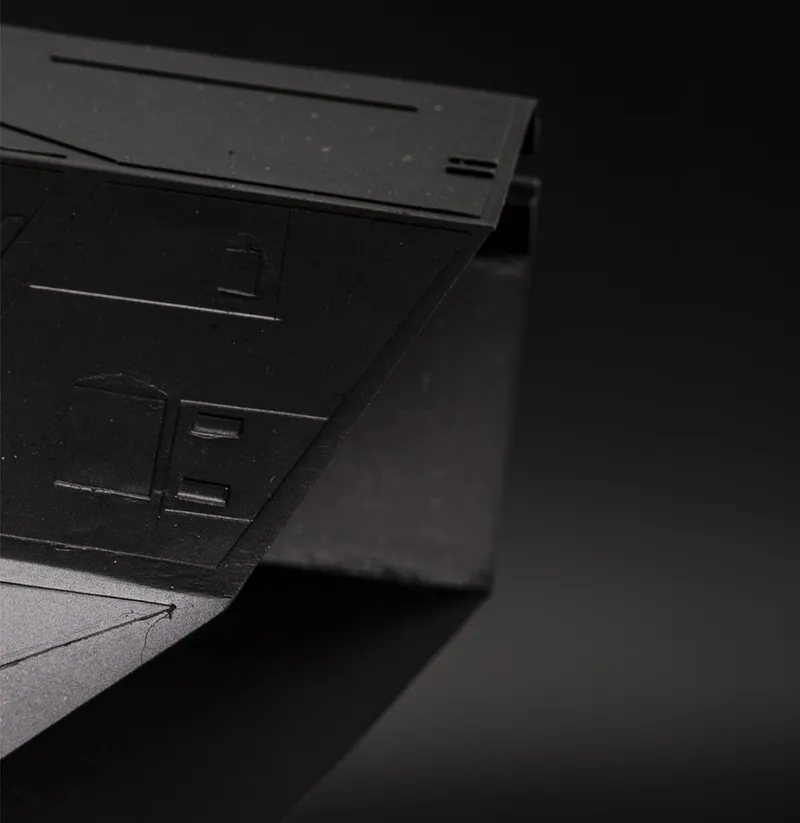
This week, I completed the second engine and added the final surface details: panels, greeblies, pipes, vents, access plates, and smaller mechanical elements.
The second engine follows the same visual language as the first one, but it is not a perfect copy. I kept several subtle differences between them, as complete symmetry never feels quite right within the Star Wars universe. Let’s see how many you can spot!
Once the construction was finished, I applied a coat of primer to both engines. This is always one of the most satisfying stages of a build for me. All the different materials such as styrene, brass, filler, and assorted mechanical parts; suddenly blend into a single, unified object.
The primer also makes the design much easier to read. It highlights the overall balance between the larger shapes and the smaller details, while revealing any remaining seams or areas that may still require some cleanup before painting.
With both engines now complete, the next major stage will be the cockpit.
Before I can begin designing it properly, however, I need a pilot. The position of the seat, controls, and internal structure will all depend on the proportions and posture of the character. And, spoiler alert, it will not be human.
As I have limited the use of 3D printing to characters and props within the diorama, the pilot will be 3D-printed. The figure is currently being prepared for printing.
Next step: the pilot, followed by the cockpit.
- A
 antampatz92 days ago
Great progress, really enjoyed the evolution from your first post!
- A
 Almodelling92 days ago
Replying to antampatz
@antampatz thank a lot, its a long process but definitely a enjoyable one
- S
 Step72104 days ago
Simply amazing !
- A
- AQ
 Arvin Quezada104 days ago
Nice
- AAlmodelling104 days ago
Replying to Arvin Quezada
@Arvin Quezada thank 😊. Reading all these nice feedbacks motivation me more for the rest of the build
- G
 Gina105 days ago
cool
- A
- A