Bughunter
@bughunter
42
Following
121
Followers
33
Updates
1359
Likes
457
Comments
0
Votes
46 days ago
Work on the tail
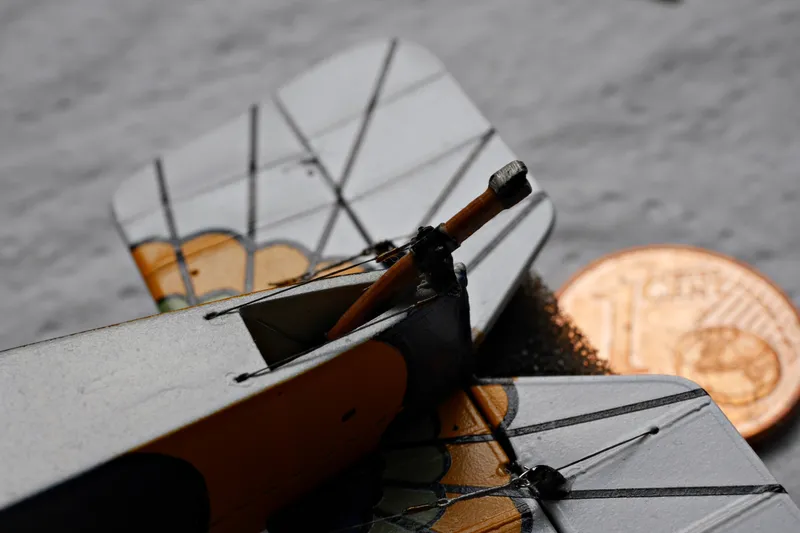
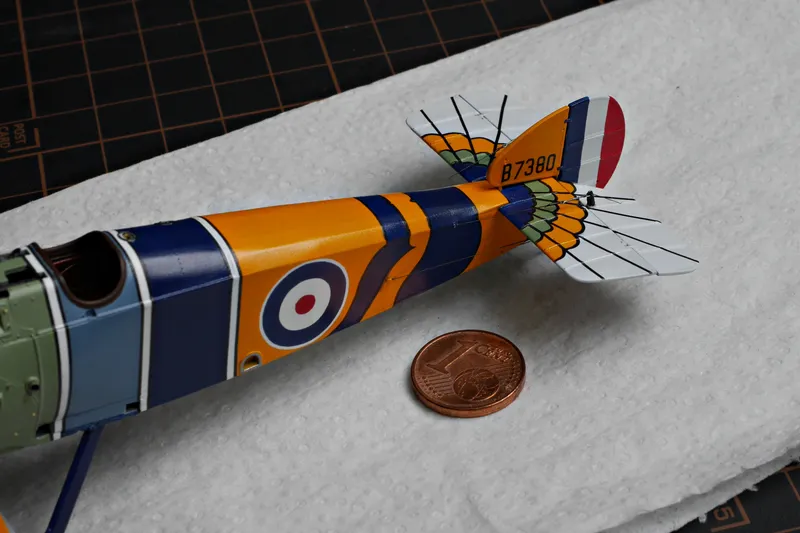
As the next step I worked on the tail.
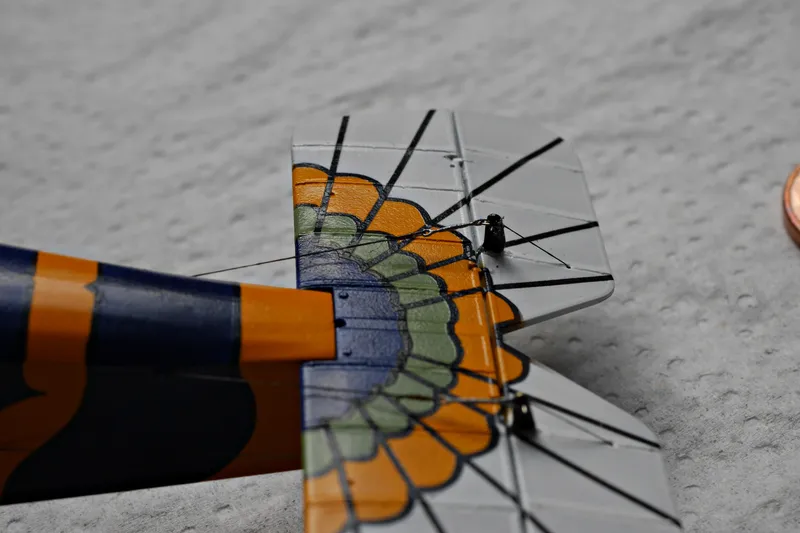
Pic 1 After mounting the prepared tail plane I also added the control wires.
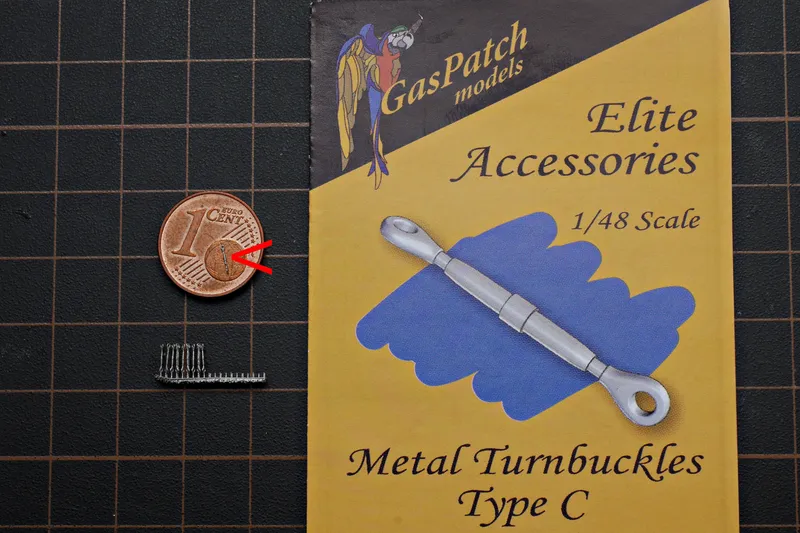
Pic 2 In case you wonder about the used turnbuckles: this is the "Type C" I used here. GasPatch provides different types. They are made from metal and on one block (see low left) sitting 30 turnbuckles. One is on the globe, see the red arrow.
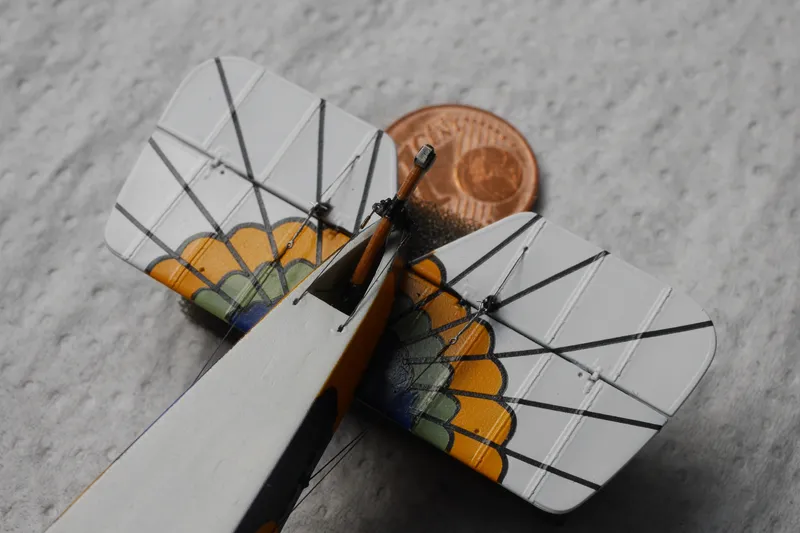
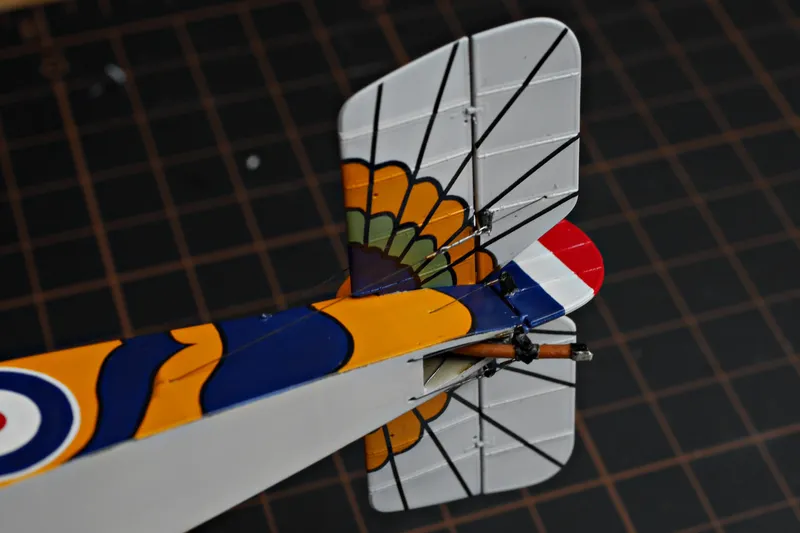
Pic 3 The same procedure repeated below.
Pic 4 I hope you can see it: the tail skid is also connected with two control wires.
Pic 5 The fin and rudder are finally in place too.
Pic 6 The rudder is also controlled below. The recesses for the control wires are all provided by the kit, but I drilled 0.2mm holes in an early state.
The control wires will get some metal paints later, and also the middle of the turnbuckles needs brass paint.
I hope you like it - I'm only happy if the little parts on my models look functional.
- O
 ozzys45 days ago
Excellent job buddy
- B

- B
- M
 Mike46 days ago
Such an interesting paint scheme there.
- BBughunter46 days ago
Replying to Mike
@mike That’s why this particular Camel had been on my to-do list ever since I first saw it! I’d already done quite a bit of research and had a suitable kit for it, complete with accessories, to hand. The competition provided the impetus to actually get the project off the ground.
- M
 Manu46 days ago
Nice detail!
- B
- B
- BBughunter46 days ago
@dougmulle 🤣🤣🤣 You made my day!
- BBughunter46 days ago
@modelowystartpl Thanks you very much! I try hard! Some of you may have a déjà vu now, but after re-upload of my lost posts new content will follow. And there many new things!
- BBughunter46 days ago
@pocketpokko Thank you! The details helps for this impression and a lot of rigging will come here too.