Bughunter
@bughunter
42
Following
121
Followers
33
Updates
1359
Likes
457
Comments
0
Votes
109 days ago
A fully scratched undercarriage
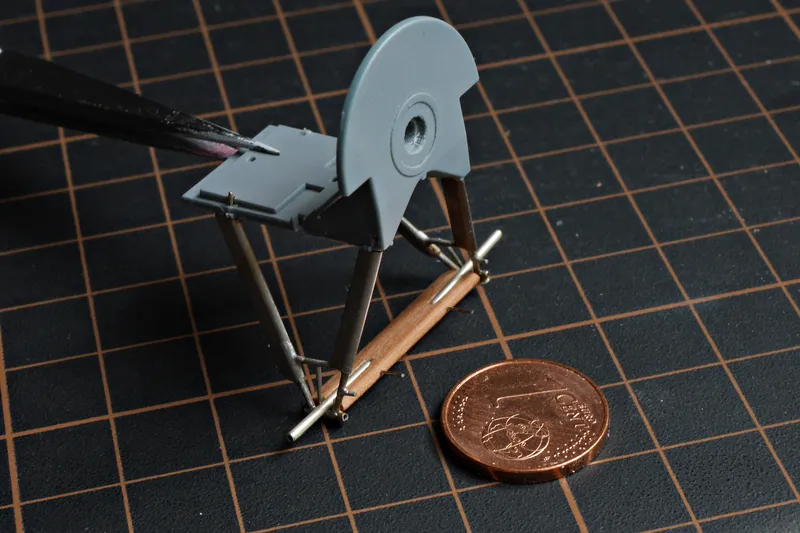
Of course Eduard provides an undercarriage with the kit, but here plastic reaches its limits. The legs are partly only 0.7mm thin and too flexible for my taste. I need robust models for a safe transport to exhibitions. So I will replace the kit parts by a new fully scratched undercarriage made from metal and wood, as the original one. All metal parts are soldered.
Pic 1 The teaser photo shows the result of this update, with 26 individual metal parts. Only plugged together, so glue yet.
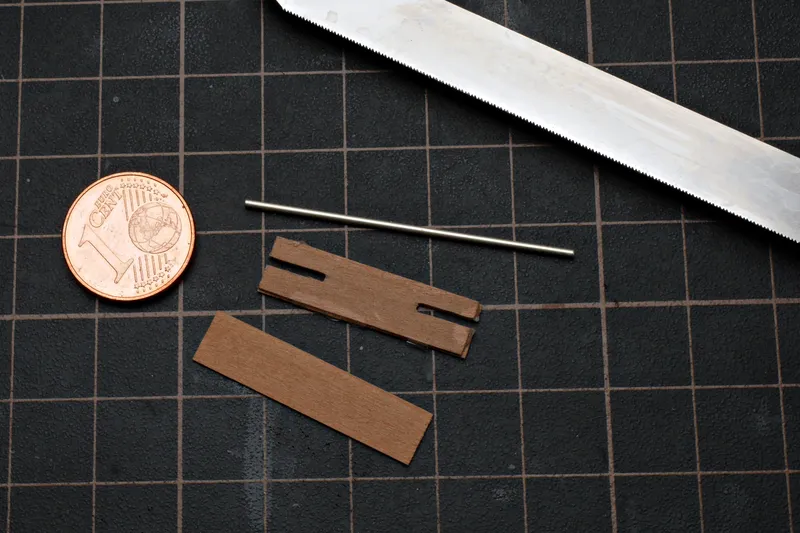
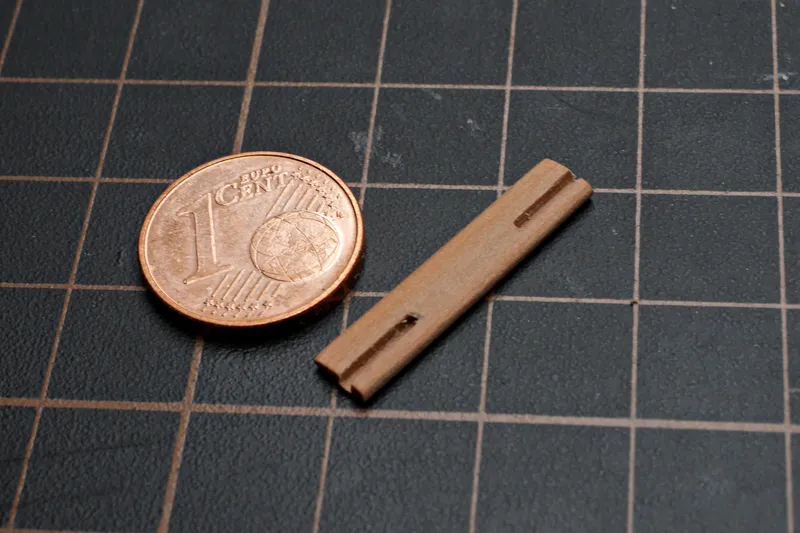
Pic 2 At first two stripes of veneer are glued together and cuts are made in the thickness of the axle (1.0mm nickel silver tube). Then the third layer is glued on.
Pic 3 The veneer block is sanded into a shape of a little wing.
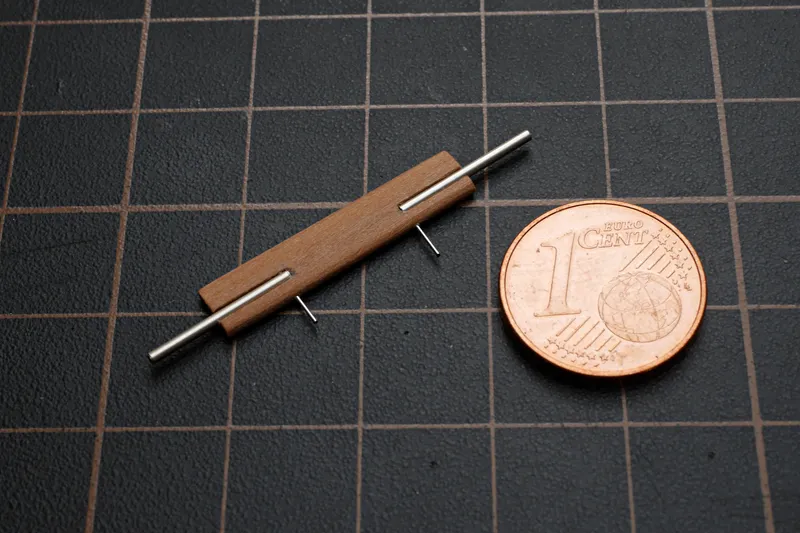
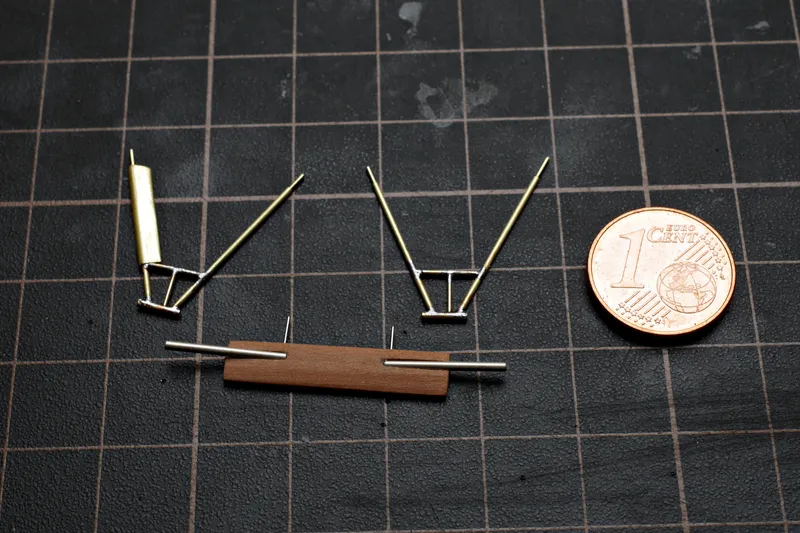
Pic 4 The Sopwith designs use two half-axles that can pivot around the inner mounting point. I drilled from the front to insert 0.33mm nickel silver wire for mounting and act as pivot point. This image shows the axles in their flattest position.
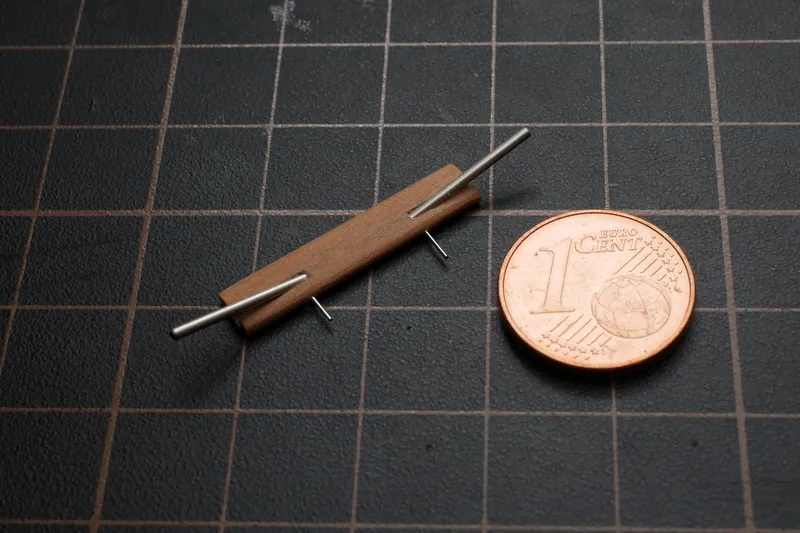
Pic 5 And here, the axles are fully deflected.
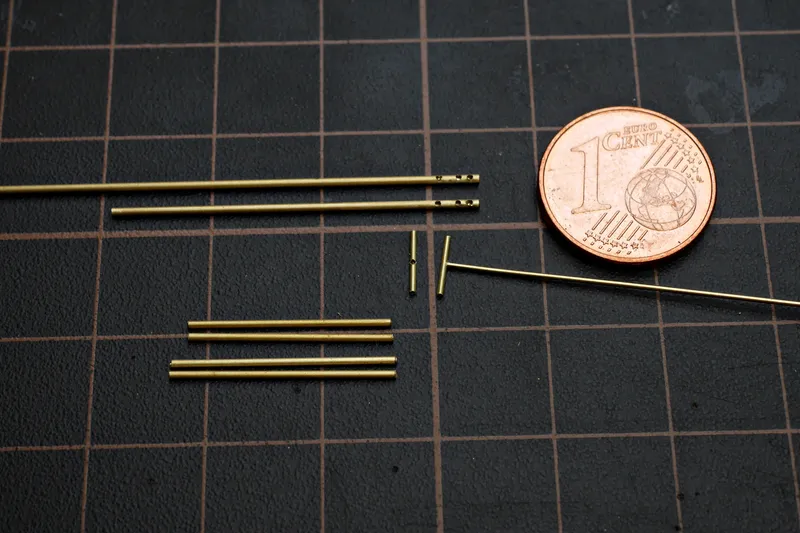
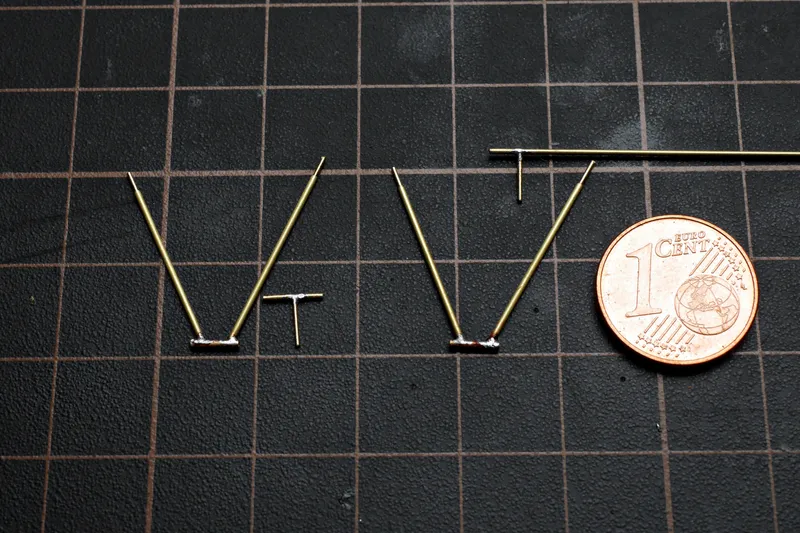
Pic 6 Some brass parts are prepared for the legs: 0.8mm with drilled holes, 0.7mm, 0.6mm tubes and 0.5mm rods.
Pic 7 The legs are soldered together. The inner guides for the axle are prepared.
Pic 8 The new legs are already sturdier than the parts from the kit.
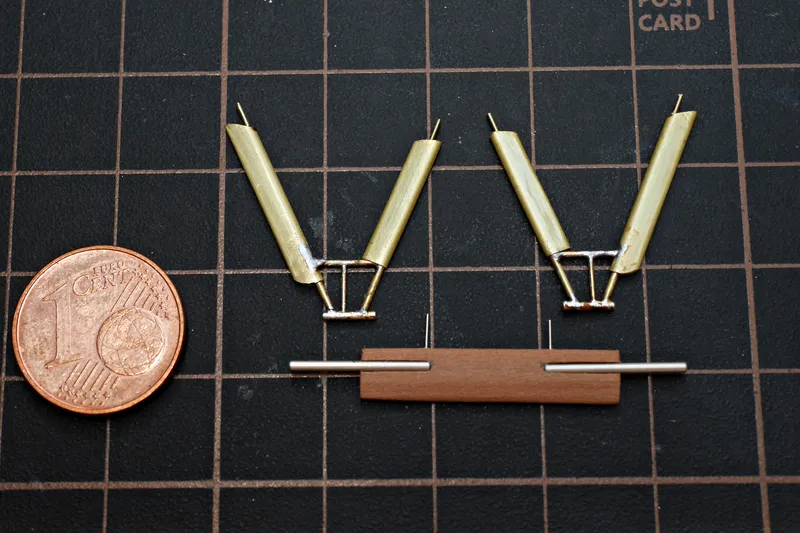
Pic 9 The aerodynamic fairings are made from squeezed 1.9mm brass tube.
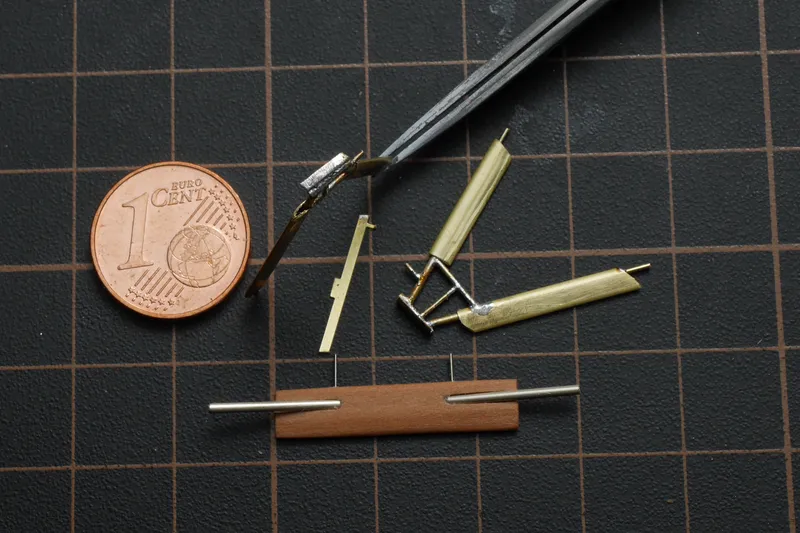
Pic 10 To hold the wood brass stripes are soldered to the lower tube. And holders for the suspension are soldered on too.
- S
 STUDIO93557 days ago
The legs look like good quality :p
- B
 Bughunter56 days ago
Replying to STUDIO935
@studio935 Thanks so much! I tried to stay to the original undercarriage as close as possible. It will not brake during transport to exhibitions for sure.
- MP
 Mattia Pancotti76 days ago
Amazing work, really, congratulations!!! :D
- BBughunter75 days ago
Replying to Mattia Pancotti
@mattiapancotti Thank you very much! Since I travel to exhibitions with my filigree biplanes, I started building these landing gear sets after the thin plastic parts broke off. And when I make new ones, I can try to stay as close to the original as possible. This isn’t my first “Camel,” but each one has slight differences.
- MPMattia Pancotti74 days ago
Replying to Bughunter
@bughunter I saw your galleries on Modelversium and you are a really good Modeller 🙂
- BBughunter74 days ago
Replying to Mattia Pancotti
@mattiapancotti Thank you very much! If you follow my other link to Scalemates for this project, you can click on projects and filter on the right for completed - there you can see bigger photos and a description in English.
- BBughunter80 days ago
Replying to Make_3d_print
@make3dprint Thank you very much! I really like soldering small parts.
- AQ
 Arvin Quezada104 days ago
Nice
- BBughunter104 days ago
Replying to Arvin Quezada
@Arvin Quezada Thank you very much! Yeah, nice and robust - but not easy to solder due to the small size.