STUDIO935
@studio935
505
Following
90
Followers
24
Updates
640
Likes
109
Comments
0
Votes
157 days ago
Diorama fase 2
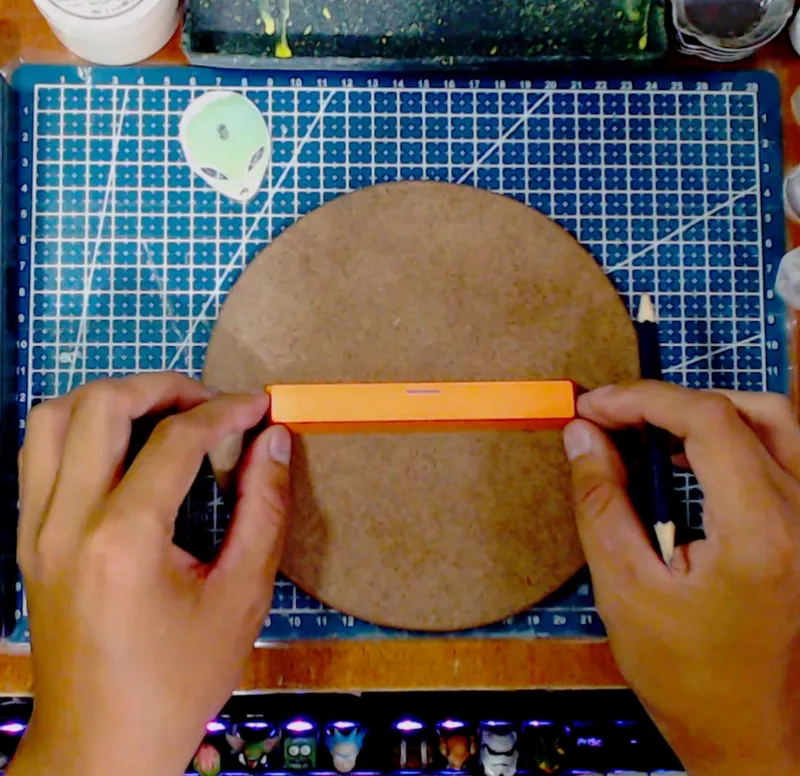
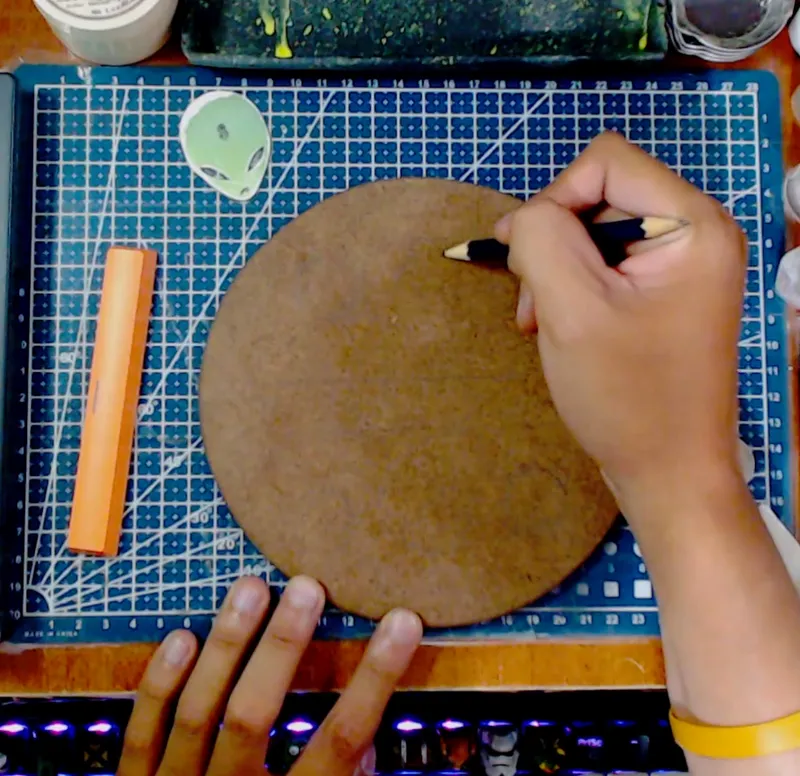
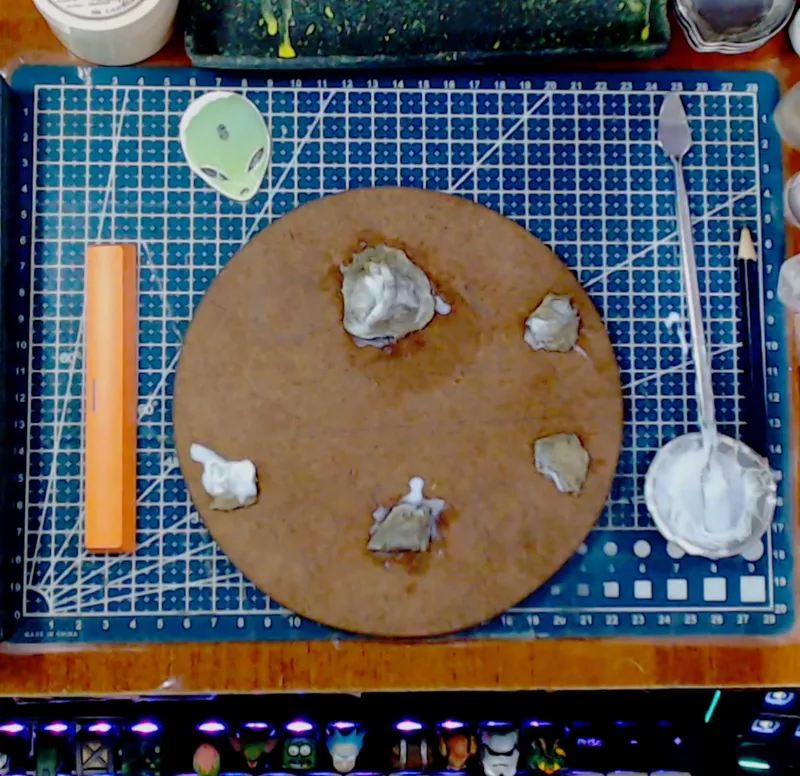
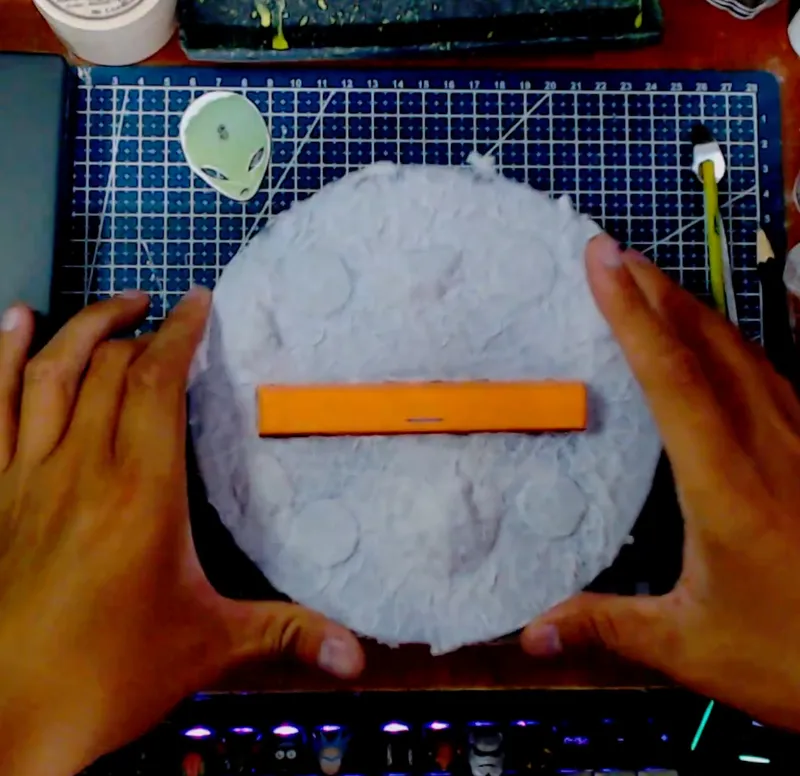
En esta actualización comienzo trazando, con ayuda de un lápiz,
un boceto sobre la base de madera que servirá como guía para ubicar cada una de las piezas del diorama.
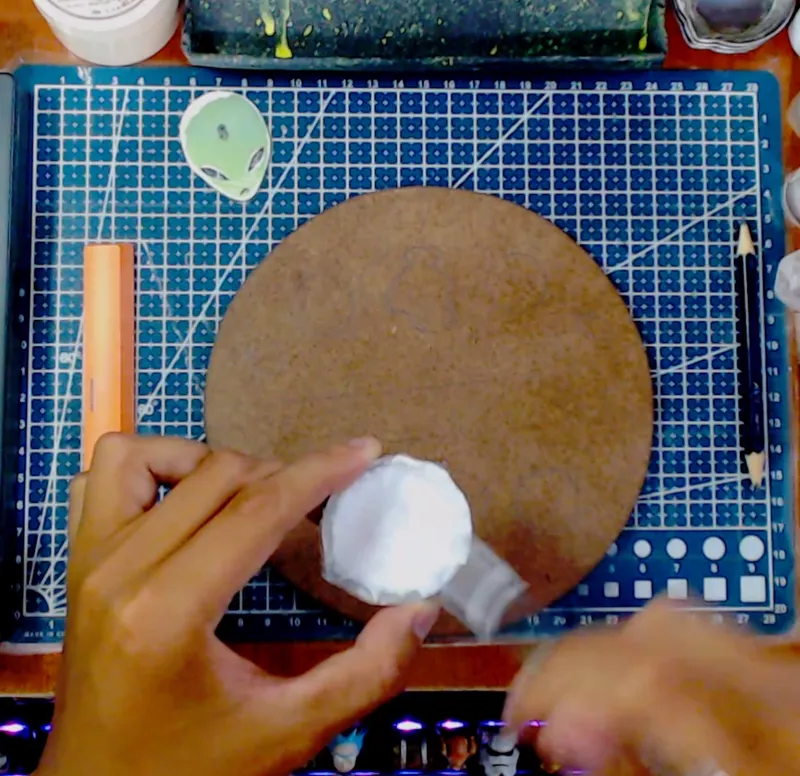
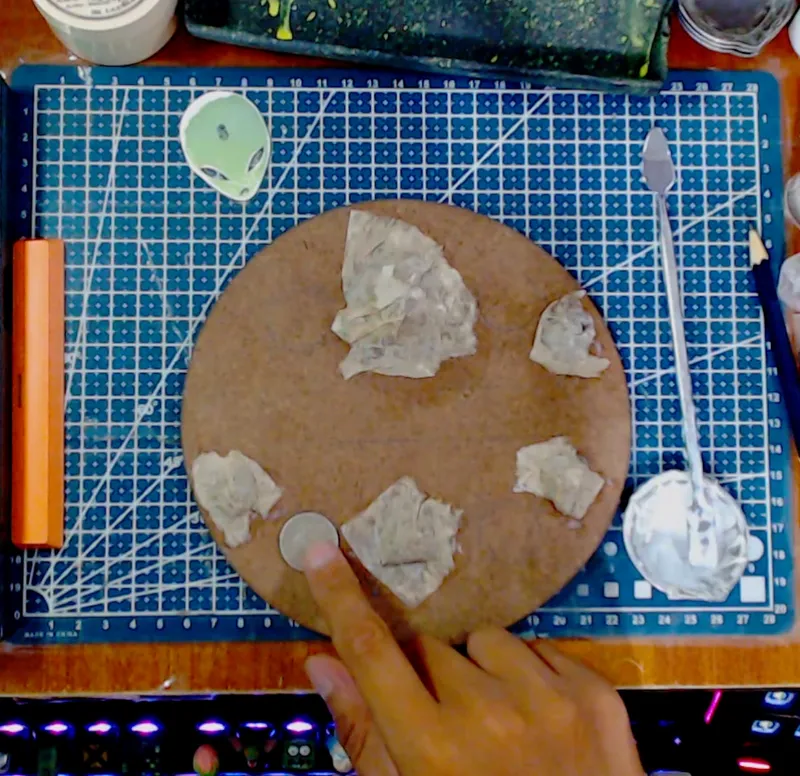
Posteriormente, coloco cuatro monedas sobre la superficie como referencia temporal,
las cuales retiraré más adelante durante el proceso de construcción.
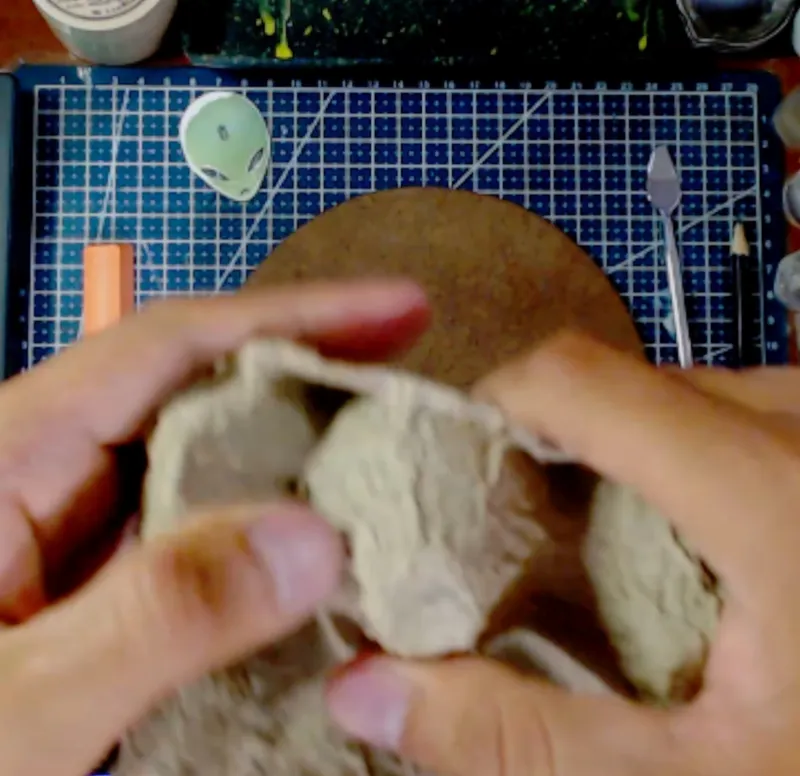
Para dar forma a las rocas utilizo cartón de cubeta de huevos,
un material ligero y fácil de moldear que aporta textura y volumen.
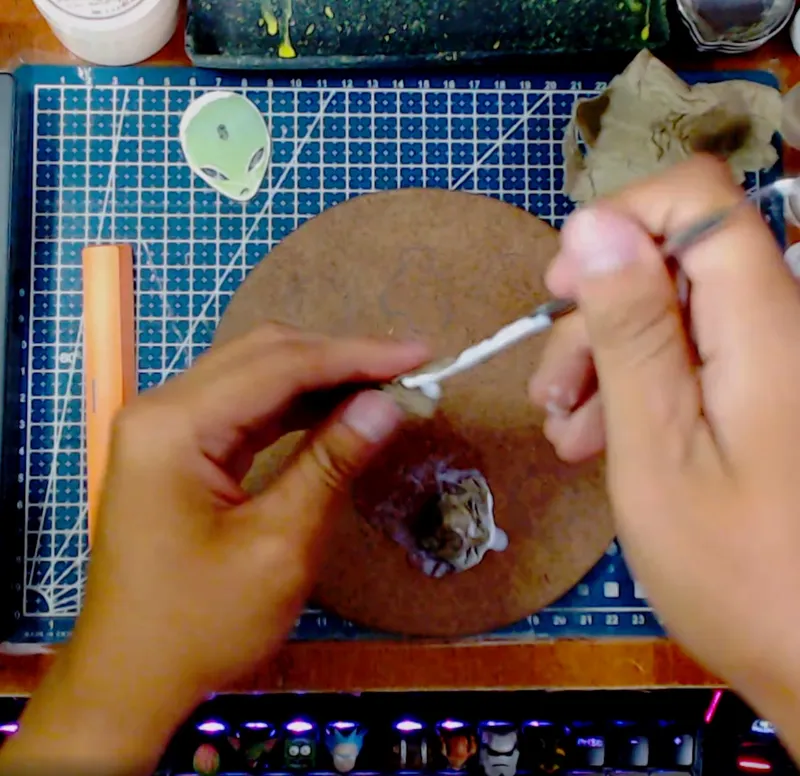
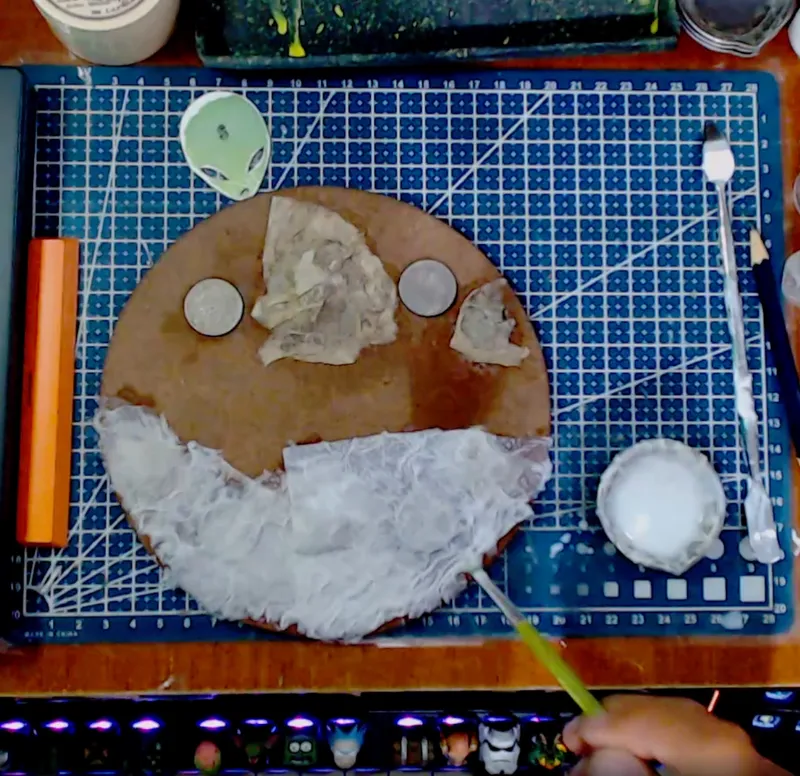
Después preparo una mezcla de colbón y agua,
la cual aplico para adherir tanto el cartón como las capas de servilleta,
logrando una estructura más firme y uniforme.
Poco a poco voy construyendo y moldeando el fondo del diorama,
respetando las marcas realizadas en el boceto inicial.
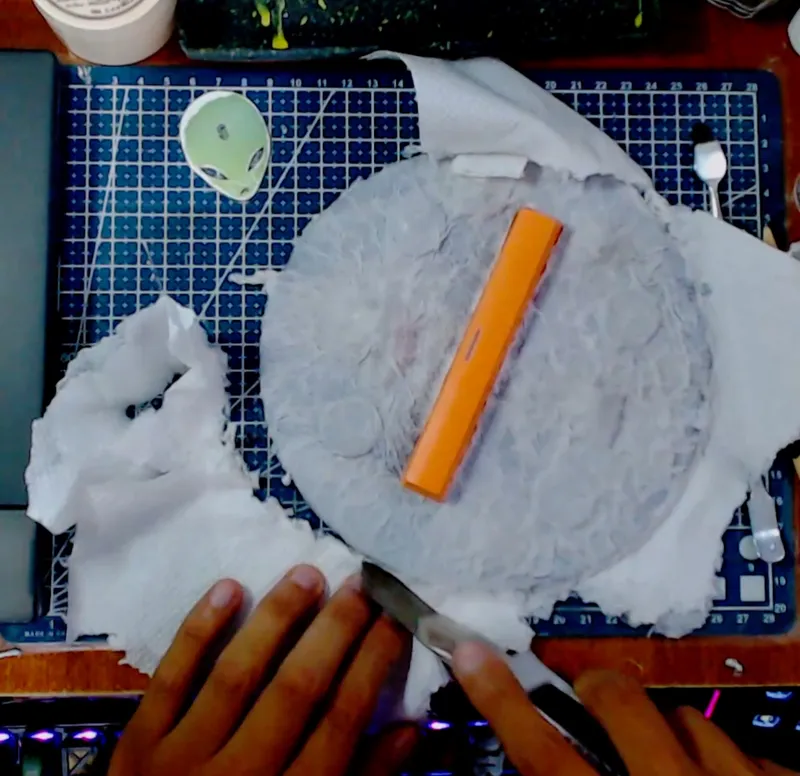
A medida que avanzo en la aplicación del cartón y el colbon,
dejo secar cada sección con ayuda de un secador de pelo para acelerar el proceso
y asegurar una mejor fijación de los materiales.
Con esta etapa queda definida la base,
incluyendo las zonas que representarán el agua y las formaciones rocosas.
Muchas gracias por acompañarme en este proceso creativo.
En la próxima actualización continuaré trabajando en los detalles que darán aún más vida.
¡Nos vemos en la siguiente etapa!
_______________________________________________________________________________________
(English)
In this update, I begin by sketching, with the help of a pencil,
on the wooden base, which will serve as a guide for placing each of the diorama pieces.
Next, I place four coins on the surface as a temporary reference,
which I will remove later during the construction process.
To shape the rocks, I use egg carton cardboard,
a lightweight and easy-to-mold material that adds texture and volume.
Then I prepare a mixture of white glue and water,
which I apply to adhere both the cardboard and the layers of napkin,
achieving a firmer and more uniform structure.
Little by little, I build and shape the background of the diorama,
respecting the marks made in the initial sketch.
As I progress in applying the cardboard and white glue,
I let each section dry with the help of a hairdryer to accelerate the process
and ensure better adhesion of the materials.
With this stage, the base is defined,
including the areas that will represent water and rock formations.
Thank you so much for joining me in this creative process.
In the next update, I will continue working on the details that will bring it to life even more.
See you in the next stage!
- 3
 3DRVB101 days ago
All these techniques put into practice for a single goal—you’re not going to hold anything back!
- S

- S
- SSTUDIO935155 days ago
I think that's the most beautiful thing about art: not just the final result, but all the techniques, experiments, and crazy ideas that arise during the creative process. Thanks for viewing my project.
- FL
 Fire Lily 022155 days ago
Cool techniques! Thanks for sharing, it's so interesting to see how creative artists get when trying to get their creations to come to life.