Bughunter
@bughunter
42
Following
121
Followers
33
Updates
1359
Likes
457
Comments
0
Votes
83 days ago
The tail skid
With the fuselage closed, I was able to continue working on the tail section.
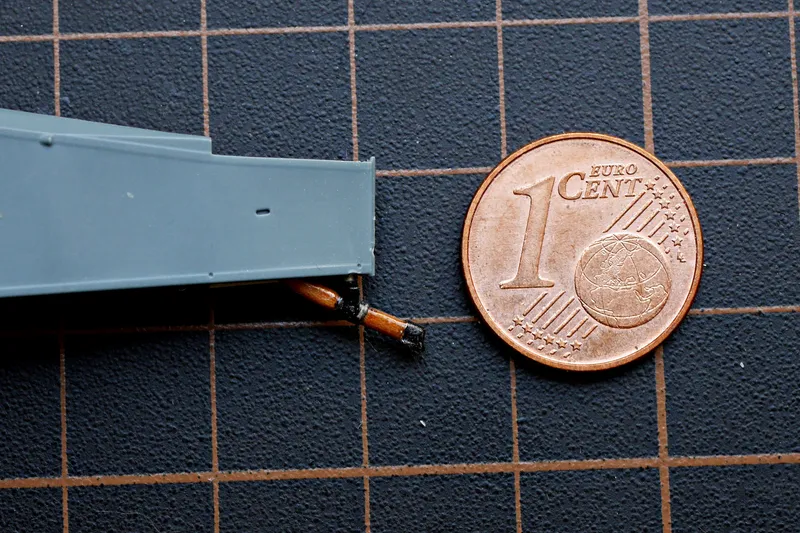
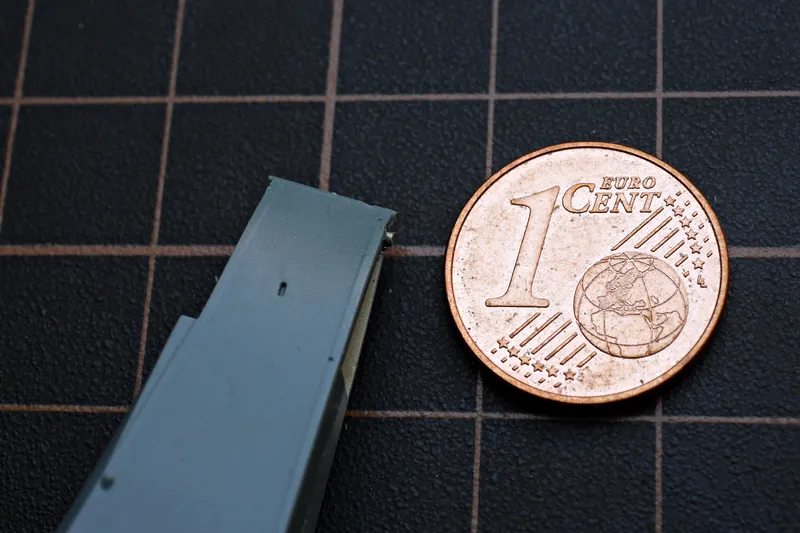
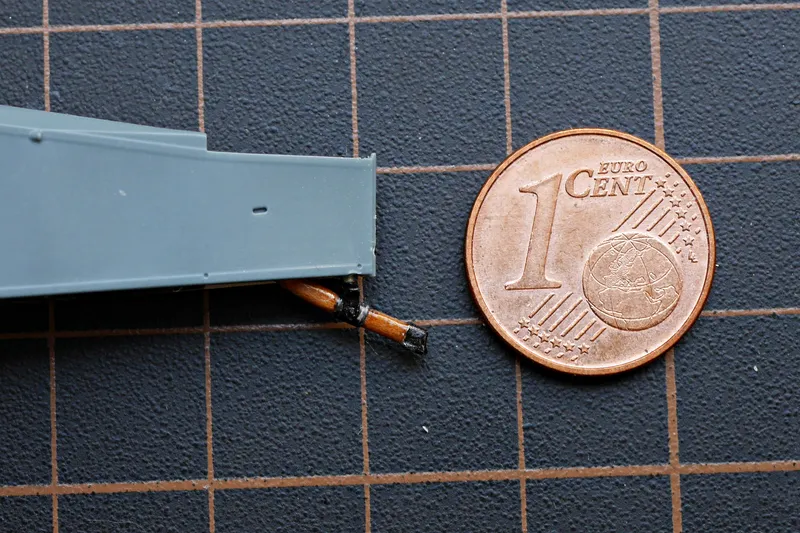
The plastic tail skid of the kit is much too filigree to hold the model, maybe once from bench to the display cabinet but definitely not more! It's only 0.5 mm thick—even the slightest sideways movement would cause it to break off.
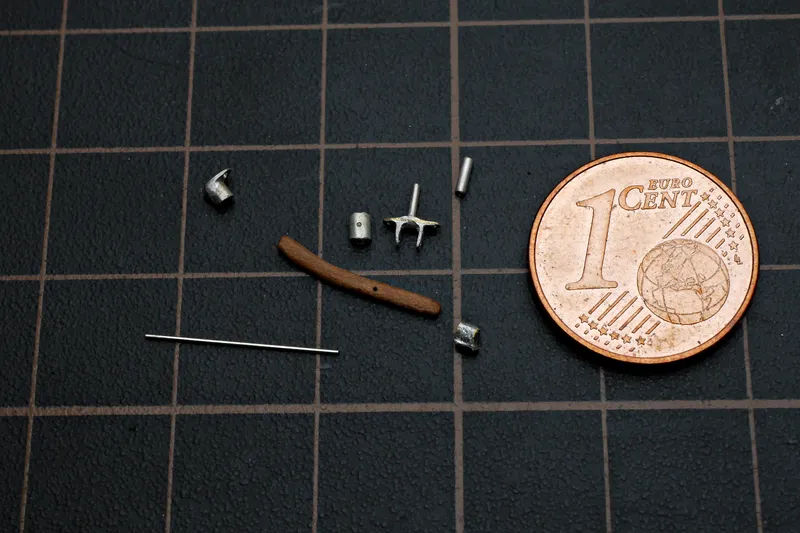
Pic 1 The teaser photo shows the result of this update - a little robust tail skid.
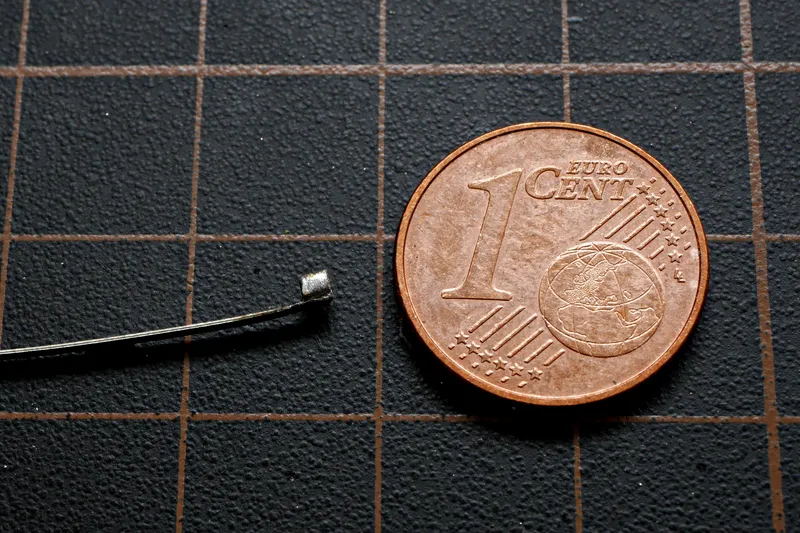
Pic 2 A glide shoe: A 0.2mm nickel silver stripe is soldered to a closed brass pipe.
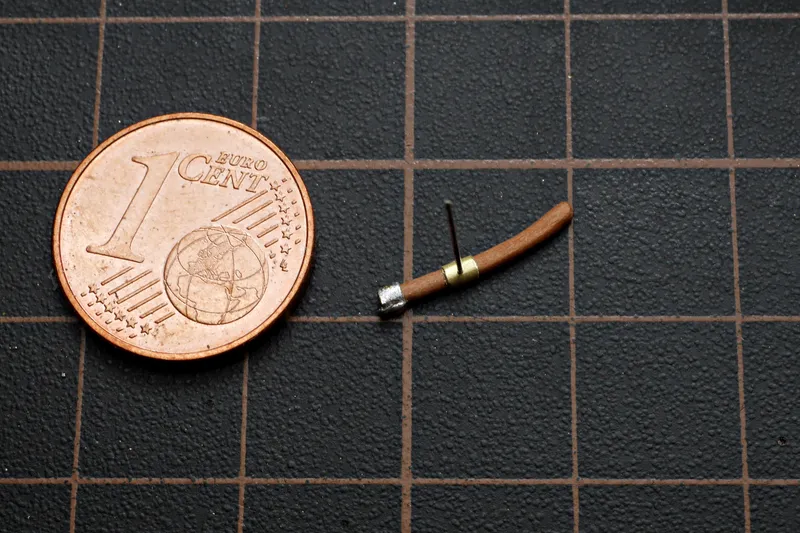
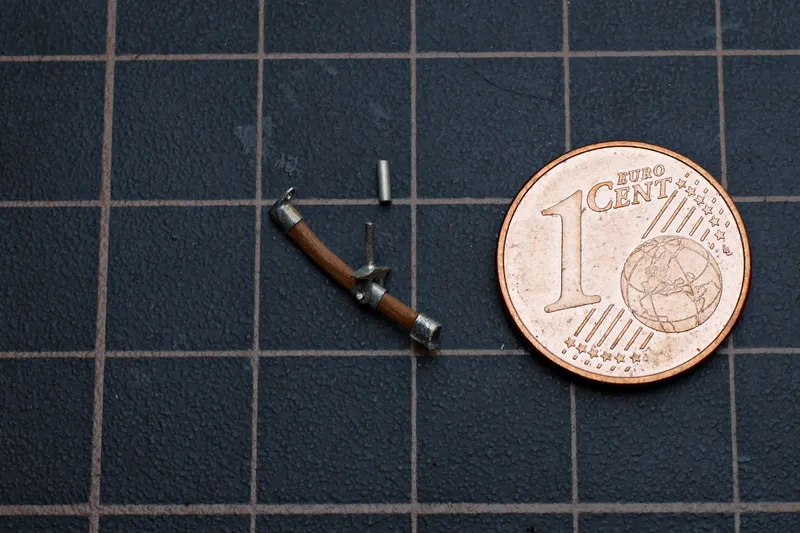
Pic 3 Two layers of veneer glued and sanded in shape. The shoe of the previous pic fits to the end and a squeezed brass pipe was added to the pivot point (nickel silver axle).
Pic 4 More parts: A suspension holder for the other end, an "U" with control horns for steering and a 0.6mm axle are soldered together.
Pic 5 With all parts mounted you can already guess how it will work. The bushing on top ...
Pic 6 ... is glued into the fuselage (as the hole was bigger than my axle).
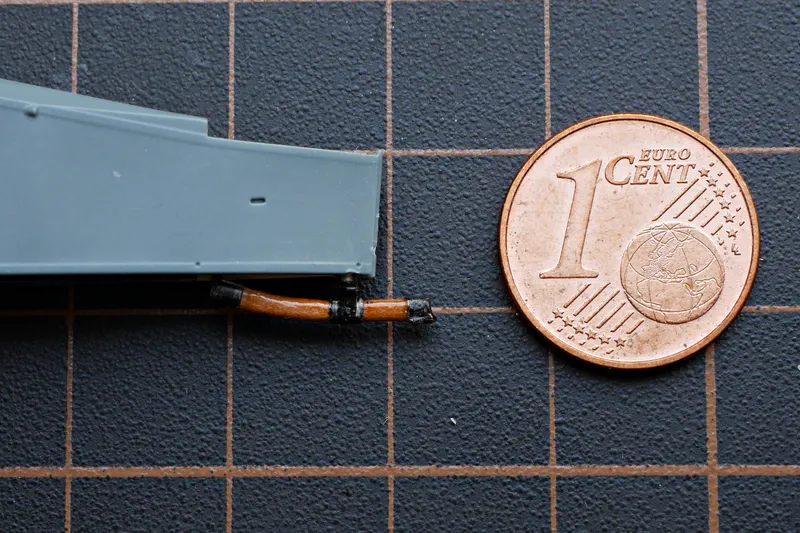
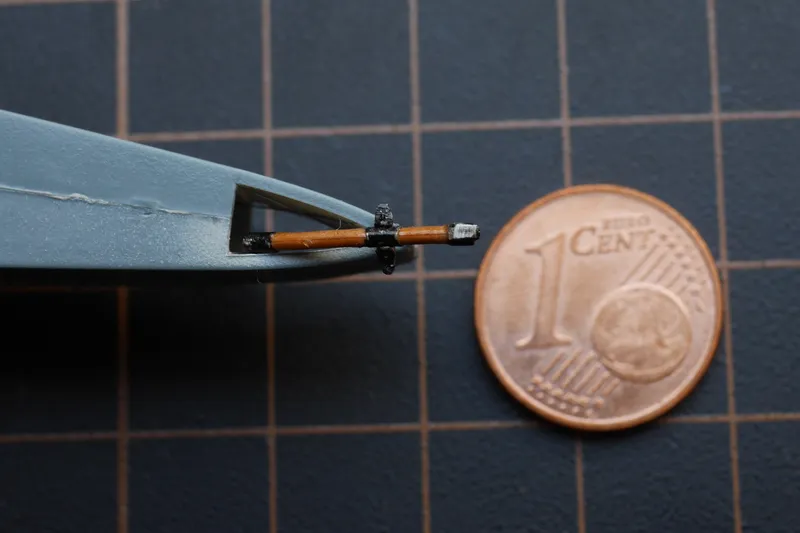
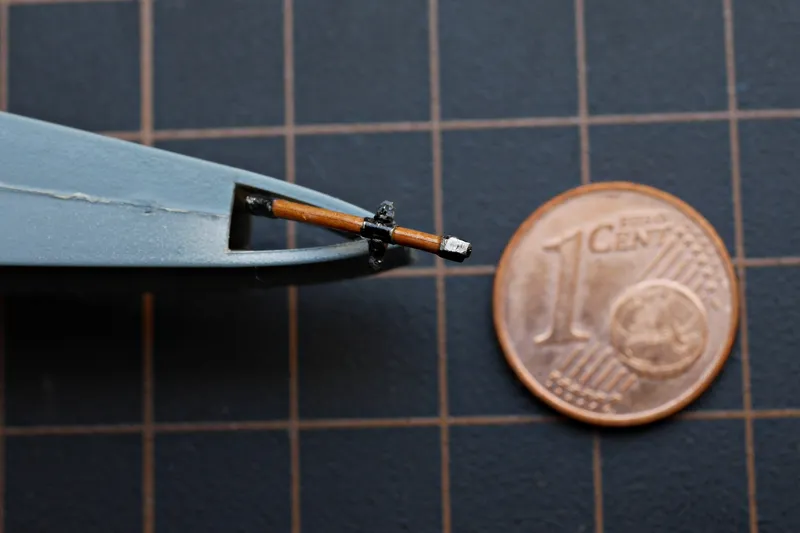
Pic 7 After painting the skid is ready and can be mounted later. Here in a fully deflected position after a hard landing.
Pic 8 The normal position. The "rubber suspension" will be made by a wire as this has to carry the model.
Pic 9 and 10 Here you can see the steering function. I will add later two control wires which are controlling the steering of the skid by the pilot together with the rudder.
I hope you will like this little gem!
- S
 STUDIO93543 days ago
That's a nice touch on the plane's tail :p
- B
 Bughunter61 days ago
Replying to Robert Podkoński
@robertpodkoski Thanks! I had a chance to try this on my other Camels.
- MP
 Mattia Pancotti75 days ago
Beautiful detail!!!
- B
- BBughunter80 days ago
Replying to Make_3d_print
@make3dprint Thanks! I had to—the plastic is way too flimsy.
- ES
 EJB Scale Art83 days ago
Wowza, Tiny tiny stuff! Top work
- BBughunter83 days ago
Replying to EJB Scale Art
@ejbscaleart Thanks! In my next life, I'm going to be a watchmaker—and then my models will fly! 😊
- BBughunter83 days ago
@mike Thanks! This is where the kit material reaches its limits. And since I have to redo it anyway, I might as well try using the original materials.
- BBughunter83 days ago
@dougmulle Thanks you for your kind words! As an engineer, I try to understand how the parts work. Back then, it was all wonderfully simple but often ingenious. And yes, the cent is the “trademark” of my builds. And if someone lives in another part of the world and doesn't know the size: the grid on the background is 10x10 mm.
- BBughunter83 days ago
@msstaues Thank you very much! I'm glad you love it. I made already a new undercarriage on the front in an earlier update. Therefore, the tail should not be at a disadvantage 😄