Bughunter
@bughunter
42
Following
121
Followers
33
Updates
1359
Likes
457
Comments
0
Votes
76 days ago
The Instrument panel
A very important part of an airplane is the instrument panel. Also the Camel was equipped with some instruments.
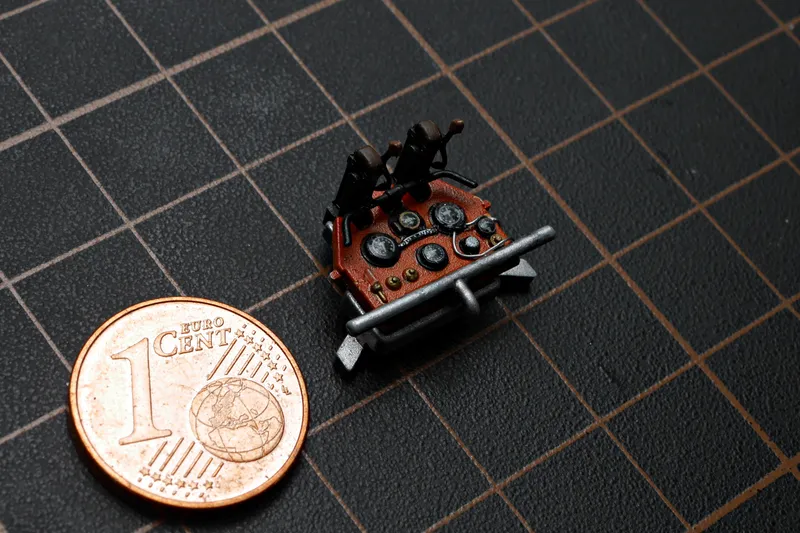
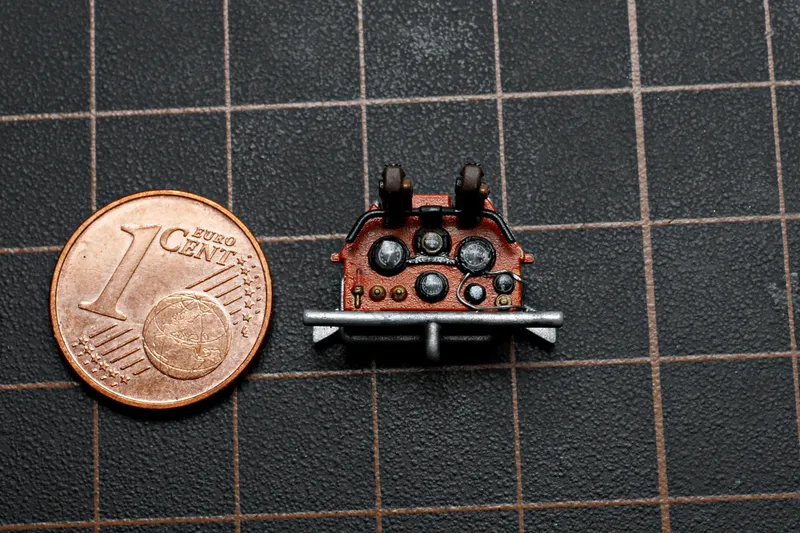
Pic 1 The teaser photo - the prepared instrument panel with Vickers MGs and more.
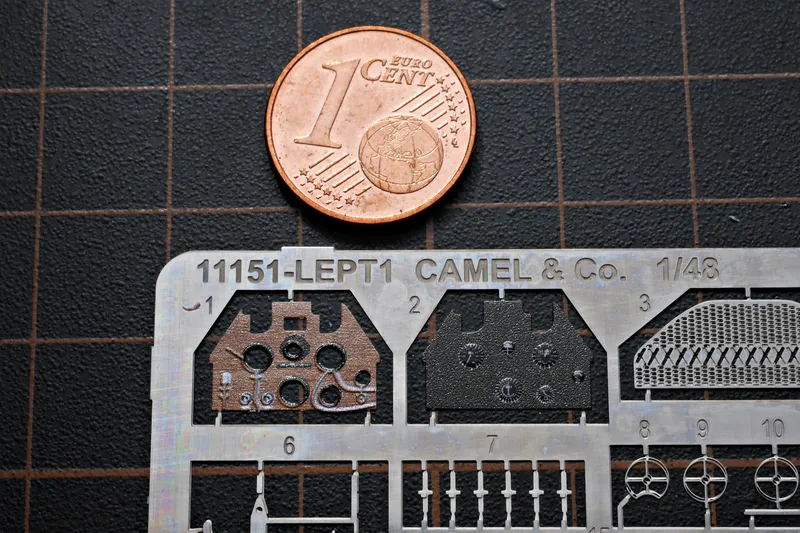
Pic 2 The kit provides colored PE parts, which should be sandwiched. But: do I like the parts? No. Not nicely printed and more important: the instruments are recessed here which is wrong. They were mounted on top of the wooden board. => NOT USED!
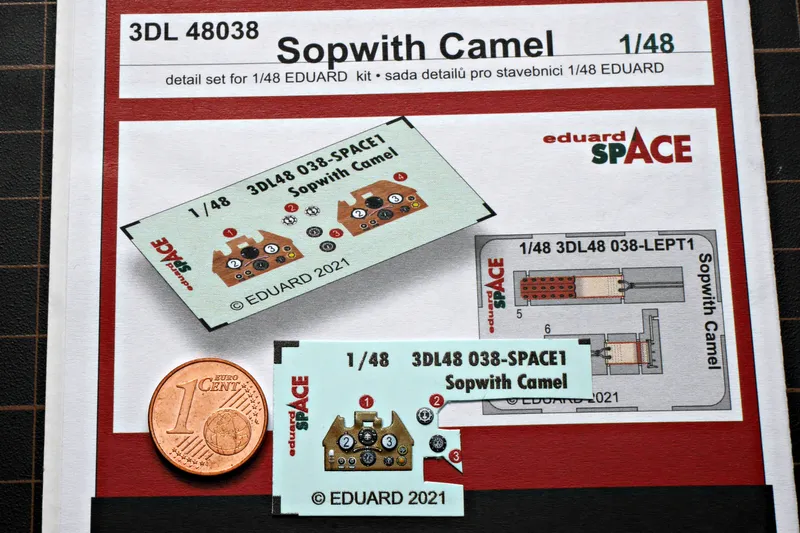
Pic 3 I had also a SPACE set, which is a color 3D printed panel. For better effect some instruments are stacked, but I not like that much too. => NOT USED!
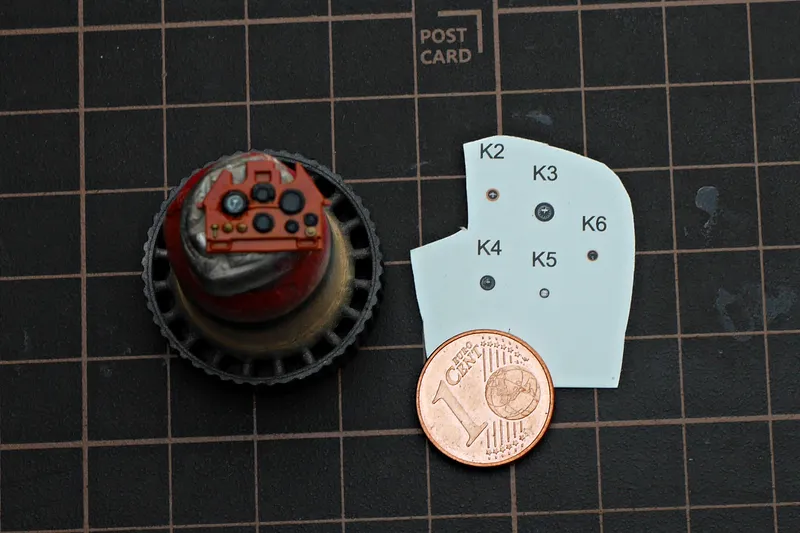
Pic 4 Ok, I will go the classic way. The also offered kit plastic panel was already painted wood. You can see it in a previous update. After some detail painting with Black and Brass I will now added the decals from the kit. (camera focus was on the paper here)
Pic 5 The decals are applied. Please see the very left: On top of the brass I removed the oil pulsator prior painting. Hm, my camera prefers red - in real it is not that red.
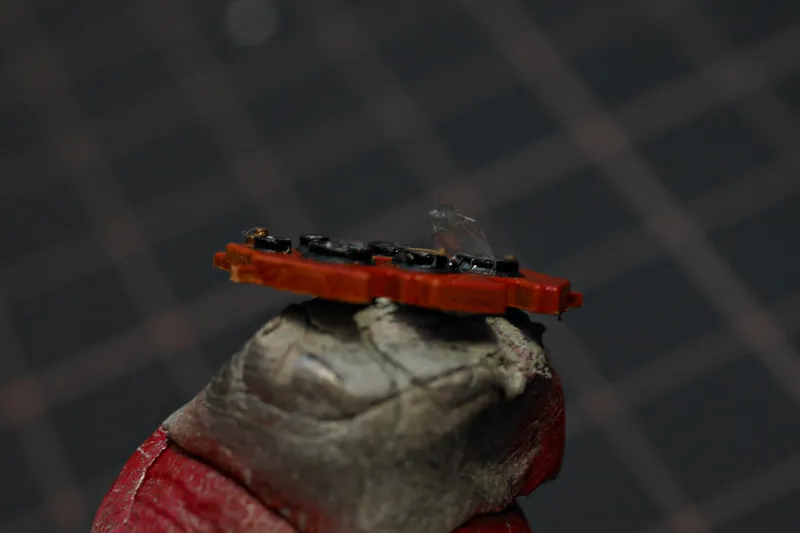
Pic 6 After 8 hours drying time I removed the carrier film.
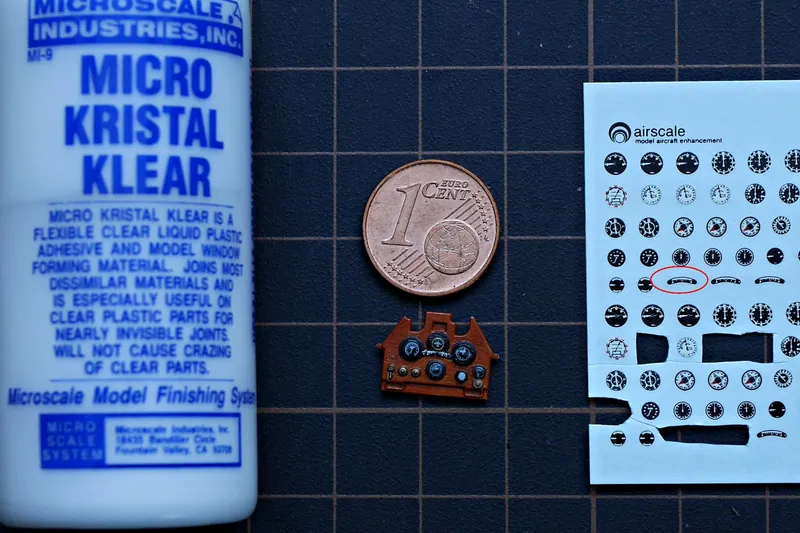
Pic 7 I used Kristal Klear to create "glass" on the instruments. A "bank indicator" was missing, found one on a decal sheet from Airscale (see red marking)
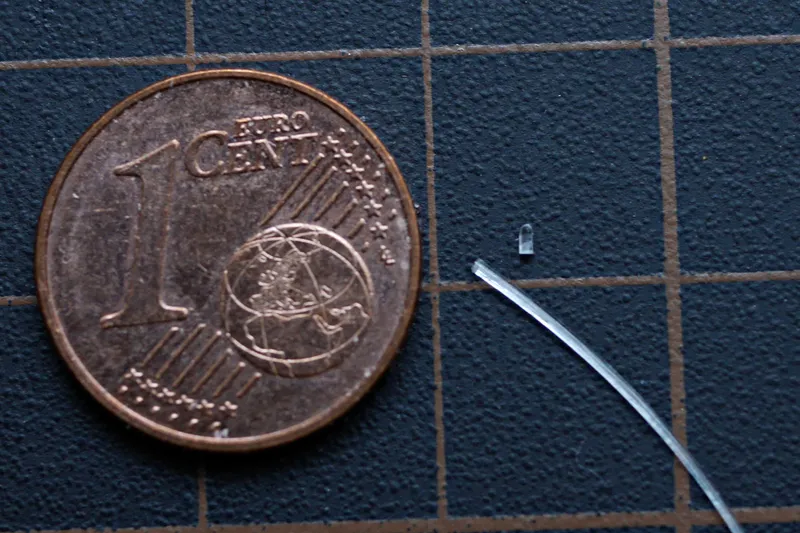
Pic 8 The oil pulsator. I heat stretched clear sprue. Sanded and polished the head and cut it.
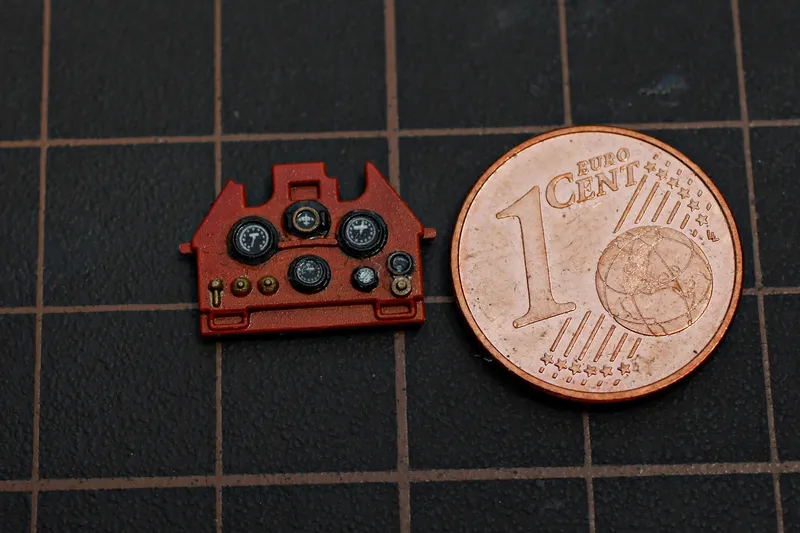
Pic 9 The completed instrument panel. Oil pulsator on the left, pressure pipes to the speed indicator, intake pipe below, Vickers MGs with ammunition feeders on the back. See also first photo.
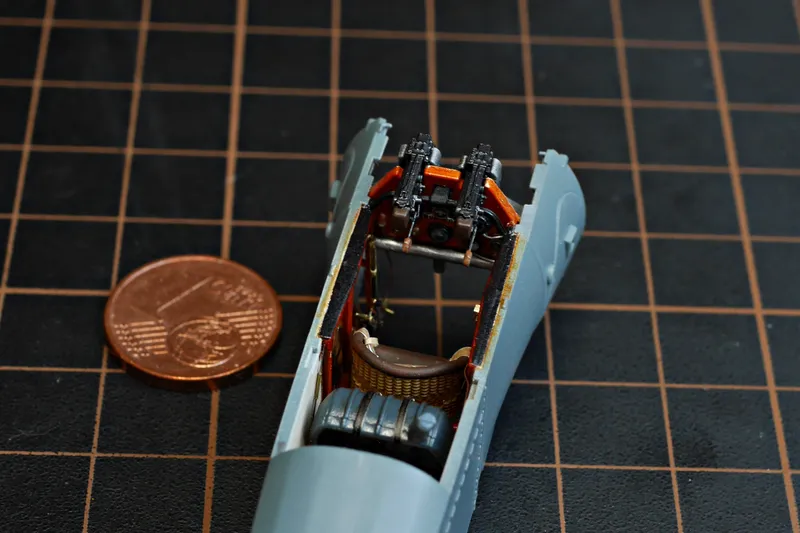
Pic 10 This complete assembly can be clipped between the fuselage halves and holds without glue, but I secured it.
- S
 STUDIO93542 days ago
The instrument panel looks very good :p
- B

- B
- KB
 King Bob!74 days ago
Lookin' good!
- BBughunter73 days ago
Replying to King Bob!
@kingbob Thanks! The camera shows more the top layer and too much red. With naked eye you can see the wood structure better.
- SM
 SQ Model Maker74 days ago
Appreciate the effort to share with us what u did here.
- BBughunter73 days ago
Replying to SQ Model Maker
@sqmodelmaker Thank you! I think that is one of the reasons why we are here? Gaahleri asked to show what problems we are facing during the build and how we solve them, to show our creativity.
- S
 studionaiya3d75 days ago
nice
- B
- BBughunter76 days ago
@wesur Thanks! I don't have space for the big WingNut Wing models, so 1:48 is for me the best compromise: small models, but may details possible 🥰
- BBughunter76 days ago
@przemysawowicki Thank you very much! Fortunately, thanks to the open cockpit, you can still see quite a few details.
- BBughunter76 days ago
@tougescaleworks Thank you! But the cockpit is not yet complete, more to come. I need to hurry up!
- BBughunter75 days ago
@wjb55 Thanks! And mostly kit parts, not much scratch work involved 😃