Bughunter
@bughunter
42
Following
121
Followers
33
Updates
1359
Likes
457
Comments
0
Votes
47 days ago
More details for the fuselage
I accidentally restored these updates in the wrong order – anyway, here’s the next step.
After the fuselage was painted, additional details could be added.
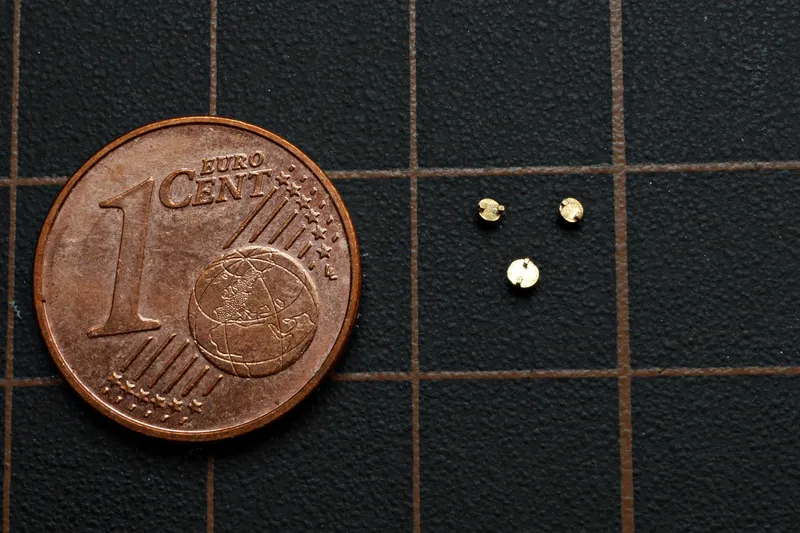
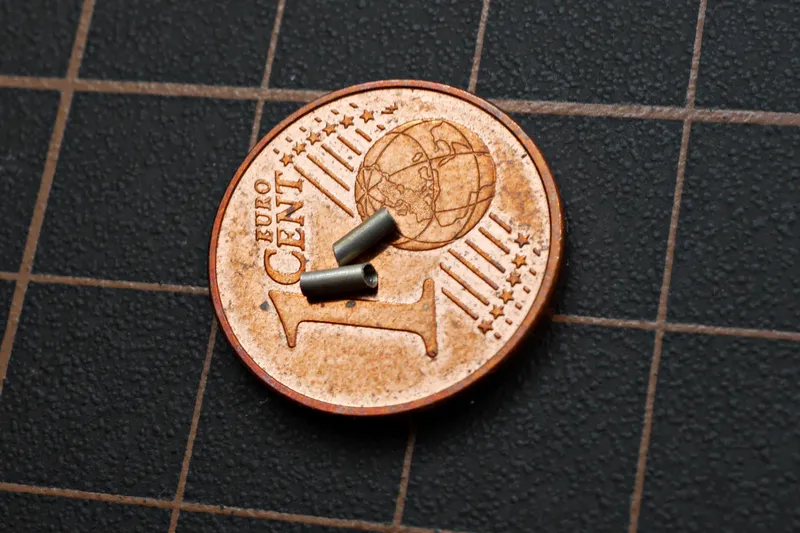
Pic 1 A while ago I made new little fuel and oil caps from brass.
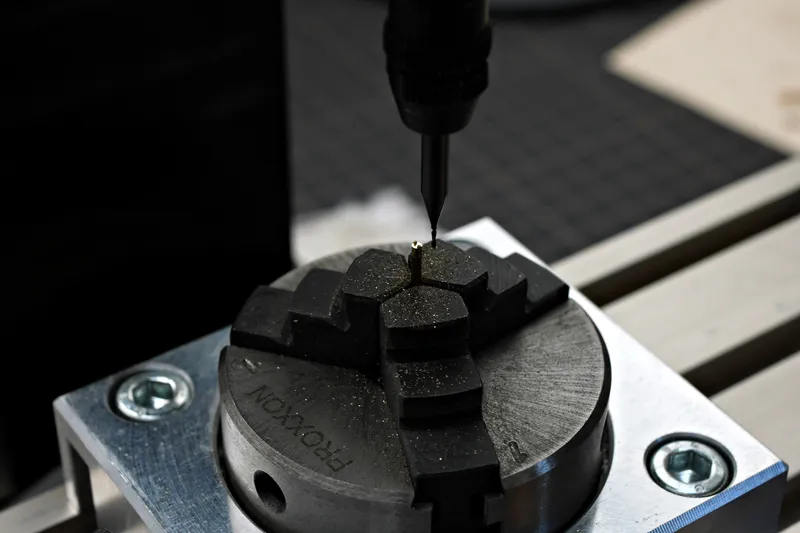
Pic 2 Turned on the lathe and then the brass around the handles was milled away.
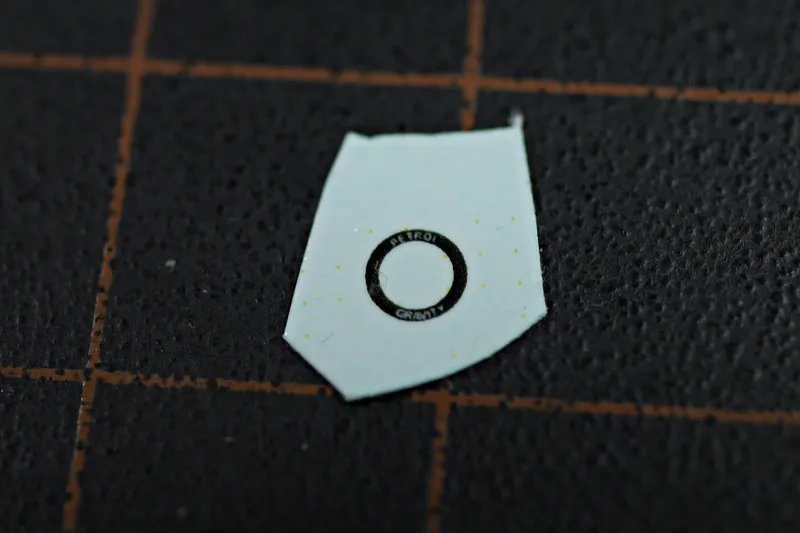
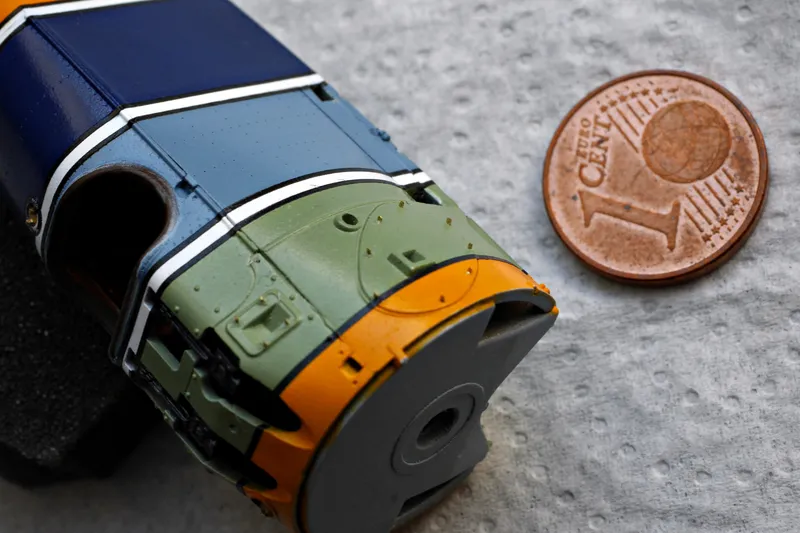
Pic 3 The kit provides decals for the fuel caps, here the one "PETROL GRAVITY". The letters are maybe 0.3mm high, I need the macro lens to apply the decal in the right direction.
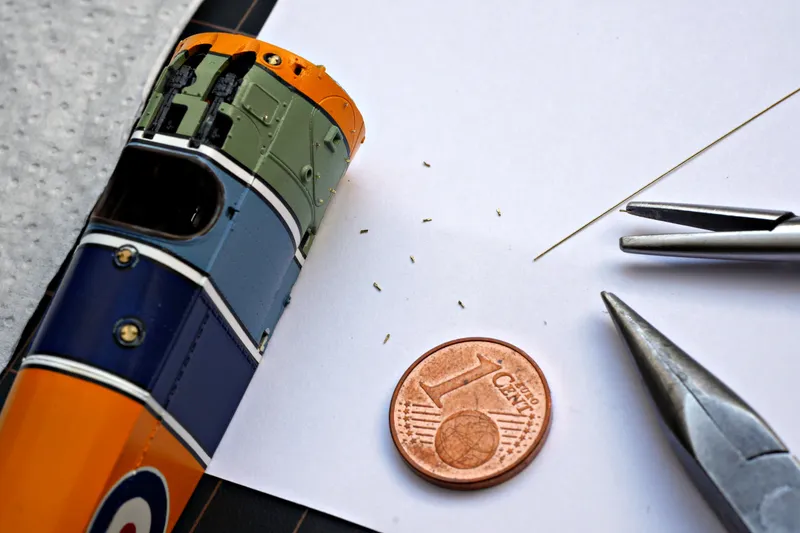
Pic 4 The caps are mounted. On the white paper you see my brass fasteners: That is squeezed 0.2mm brass wire. The holes to mount them were made at a very early stage.
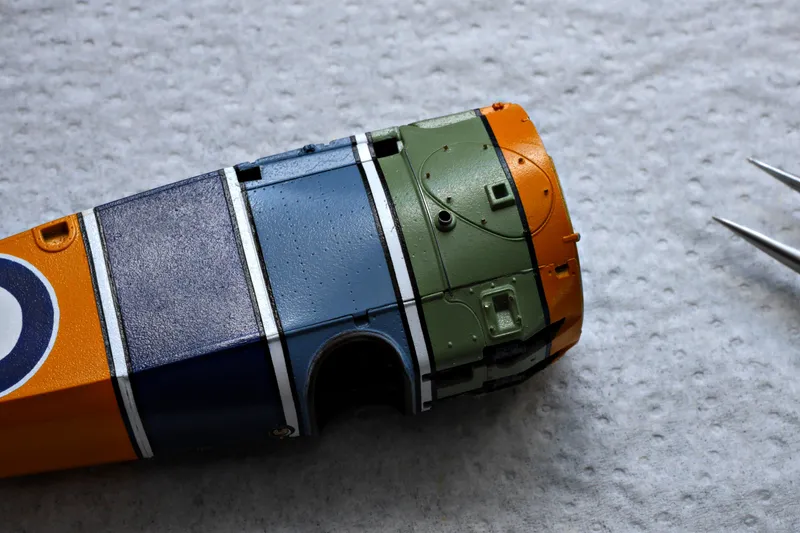
Pic 5 Around 30 of them were added: On maintenance panels on both sides and also below the fuselage.
Pic 6 New intake pipes (air for the carburetor) were prepared already.
Pic 7 Here you see it mounted. The gloss metal left of him is a securing rope for the hole metal panel. A steel rope on the original plane, I use a 0.15mm copper wire. The kit has a recess already. I drilled holes and glued the wire in (on both sides).
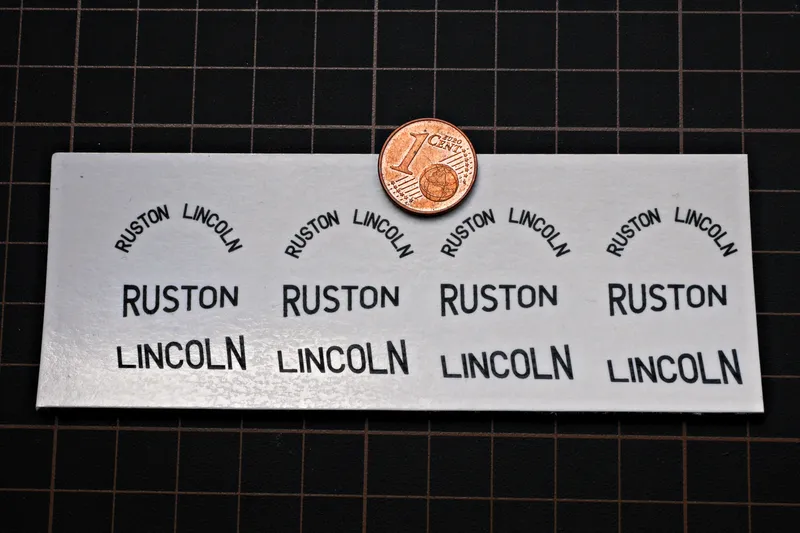
Pic 8 I also designed a little decal sheet (a huge Thank you goes to Viking/Jürgen, who helps me with the right font) and printed it on my Laser printer. Multiple times, you never know!
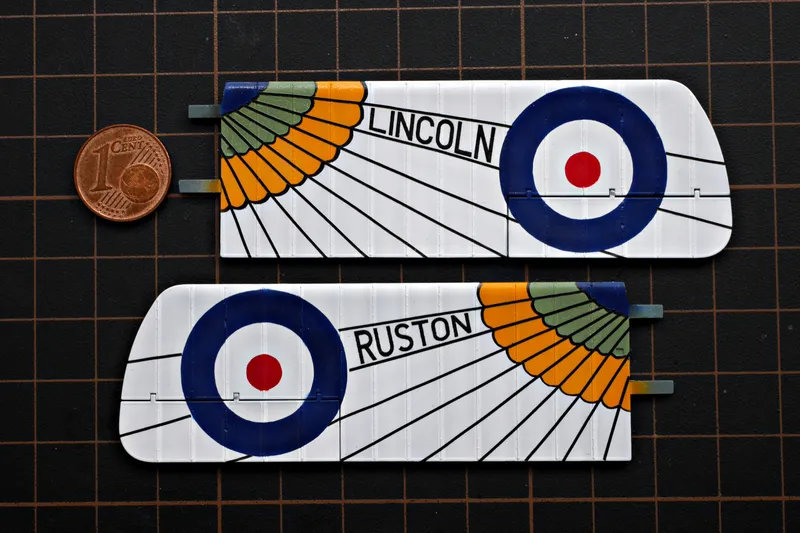
Pic 9 Decals are applied to the lower wings. As I used a scan of my wings as base the fit of the decals was perfect.
- M
 Manu46 days ago
Looks fine to me
- B
 Bughunter46 days ago
Replying to Manu
@manu2 Thank you so much! You’ll probably be able to see it more clearly in the photos than in person on the model. 😃
- D
 Dannyelyto46 days ago
Very tiny
- BBughunter46 days ago
Replying to Dannyelyto
@dannyelyto Thanks! Here I use as far as possible original materials so no thick paint layers can ruin the impression.
- T
 touge_scaleworks46 days ago
OMG, so tiny!!
- BBughunter46 days ago
Replying to touge_scaleworks
@tougescaleworks Thank you! Yes it is tiny, but possible. That's why I love the scale 1:48! In 1:72 such details are not possible, and in 1:32 the finished models are too big for my taste. So 1:48 is the best compromise.
- Ttouge_scaleworks46 days ago
Replying to Bughunter
@bughunter I've aleays built model cars, but if I start building planes ever, I will take your advice! It sounds completely right!
- BBughunter46 days ago
Replying to touge_scaleworks
@tougescaleworks From time to time I have built cars too, but mostly older ones. For example Ford Model T, or - one of my best - the Benz Motorwagen, all in 1:24. Click on the right on the Modellversium link to see it.
- DD
 Dutch Dave Model Bench47 days ago
Nice to see all those minuscule detail additions!
- BBughunter46 days ago
Replying to Dutch Dave Model Bench
@dutchdavemodelbench Thank you very much! It helps a lot to create at the end an illusion of a little original.
- KS
 Karl Scale Modeling47 days ago
Fantastic work and details, well done
- BBughunter47 days ago
Replying to Karl Scale Modeling
@karlscalemodeling Thank you very much! To scratch little details like this is a big part of the fun for me. 😃